PART 8 OF “BUILD A DOVETAIL DESK WITH WOODWORKING HAND TOOLS”
[Disclosure: WoodAndShop.com is supported by its audience. When you purchase through certain links on our site, we may earn a small affiliate commission, at no cost to you. Learn more.]
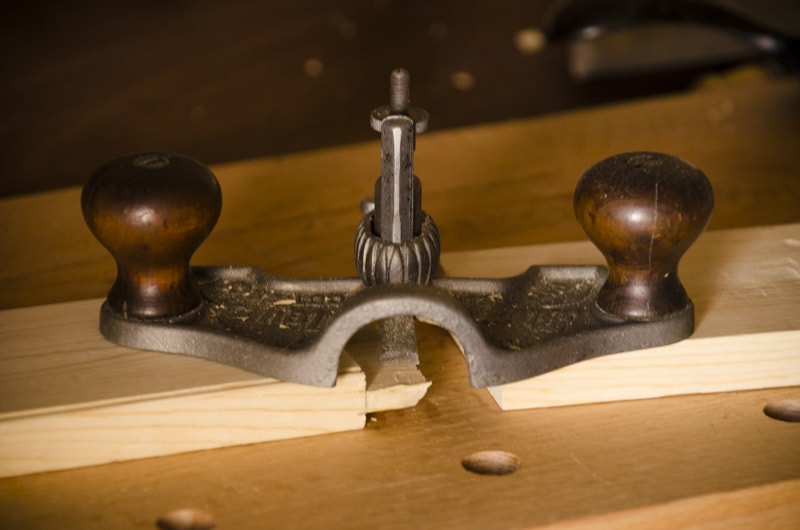
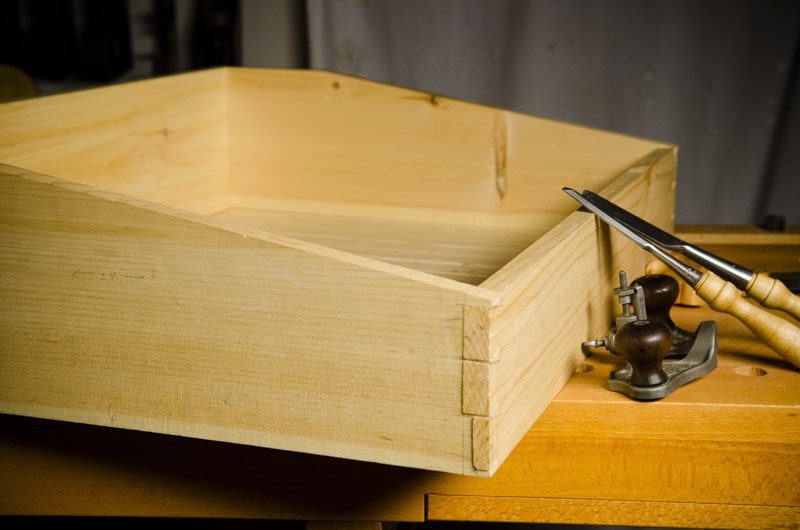
In part 8 of this series of videos, I show a trick for flattening and squaring the desk apron’s tenons with a router plane and a shoulder plane. This trick ensures that your tenon is the precise thickness to fit into the leg mortises:
Click here to go back to part 1, if you want to follow me as I build a historic hinged-top desk for my sons. Below you’ll find photos and the list of tools that I used to build this desk.
WOODWORKING HAND TOOLS THAT I USED:
Even though I have a helpful hand tool buying guide (here), I’m still often asked for a list of and links to the tools that I use in my videos, so here is a list of tools that I used in this series of video on desk building (I also included tools that I used in construction that wasn’t in the video):
WORKBENCH:
- Sjoberg Elite 2500 Beech Workbench (with optional tool cabinet)
- Moravian Workbench (portable and sturdy)
- Gramercy Holdfast
HAND PLANES:
- Lie-Nielsen Low Angle Rabbet Block Plane
- Lie-Nielsen No. 62 Low Angle Jack Plane
- Vintage Stanley No. 71 Router Plane
- Lie-Nielsen No. 73 Large Shoulder Plane
- Vintage Stanley No. 4-1/2 Smoothing Plane
- Vintage Beading Plane
- Vintage Wooden screw arm Plow plane
SAWS:
- Lie-Nielsen dovetail saw
- Lie-Nielsen’s thin plate 16″ Tenon Rip Saw
- Lie-Nielsen cross cut back saw
- Vintage Millers Falls Miter box and miter saw
- Robert Larson Coping Saw
CHISELS:
MARKING & MEASURING:
- Starrett 6-inch combination square
- Vintage metal try square
- Vintage sliding bevel square
- Vintage Starrett Dividers / Compasses
- Veritas Wheel Marking Gauge or Veritas Dual Wheel Marking Gauge
- Lie-Nielsen panel gauge
- Wooden Straight Edge
- Vintage Stanley No. 62 Folding Rules (24″)
- Marking knife (chip carving knife)
- Staedtler Mars 780 Technical Mechanical Pencil
MALLETS & HAMMERS:
CLICK HERE TO SUBSCRIBE FOR FREE TO RECEIVE FUTURE ARTICLES & VIDEOS!
- Build a Dovetail Desk with Hand Tools – Part 1: Dovetail Carcass
- Build a Dovetail Desk with Hand Tools – Part 2: Legs
- How to Chop Mortises {Part 3 of “Build a Dovetail Desk with Hand Tools”}
- How to Clean Mortises {Part 4 of “Build a Dovetail Desk with Hand Tools”}
- How to Layout Tenons {Part 5 of “Build a Dovetail Desk with Hand Tools”}
- How to Cut Tenon Shoulders {Part 6 of “Build a Dovetail Desk with Hand Tools”}
- How to Cut Tenon Cheeks {Part 7 of “Build a Dovetail Desk with Hand Tools”}
- How to Square Tenon Cheeks {Part 8 of “Build a Dovetail Desk with Hand Tools”}
- How to Fit a Mortise & Tenon {Part 9 of “Build a Dovetail Desk with Hand Tools”}
- How to Drawbore Mortise and Tenon Joints {Part 10 of “Build a Dovetail Desk with Hand Tools”}
- How to Make Pegs for Drawboring Mortise & Tenon {Part 11 of “Build a Dovetail Desk with Hand Tools”}
- How to Make a Through Mortise & Tenon {Part 12 of “Build a Dovetail Desk with Hand Tools”}
- How to Attach a Desk Top {Part 13 of “Build a Dovetail Desk with Hand Tools”}
- How to Use Traditional Cut Nails {Part 14 of “Build a Dovetail Desk with Hand Tools”}
- How to Make Breadboard Ends {Part 15 of “Build a Dovetail Desk with Hand Tools”}
- How to Make Breadboard Ends {Part 16 of “Build a Dovetail Desk with Hand Tools”}
- The Completed Dovetail Desk! {Part 17 of “Build a Dovetail Desk with Hand Tools”}



Great tips here—I would normally try to square up both the shoulders and the cheeks with the shoulder plane, but seems like a router plane will get much better/more consistent results. Love the channel and the new beautiful workspace. Clamps/Candlestand/Mug… Cheers from Nashville, TN. USA!