Disclosure: WoodAndShop.com is supported by its audience. When you purchase through certain links on our site, we may earn a small affiliate commission, at no cost to you. Learn more.
By Joshua Farnsworth
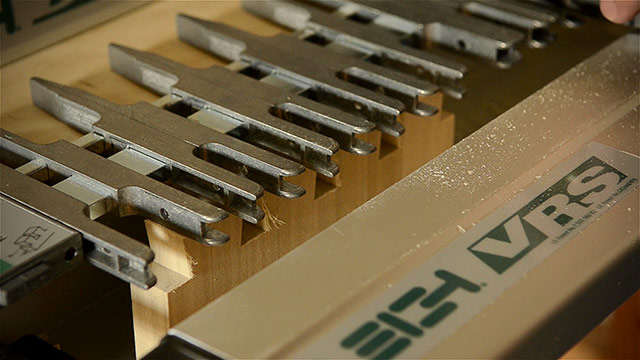
In this video & article I’ll have a shoot-out between a dovetail jig machine and hand cut dovetails, and talk about the pros and cons of each method.
Introduction: My experience with a dovetail jig vs. hand cut dovetails
Years ago I bought an inexpensive dovetail jig, and had a very, very bad experience with it. It took me several days to figure it out, and it turned out that they had included some wrong parts, and it took another week to get the right parts.
I eventually got it to work, but the process was very frustrating. And the dovetails just didn’t look nearly as good as hand cut dovetails. So I sold my dovetail jig and just stuck to cutting dovetails by hand.
But the older I get, the more I believe in second chances, so I started looking again to see if there was a jig on the market that could make descent looking dovetails without too much frustration.
Because as much as I love cutting dovetails by hand, it’s quite a chore if I’m making a bunch of chests or boxes.
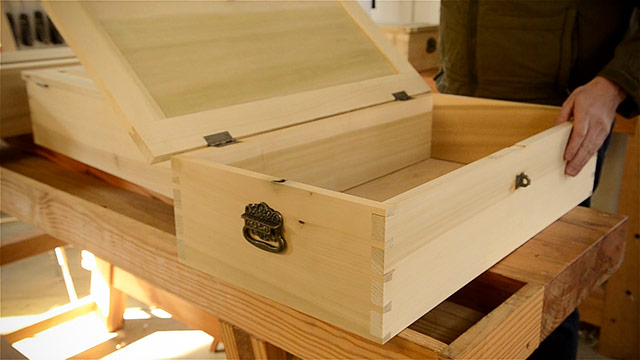
And I certainly don’t ever want to come across as a snobby, academic white collar “hand tool purist” who cuts dovetails by candle light while reading French poetry. I love buying, restoring, and using my hand tools. Heck, I’ve got hundreds of hand tools.
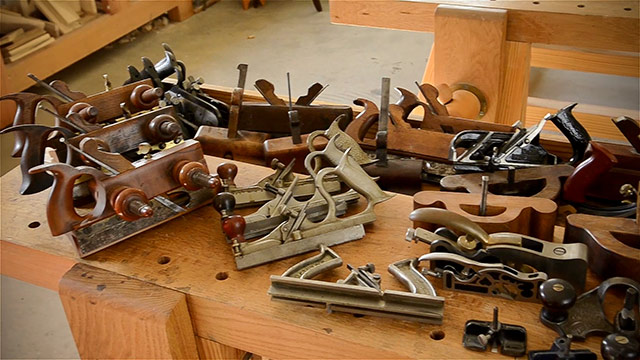
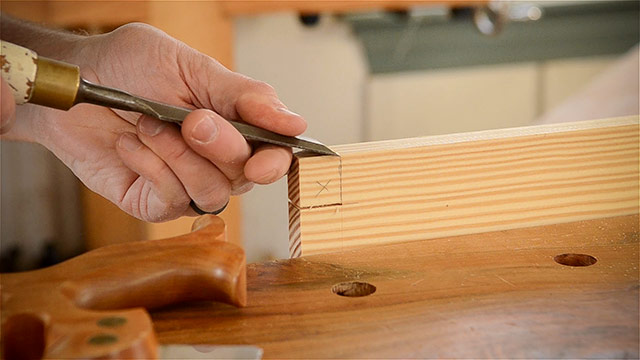
But I also love building furniture in the most efficient and most enjoyable way possible. That usually means using hand tools. Especially when I need some peace and quiet.
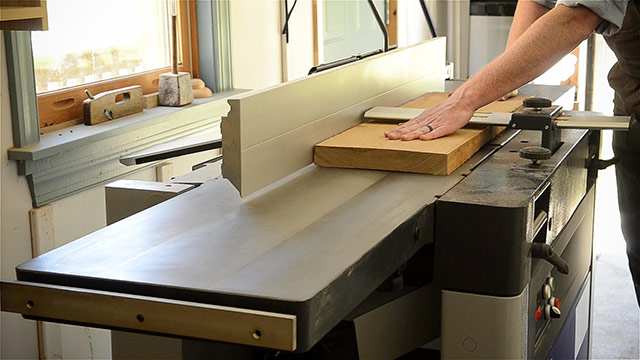
But if I’ve got hundreds of board feet of wood to square up, you can bet that I’ll use my machines.
And cutting dozens of dovetails on one project also makes a dovetail jig start to sound appealing again. After a little research into the power woodworking world I discovered the dovetail jig that is considered by many to be the best available jig for non-industrial furniture makers.
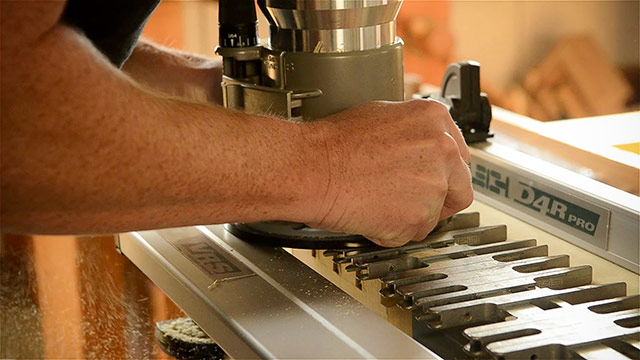
That would be the Leigh D4R 24” dovetail jig. And the sample dovetails on the Leigh website actually looked pretty descent; much better than the dovetails I cut on my first go around. I decided to try out this leigh dovetail jig, along with my Bosch router, on some keepsake chests that I made for my kids this past Christmas. That way if the dovetails didn’t turn out great, my kids probably wouldn’t notice.
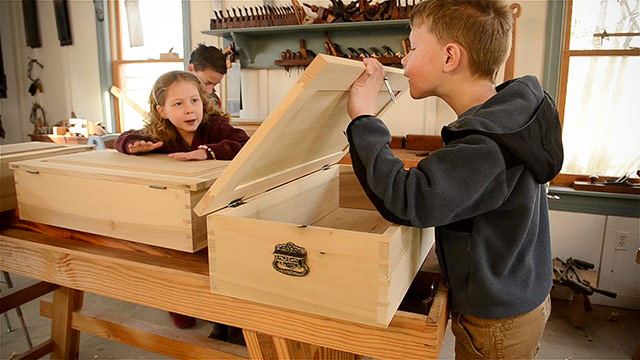
And my plan was to pay attention to the differences between the process and the results of the Leigh dovetail jig versus using hand tools. So here we go!
1. Setup Time Comparison
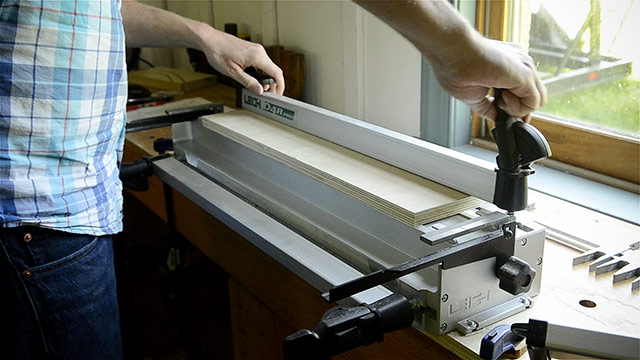
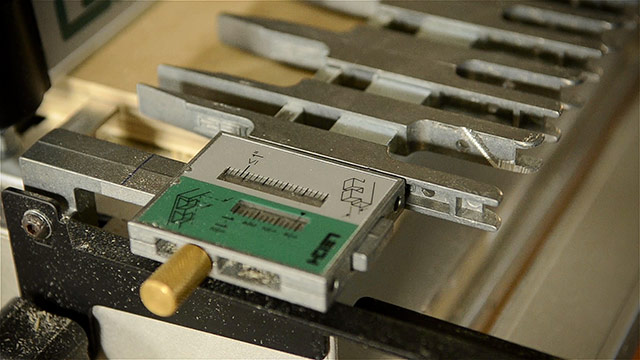
The first metric I kept track of was the setup time. The dovetail jig requires assembling all the parts, cutting a spacer board, setting up the guide bushing on my router, choosing which bits to use, adjusting the finger assemblies, setting the router to the appropriate depth, and making test cuts to make sure the settings are correct.
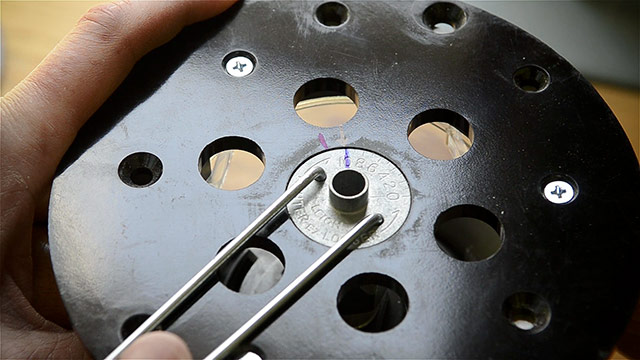
I’m not an engineer, so it took me quite a long time to setup and figure out how to use this Leigh dovetail jig.
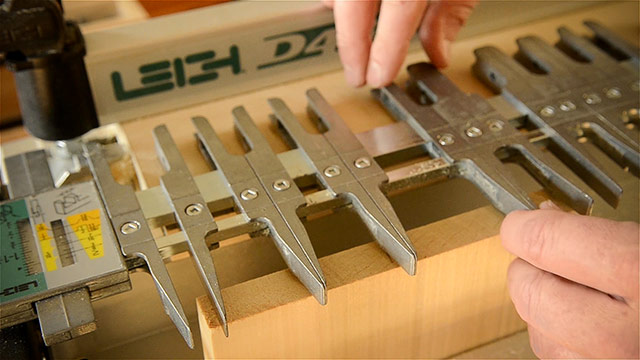
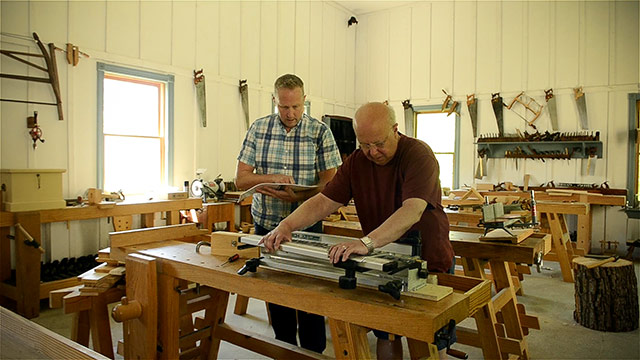
But with the help of my friend Norm, who loves setting up technical things, we were finally able to get a test cut for some through-dovetails after a couple of afternoons together.
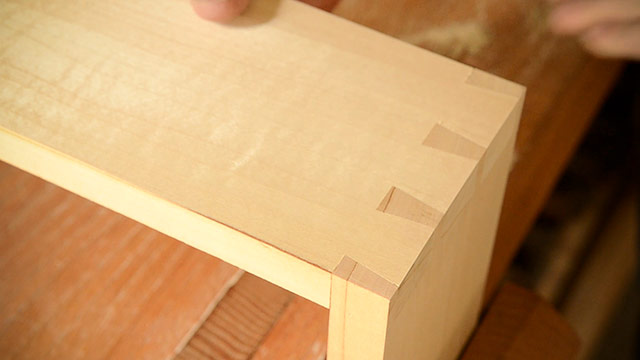
To be honest, the first test dovetails didn’t look amazing:
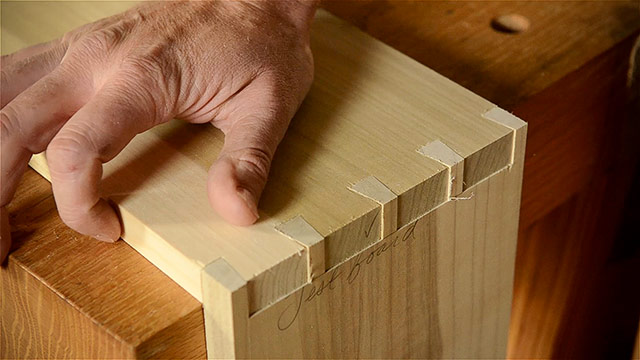
But the nice thing is that I was able to micro adjust the settings until I got the dovetails to fit nicely together, without gaps.
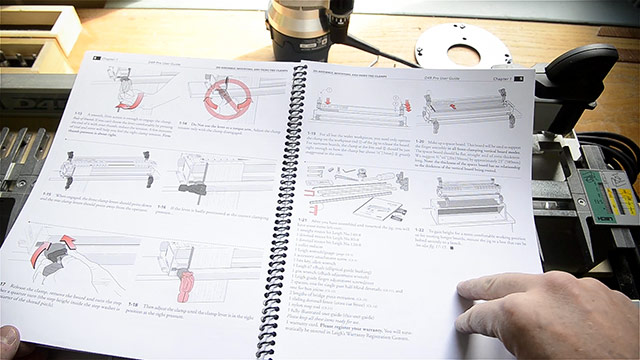
Although the instructions took awhile to figure out, I must say that they were better than others I’ve used from woodworking manufacturers.
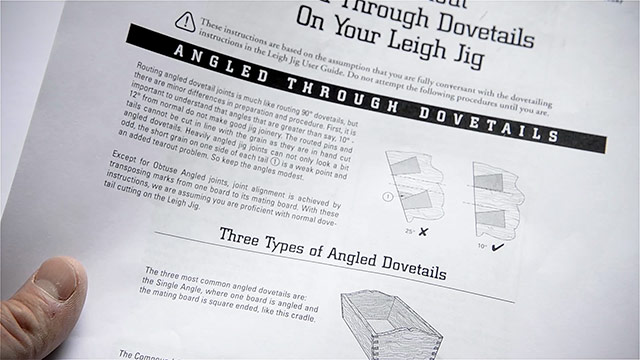
And keep in mind that if you want to cut angled dovetails or half-blind dovetails that would take additional time to figure out and setup.
In contrast, the setup time for hand tools is quite short, unless of course, your tools need sharpening and tuning.
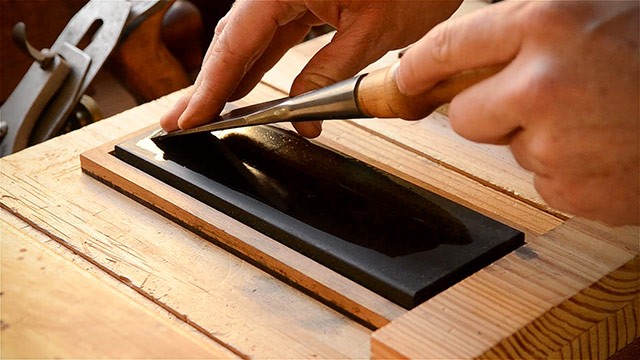
Then it could take much longer to setup than the jig. But to summarize what I had to do for setting up is that I just had to grab and set out a dovetail saw, a crosscut saw, a coping saw, a couple of chisels, a marking gauge, a combination square, a bevel square, a pair of dividers, a marking knife, and a pencil.
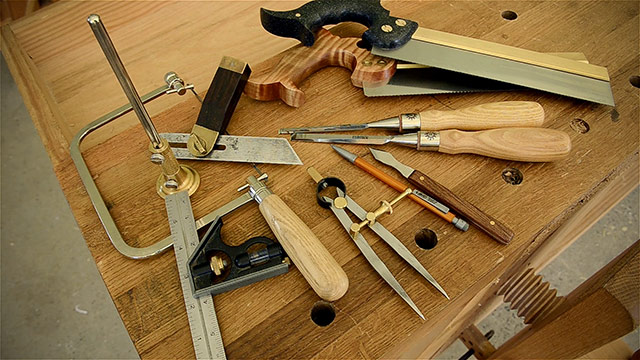
RESULTS: So in the setup time category the hand tools are the clear winner…if your tools are in good shape.
RELATED
How to Use a Dovetail Saw Like a Pro
Laying Out Perfect Dovetails with a Few Affordable Tools
Secret Mitered Dovetails with Kaare Loftheim at Colonial Williamsburg
Dovetail Jig vs Hand Cut Dovetails: Which is Better?
How to Make Sliding Dovetails with Will Myers
How to Make a Mortise and Tenon Joint with Woodworking Hand Tools
How to Make Half-blind Dovetails for Drawers with James Huggett
Make Mitered London Style Dovetails with Dave Heller
2. Cutting Time Comparison
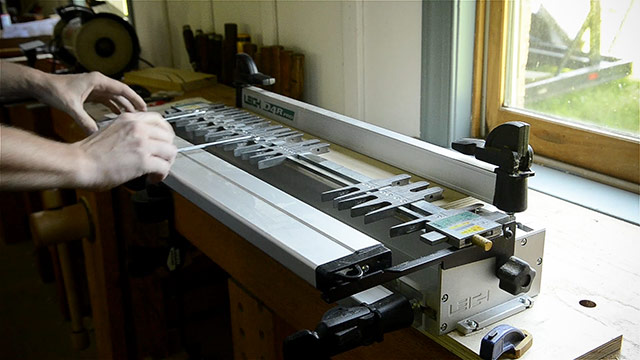
Once the dovetail jig is setup and figured out, all future dovetails are extremely fast to cut. For the keepsake chests I was able to cut sixteen through-dovetail joints in less than an hour, which turns out to be about 64 dovetails.
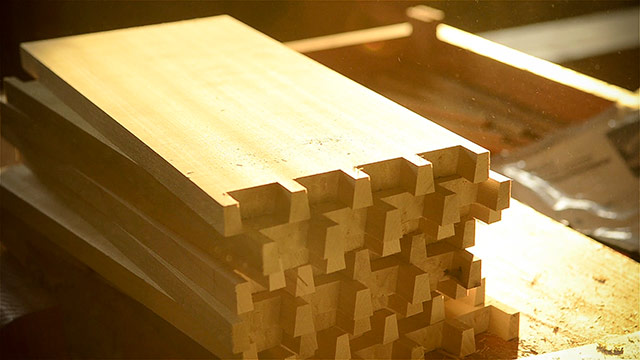
It was amazingly quick. And I found that once I understood the jig, it only took a few minutes to change the size and angle of the dovetail bit for another project.
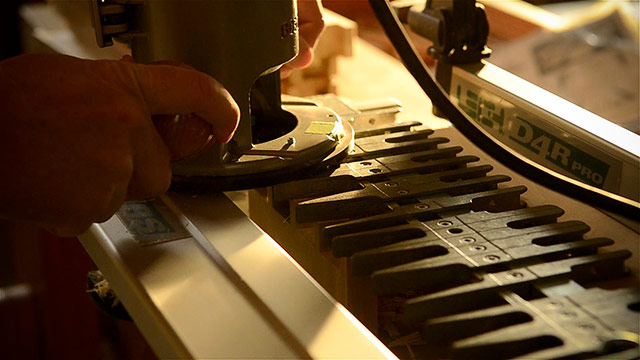
The basic summary of the jig’s dovetail cutting process goes like this: I clamp the test tail board in the jig. This board should be the same width and thickness as the boards you’ll be using for your boxes or chests.
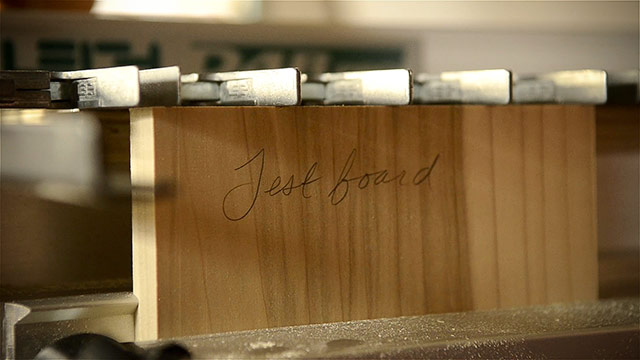
I space the fingers out to the orientation that I like:
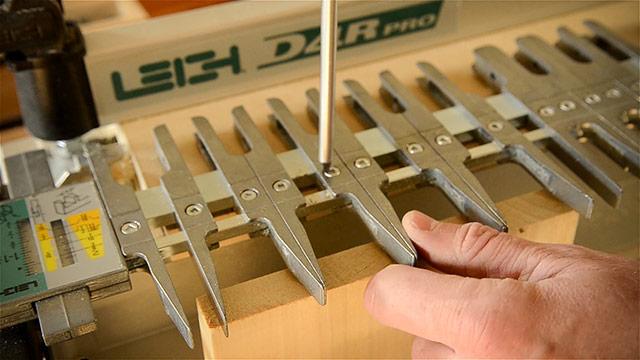
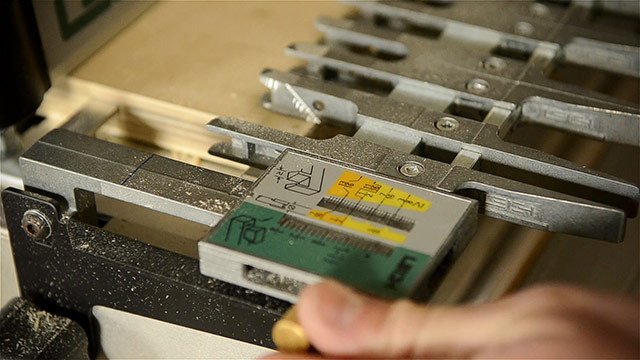
Then I tighten the fingers in place. I loosen some brackets, flip the finger assembly over to the tail side, and adjust the scale to the proper setting for tails.
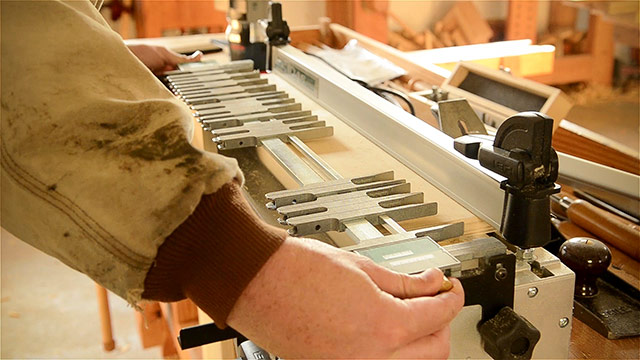
Then I add the desired dovetail-shaped router bit to my router and adjust the depth of my router bit to the baseline on the board:
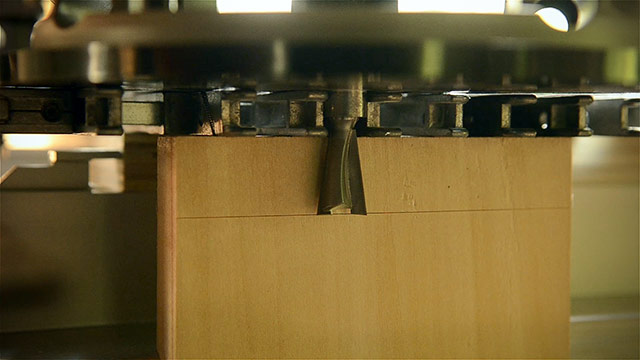
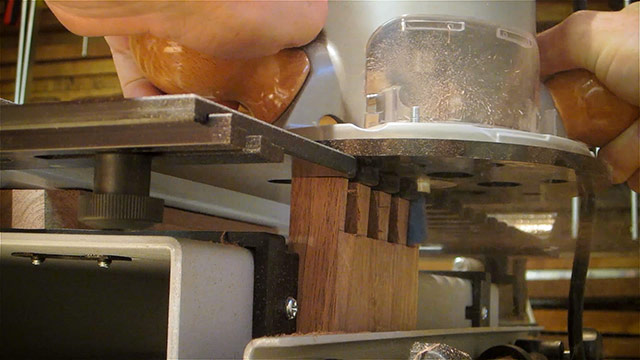
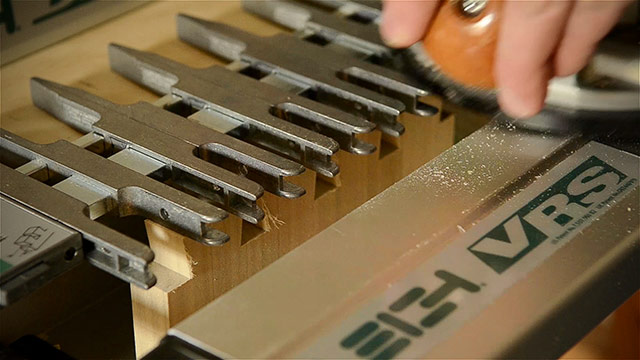
I fire up my router, and route out the spaces between the tails:
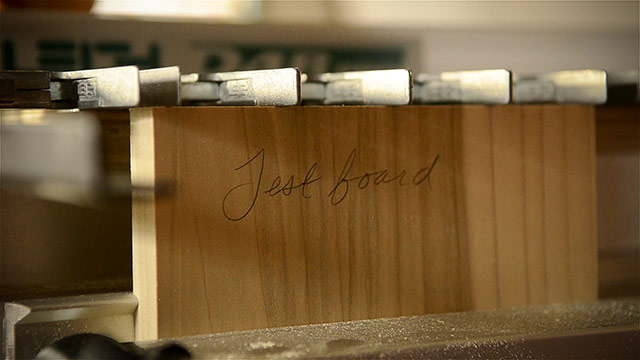
Then I put the test pin board in the clamp. Again, it must be the same width and thickness as the actual boards you’ll be using.
I flip the finger assembly over again to the pin side:
I replace the dovetail router bit with the corresponding straight bit, and then I adjust its depth to the same baseline measurement as on the first tail board.
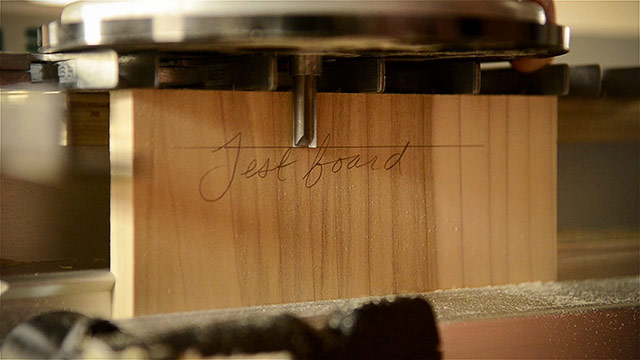
Then I route out the pins:
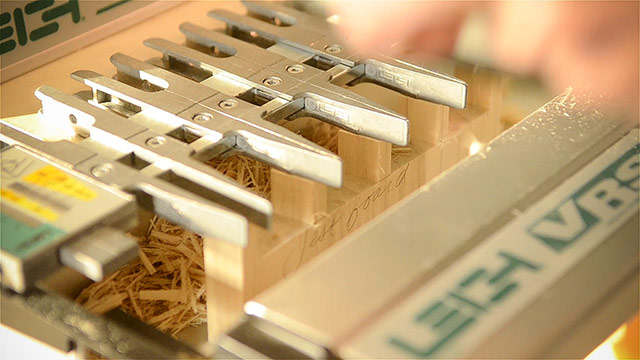
I test the fit, and if it’s too tight, I’ll adjust the finger assembly a bit, and then run the router through the pins again to trim them.
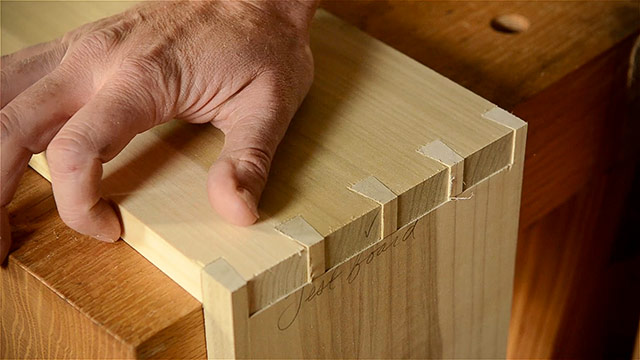
Once I’ve got a fit that I like, I take note of the settings on the scale:
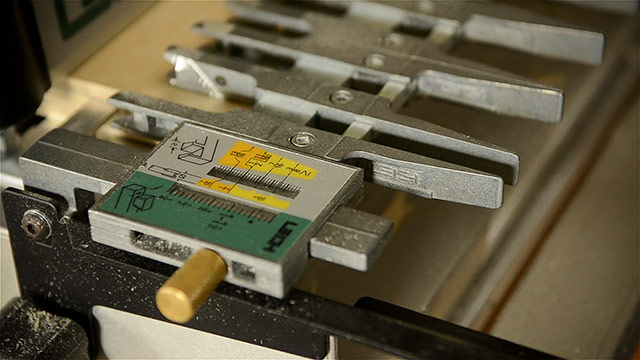
Then I can run the pin boards through, and then the tail boards using the same process that I just showed.
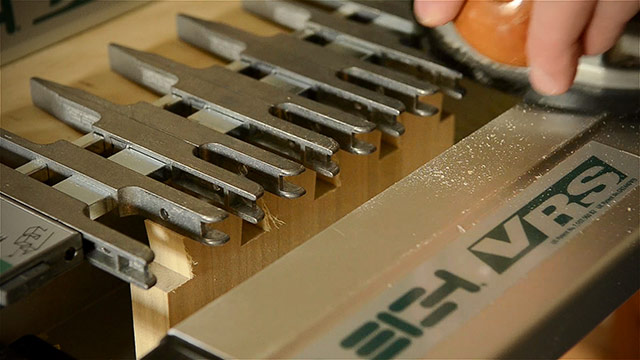
Once I have the settings dialed in, cutting dovetail joints on a large stack of boards takes very little time.
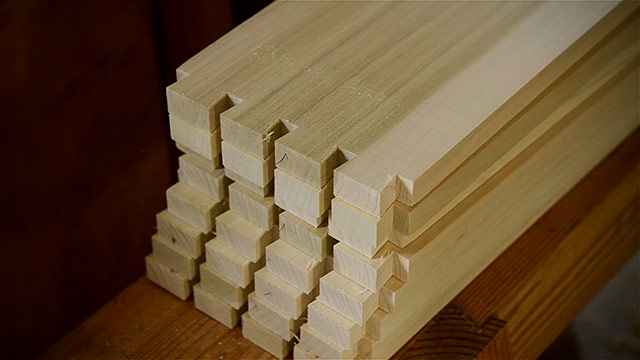
This is the wonderful thing about using a dovetail jig like this.

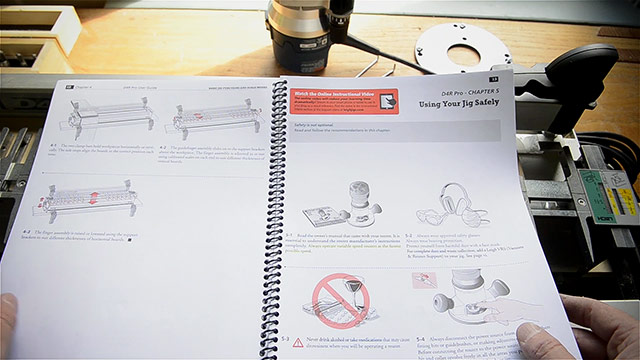
Of course this is a simplified summary of the use of this jig, so make sure you carefully read the user manual to learn how to use it safely.
The dovetail cutting time with hand tools would have taken much, much longer than it did with the dovetail jig.
Even if I was gang cutting the dovetails it would probably take me a full day, if not more.
Some people are faster than me, but I’m pretty proficient with hand tools. I’ll be sharing my in-depth hand-cut dovetail tutorial in my next video & blog post, so make sure you subscribe to my newsletter (here) so you’ll be notified when it’s released.
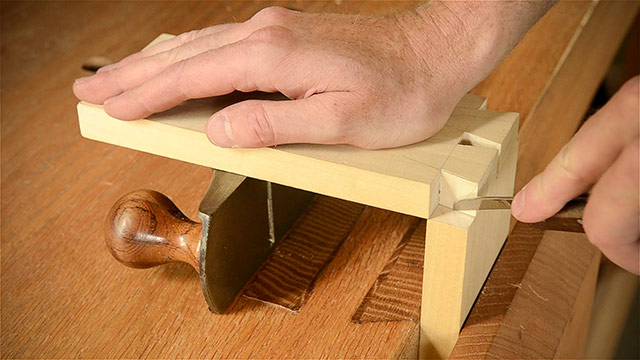
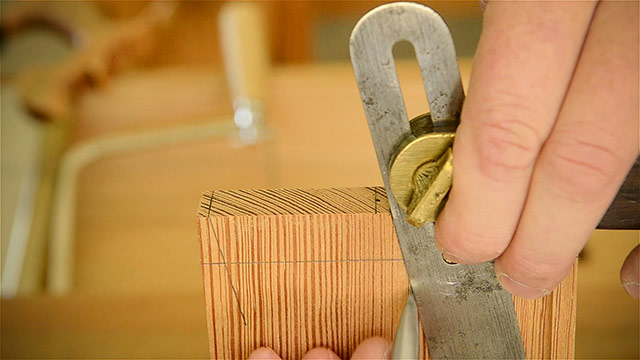
A quick summary of the process for dovetailing a box goes something like this: first I scribe all ends of the boards with a marking gauge:
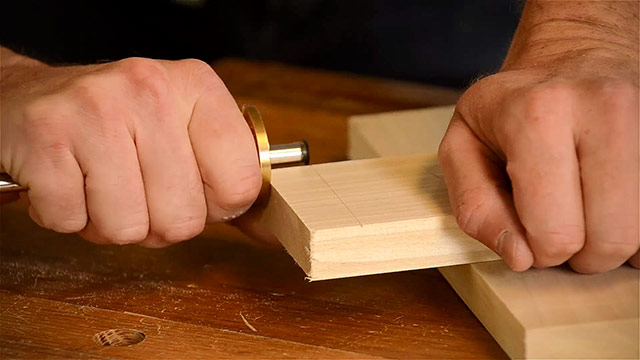
Then I use dividers to divide the dovetails:
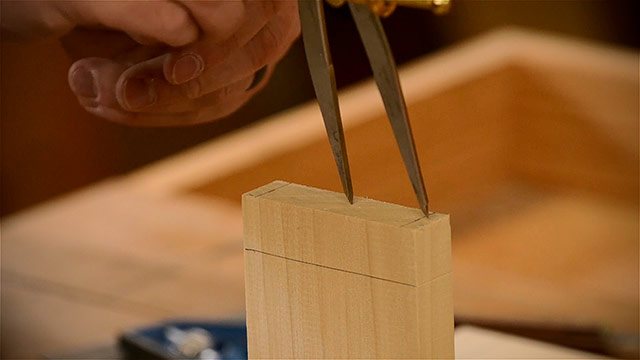
I’ve also got a short video on this cool trick, which you can watch here. Next I use a combination square to carry the lines along the top:
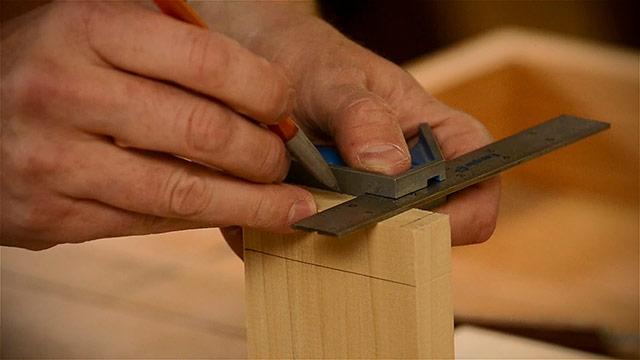
I then use a bevel gauge to draw the dovetail angles on the face of the board:
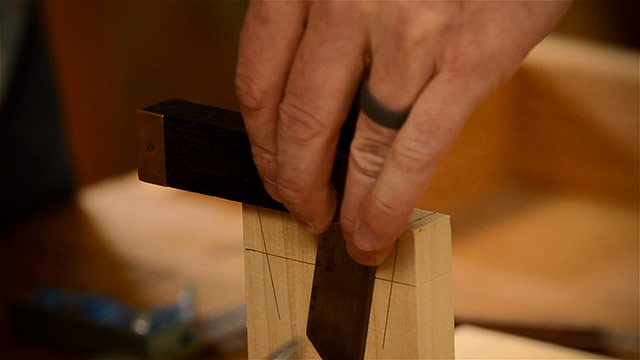
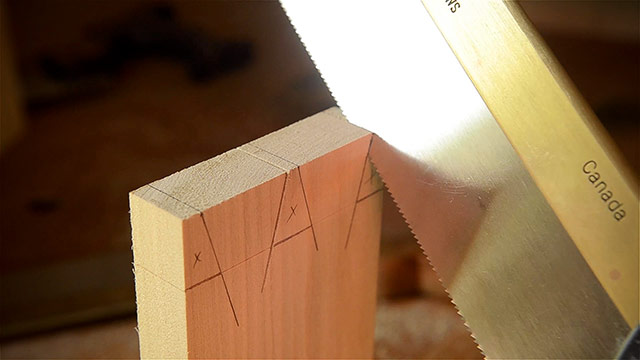
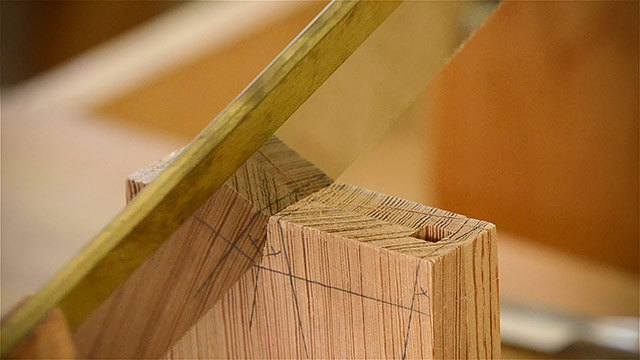
Next I use a dovetail saw to cut right next to the lines, in the waste area:
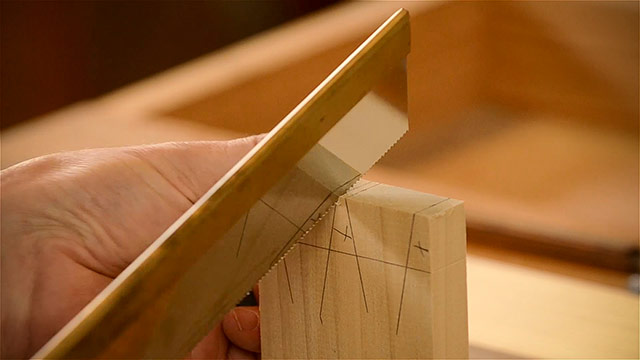
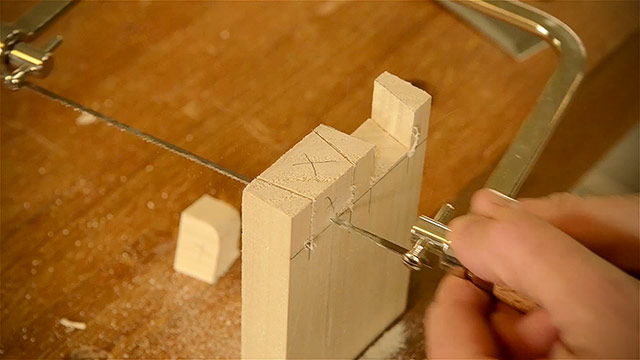
I follow that with the coping saw to cut out the waste:
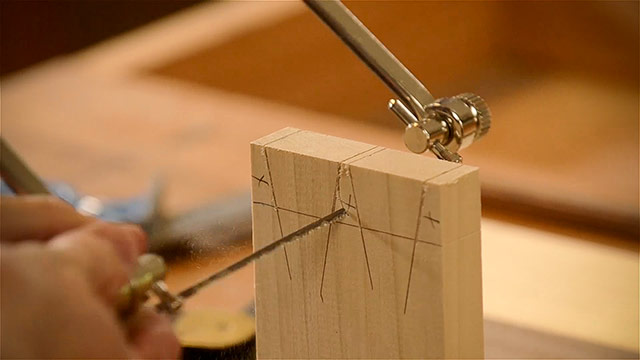
I use a chisel to make a notch on each side of the board, and a crosscut saw to cut off the half-pins:
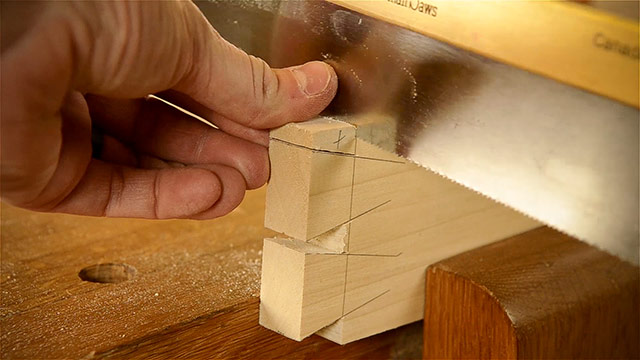
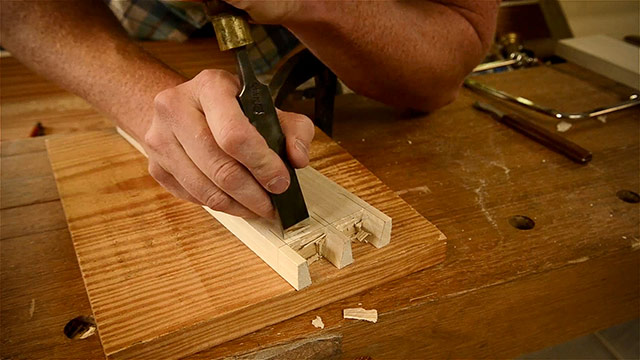
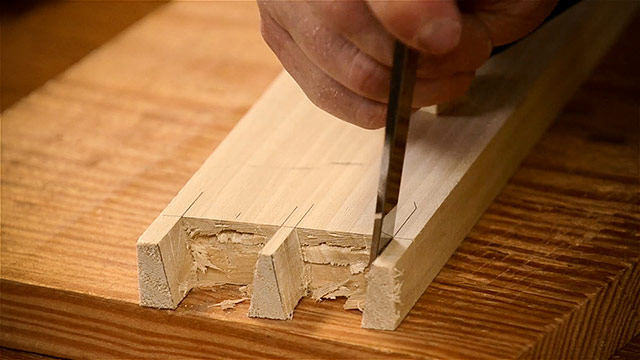
I then use a chisel and mallet to chop down to the baseline, and another chisel to clean up the tails, and make sure I’m up to the lines:
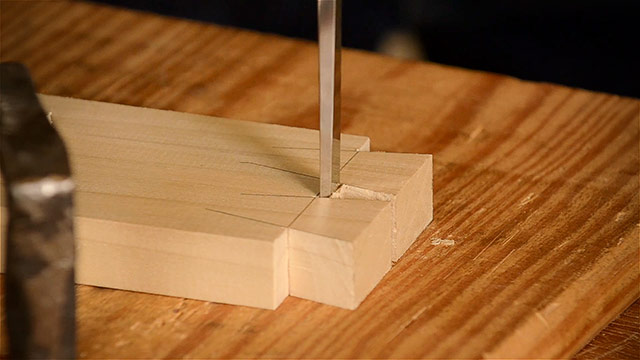
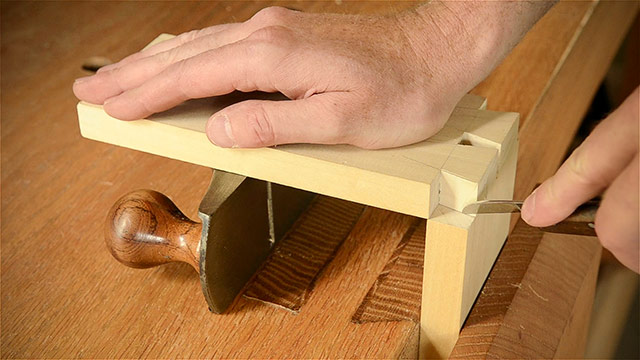
Now the tail board is finished. Then I set the tail board onto the pin board and trace the pattern with a marking knife:
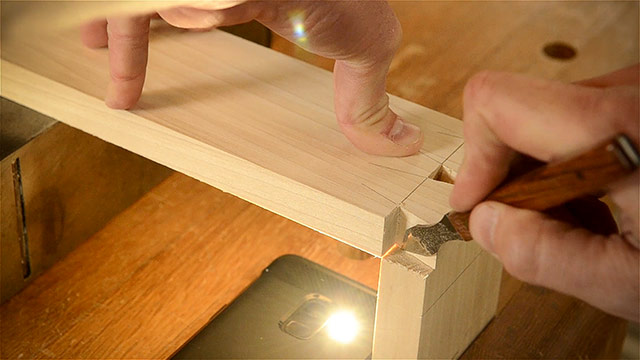
I then use a chisel to deepen these lines:
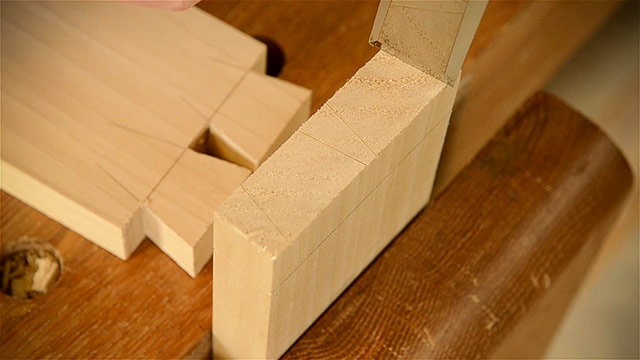
And I use a combination square to carry the marks down the face of the pin board:
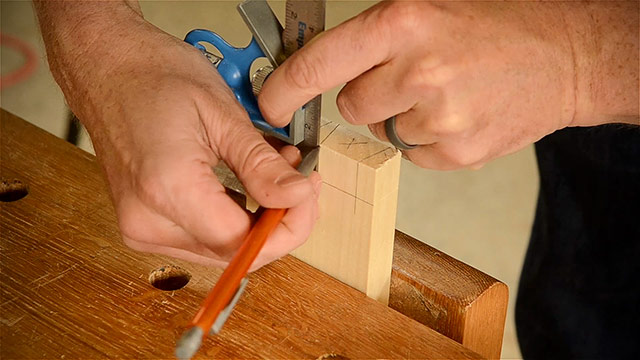
Again, I use a dovetail saw to cut along the lines:
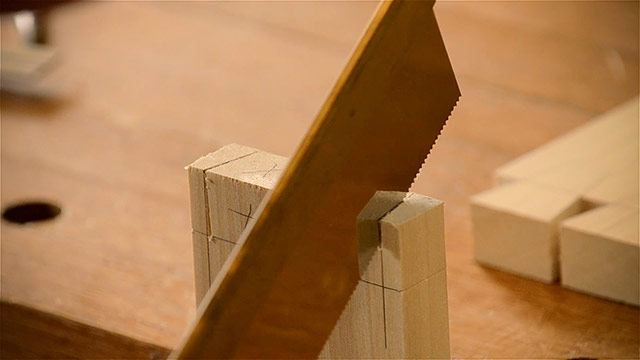
I use a coping saw to remove the waste:
I use a chisel and mallet to chop down to the baseline:
And I use another chisel to clean up the cuts:
Finally I can test fit the joint:
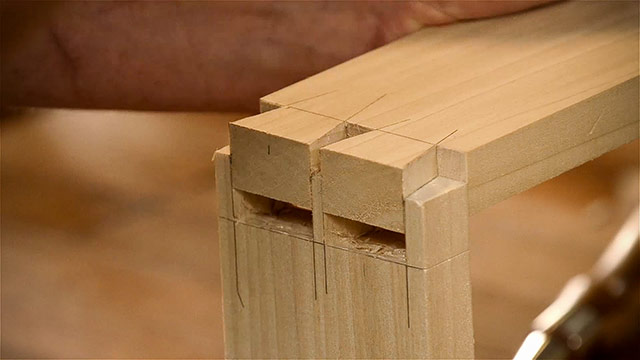
About half the time I have to do some more adjusting with a chisel, especially if I wasn’t careful enough when sawing:
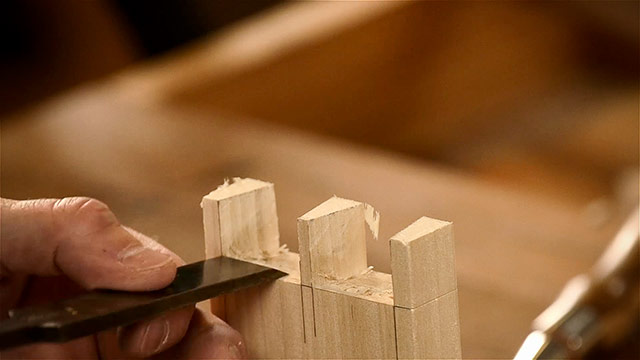
But finally the through dovetail joint fits together:
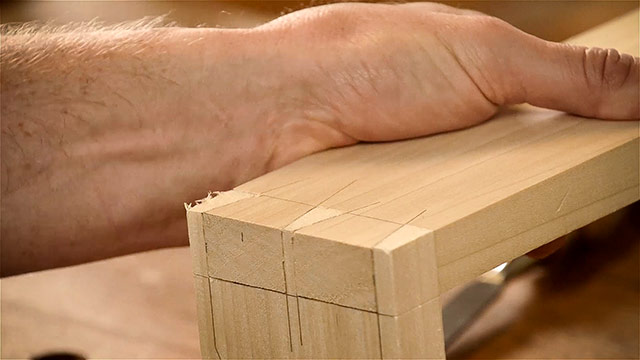
Wow, can you imagine doing this 4 times per box multiplied by 4 keepsake chests?
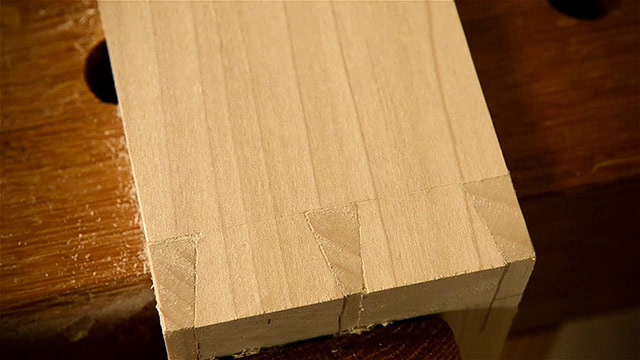
RESULTS: So in the cutting time category the dovetail jig is the clear winner. The initial learning and setup time is all pretty much done up front over a day or two, and then it’s very fast anytime you want to cut dovetails.
3. Joint Appearance Comparison
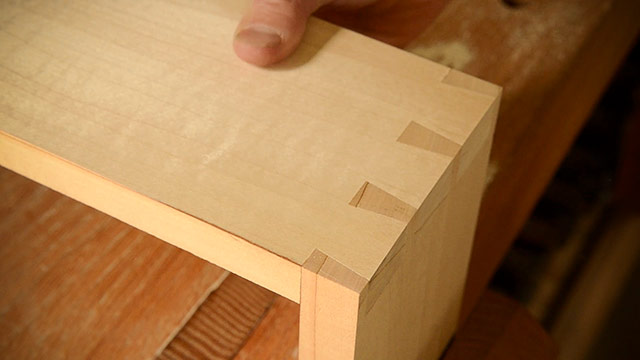
I was actually quite surprised by how good the through dovetails turned out on this jig. I used an eight degree dovetail bit on these through dovetails.
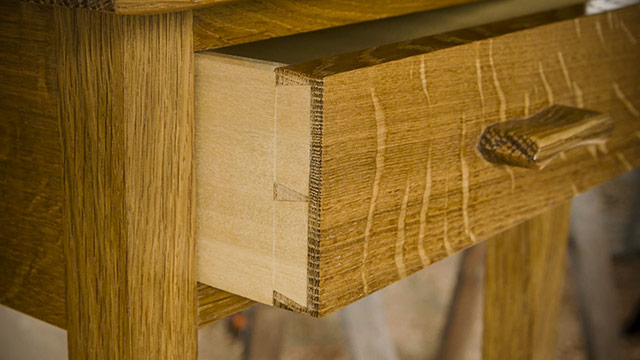
No, the jig can’t cut super fine dovetails, with small pins, like these hand cut dovetails on this drawer:
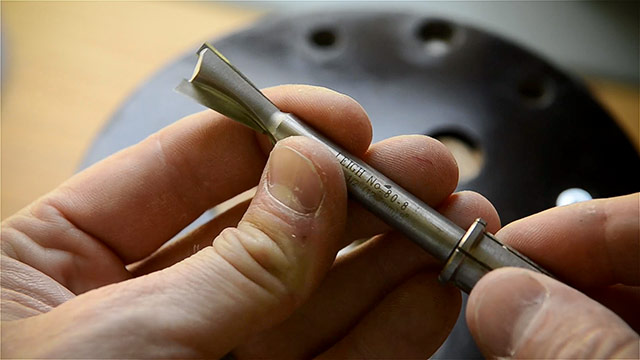
Why not? Because of the router bit shank can’t get too thin or it would be dangerous to use:
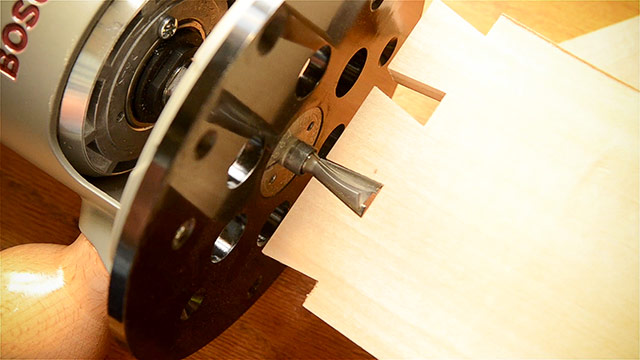
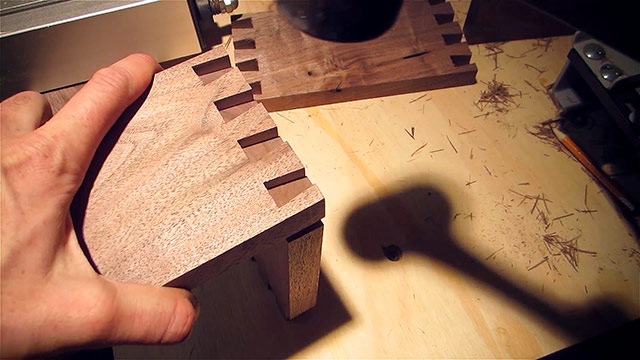
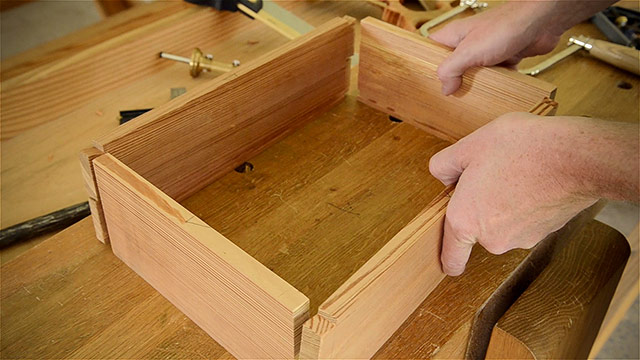
But I think these dovetails look pretty great nonetheless. To be honest, I was pretty surprised how nice-looking they came out:
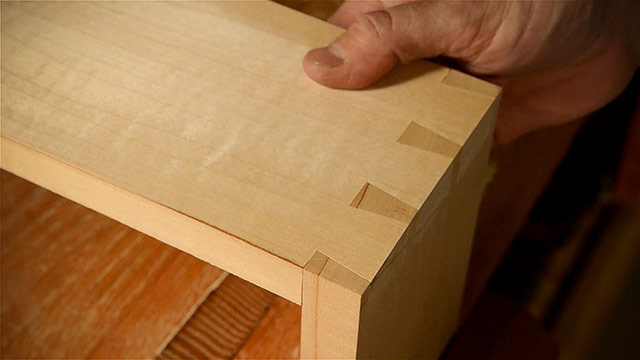
Once you have the settings right, these dovetail joints are very tight and consistent, with none of the gaps that I sometimes get when using hand tools on harder woods:
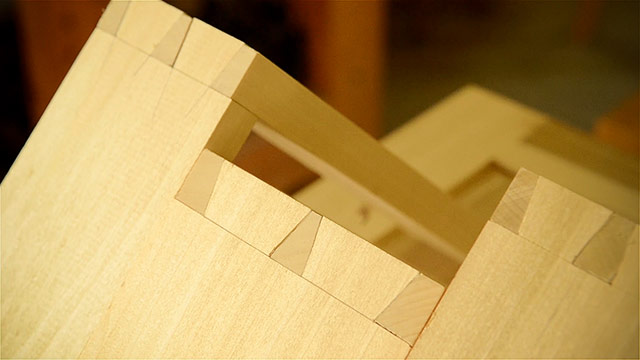
RESULTS: In the joint appearance category I would have to declare a tie.
4. Cost Comparison
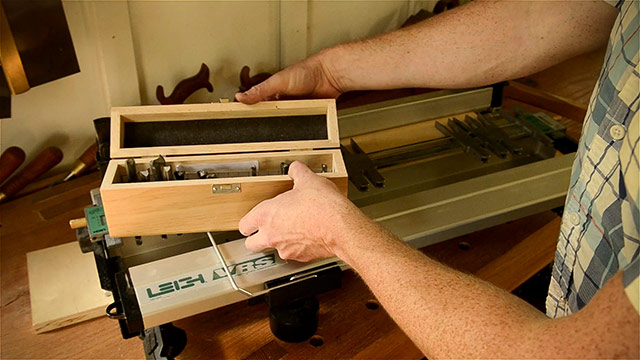
Now I’ll try to compare the costs between the two methods. The cost of the 24-inch Leigh dovetail jig runs at about $599 (see it here), and $799 with the accessory kit (see it here). The accessory kit has the magnetic router support bar with a shop vac port, all the router bits that you’ll need for different sized dovetails, and some other items.
Leigh does offer a 12-inch dovetail jig for about $299 (see it here) if you don’t think you’ll ever want to make large boxes. I’ve included links to these dovetail jigs below this video and in the accompanying article.
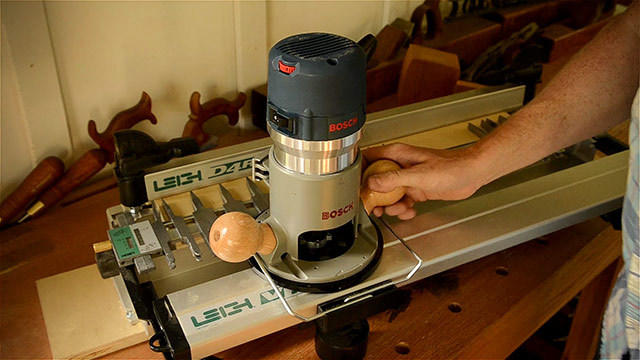
If you don’t have a power router, of course that will add about $150 to $200 onto the cost of this setup. This is my favorite router. I have two of them.
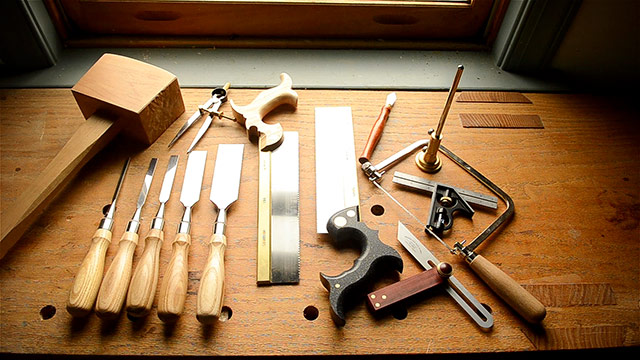
Now for the hand tools. The cost of all the hand tools required to cut the dovetails, which I mentioned earlier, is difficult to estimate. It could easily cost as high as $1,500 if you shop like some of my students, and buy higher end saws, chisels, and marking tools. But it also could be as low as a couple hundred dollars if you went cheap. But it would probably be around $400-$500 for an average set of new hand tools for dovetailing. Here are the hand tools I used in the video, along with links where you ca find them:
- Cosman dovetail saw & crosscut saw: https://bit.ly/3veMonH
- Chisel set: https://amzn.to/3od5Dvj
- Brass wheel marking gauge: https://amzn.to/3eGnmrU
- Dividers: https://amzn.to/3vYREfs
- 6-inch combination square: https://amzn.to/2WBzvnr
- Coping saw: https://amzn.to/2NzShse
- Marking knives: https://lddy.no/uatv
- Vintage bevel square: https://ebay.us/7BVOEf
- Joiner’s Mallet: Shop-made
RESULTS: So I would probably say that hand tools would slightly win out on the cost factor if you watched your budget carefully.
5. Safety Comparison
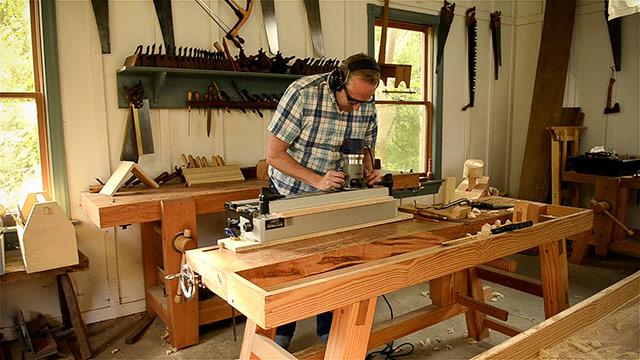
Using a power router definitely introduces a higher risk of serious injury than using hand tools. However, when I use chisels I quite often come away with some small cuts, no matter how careful I seem to be.

Whereas I’ve never had an injury with a router because of all the safety precautions I take. When using the router on this jig I never put my face or hands down near the spinning bit, so I feel pretty safe.

I also always wear safety glasses and hearing protection muffs. These are my favorites (pictured above):
- Bluetooth ear muff headphones: https://amzn.to/3vUMh0K
- Nerdy safety glasses: https://amzn.to/3y45v5X
RESULTS: So In this category I’ll have to give the two methods a tie. Or leave that up to you to decide based on your comfort level around power tools and hand tools.
6. Noise, Mess, & Relaxation Comparison
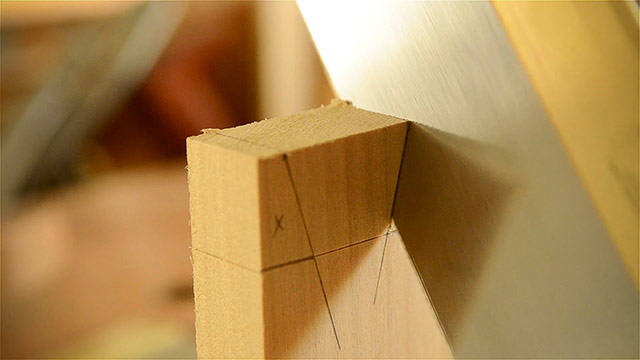
Noise: The hand tools definitely win in the noisiness category, because the router is quite loud, and even louder when hooked up to a shop vac.
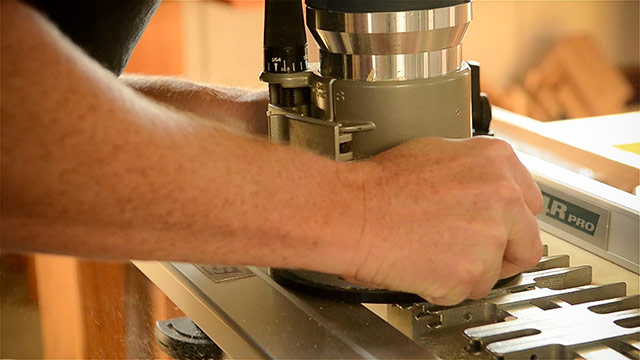
Mess: If your router is hooked up to a good shop vacuum, then the dovetail jig method is the cleaner one, as cutting dovetails with hand tools leaves a bunch of wood and sawdust on your workbench and floor.
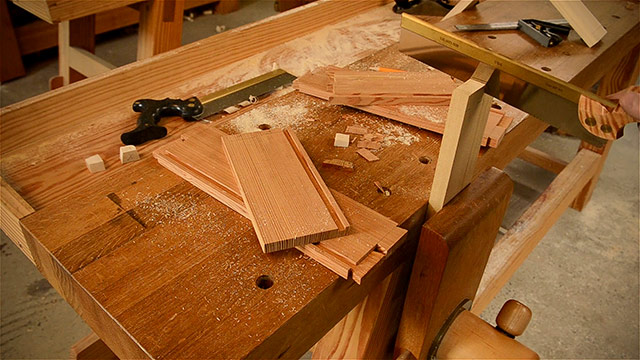
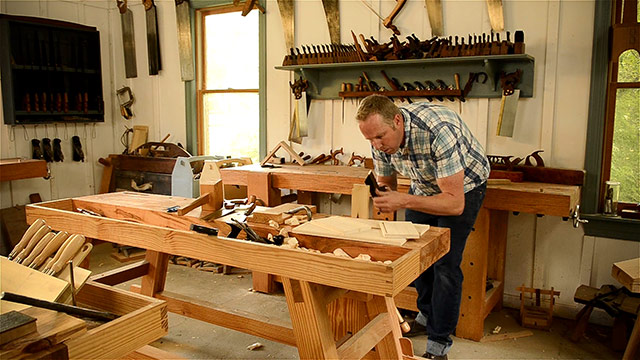
Relaxation: At first the hand tools seem to be more relaxing when making dovetails. And if you’re making just one box, then cutting them by hand wins in this category. But if you’ve got 64 dovetails to cut, then I’ll be finished, relaxing in my house after cutting with the dovetail jig rather than hunching over my workbench all day with an aching back and feet.
And the Winner Is???
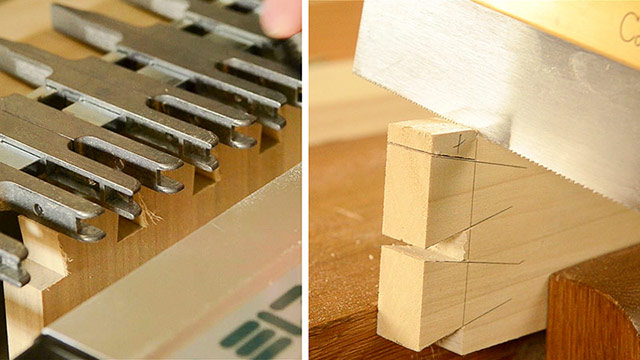
So what’s the verdict? Which is the best method? Hand-cut dovetails or a dovetail jig? Well, as you probably suspected, it all depends on your particular situation, budget, and level of comfort. So I’m going to let you answer this question for yourself, but hopefully my comparisons helped you with your decision.
For me going forward, if I have to just make one small box or cut dovetails on a case piece or fine drawers, then I’m probably going to continue to do it with hand tools.

If I’ve got a bunch of boxes or chests or non-fancy drawers to make, then I’ll use this Leigh dovetail jig.
Thanks for reading and watching my dovetail jig vs hand-cut dovetails shootout! If you’ve got any input to share, please share them in the comment section below. If this was helpful, please make sure you subscribe to my website below, so you won’t miss out on my other articles or videos. I’ll see you next time here in my shop!
TOOL GUIDE SHORTCUTS:

HAND TOOL BUYER’S GUIDES
- Intro to Buying Woodworking Hand Tools
- Workbench & Tool Storage
- Layout, Marking, & Measuring Tools
- Handplanes
- Handsaws
- Chisels
- Sharpening & Honing Supplies
- Mallets & Hammers
- Hand Drills, Braces, & Bits
- Tools for Curved Work
- Tools for Green Woodworking
- Woodworking Clamps, Gluing & Fasteners
- Tools for Wood Carving
- Products for Wood Finishing, Sanding & Scraping
- Wood Turning Tools & Lathes








Interesting. And you came to the same conclusion I did. But I started cutting tails of the dovetails on the table saw. I then mark and cut the pins with my saw and clean them out with a router. They look nice and small because they are the width of a saw blade but it really speeds up the process. I gave the Leigh Jig away. But when I used it I had two routers so I didn’t have to… Read more »
Nice and detailed explanation and with all these pictures to show. Great job and thank you. I really enjoy your articles and videos very much.
Glad you liked it Bo!
Cost wise you forget to mention that the jig will only cut dovetails, the hand tools will be usable for lots of other jobs in the shop. None the less it’s a valid comparison and I enjoyed the video. Thanks.
Yes, a great point that I neglected to mention!
EXCELLENT article! Your explanations were clear and complete with outstanding accompanying photographs. Your personal experiences such as getting small cuts to your fingers while using chisels gives it that, “Hey, Im a regular guy in the shop” feeling. You also shared good insights into factors like volume of work’s role in deciding which direction to go.
Hi, I’m very much a hobbyist in woodworking. This year I a delta scroll saw and a craftsman 1/4 in router. I want to choose one of them and learn to make dovetail and box joints to redo our kitchen drawers and cabinets. Which do you think is the more likely for me develop enough skill with to make adequate joints?
Hmm, not sure Jim. I mostly use hand tools to make dovetails. And sometimes a dovetail jig. Not sure a scroll saw or 1/4 router can accomplish dovetails.
Very informative video and one I really need to view several times. I bought the D4R Pro 24″ mainly to use on larger projects and based on Leigh’s reputation. I’ve paid special attention to both setup and settings yet found myself making mistakes that held me back. I think inpart the biggest issue was getting the depth set correctly. From what you’ve posted I would be inclined to use two routers, I have 2 Bosch 1617EVS, to set the depth… Read more »
Glad this helps Steve! Make sure your panels haven’t warped over time. Unfortunately we don’t teach any classes on using power tools. But our Introduction to Hand Tool Woodworking class teaches hand cut dovetails.