VIDEO 10/15 of Joshua Farnsworth’s free hand cut dovetail video series shows how to layout the pins using the previously cut tails as a template.
This is a very detailed tutorial designed to teach beginners how to become expert at dovetailing by hand. It is offered as a free resource to encourage the revival of traditional woodworking.
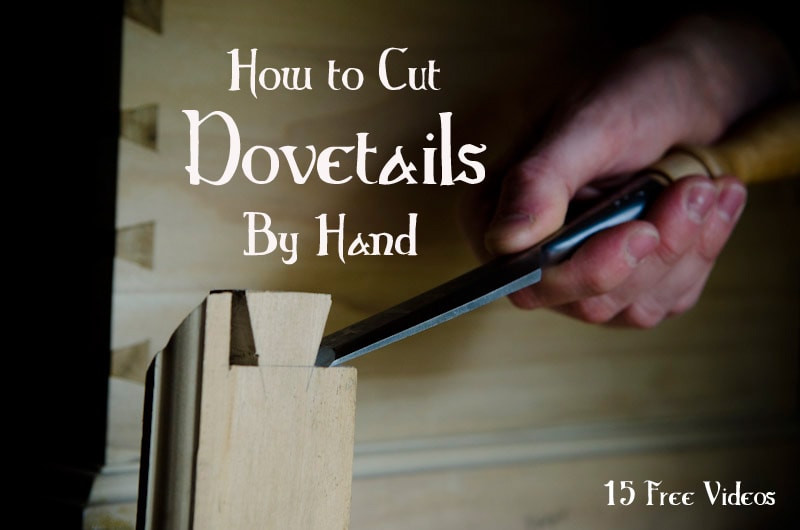
This detailed video series was inspired by a 5 day class that I took from Roy Underhill and Bill Anderson: world-renowned experts on traditional woodworking with hand tools.
Which traditional hand tools should you buy?
If you need advice on which hand tools to buy (and not buy), then definitely read my 13 category buying guide article: “Which Hand Tools Do You need for Traditional Woodworking?”
Shortcuts to Dovetail Videos 1-15:
- Part 1: “Arrange the Boards & Mark the Reference Faces”
- Part 2: “Square the Board Ends”
- Part 3: “Prepare the Layout”
- Part 4: “Lay out the Half Pins”
- Part 5: “Layout the Tails”
- Part 6: “Mark the Tail Angles”
- Part 7: “Cut the Tails”
- Part 8: “Remove the Tail Waste”
- Part 9: “Clean the Tails”
- Part 10: “Layout the Pins”
- Part 11: “Cut the Pins”
- Part 12: “Remove the Pin Waste”
- Part 13: “Clean the Pins”
- Part 14: “Join the Pins & Tails”
- Part 15: “Glue & Clamp the Dovetails”

For most 19th century furniture makers simplicity and speed were, I think, very important since speed and simplicity meant productivity. This is the approach I like to replicate so I try to use as few tools and steps as I can. When I lay out dovetails for drawer ends (using the same pattern as you do here) I simply halve the width of the board for the first pin. Halve those to make quarters for the other pins. Ganging pieces… Read more »
Mark, thanks for your comment! Yes, it’s important to actually enjoy what we’re doing rather than stressing out.