Cutting Dovetails with Woodworking Hand Tools
8 Simple Steps to Make Beautiful Hand Cut Dovetails
![]() By Joshua Farnsworth | Updated Mar 15, 2022
By Joshua Farnsworth | Updated Mar 15, 2022
Cutting Dovetails with Woodworking Hand Tools
8 Simple Steps to Make Beautiful Hand Cut Dovetails
![]() By Joshua Farnsworth | Updated Mar 15, 2022
By Joshua Farnsworth | Updated Mar 15, 2022
Disclosure: WoodAndShop.com is supported by its audience. When you purchase through certain links on our site, we may earn a small affiliate commission, at no cost to you. Learn more.
In the above video & article I’ll show you my simple 8 step method for cutting dovetails with woodworking hand tools. This is the dovetailing lesson that I teach to my woodworking students at my school. Most students who have struggled with cutting dovetails by hand have found great success with this detailed, yet simplified dovetails by hand method. And below is the shortened version of the video for those who just want a quick tutorial:
Introduction: Cutting Dovetails by Hand Made Easy
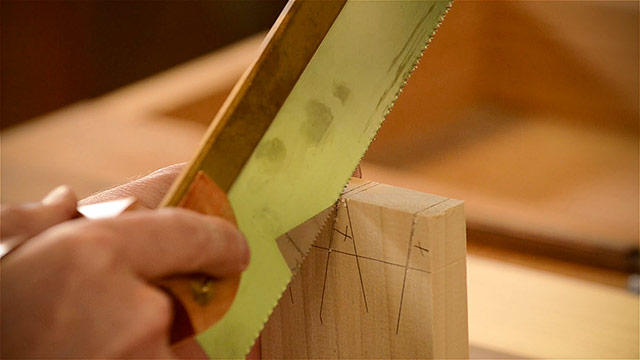
In my last video and article I compared cutting dovetails by hand with using a dovetail jig and power router. In that video I promised that I would next share a video tutorial on cutting dovetails with woodworking hand tools. To me, hand cut dovetail joints are one of the most satisfying woodworking tasks, and they produce one of the most beautiful woodworking joints.
Learn to Make Tables & Chairs
Browse our traditional woodworking video classes available in Digital Download and DVD.
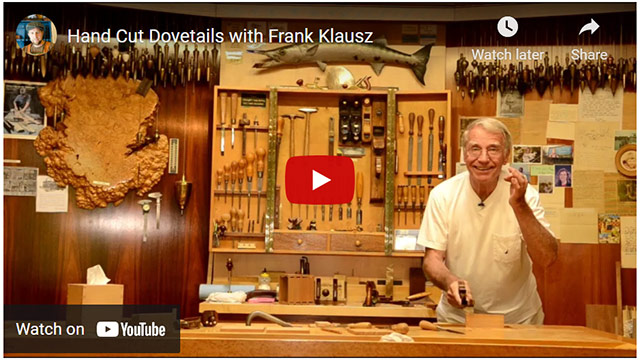
So in this video you’ll get to see my method that simplifies cutting dovetails by hand for my students. And just so you know, not all these steps are absolutely necessary for cutting dovetails, so don’t feel overwhelmed. If you’ve seen my video Hand Cut Dovetails with Frank Klausz, then you’ll know that many of these steps aren’t absolutely necessary.
Dovetails can be cut a lot faster, with fewer steps. But for beginners, I’ve found that these steps will help you learn to be more accurate and uniform with your dovetail cutting. And once you’ve mastered this method, then you can speed up and move away from a structured hand cut dovetailing process, and cut more by feel, just like Frank!
Parts of a Dovetail Joint
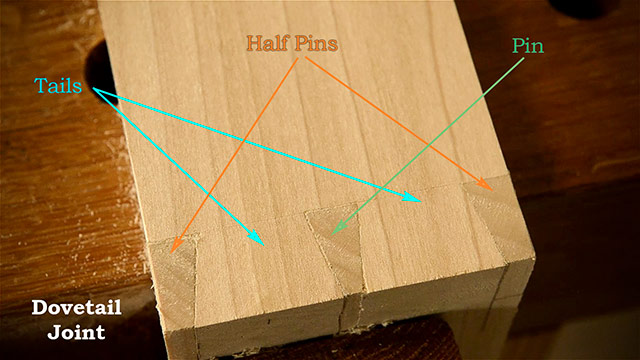
So before I begin, let me just show you a finished hand cut dovetail joint so you aren’t confused. The top half of the dovetail joint has tails. The tails are the pattern for the pin board. Pins on the interior are simply called “pins”, but pins on the outer edges are called “half pins”. A dovetail joint is a very strong and attractive wood joint that holds two boards together tightly.
Woodworking Hand Tools used for Cutting Dovetails
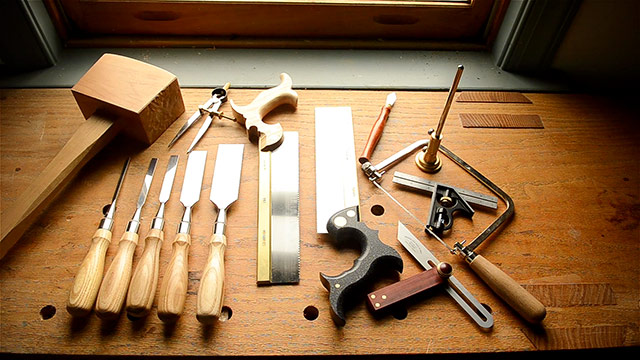
The tools I’ll be using for cutting dovetails are a dovetail saw, a crosscut saw, a coping saw, a few wood chisels, a marking gauge, a combination square, a bevel square, a pair of dividers, a marking knife, a joiner’s mallet, and a pencil. See below for a list of the specific tools that I use in this video.
- Cosman dovetail saw & crosscut saw: https://bit.ly/3veMonH
- Coping saw: https://amzn.to/2NzShse
- Chisel set: https://amzn.to/3od5Dvj
- Brass wheel marking gauge: https://amzn.to/3eGnmrU
- 6-inch combination square: https://amzn.to/2WBzvnr
- Vintage sliding bevel square: https://ebay.us/7BVOEf
- Dividers: https://amzn.to/3vYREfs
- Marking knives: https://lddy.no/uatv
- Joiner’s Mallet: Shop-made
- Fine tip pencil: https://amzn.to/3fXfva4
Alright, let’s get started with cutting dovetails by hand!
Step 1: Mark the dovetail baselines
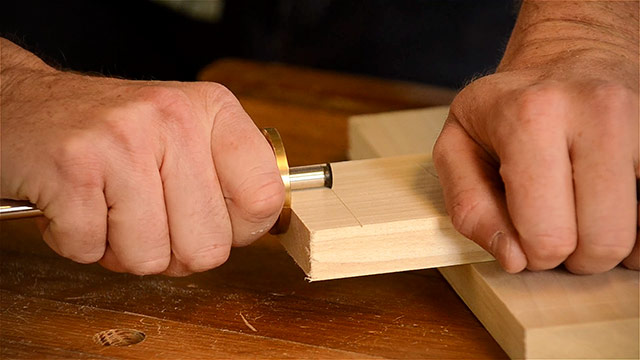
The first thing I do when cutting dovetails by hand is to use a marking gauge to lay out a baseline. I set my marking gauge cutter to just barely hang over the edge of the board.
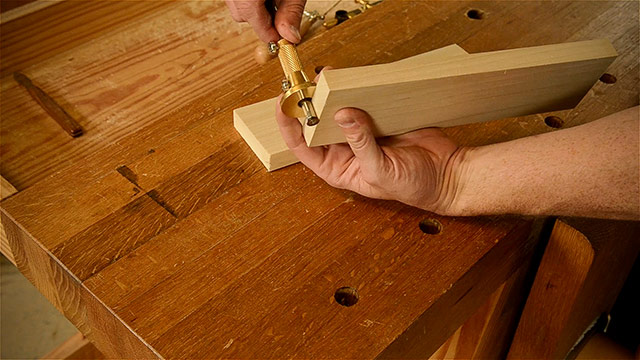
This will allow my dovetail joint’s tails and pins to protrude a little bit, so I don’t have to handplane the whole board:
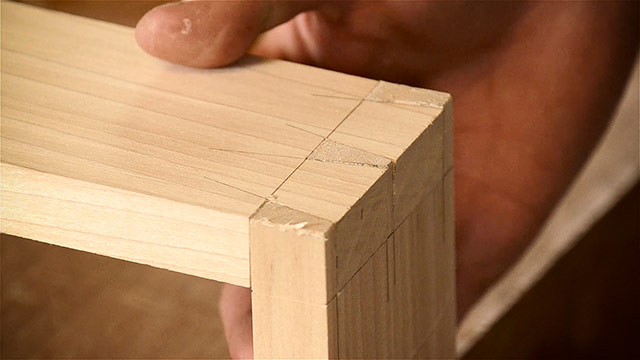
I then mark all ends of the boards:
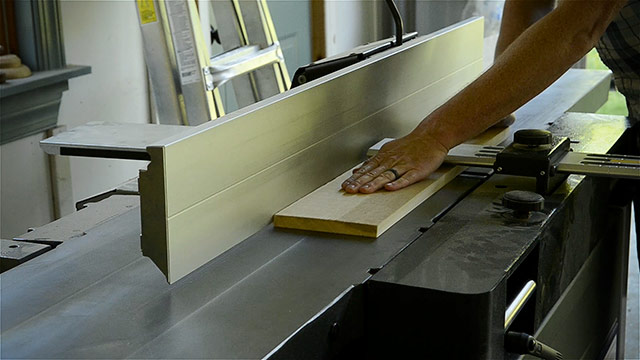
Just make sure that all of your boards are square so that your layout lines will be accurate. In my next video & article I’ll show you my method for squaring up boards with power tools. Subscribe here so you can be notified when I release that video & article.
Ye Olde Beeswax Wood Finish for Furniture
Make your furniture silky smooth with our historic beeswax wood finish!
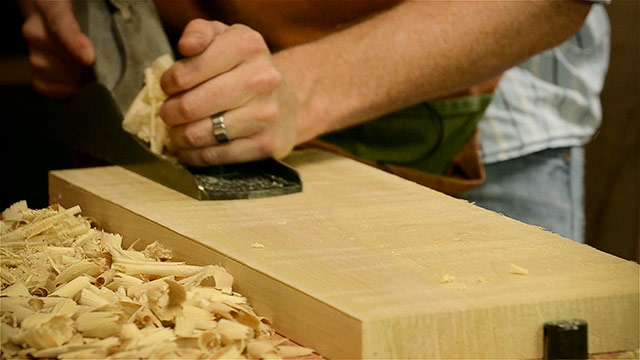
I’ve already posted a video & article on how I square up lumber with hand tools, which you can find here.
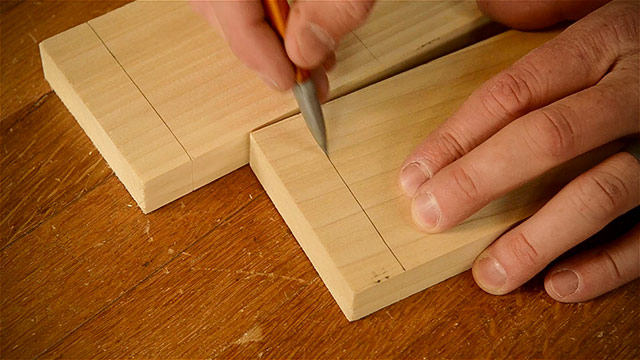
I also use a fine-tipped pencil to darken my cutting gauge lines so I can see them better:
RELATED
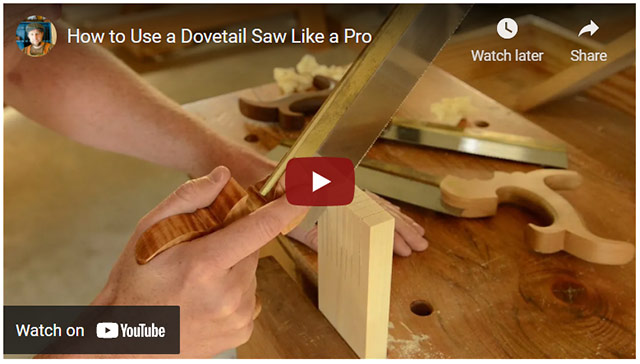
How to Use a Dovetail Saw Like a Pro
Laying Out Perfect Dovetails with a Few Affordable Tools
Secret Mitered Dovetails with Kaare Loftheim at Colonial Williamsburg
Dovetail Jig vs Hand Cut Dovetails: Which is Better?
How to Make Sliding Dovetails with Will Myers
How to Make a Mortise and Tenon Joint with Woodworking Hand Tools
How to Make Half-blind Dovetails for Drawers with James Huggett
Make Mitered London Style Dovetails with Dave Heller
Step 2: Layout the Tails of the Dovetail Joint
Next I place one of my boards into my workbench vise to layout the tails.
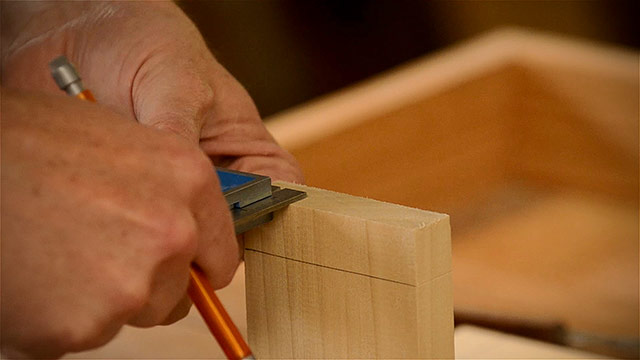
There’s no rule for how far in to measure your half-pins, but one easy method is to eyeball half the thickness of your board with a combination square or dividers, and make a tick mark from each end of the board.
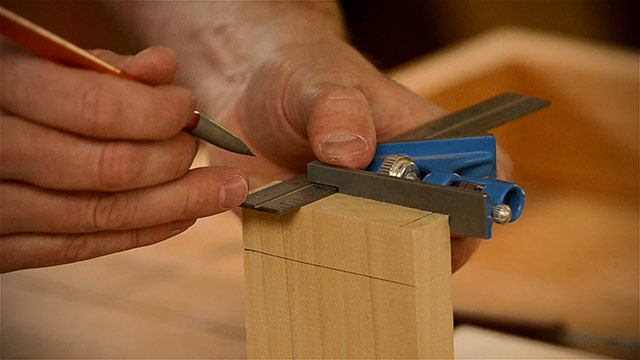
Then I use a square to mark a line on each tick mark. Then I use a pair of dividers to layout the tails evenly.
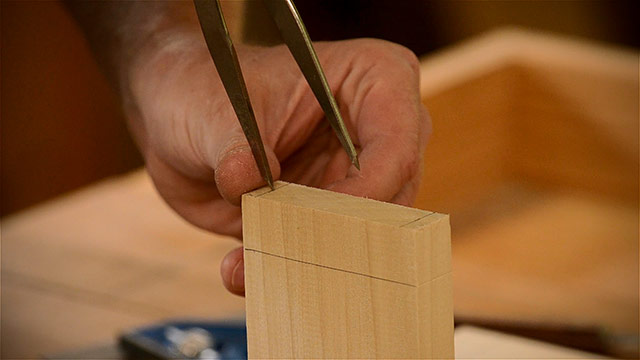
In this case I try to adjust the dividers until I can take two steps between the lines, because I want two tails. And however far past the line I go is the size of my pin.
Ye Olde Beeswax Cutting Board & Wood Spoon Finish
Protect your wooden spoons, bowls, and cutting boards with our historic beeswax wood finish!
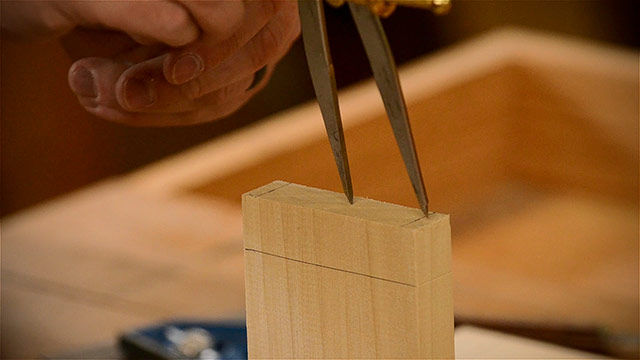
I push the dividers into the wood from both lines.
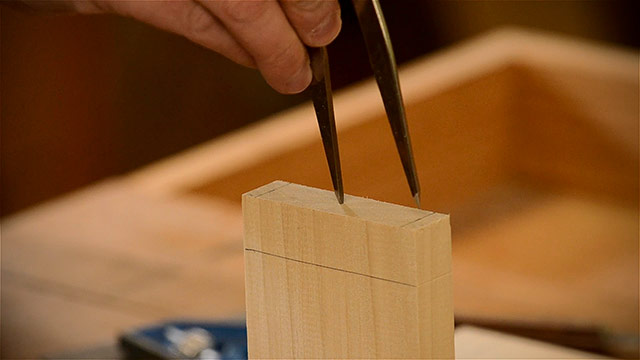
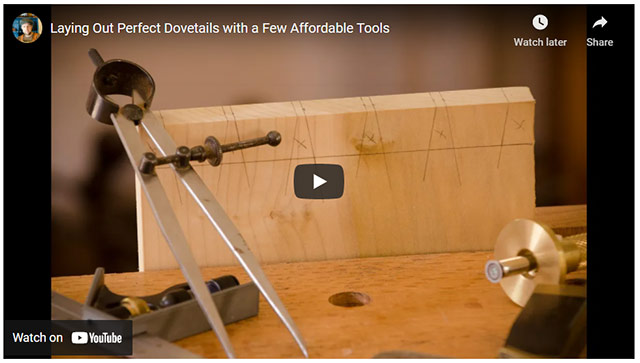
This method for laying out tails certainly isn’t necessary. You can just eyeball the placement. But this method allows for my consistently spaced tails, especially if you have more than two or three tails. You can watch my detailed video on this method of laying out tails on a dovetail joint, if you want to learn more:
Then I take the square again and draw lines across each of the two divider points:
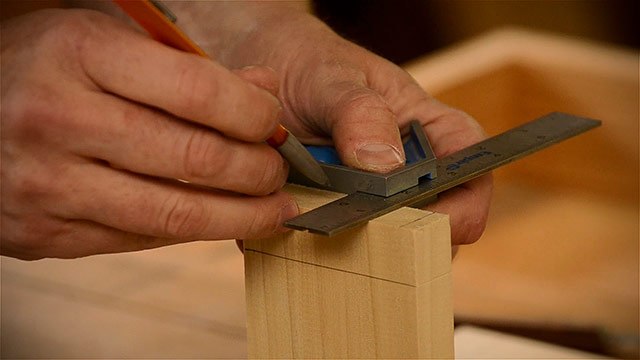
Now I take a sliding bevel square to extend the angled lines. Contrary to popular belief, the angle doesn’t have to be a specific number. Just use an angle that looks good to you, and isn’t too vertical or overly angled.
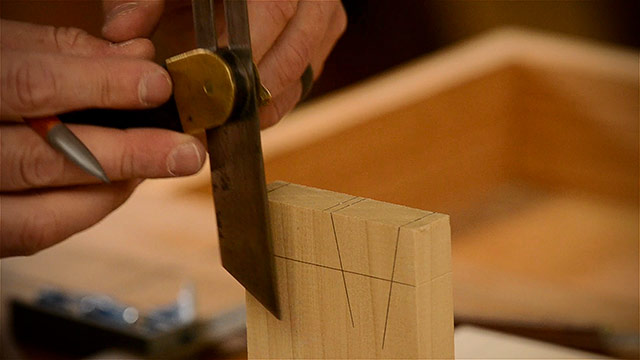
Again, I use a fine pencil to draw these lines so that my cutting can be more accurate. And if my square is hanging out over the edge of the board too much I flip it around so it will have more support. And I make a little tick mark when the square obscures my view of the top of the board. I then mark my waste so I don’t accidently saw into my tails.
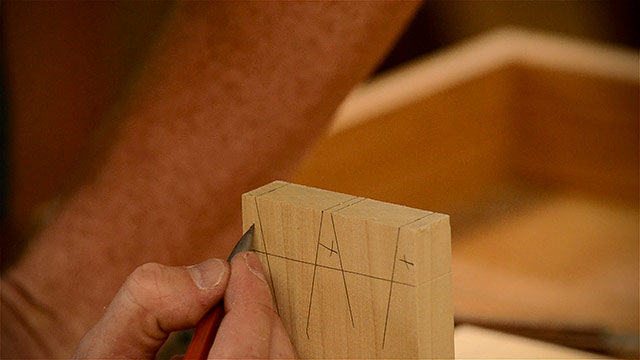
And if you’re a beginner, I would recommend that you also extend these lines on the back of your board. It will aid you in making a more accurate saw cut.
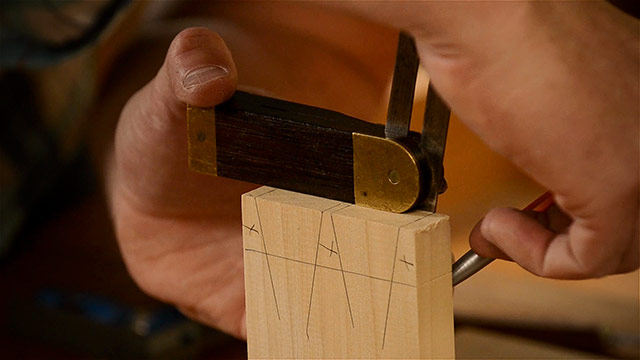
Step 3: Saw the tails with a dovetail saw
Before sawing the tails with a dovetail saw I would recommend that you check out my video on cutting accurately with a dovetail saw:
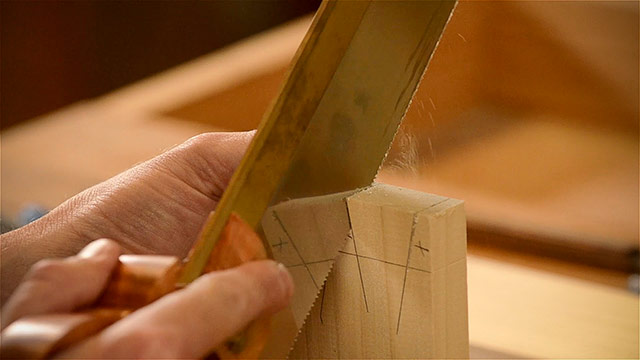
The above video will make cutting dovetails by hand much easier…I promise! The first thing I do is use my dovetail saw to cut in the waste area, and right up next to the line. I try to leave just the pencil line, and no more.
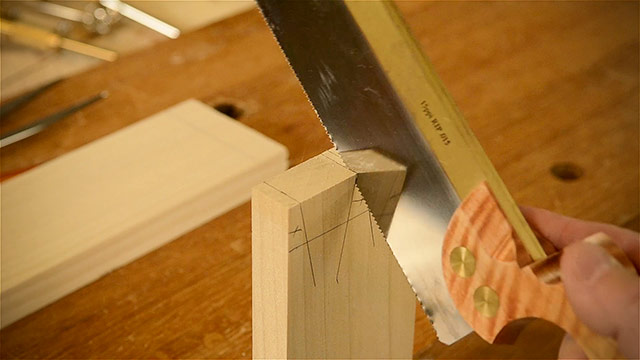
But if you’re having a hard time cutting right next to the pencil line, then just cut a little further into the waste. In a future step you can use a chisel to get right up to the line. It’ll take longer, but may make this step easier for you initially. It really doesn’t matter which lines you cut first, but I find it easier to cut the lines that have the same angle first, so my muscle memory will be more accurate. Just be careful to watch your lines all the time, including your baseline, that you don’t cut over it.
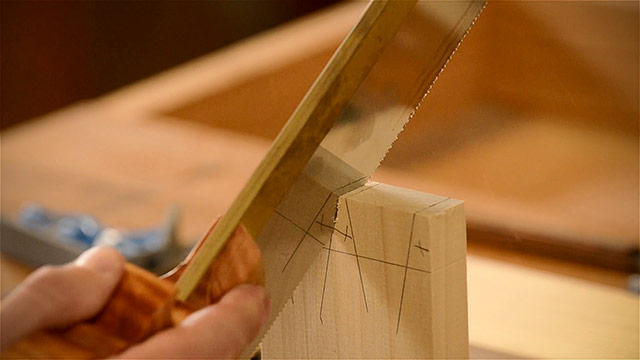
I’m right handed, so it’s a little more awkward for me to cut the angles where I have to twist my wrist to the left, but muscle memory soon kicks in and it becomes easier.
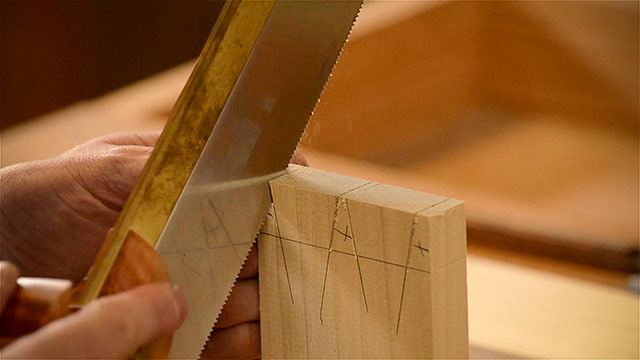
You can see here how my saw cut is right up against the lines, but I have left the lines…and no more:
Step 4: Remove the tail waste
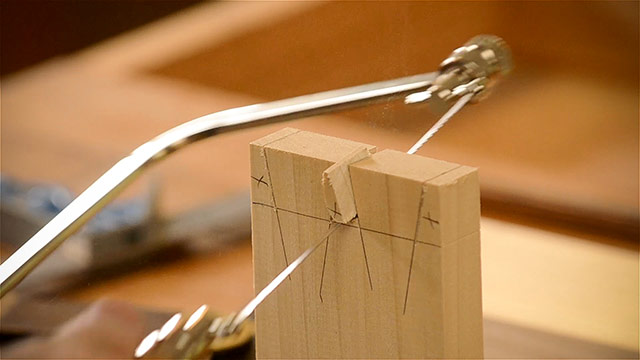
Now I grab a coping saw to cut out the waste wood. I bring the saw blade about half way down the joint, and then I start sawing in the kerf.
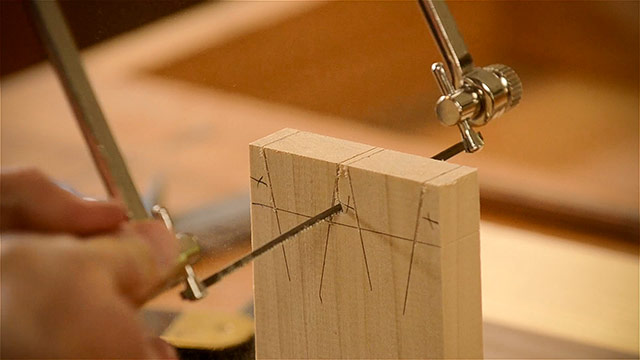
As I’m sawing, I slowly turn the saw inward toward the waste. I had down close to the baseline, but I’m careful to not hit the baseline. This can also be done with a chisel, but I find the coping saw method to be faster.
To cut the half pin waste off, I first set a chisel into the marking gauge line, with the bevel toward the waste.
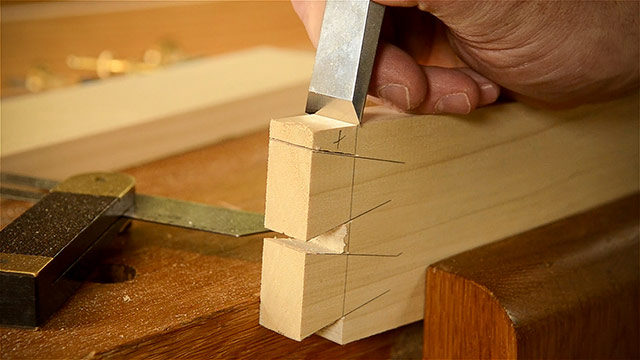
I push down somewhat hard, or take a couple of light taps on the chisel with a mallet. Then I turn the chisel at an angle and cut out a little notch like this:
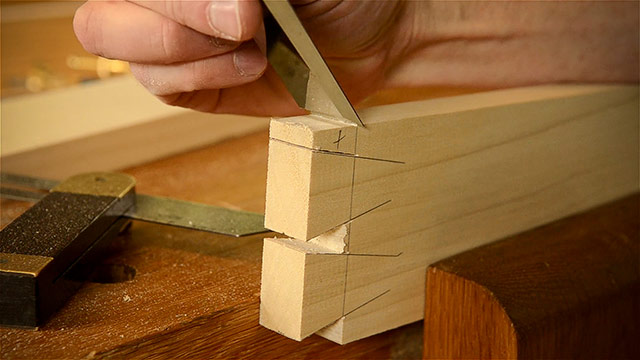
This little notch will make it easier for my hand saw to track and not cut into the shoulder:
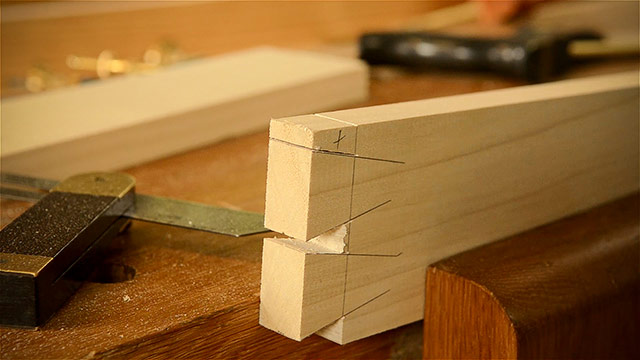
I then use a back saw with crosscut teeth to cut off the waste piece:
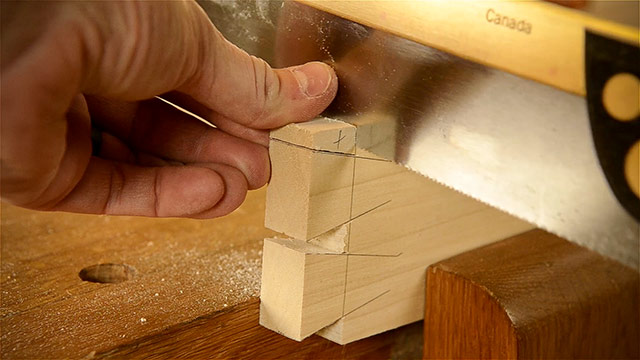
If you’ve only got a dovetail saw with rip teeth, that’s alright, because the teeth are so small, so you won’t notice a big difference. And cut the waste piece off of both sides:
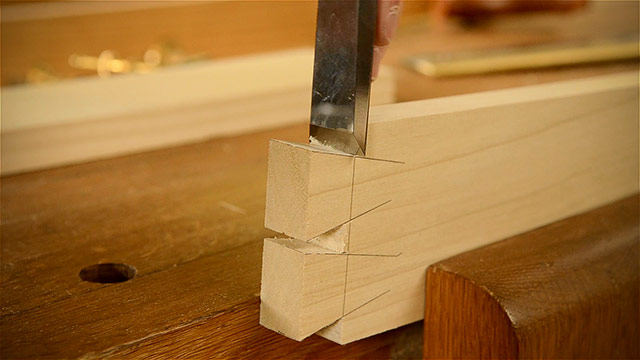
Now I use a chisel to clean up the tails. I make sure that the chisel is a bit narrower than the base of my tails:
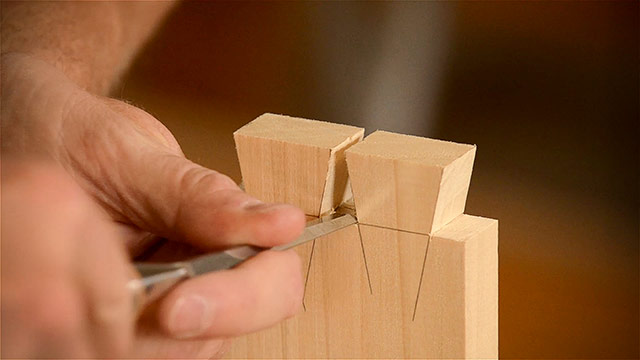
I don’t cut right up to the baseline yet, otherwise It’ll push all that waste past my baseline. I try to remove about half of the waste:
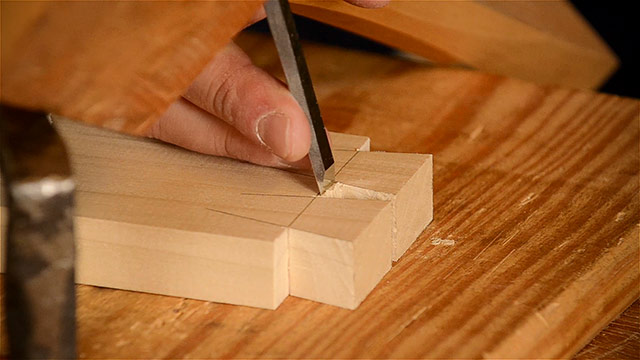
And then if it’s possible, I try to remove half of the waste again. Once the remaining waste gets to be quite small, then I drop my chisel right into the marking gauge line:
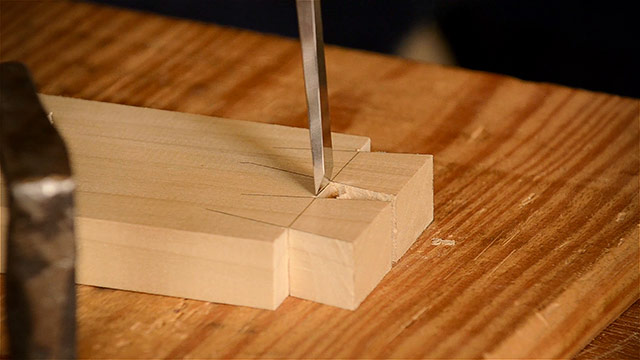
I take a couple of light taps, and then I tip the chisel at a slight angle and use a wooden mallet to chop down to about half way through the board. This angled “undercut” will make a slight valley so I don’t have waste in the way when I’m fitting the joint together.
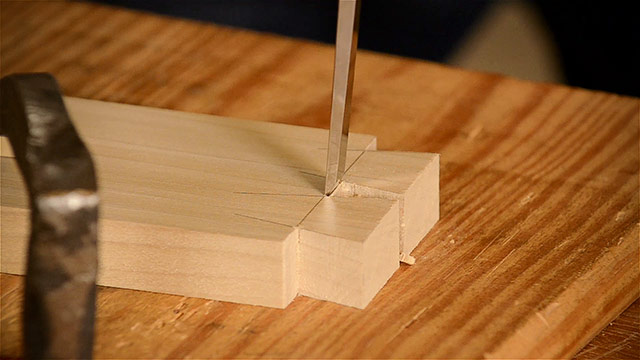
I then repeat the same process on the other side of the board. Again, I place the chisel at the half way point of the waste and I use a mallet to chop about half way through the thickness of the board. Then if I can remove half of the waste again, I’ll do so. If not, then I’ll put the chisel right in the baseline. And again, leaning the chisel at a slight angle, I chop downward to go half way into the board.
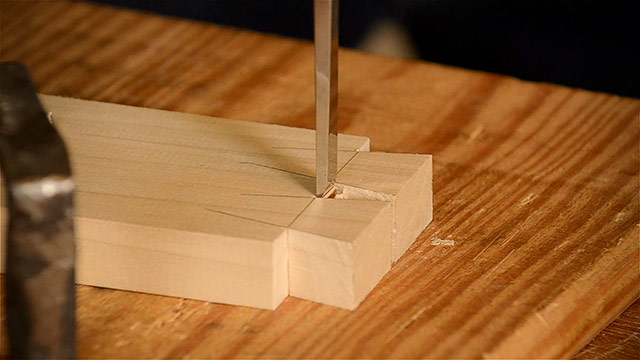
Then I use a chisel to clean out the gunk in the joint. You can see a slight valley that I created when I undercut with the chisel.
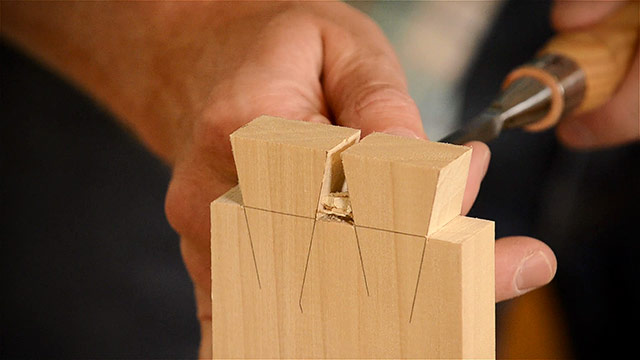
If you’ve cut further away from the pencil line than I have here, then now is a good time to use a chisel to remove the wood up to the line. Just make sure you leave your pencil line, and no more.
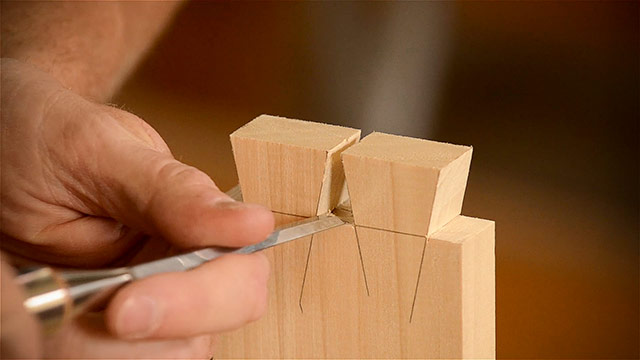
Step 5: Layout the Pins
Now that my tail board is finished, I’ll trace the pattern onto the pin board. To make this easier I take a handplane or mallet and use it to set the height of my board while I secure it in the vise.
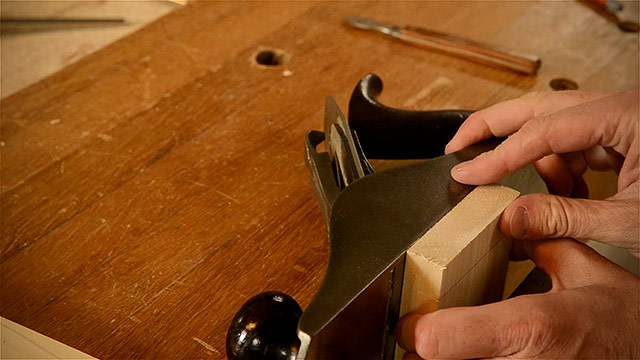
I try to get the board to be flush with the handplane. Then I move the handplane backward to support the tail board.
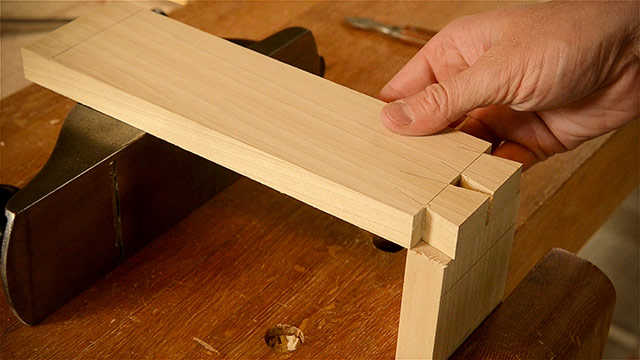
Now for a cool little trick. I grab a flashlight and set it under the joint like this. And I grab something like a square or chisel to align the two boards together. I also move the tail board back and forth until I can still see light between the two boards, but not direct light. Just opaque light through the wood fibers.
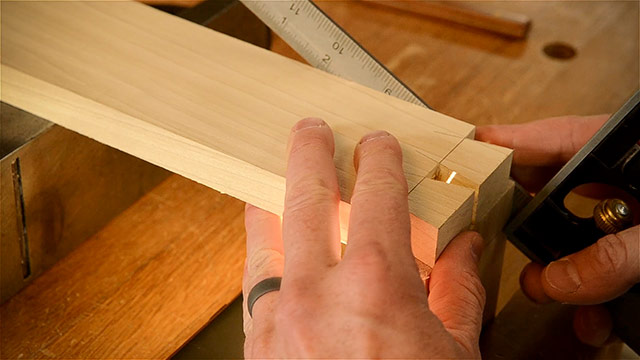
Once the boards are lined up I use a sharp and thin marking knife to trace the tails onto the end grain of the pin board. Rather than pushing down hard, I take a few light passes with the knife so it doesn’t jump around. The quality of fit of your joint really depends on how careful you are in this step.
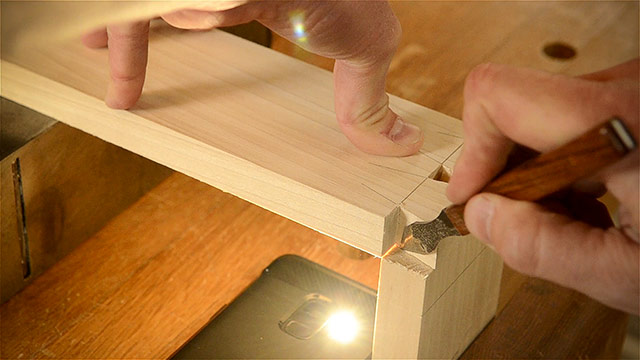
Here you can see why it’s good to have a thin marking knife, especially if you want more narrow pins like this. I usually have my students start off with wider pins because it’s a bit challenging to get the knife into a narrow pin slot like this.
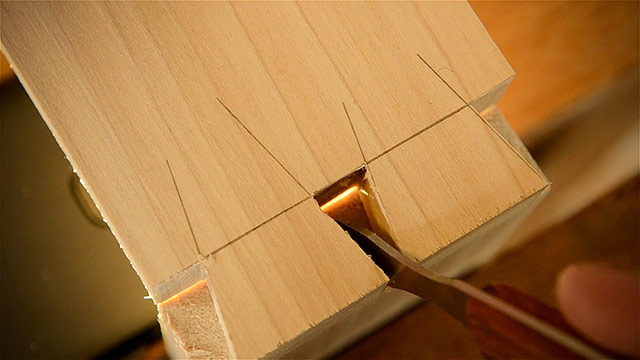
After I remove my tail board, it’s a bit tough to see the knife lines. And they also follow the slight imperfections of my tails. So I use a wider chisel to deepen these lines.
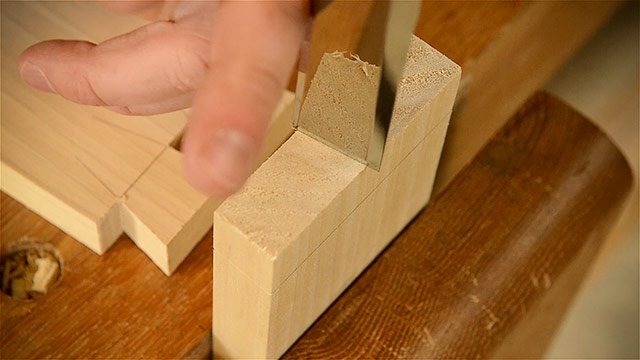
And like before, I put the bevel into the waste area. Otherwise the bevel will prevent me from getting straight pins. I’m careful to not push too hard, because the board can split quite easily while doing this.
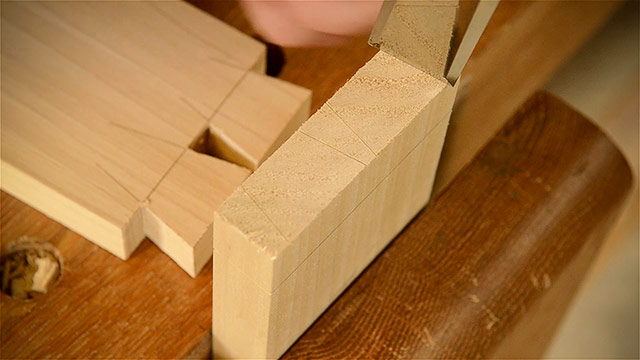
Then, to make my lines even more visible, I use a fine-tipped pencil to darken these chisel lines. And, of course, I also mark my waste. But make darn sure that you mark the waste on the correct spots, because I’ll occasionally get a student who marks it wrong, and they saw the wrong part of the joint.
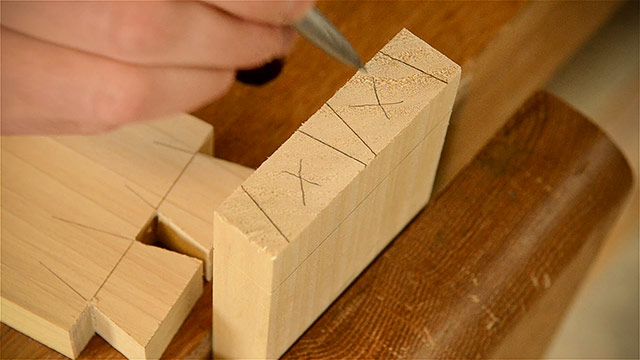
I take a square and extend the lines straight down the face of the board:
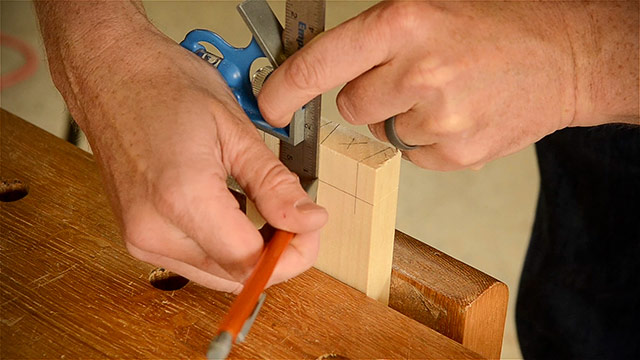
And like before, new students can extend these lines on both sides of the board to aid them in cutting more accurately.
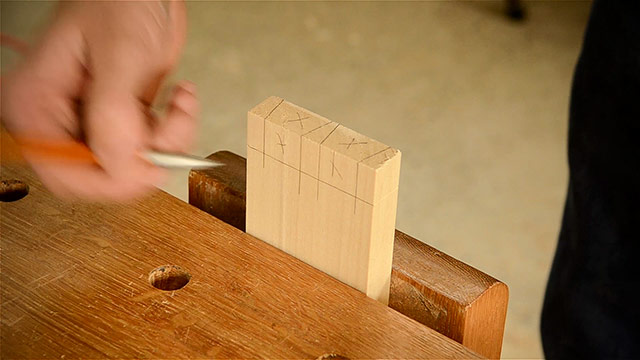
Step 6: Saw the Pins with a dovetail saw
Now I pick up the dovetail saw again, and saw next to the pencil lines, like before. Only this time I don’t tilt the saw at an angle.
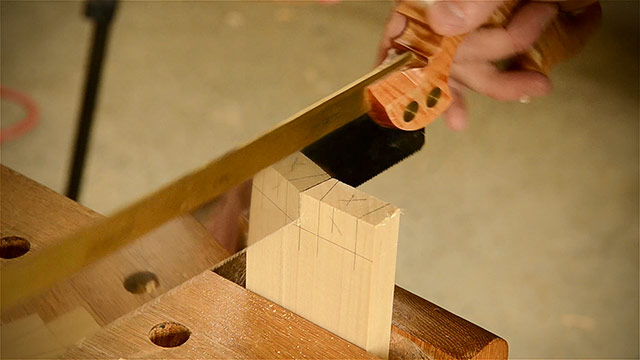
I just rotate my saw in a different way and cut straight down the board. But as long as you’re watching your layout lines, and cut right next to them, your cut will look great.
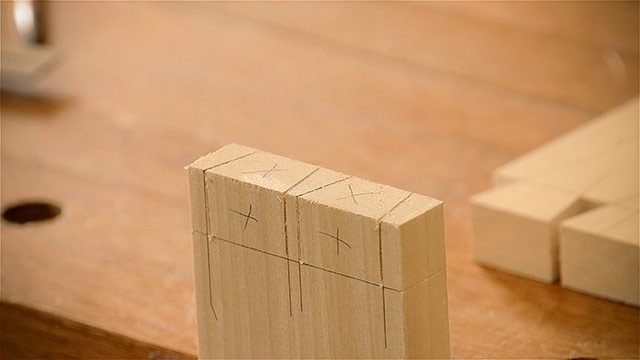
Step 7: Remove the pin waste
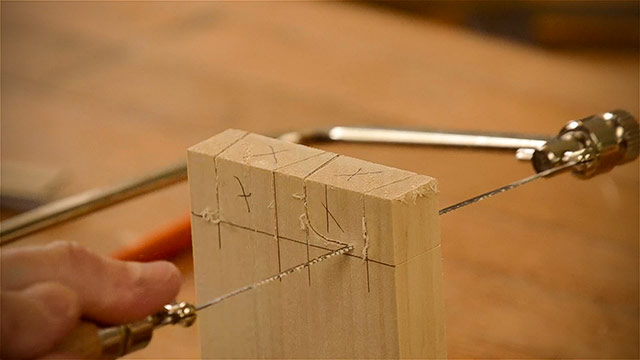
And like before I use a coping saw to remove the waste from the pin board. But this time there are bigger pieces to remove.
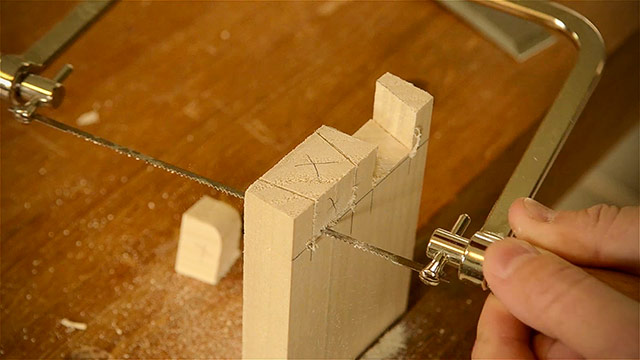
And remember, like before, just get close to the baseline, but not too close. And I can turn the saw around and get the last little bit out of the corner.
Now I turn to using a chisel to chop out the remaining waste. I also to start with the board in this configuration, which will make more sense in a minute:
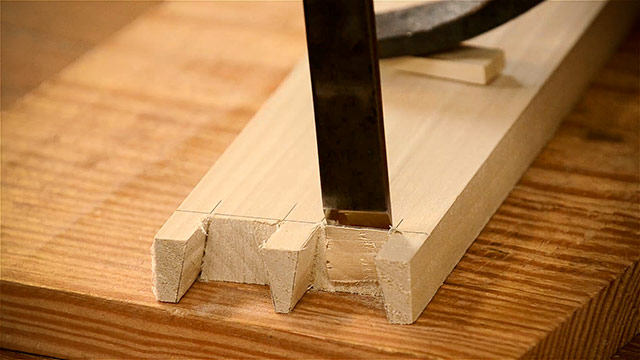
And like before I try to remove half of the waste until I’m really close to the baseline. And again, I lean the chisel back slightly and make an undercut to about halfway through the board: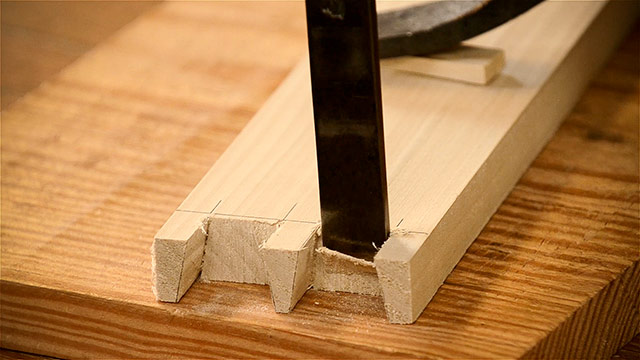
Then I flip the board over to the other side that requires an extra little step:
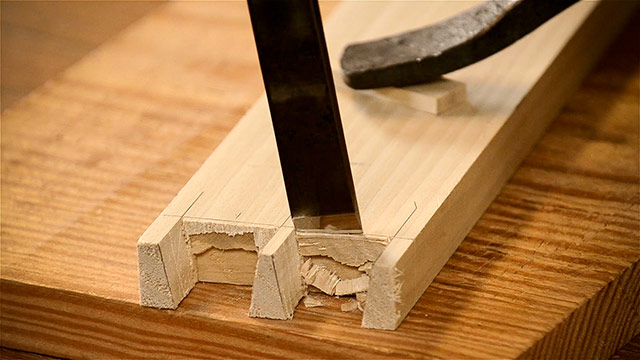
I do everything the same as on the first side, but this time when I get down to the baseline, I take a couple of taps with the chisel, and then I not only lean the chisel back to make an undercut, but I also tilt the chisel slightly to the side to avoid chopping down into the pins. It’s a little awkward at first, but it eventually gets easier.
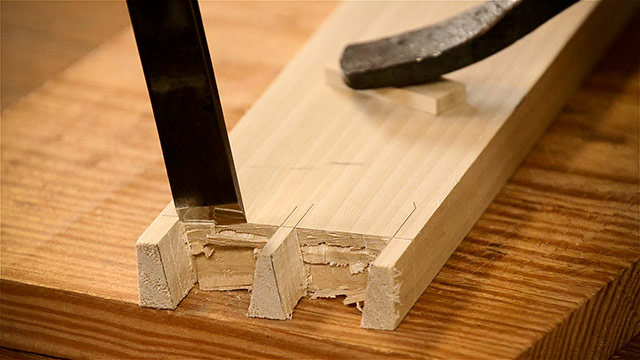
Once the chopping is finished I use a smaller chisel to clean up the gunk inside the joint. Again, I try to remove all the wood up to the pencil lines, but I try to not go over the pencil lines.
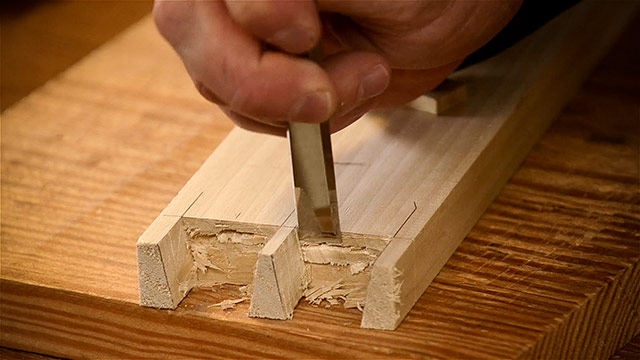
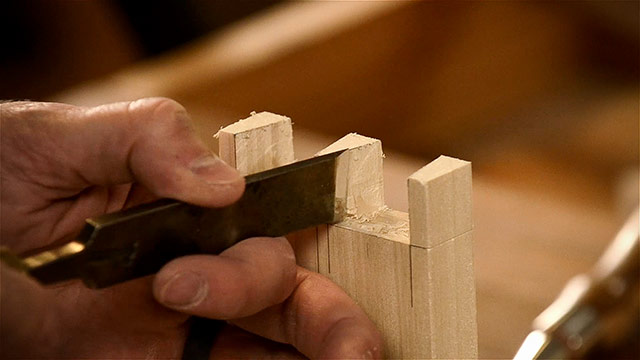
And you can also use a larger chisel to pare the rough sides of the pins and half pins down to the pencil lines:
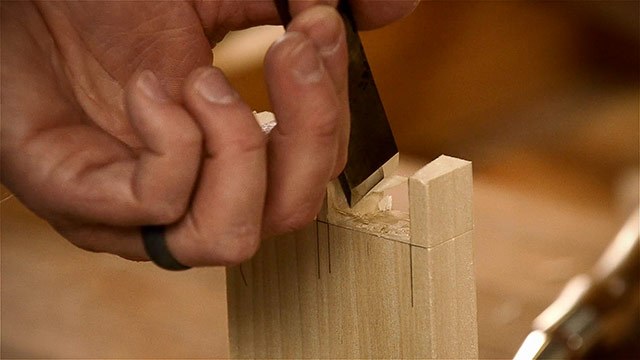
Just be careful to not blow out the back side:
Step 8: Fit the pin board and tail board together
Then I try a test fit of the hand cut dovetail joint. I do this with my hand so I don’t force a joint together that is too tight.
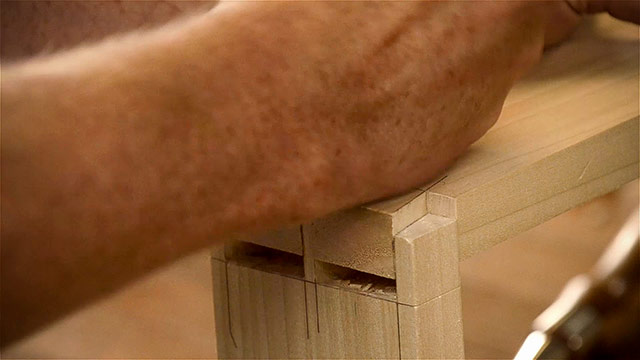
Most of the time I am able to get the joint to fit together on the first try. But occasionally I’ll have to pull the joint apart and look for more gunk that needs to be removed. You can usually see burnished spots where the joint was rubbing hard on the really tight spots.
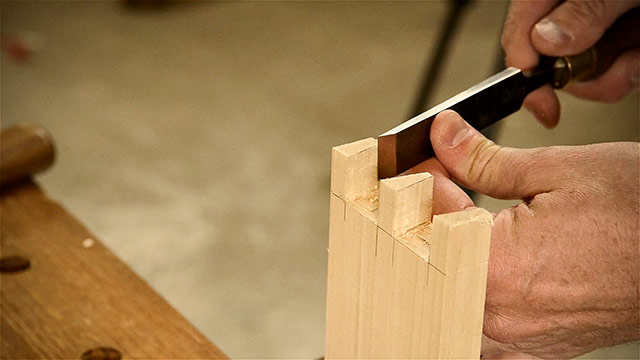
So I remove a little bit of wood from these spots. But I’m careful to not remove too much before I try a test fit again, because I will almost always get gaps if I take off too much.
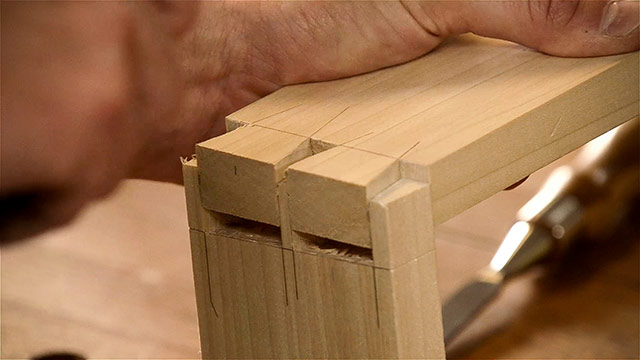
At this point I’m pretty confident that I’ve removed all of the extra waste, and I didn’t see the joint splitting on the first fit, so I feel better about using a rubber mallet to lightly tap the joint together.
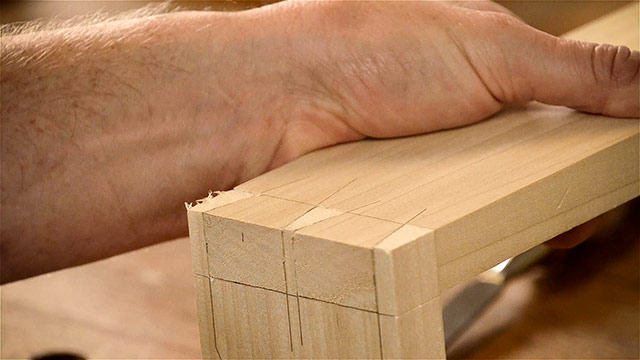
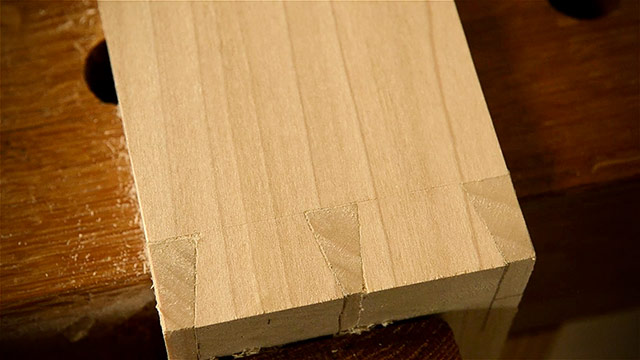
And here you can see how nicely this joint fits together, with no gaps. The pins and tails protrude a hair, because in the beginning I intentionally set the marking gauge a hair longer than the thickness of the board.

This makes it much easier to just plane down the end grain of the pins and tails. And after a little handplaning, the joint looks great!
Conclusion | Cutting Dovetails with Woodworking Hand Tools
So that’s my process for cutting dovetails with woodworking hand tools! If you have questions or want to share some of your own tips on dovetailing, please do so below in the comment box. And while you’re down there, make sure to subscribe to my newsletter so you won’t miss out on my next article & video on squaring up lumber. I’ll see you next time here in my shop!
TOOL GUIDE SHORTCUTS:
HAND TOOL BUYER’S GUIDES
- Intro to Buying Woodworking Hand Tools
- Workbench & Tool Storage
- Layout, Marking, & Measuring Tools
- Handplanes
- Handsaws
- Chisels
- Sharpening & Honing Supplies
- Mallets & Hammers
- Hand Drills, Braces, & Bits
- Tools for Curved Work
- Tools for Green Woodworking
- Woodworking Clamps, Gluing & Fasteners
- Tools for Wood Carving
- Products for Wood Finishing, Sanding & Scraping
- Wood Turning Tools & Lathes









Joshua,
Very well done treatment of dovetailing! I love your trick with the light to guide placement of the pins. At last, a positive use of a cell phone in woodworking!!! Much thanks for sharing.
you are most welcome
Very nice and clear instructions. Thank You
You’re most welcome!