Disclosure: WoodAndShop.com is supported by its audience. When you purchase through certain links on our site, we may earn a small affiliate commission, at no cost to you. Learn more.
By Joshua Farnsworth
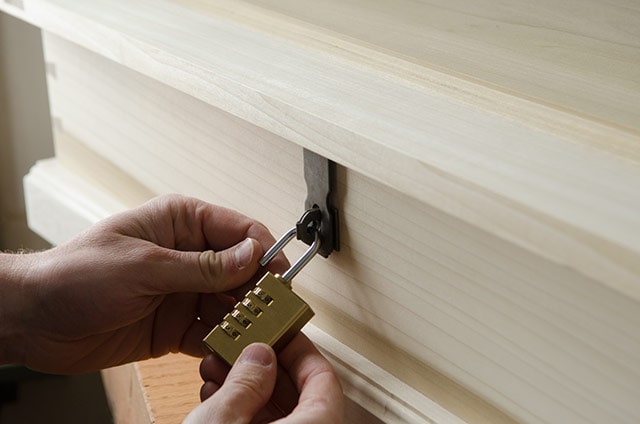
In this video and article I’ll teach you how to install a padlock hasp and staple using woodworking hand tools. I use a vintage-style hasp & staple like this so I can put a padlock on a wooden chest or box.
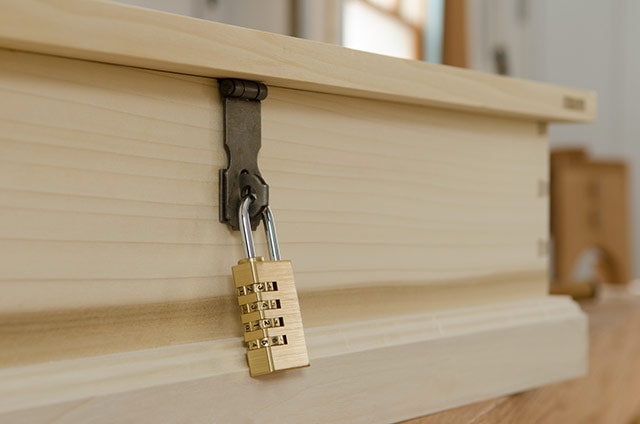
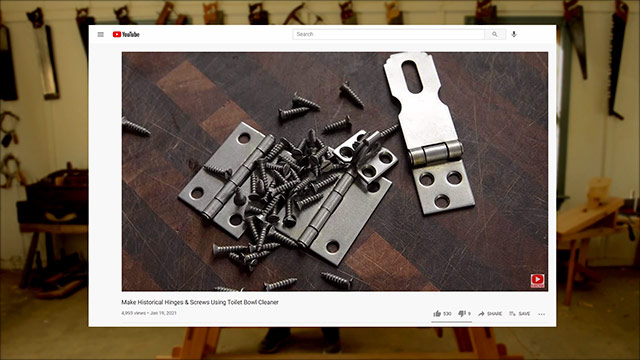
This is part 3/3 of a series on hardware for a chest or box. In the first video and article I showed how to use toilet bowl cleaner to turn inexpensive, zinc-coated hinges, hasps & staples, and screws from a hardware store, into lovely historical hardware that looks like antique hardware. You can click here to watch & read part 1.
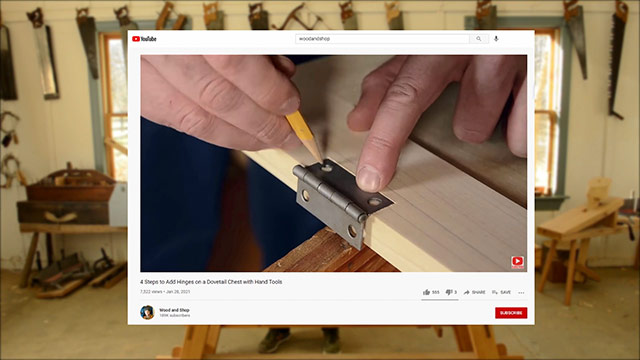
In the next video I showed my simple and quick method for install butt hinges on the dovetail chests that I built. You can click here to watch & read part 2.
Now I want to show you how I install a padlock hasp and staple, so you can lock your chest or box.
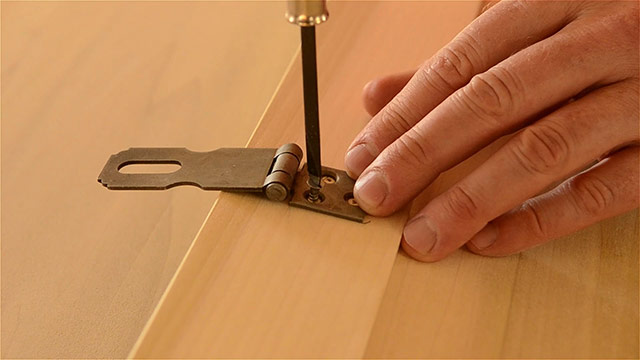
A hasp & staple are hardware that allows you to add a padlock to a chest like these:
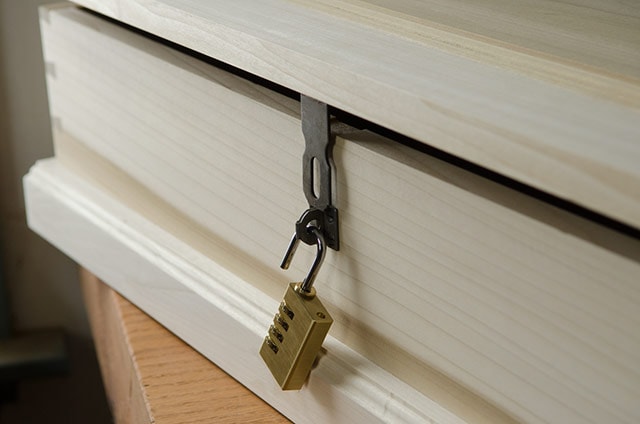
The staple is the metal part with a hole that holds the padlock and the hasp is the hinged metal part that swings down over the staple. That’s why it’s called a padlock hasp and staple.
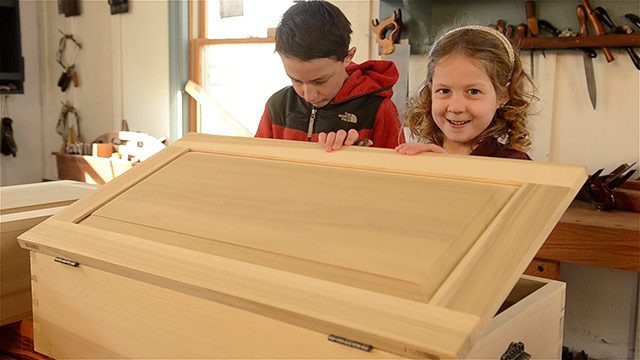
My kids were begging me for years to make them wooden chests so they could keep their siblings from taking their special keepsakes and their money.
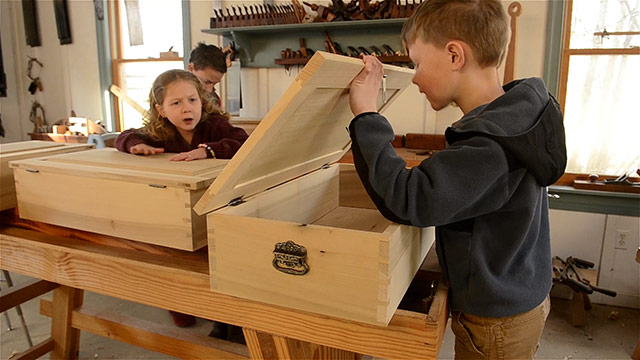
So this past Christmas I finally made the time to build these chests.
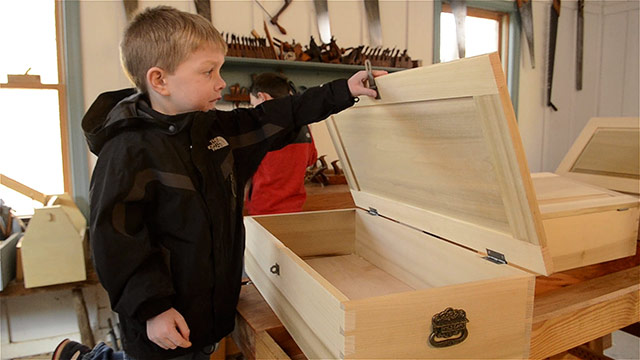
And of course, I wanted to honor their request for a security feature.
Actually, I was just tired of hearing them whine about getting their stuff stolen. So let’s jump into my tutorial for adding a padlock hasp and staple to a dovetail chest.
Step 1: Layout the Padlock Hasp Recess on the Chest
The first step is to determine where you want to add the padlock hasp. I’m kind of fond of centering it on the chest, so that’s what I’ve measured out.
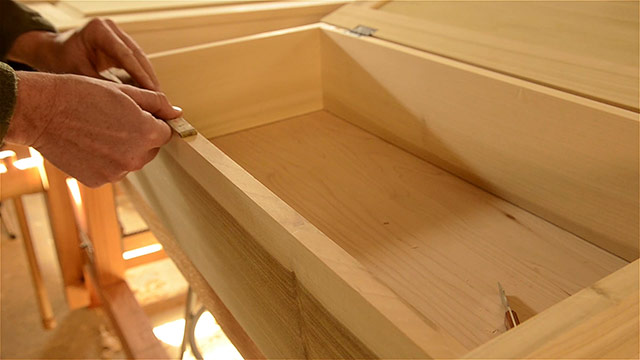
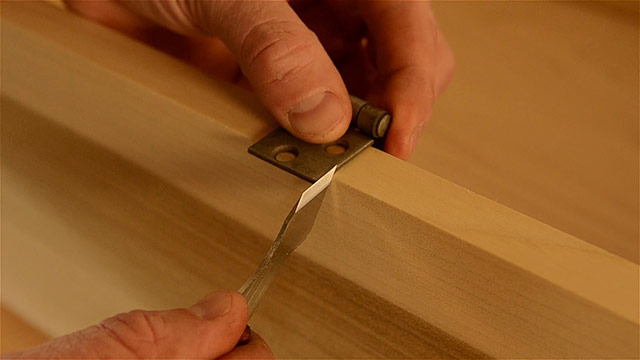
Once I’ve got it in place I use a marking knife to make a tick mark on each side of the hasp. For accuracy, I set the flat face of the knife against the hasp plate:
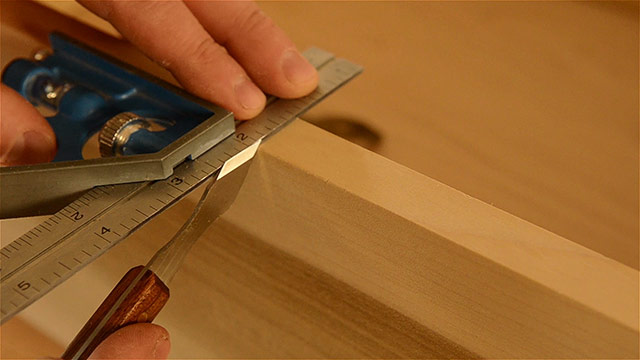
Then I set the marking knife back in the tick mark, and use a small combination square to extend the line across the edge of the board. Again, I’m using the flat face of the marking knife against the square for accuracy:
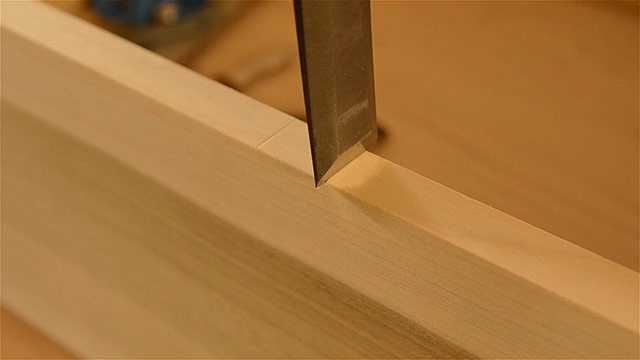
Next I use a chisel to deepen the lines:
I set my marking gauge to the exact thickness of the hasp plate so it will be flush when it’s screwed down:
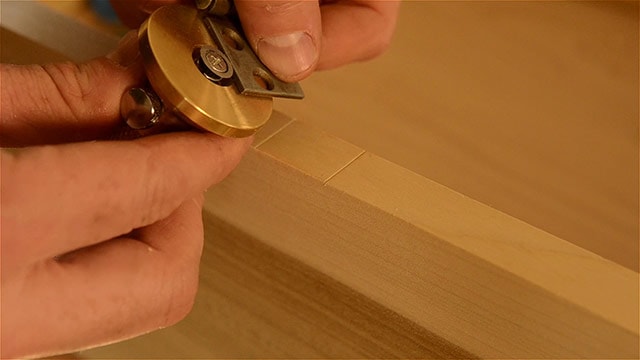
I run the marking gauge along both sides of the board, from line to line. I’m careful to make sure I keep my marking gauge flat on the board’s edge:
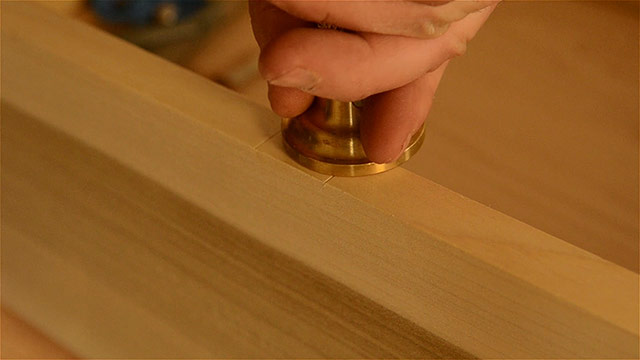
Step 2: Cut the Padlock Hasp Recess
Next I use a chisel to pare out the waste close to the baseline:
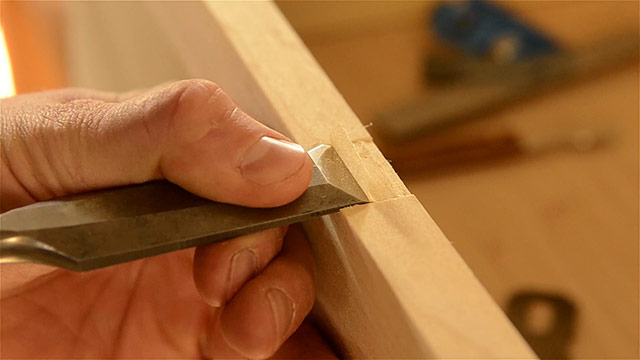
It’s safer to come from the back side to prevent too much blow out on the back:
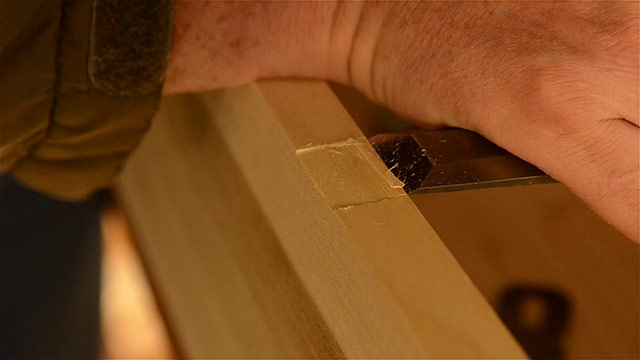
Once I’m down close to the baseline I pull out my router plane, which I set to the final depth of the…hmmm…well, I’m actually not sure what this recess is called. It’s not quite a dado and it’s not quite a mortise. So I’ll just call it a “recess”.
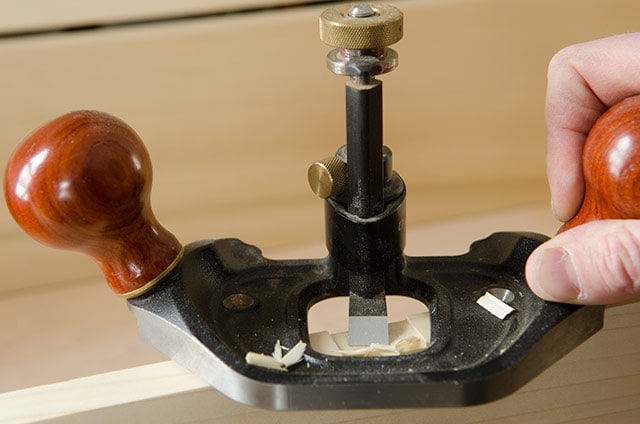
Anyway, I move the router plane back and forth until the recessed area is flat and clean. I use a chisel to clean up the messy bits.
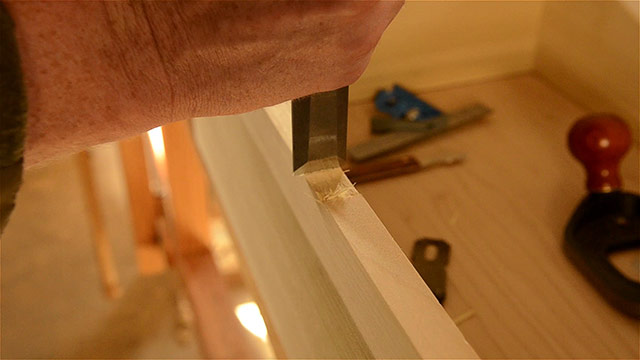
Isn’t that a nice looking recess? You can see that the padlock hasp plate fits nicely.
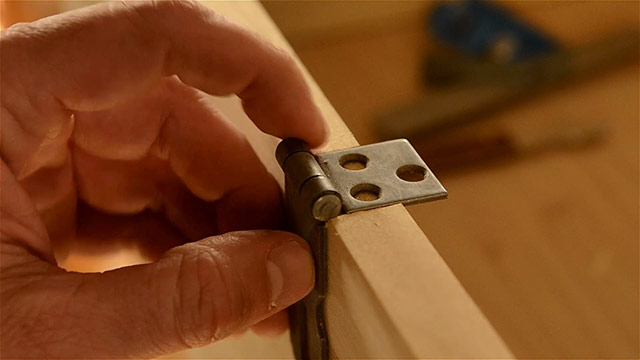
This isn’t it’s final resting place of the hasp, so don’t get concerned that the third screw hole is hanging off the back side. I’m just checking the fit! The padlock hasp will be screwed into the lid.
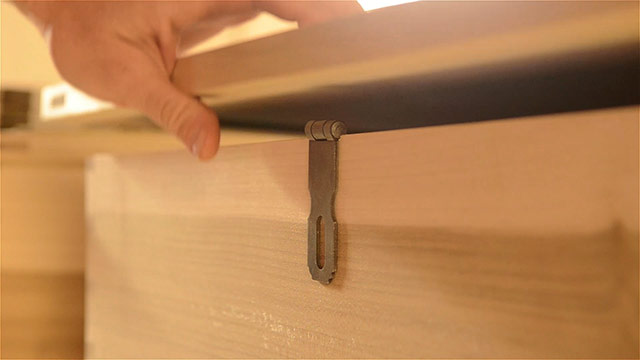
Step 3: Layout the Padlock Hasp Position on the Lid
I remove the hasp and then I use the marking knife to transfer the walls of the recess onto the lid. Again, I use the flat face of the knife against the walls of the recess:
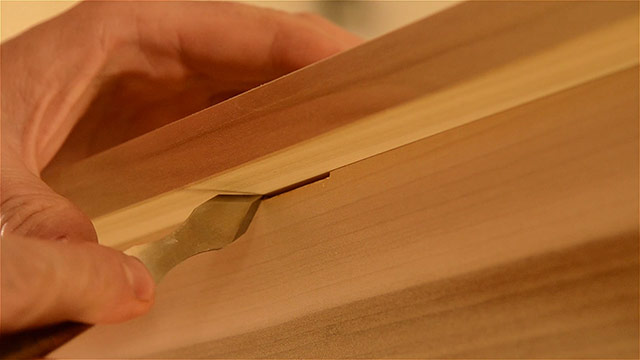
Now I have two small tick marks on the lid, which will aid me in aligning the padlock hasp on the lid. With the lid flipped back I use a pencil to mark tick marks, so I can create the boundaries of where the hasp will be placed:
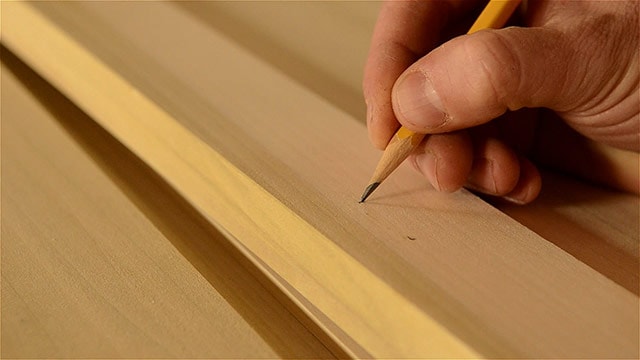
This is how it will sit on the lid:
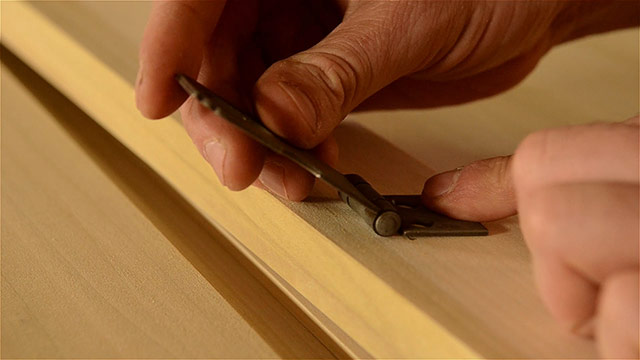
Then I use a combination square and a pencil to extend the lines from the points:
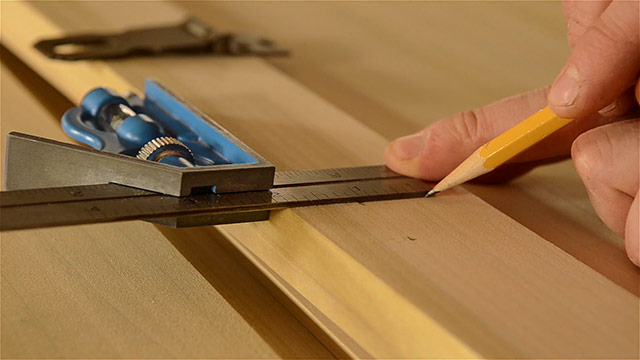
This is how the layout lines look:
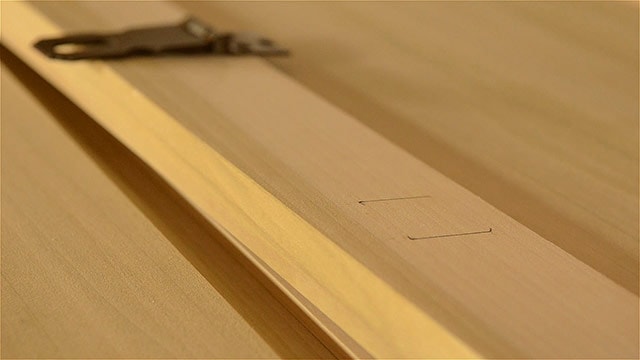
I didn’t use a knife because I won’t be making a cut here. The hasp will sit flush on the board. I’ll also use the combination square to run the other guidelines to help me center the hasp:
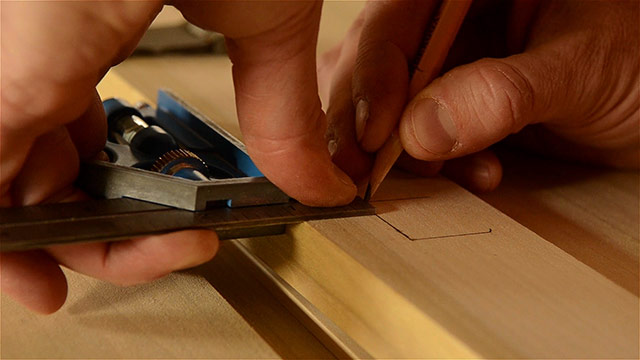
Then I use a pencil to outline the screw holes onto the lid:
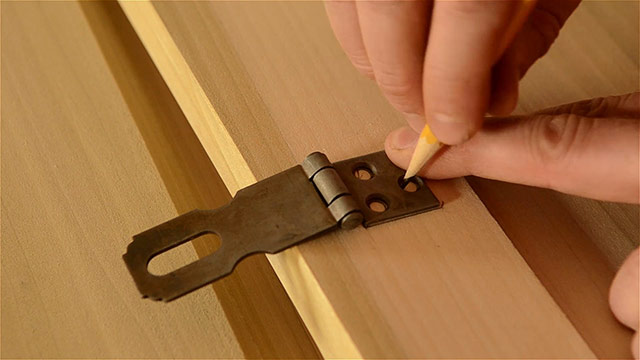
Next I carefully mark the center of each hole with my pencil:
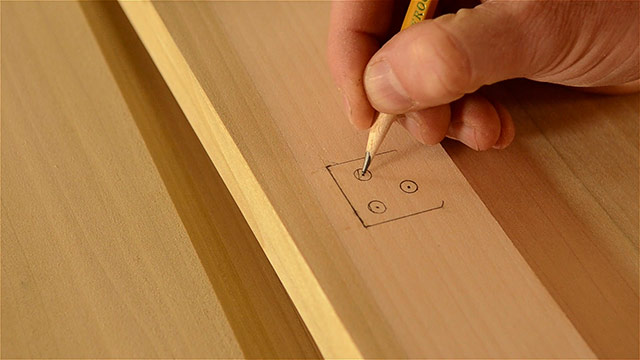
Step 4: Screw the Hasp Plate onto the Lid
Next I twist an awl back and forth into each center point to make it easier for me to start boring a hole with my drill bit:
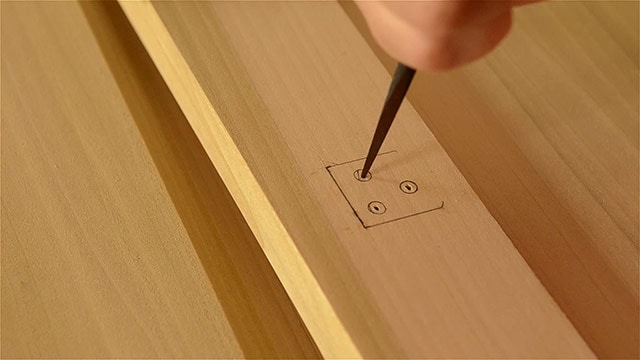
I’m using an egg beater drill with a bit that’s a tad skinnier than the wood screws I’ll be using.
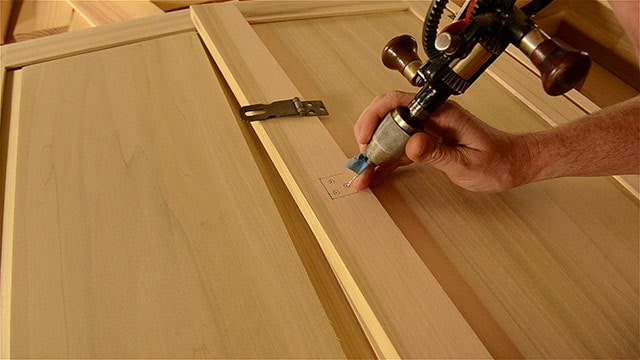
And you can see that I’m using painter’s tape as a depth gauge so I don’t bore a hole through the lid!
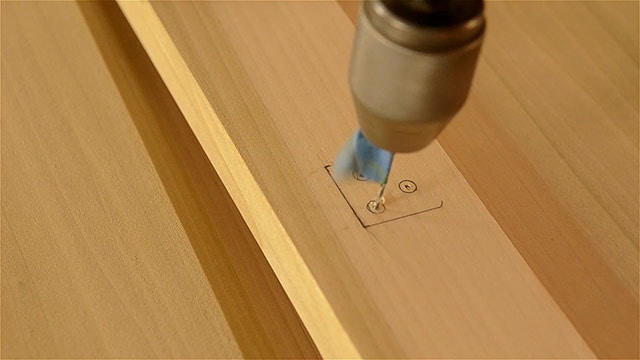
These inexpensive bits are fantastic and sharp, so they bore a clean hole really quickly. You can find a pack of them here.
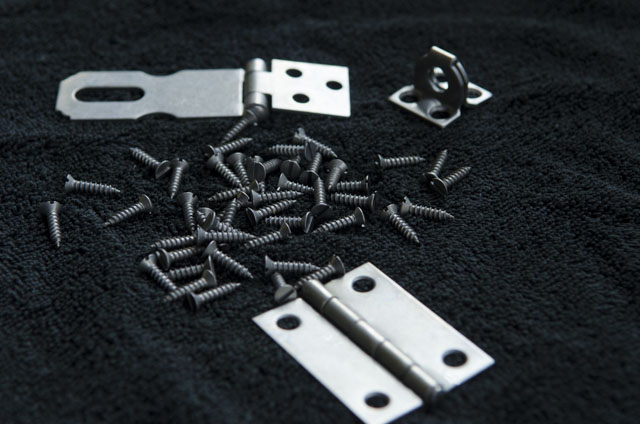
Now that I’ve got all the holes bored I’ll go ahead and add my historical-looking slotted wood screws that I stripped in the first video in this series.

And I add some soft wax to each screw to make it easier to drive them in the wood. And notice that I don’t drive any of the screws all the way down until they’re all close to their final depth:
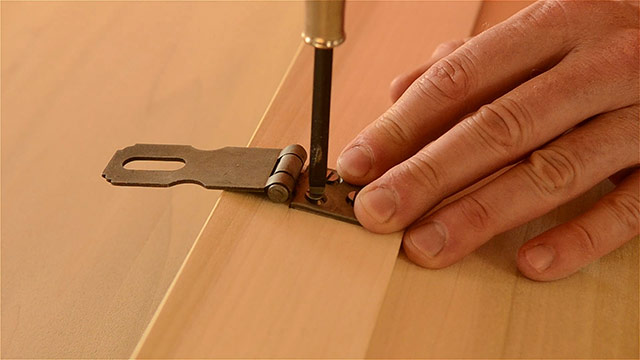
This will allow me to keep the hasp aligned in case any of my screw holes aren’t perfectly centered. I just keep rotating from screw to screw, just like when you tighten tire lug nuts on your car. And then I align the screw slots. This is called “clocking” or “timing” the screws. It’s really not necessary, but I feel like it gives a nice touch:
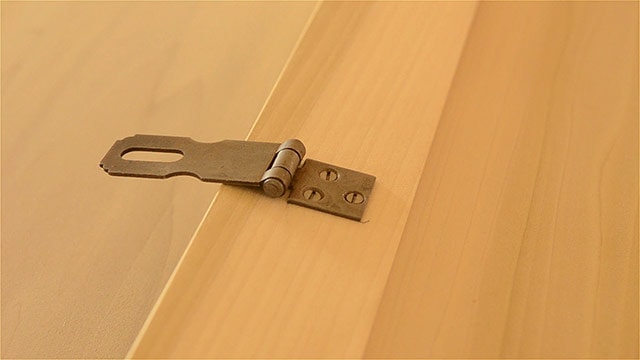
Step 5: Layout the Hasp Staple on the Chest
Now that the lid part is installed nicely, I move onto the other piece that accepts the hasp plate. This part is called the “staple” or the “eyelet”. Whatever you prefer to call it, it is simply the part that holds the padlock. That’s why it’s called a padlock hasp and staple. I align and center the staple in place like this:
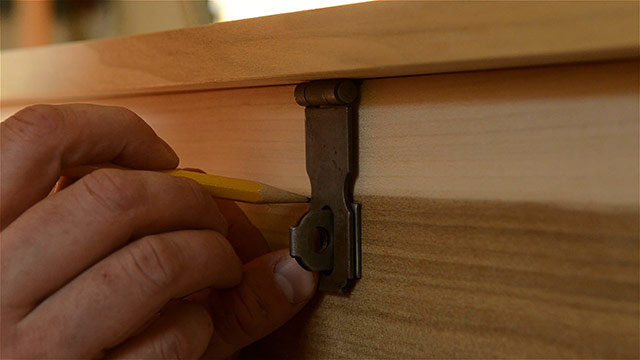
Once I’m confident that it will clear the hinge part, I mark the top corners with a pencil (see above and below).
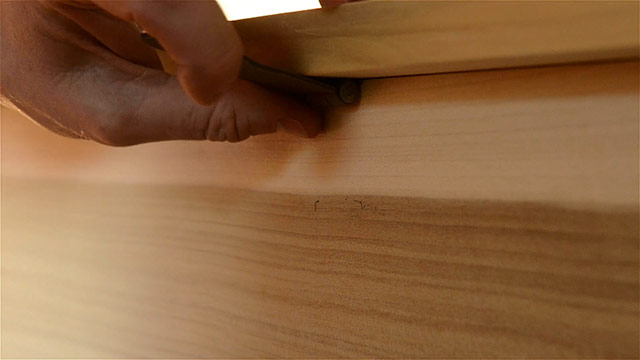
Then I use a combination square to create square guidelines:
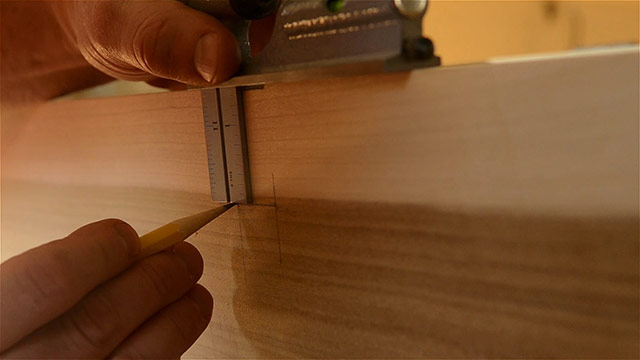
I’ll be handplaning, sanding, and painting this chest later, so I’m not worried about drawing such long lines. I also use the combination square to draw a perpendicular line to help me align the chest part. Now I can mark the center of the holes with a pencil:
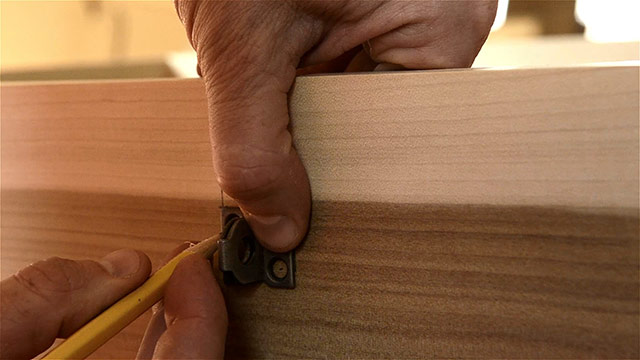
You can also mark the whole circle like the last time, but I’ve got a good view of the holes, so I can just mark the center. And here’s where the screws will go:
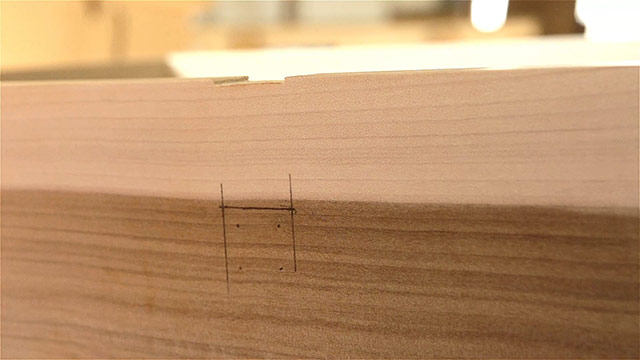
Step 6: Screw the Hasp Staple onto the Chest
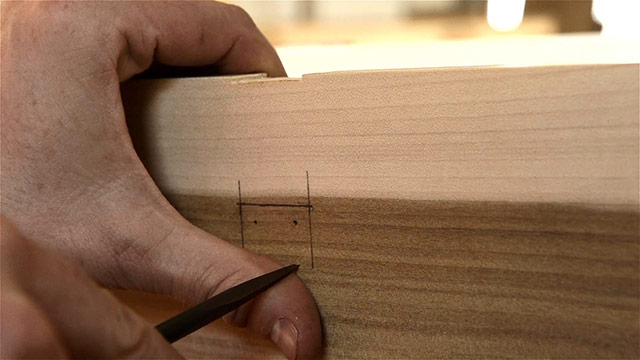
Just like before I use an awl to start my screw holes, as pictured below:
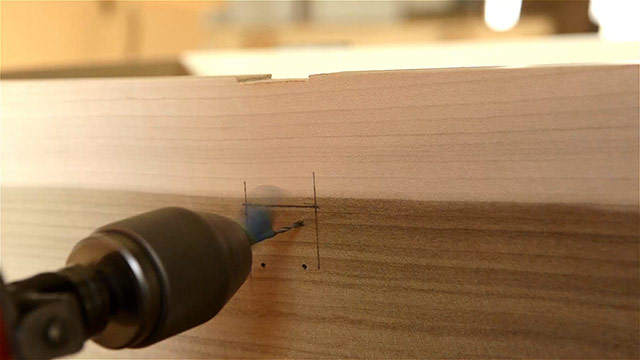
And then I again use my egg beater drill to bore the screw holes. And don’t forget the tape!
I drive the screws just like before:
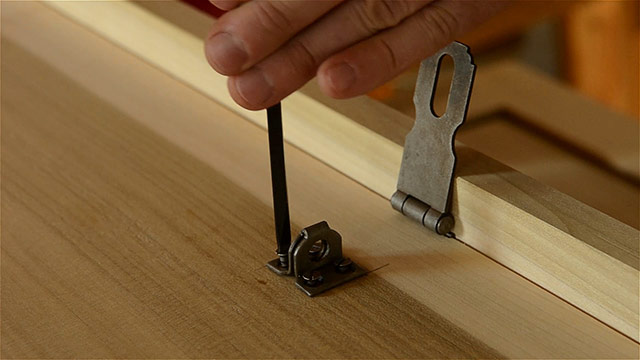
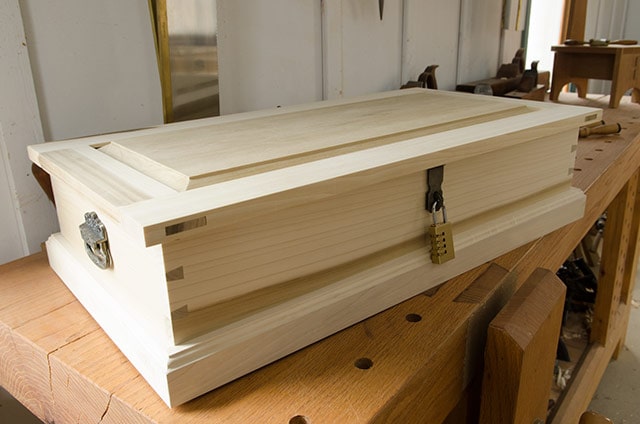
And now you can see a nice padlock hasp & staple:
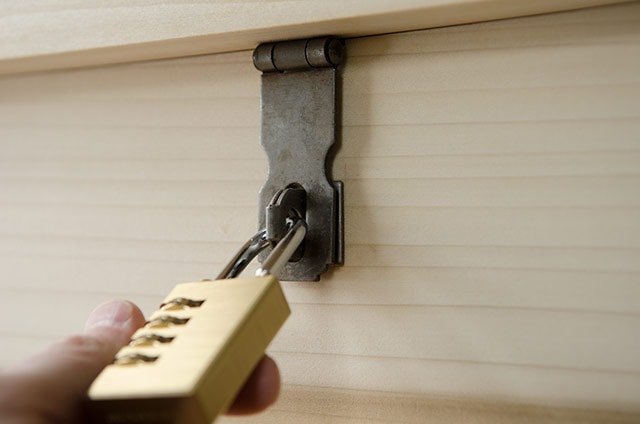
It’s all ready for a padlock to keep my kids’ treasures safe from their siblings!
Conclusion
Hey, thanks for reading this article & watching my video! Make sure you subscribe to my newsletter below so you won’t miss my next article and video. If you have questions or want to share some of your own tips, please leave a comment at the bottom of this page. And make sure you scroll down to see our tool buying guides!
TOOL GUIDE SHORTCUTS:

HAND TOOL BUYER’S GUIDES
- Intro to Buying Woodworking Hand Tools
- Workbench & Tool Storage
- Layout, Marking, & Measuring Tools
- Handplanes
- Handsaws
- Chisels
- Sharpening & Honing Supplies
- Mallets & Hammers
- Hand Drills, Braces, & Bits
- Tools for Curved Work
- Tools for Green Woodworking
- Woodworking Clamps, Gluing & Fasteners
- Tools for Wood Carving
- Products for Wood Finishing, Sanding & Scraping
- Wood Turning Tools & Lathes



The link to Rockler about drill bits does not provide any drill bits of the sort you were using (nothing new there). You may need to update link. Maybe they do not show everything on the website. Can you give us the brand please so we can look elsewhere. Thanks.
LOL. It’s Rockler brand! I just clicked the link, and it worked for me: https://www.rockler.com/50-piece-mini-hss-drill-bit-set?sid=AFXA5
Can you see it at this link?
Joshua, What a nice project! It might even be simple enough for kids to become involved in – did they help with the design? Are they made to fit underneath children’s beds? The details of your hardware install are somewhat dependent on your design, with a lid that overhangs the case but you are careful to let viewers know your thinking so they can adjust for their own design – nice. Question: the raised panel lids shows through-tenons on the… Read more »
Thanks Gordon! Nope, they didn’t help design, because it was a surprise for Christmas. But I have taken their hints over the years into account. And I made it short enough to fit under their beds. As for the tenons, I did not peg them, and definitely didn’t drawbore them. That would be overkill. The glue I used is so strong that neither was necessary for these lids. The bottom is just rabbeted, slid into grooves in the chest. Not… Read more »
Great description!
Thanks so much Bill!
Joshua, thank you for this. I know for many this all seems so basic. For me at times it is nice to simply make something reasonably simple for family. My grandkids will go nuts w/a locking box. Looking forward to the plans.
You’re welcome Joe!
Joshua, Please tell me you are going to do a series on making the boxes. They are beautiful, even in Poplar.
Maybe!
Maybe I’m blind, but I don’t see a place to “like” the video. Please point me in the right direction. I’ll put a vote in for a video on making the chests.
Right below the youtube video player you’ll see a little thumbs up and thumbs down icon. Click the thumbs up. Thanks!