Disclosure: WoodAndShop.com is supported by its audience. When you purchase through certain links on our site, we may earn a small affiliate commission, at no cost to you. Learn more.
In the above video I show a simple tutorial on how to make a wooden straight edge for traditional woodworking.
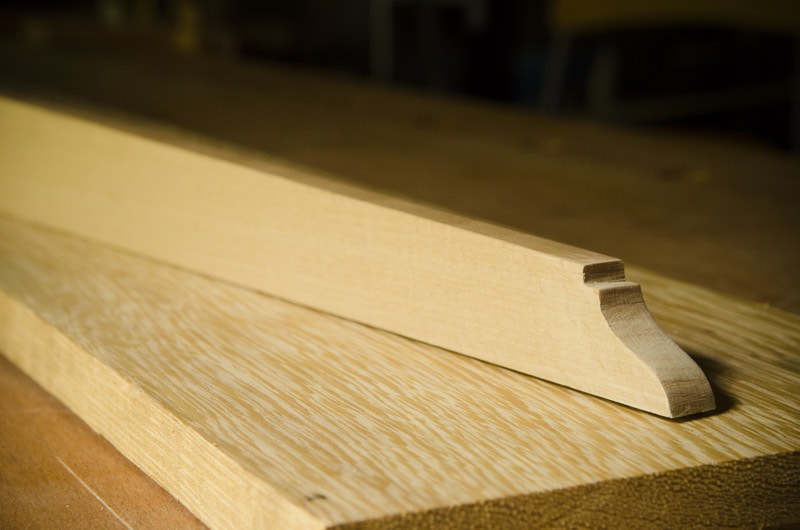
A straight edge is an essential measuring tool used when flattening & straightening your boards, and a perfect beginner’s project to hone your traditional hand tool woodworking skills!
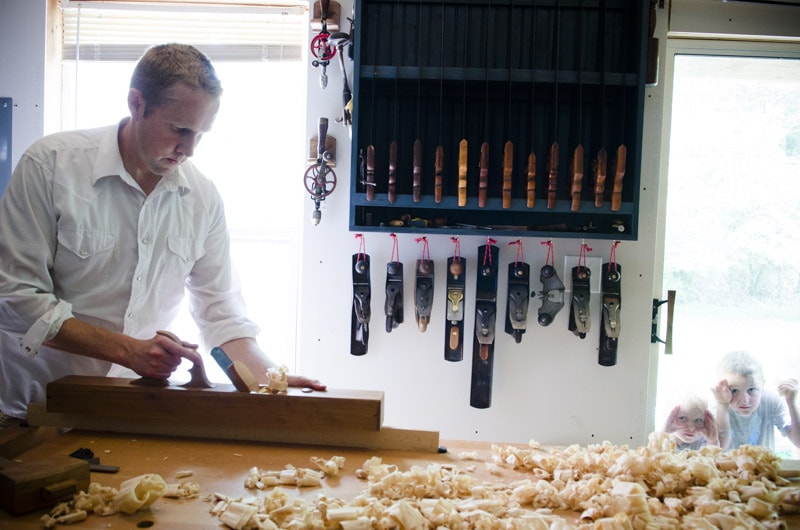
WOODEN STRAIGHT EDGE vs. METAL STRAIGHT EDGE
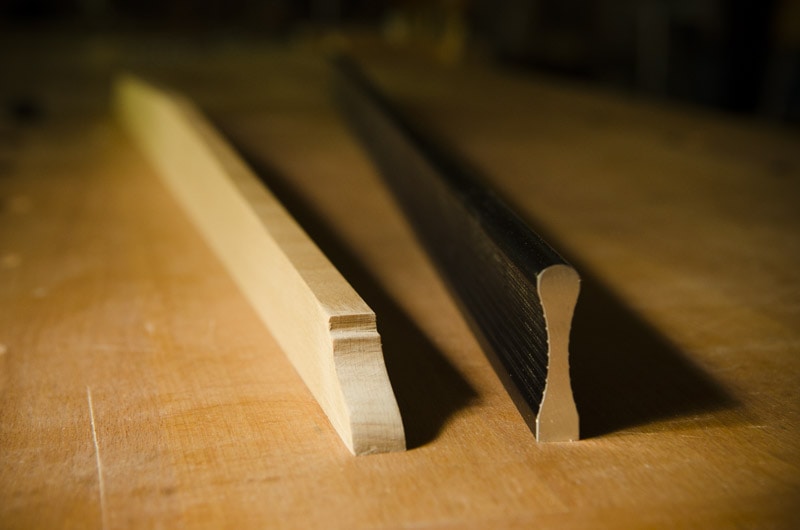
Why would traditional woodworkers want to use a wooden straight edge when they can purchase precision-ground metal straight edges? While metal straight edges are useful, they simply don’t have the same advantages as a wooden straight edge. Why?
1. MORE REPAIRABLE: Wooden straight edges can easily be retrued or flattened if they are ever dropped or if they ever go out of true. Accidentally knocking a metal straight edge off your workbench is a death sentence to that tool.
2. LESS EXPENSIVE: Wooden straight edges are practically free to make (or very inexpensive). All you need is some good stable quartersawn hardwood. Good metal straight edges start off around $50 and shoot way higher than that.
3. LIGHTER: The wooden straight edges are quite lighter than metal straight edges, and don’t weight down your already-hefty tool chest.
4. SOFTER: It’s less likely that you’ll ding your workpiece with a wooden straight edge than with a metal straight edge. Believe me, the sharp corners of a metal straight edge can mess up a project.
5. MORE BEAUTIFUL: A wooden straight edge is much more beautiful to look at than a manufactured piece of metal.
6. MADE BY YOU: A tool made by you is much more special to you and your posterity than something that you purchased.
TOOLS THAT YOU’LL NEED
Even though I have a nice tool buying guide (here) I’m still often asked for links to the tools that I use in my videos, so here they are:
- Lie-Nielsen’s Tenon Rip Saw
- Lie-Nielsen cross cut back saw
- Chris Yonker’s 12″ bow saw on ebay or a simple coping saw like this.
- Lie-Nielsen low-angle Rabbet Block Plane
- Vintage Stanley No. 7 Jointer Plane
- Auriou course 10 grain / 9″ cabinet rasp
- Auriou 13 grain / 7″ modeler’s rasp
- Irwin Quick Grip Clamps
- Staedtler Mars 780 Technical Mechanical Pencil
1. CHOOSE THE RIGHT WOOD FOR A STRAIGHT EDGE
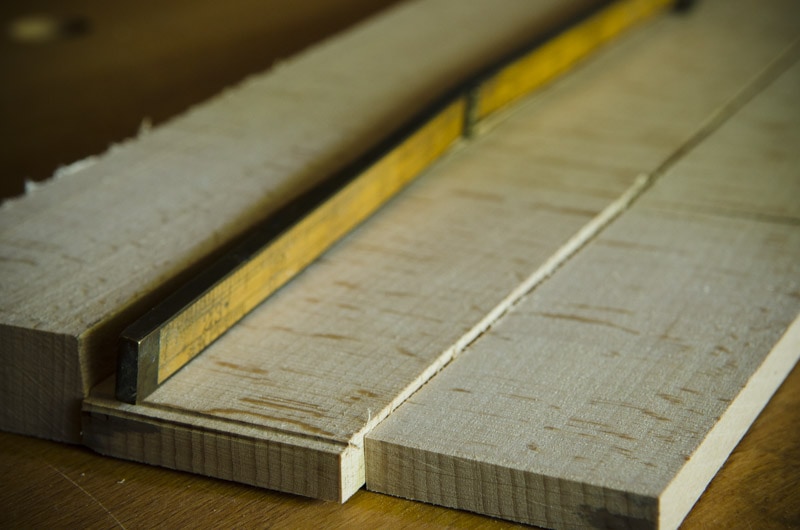
Stability is the most important factor when choosing wood for a straight edge. I recommend using well-seasoned (dried) 1/2″ or 3/4″ quartersawn hard wood. Quartersawn wood will have vertical grain…see the above photo’s vertical end grain. Notice how it runs straight up & down, and extends mostly straight down the face of the board. Also avoid any lumber that has knots.
Good wood species include beech wood (see above photo), walnut, hard maple, cherry, mahogany, etc.
2. DIMENSION THE WOOD
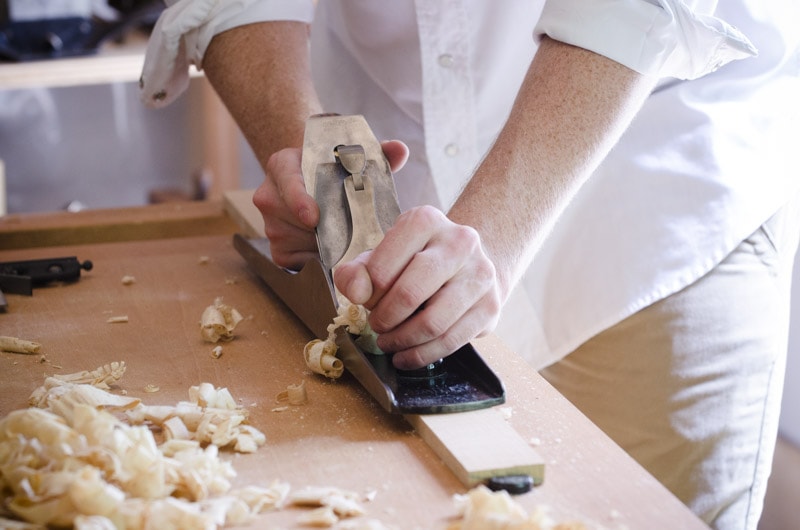
Use hand saws & hand planes to flatten, square up, & cut your board down to roughly 36″ long, 2-3″ wide, and around 1/2″ thick. Not sure how to square a board? See my tutorial. You can make your straight edge most any size, but the longer the straight edge is, the more accurate it will be.
Take special care to “true” the bottom edge of your straight edge. If it ever goes out of “truth” then use your jointer plane to bring it back. As I mentioned in the previous paragraph, refer to this tutorial for truing your edge.
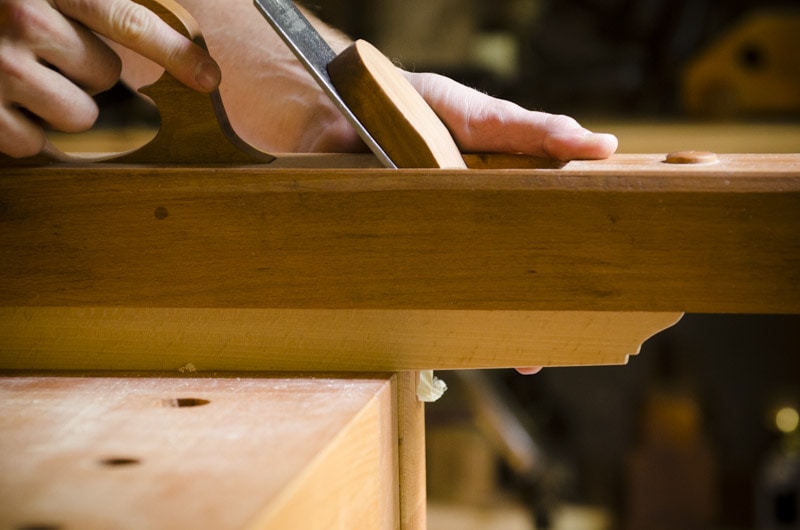
3. CUT OUT THE PROFILE
You can leave your straight edge rectangular, but it will most likely get mistaken for scrap wood! So I add a nice profile. The profile can be whatever you want. Some people argue that adding an arc helps by exposing more end grain, thereby stabilizing the wood. I’ve heard debates on this subject, but I like the look of an arc so I do it anyway. In my video I show how to setup a simple template to draw a perfect arc on your straight edge:
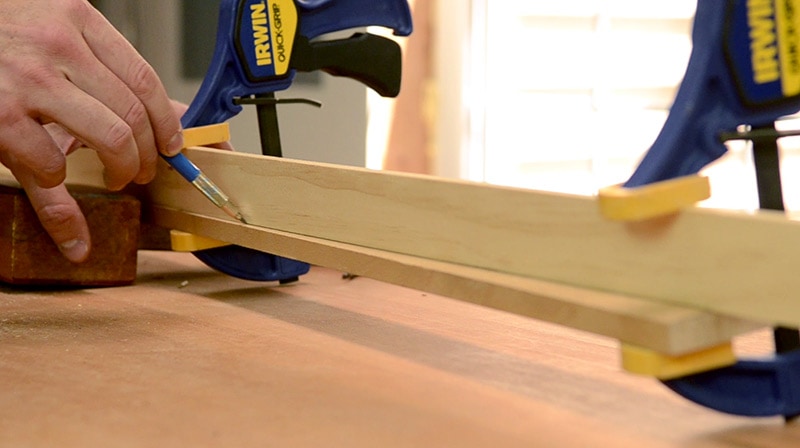
I love to draw an ovolo on my arc (see below). I borrowed this design from renowned traditional woodworker Bill Anderson:
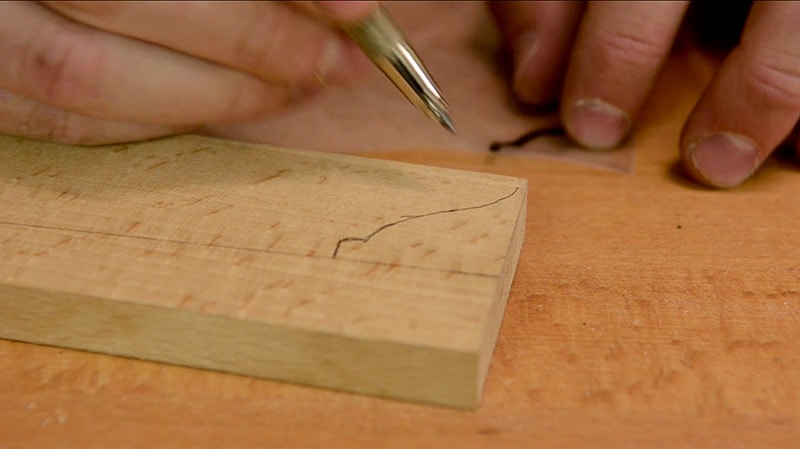
Click here for the PDF scan of the above profile (which I promised in the video).
Cut the profile with a simple bow saw or coping saw. I use a tenon saw and a cross cut saw to make relief cuts prior to using the bow saw.
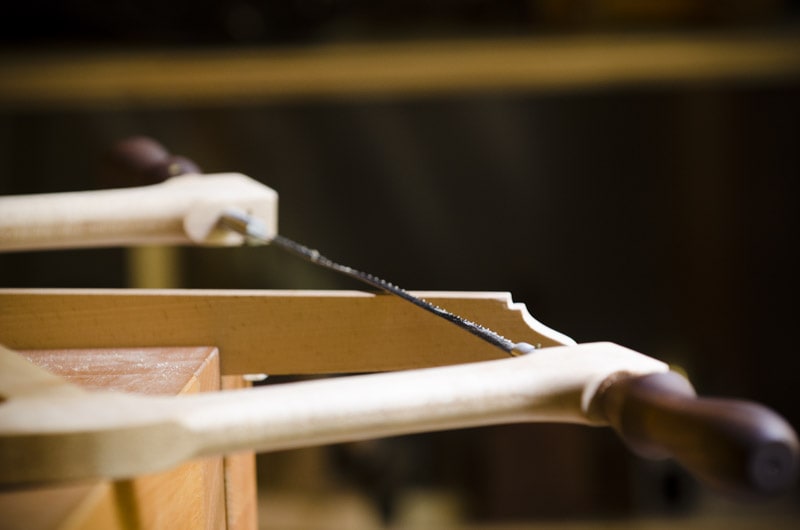
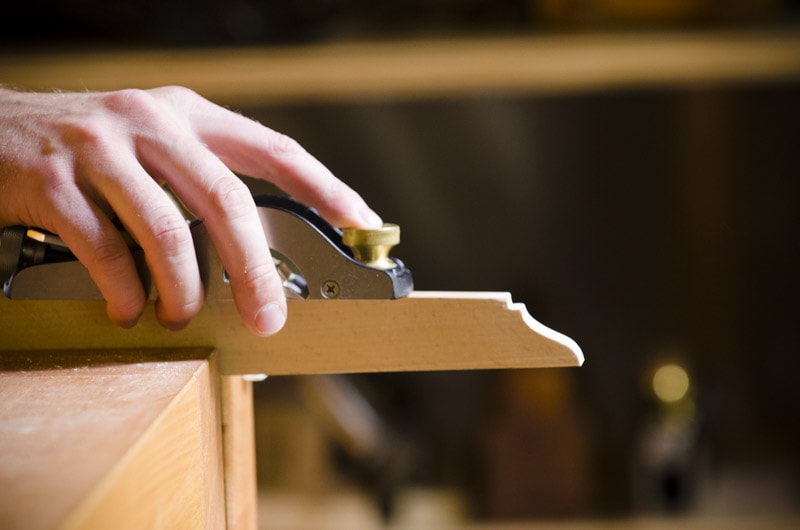
Then I use a sharp block plane to smooth out the curve. Keep your eyes on the curve that you drew, and make sure to not plane past it much.
I clean up the ovolo profile with french cut rasps and 220 grit sandpaper. I use this course 10 grain / 9″ cabinet rasp for rough removal and this finer 13 grain / 7″ modeler’s rasp.
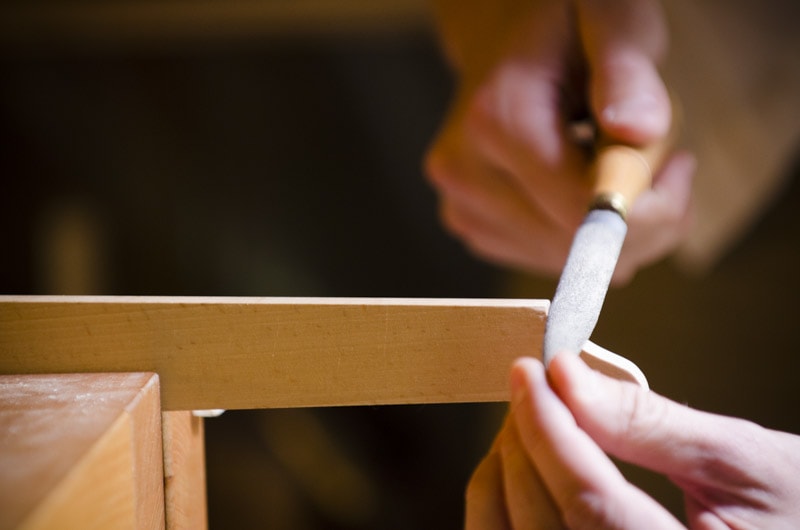
A couple years ago, if you would have told me that I’d spend over $100 on a rasp, I’d laugh at you. Now I’ve purchased two at that price, and use them all the time. These Auriou French hand cut rasps make quick work of shaping profiles like this.
4. APPLY A FINISH
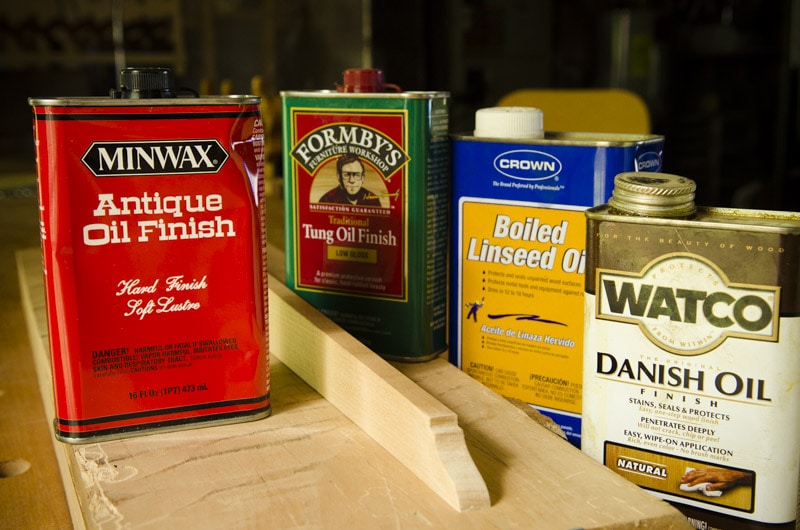
You can apply your favorite finish, but I prefer to keep with a more natural look rather than a “plastic” shiny finish (like Polyurethane). I typically use a traditional finish recipe (boiled linseed oil, beeswax, and turpentine) but lately I’ve been trying a surprisingly nice finish made by Minwax called “Antique Oil Finish“. Here is the best price I found.
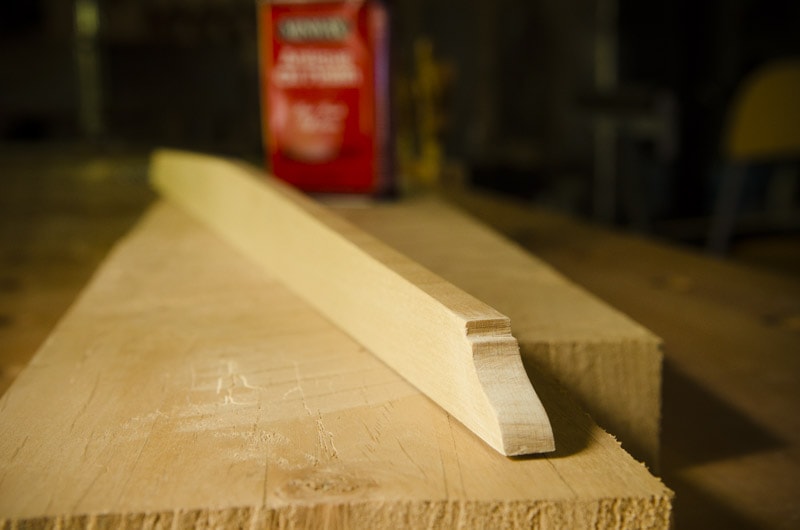
I had originally thought that mass-produced finishes weren’t very desirable to traditional woodworkers, but was recommended to me by Bill Anderson. Larry Preuss, an expert plane maker from Michigan, recommended it to him.
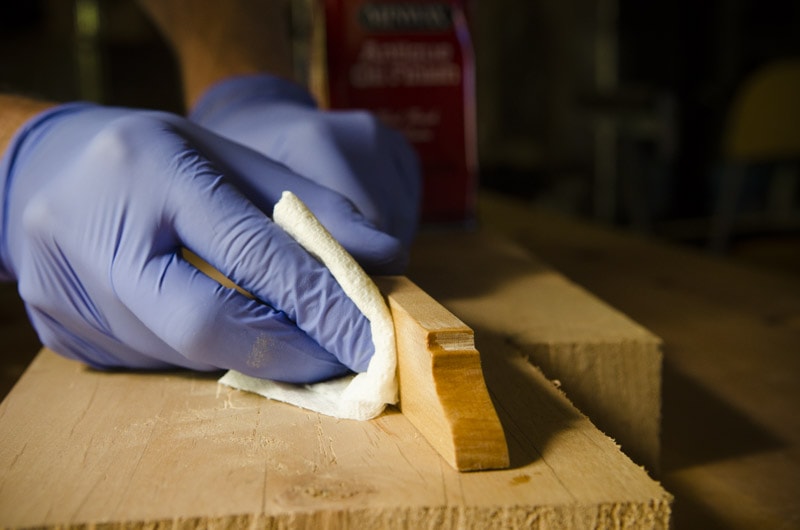
Don’t worry about applying finish to the bottom “true” edge. You’ll eventually re-true the bottom. That’s it folks!
CLICK HERE TO SUBSCRIBE TO JOSHUA’S FUTURE ARTICLES & VIDEOS!


sorry to complain but if this video is aimed at getting people started in working with hand tools you should really explain how to adjust your planning action to correct an out of square edge also when you plane the curved top of your straight edge you are going in the wrong direction i.e against the grain.
Hi Neil, thanks for your comment. I have a different tutorial on squaring a board, which I already linked to in this article. So if someone doesn’t understand how to correct an out of square edge, then they can visit that article. But I just reworded it so it is less confusing. Thanks. Regarding the curved top, if I was planing against the grain then I would have experienced tear out. My curved top was smooth as glass, which means… Read more »
Very nice and useful content. The steps you have provided to make wooden straight edge for woodworking are understandable. Thanks a lot for sharing this blog with us.