By Joshua Farnsworth
In the above video I share a tutorial on how to make historical milk paint from scratch! The article below shares the same information (in case you’re reading this at work…).
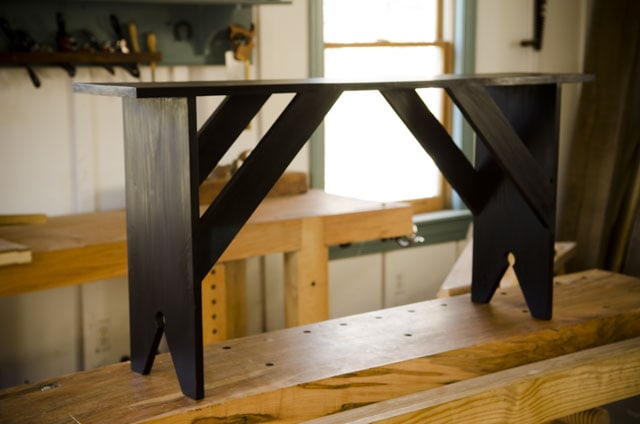
In a previous video (here) I showed how to build this shaker bench from just three pine stair treads, and I asked my viewers to let me know if they wanted a video on making milk paint from scratch. Well, I got a positive response, so here’s the tutorial:
What is Milk Paint & Why Do I Use It?
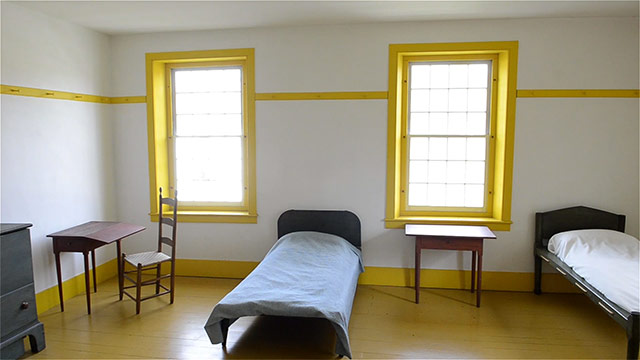
Milk paint is a historical paint that has been used for thousands of years. I love it because it’s durable, it’s non-toxic, I can easily mix my own custom colors, and it’ll accept most top coat finishes. And lastly, it was a common furniture finish on my two favorite styles of furniture: Shaker and Colonial. I really love making provincial country-style furniture.
In modern times milk paint has become popular again, even on contemporary furniture, but most people can only buy it in powder form. Powdered milk paint can be expensive, and it’s only available online and at some specialty hardware stores. And no, the canned stuff isn’t real milk paint. But if you consider your time and the convenience of being able to mix up small batches, then the commercial powdered milk paint is still the way to go.
But, I do love trying to replicate historical processes from scratch, so homemade milk paint is fun. And it isn’t very expensive. In fact, most of the items you need are probably in your fridge and garden shed. You may only need to buy color pigment powder. I happen to use pigment to make my own colors with powdered commercial milk paint, so I always have some sitting in my shop.
I use natural earth pigments in my paint, and years ago I got this recipe from the company that makes my color pigments, so you can see a link to their pigments below, along with a list of all the ingredients, and where you can find them.
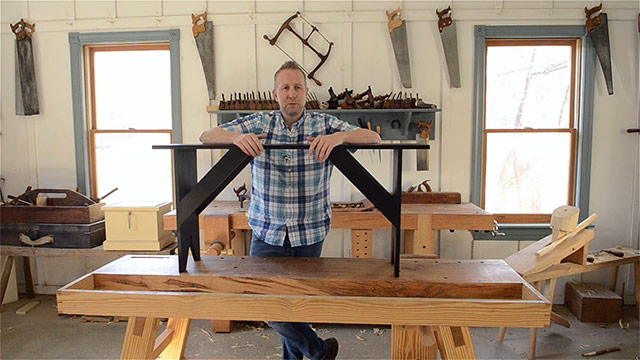
Alright, let’s get started!
Ingredients & Supplies for Making Milk Paint from Scratch
Here are the ingredients & supplies to make your own milk paint from scratch (some links may be affiliate links, but won’t cost you anything):
* 1 Gallon Skim Milk (Room temperature)
* 2 Cups Distilled White Vinegar (Room temperature)
* Cheese cloth: https://amzn.to/2vd81vm
* 3/4 Cup Hydrated Lime: https://amzn.to/3962HZ3
* 3/4 Cup Water
* Paint Filters: https://amzn.to/2vm1MoV
* My 1.5″ Paint Brush: https://amzn.to/2wOo8zG
* Paint pigments on Amazon: https://amzn.to/2wfbEAI
* Paint pigments at The Earth Pigments Company: https://www.earthpigments.com/
* Plans for the Shaker bench: https://store.woodandshop.com/product…
Making Milk Paint from Scratch
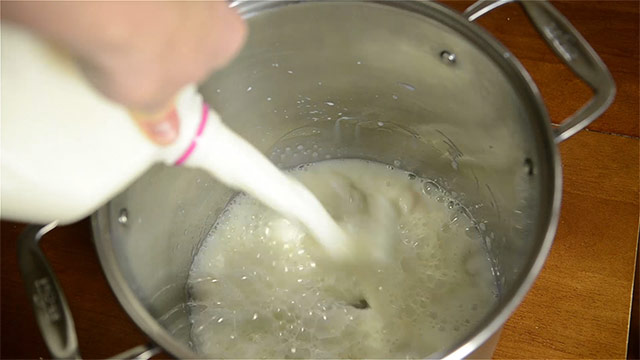
Alright, so I need to make a confession: I have milk in my fridge, but I only buy fat free skim milk when I’m making milk paint, because it’s super gross. If you’re going to drink milk, drink the good stuff! Anyway, I start off by pouring the whole gallon of skim milk into a large pot. Make sure it’s at room temperature.
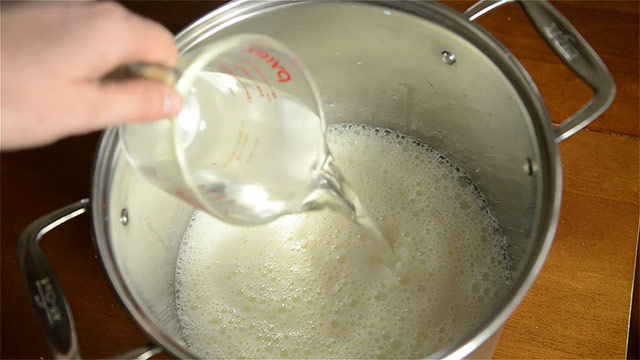
Then I add 2 cups of distilled white vinegar, and stir it up.
Then I let the mixture sit in a warm room, and I don’t touch it again for at least a few hours. Overnight is better. The vinegar will curdle the milk, just like when you’re making cheese.
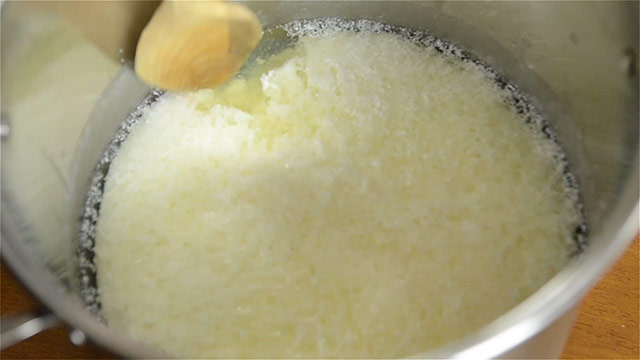
You’ll know it’s ready when the milk has separated into curds and whey. The curds, or “quark”, has a lot of concentrated milk protein, which gives the paint its durability.
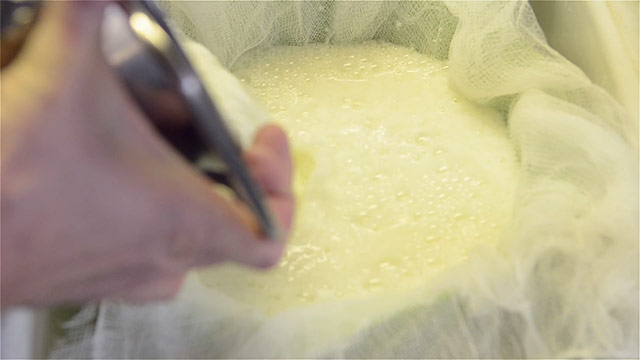
Then I put a pasta strainer in the sink, and I lay a couple layers of cheese cloth inside. I pour the curds and weigh into the strainer, and give it some time to drain the whey.
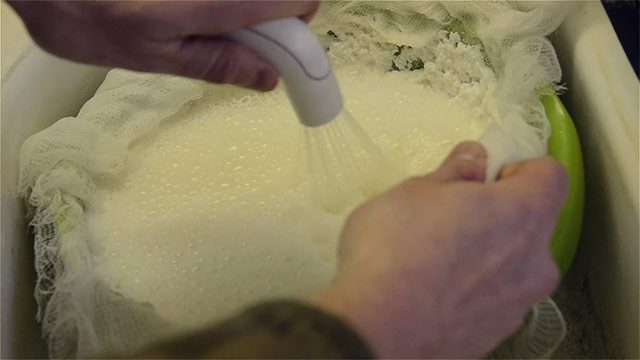
Next I rinse the vinegar and whey off of the quark a couple times.
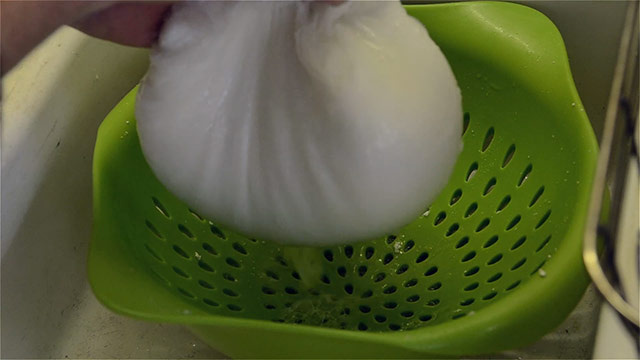
I gather the quark up in the cheese cloth, and further squeeze out more of the water. But I don’t get it too dry, or I’d end up with cheese! Yes, at this point I think you can still back out and have some nice farm cheese…although it probably won’t taste great because there’s no fat in it.
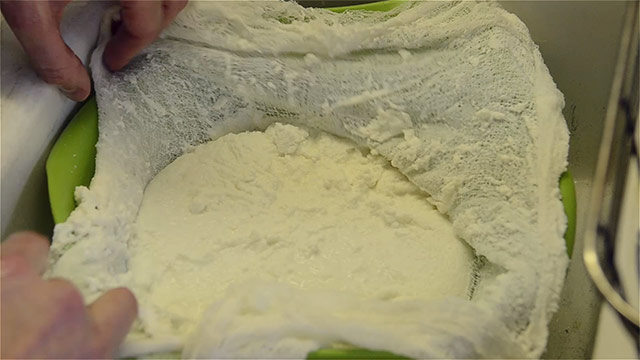
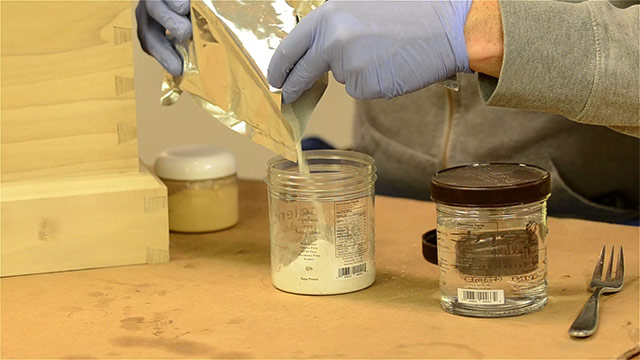
This next step is where the quark becomes inedible. First I add ¾ cups of Hydrated Lime into a glass container. Make absolute sure you don’t use quick lime. I bought hydrated lime at a nearby farm supply store. $5 for a 50 pound bag, or $8 for a smaller bag. But the small bag is more than you’ll need. You can also order small bags of it online (see above in the ingredient section).
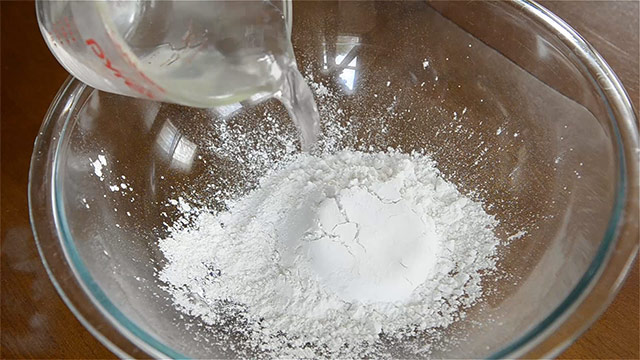
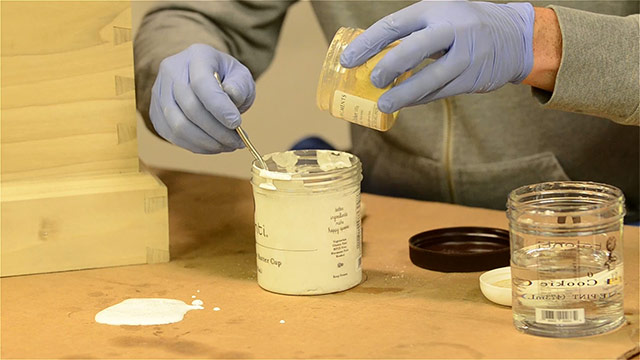
Then I add the same amount of water onto the lime, and mix them together.
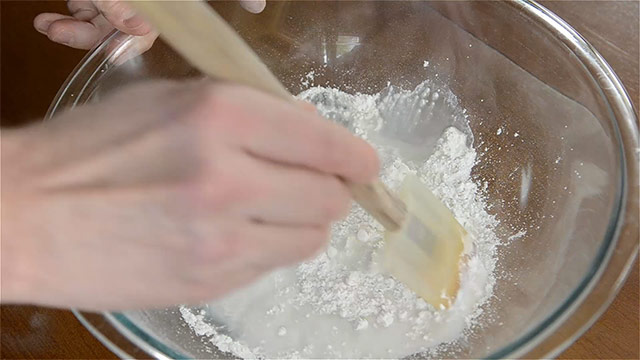
Eventually the mixture will become smooth, with no clumps.
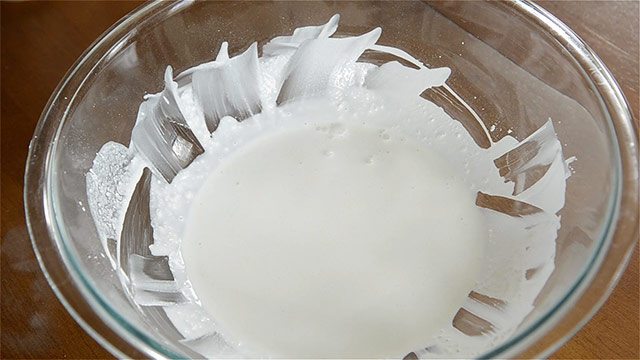
Then I dump the quark onto the lime, and do my best to scrape as much of the quark off the cheesecloth as possible. I mix this mess up for a couple minutes until it’s as smooth as possible, then I let it sit for about 15 minutes to let the lime further break it up.
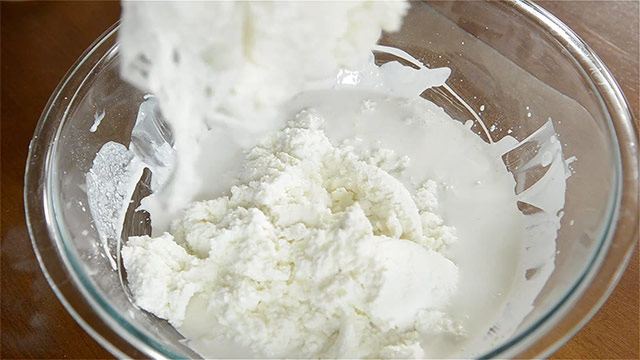
Then I come back and do my best to break up remaining clumps.
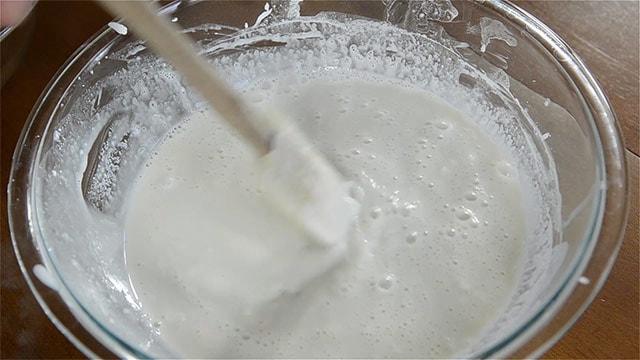
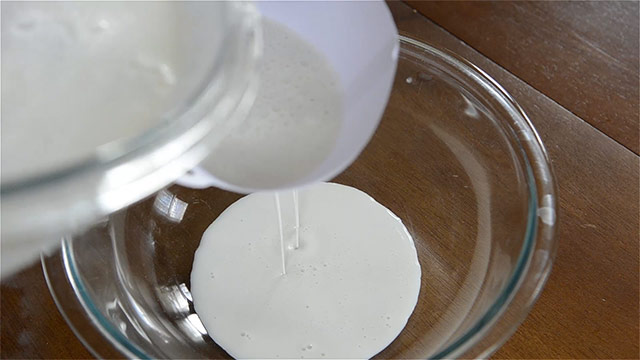
I put the kitchen strainer over another clean bowl, and strain the mixture again through some clean cheese cloth.
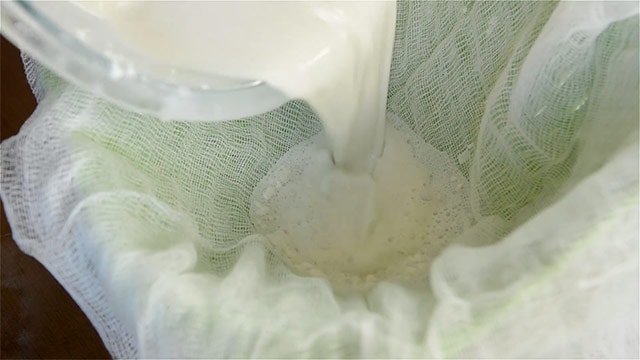
Paint filtering funnels like this work well too, though it takes longer to filter this thicker mixture.
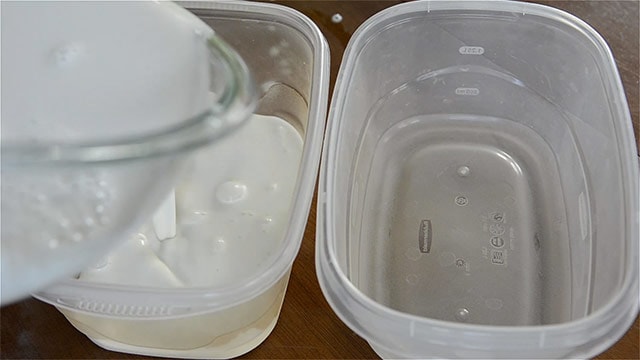
If you’re doing a base color and a top color like me, then you can divide the mixture up into two containers. I’m using some old disposable plastic containers.
Mixing Paint Pigment into the Milk Paint
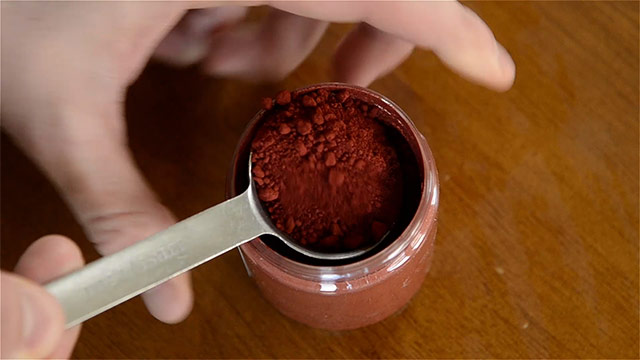
Now I get some of my color pigment from the container. I start off with a small amount so I can see how the color will turn out.
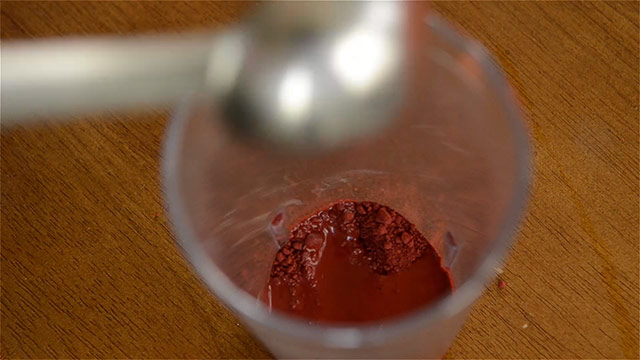
I put it into a small cup, and mix some water in with it. I use about twice as much water as pigment, and thoroughly mix it up.
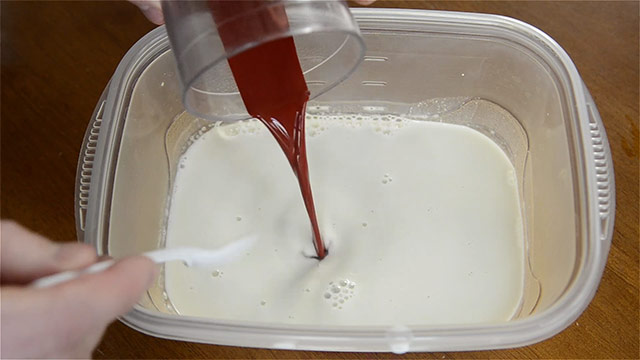
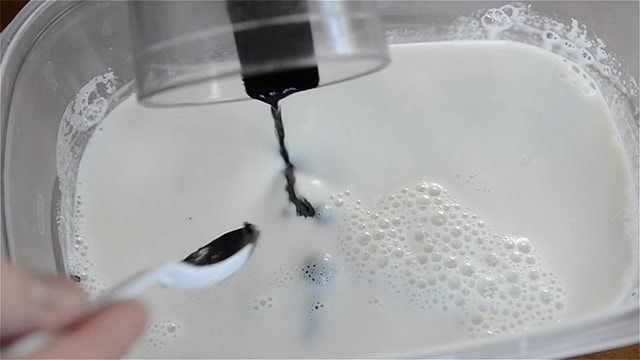
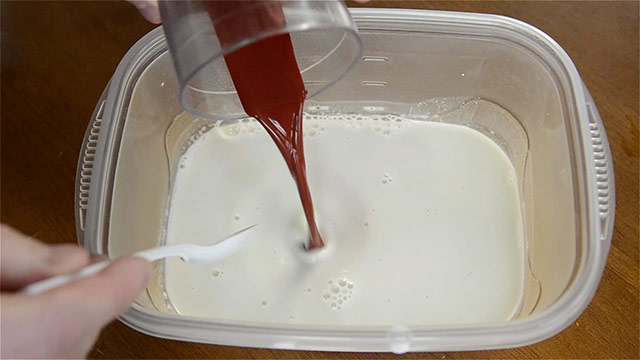
Then I pour the pigment into the milk paint base. I like to use a disposable plastic spoon to thoroughly mix it up. If you want you can use a little bit of water to get the last bit of pigment out of the cup.
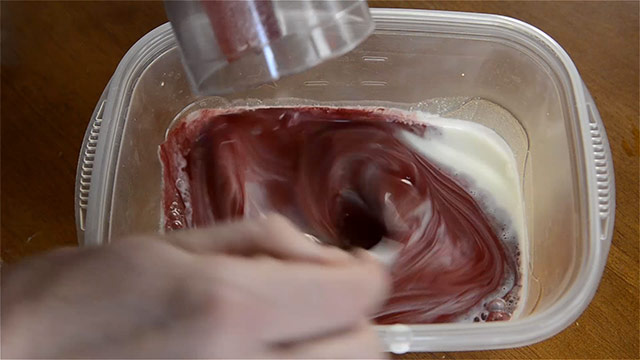
Now you need to decide if this is a dark enough color. It’s plenty dark for my under coats.
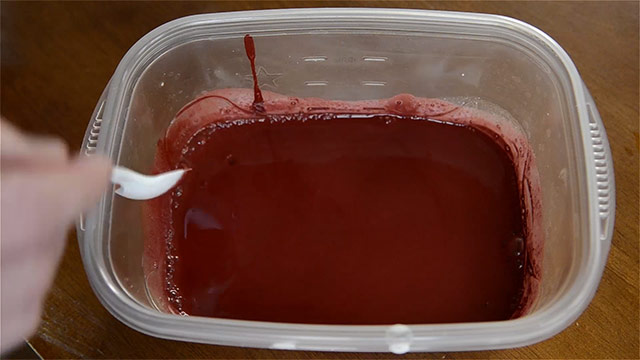
I’m doing a black coat on top of the red coat, so I add black pigment to the other container of milk paint.
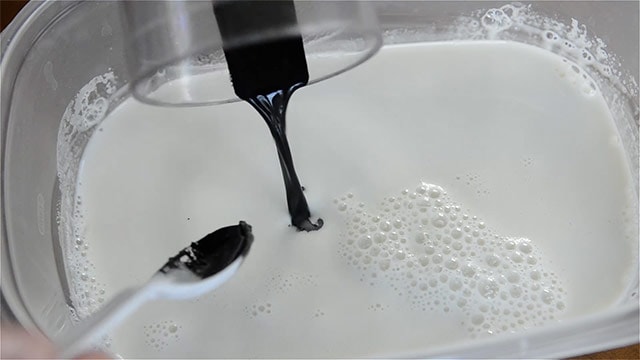
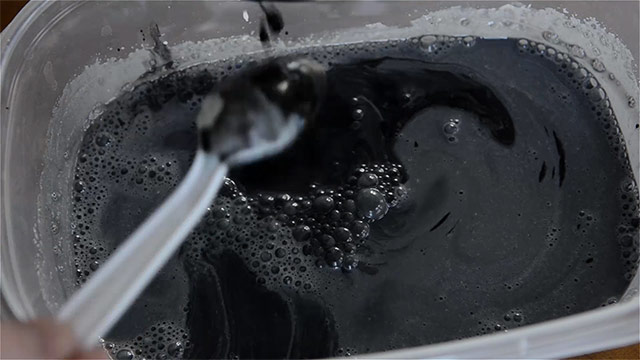
This mixture didn’t look dark enough to me, so I added more pigment.
Now I like to strain each of the paint colors through a fine automotive paint strainer. My wife tells me these are the same strainers they have at the hospital for patients to pee into to catch gall stones. Hmmm…Who knew?
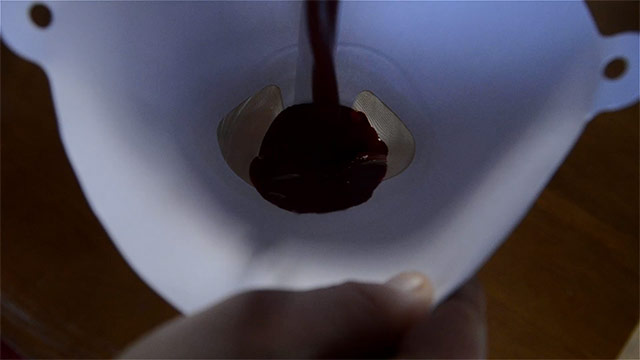
Anyway, I like to strain the paint into glass canning jars, because I can seal the lids and shake the jars to mix up the paint before using it each time.
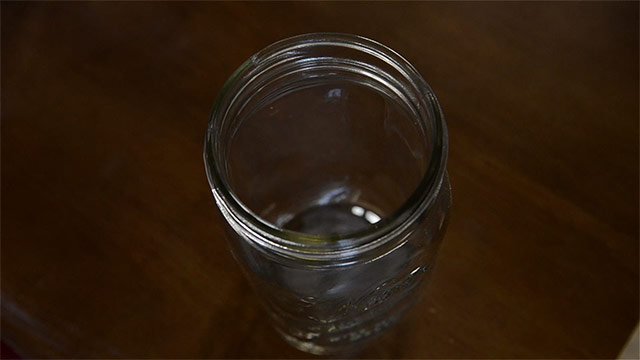
You could also recycle pasta sauce jars or something similar. Just make sure they’re clean.
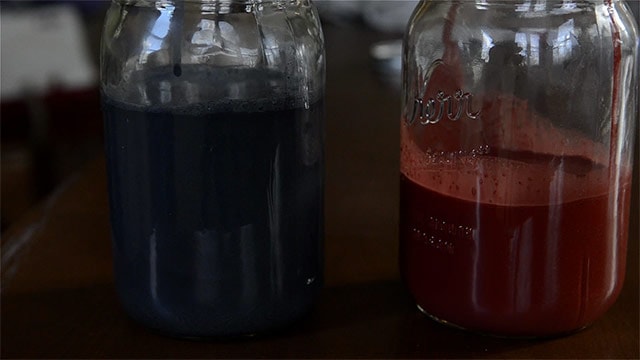
Testing the Milk Paint Before Using It
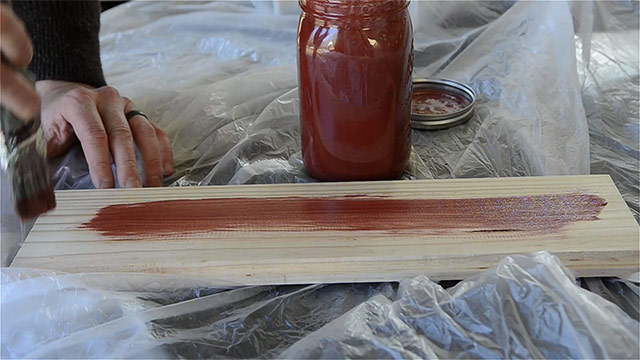
Before I use the paint on my furniture, I like to make sure it’s thin enough. I mix it up, remove excess foam, and paint some strokes on a scrap board to make sure the paint spreads out at least a foot in length. This looks pretty good to me.
How to Paint with Milk Paint
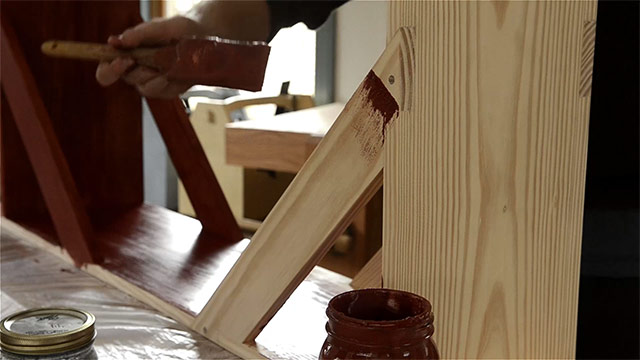
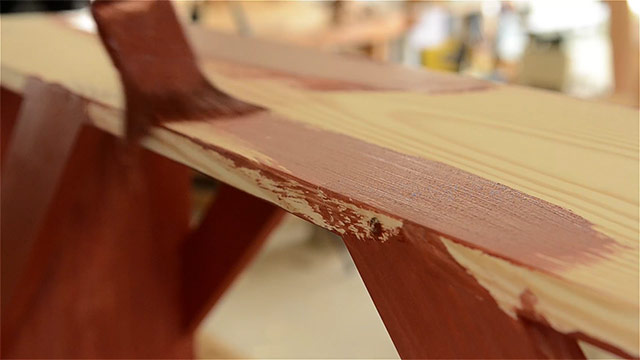
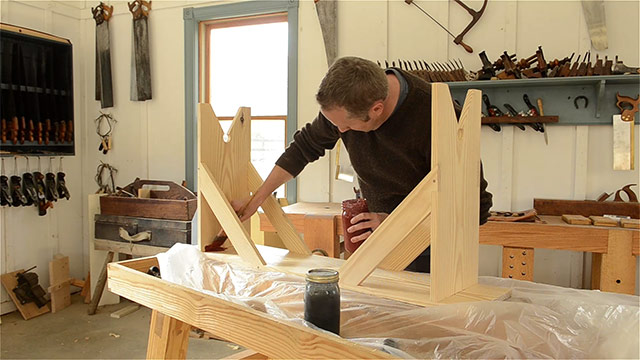
Now it’s time to paint the shaker bench! Every time I shake up the jars, it tends to create foam. I try to spoon out as much foam as possible before I paint, but it honestly is nearly impossible to do. Foam forms every time I shake the jar. You can see the initial foaminess in this photo:
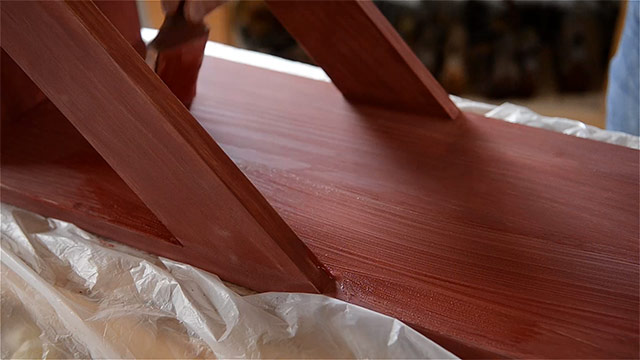
Just make sure that you go back repeatedly over any painted surface to make sure the foamy paint gets spread out. It’ll eventually get smooth.
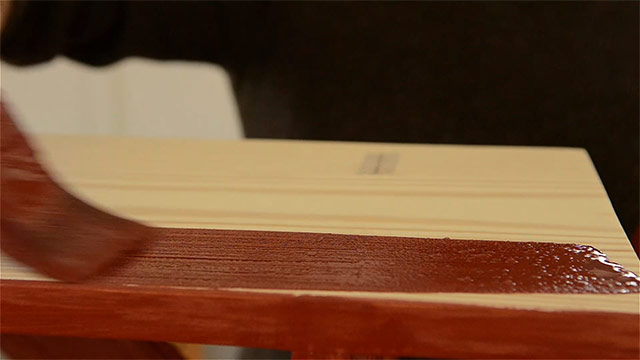
I paint carefully in every nook and cranny, and go back over any spots that look like they need better coverage. But the first coat will not look amazing, so don’t worry if the coverage isn’t great at this point.

And between coats make sure you store the milk paint in the fridge. Some people say to use all of the milk paint in the same day, but this is impractical. I’ve found that you can use it for up to two weeks…or until it starts to smell bad.
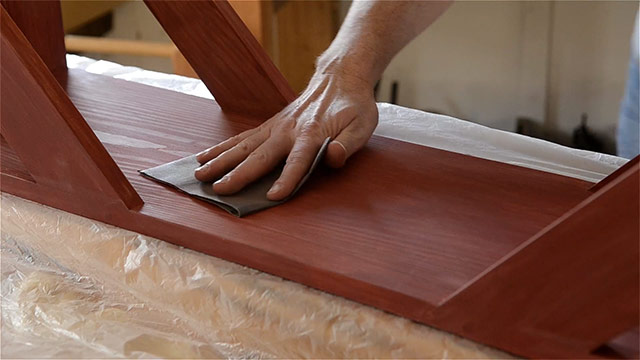
After the first base coat has dried for a couple hours, I can lightly sand over it with a fine grit sandpaper. I’m using 220 grit here. I just sand enough to make the rough surface feel smooth to the touch, but I try to not sand through to bare wood. I feel every part of the bench to make sure I didn’t miss a spot.
After using my air compressor to spray off the paint dust (outside the shop), it’s time for a second coat of red. Again, you’ll see some foaminess in the paint. This seems to be more unique to homemade milk paint. But if you keep coming back and spread the paint with the brush, the foaminess will eventually disappear. And you’ll find that the second coat looks much better than the first coat did.
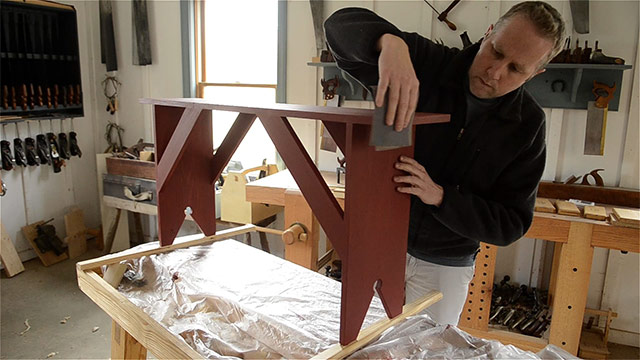
After letting the second coat dry for another couple hours, or overnight, I again do a light scuff sanding as before.
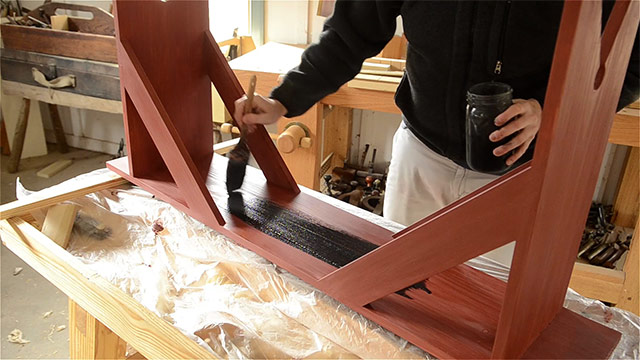
Now it’s time for the first black coat to go on. For some strange reason I find that the black pigments that I bought don’t bond to the homemade milk paint quite as well as other colors do, so I have to be more diligent in going back over the paint with the brush if I see some separation.
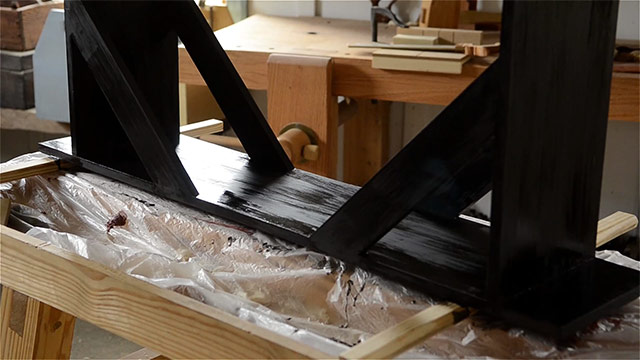
But the black coats of paint sure look nice. I find that at least two coats of black are required to make the finish look nice.
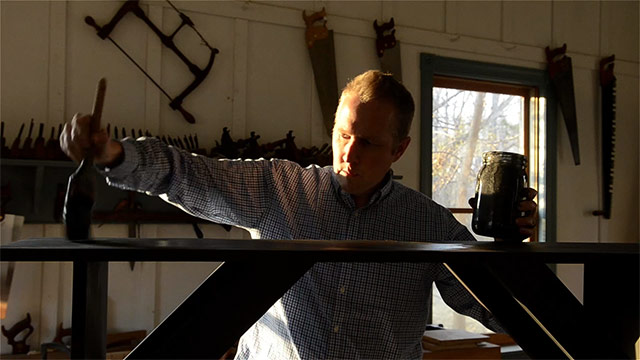
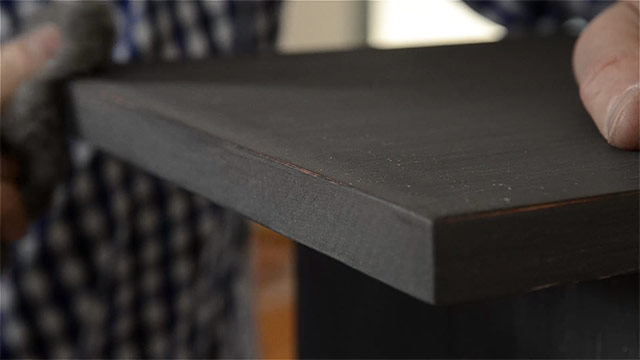
After letting the final coat of milk paint dry for at least a day, I use 4-aught (0000) steel wool to buff the surface until I see a sheen. The sheen may not be noticeable unless you look at it with the right angle of window light, or with a lamp.
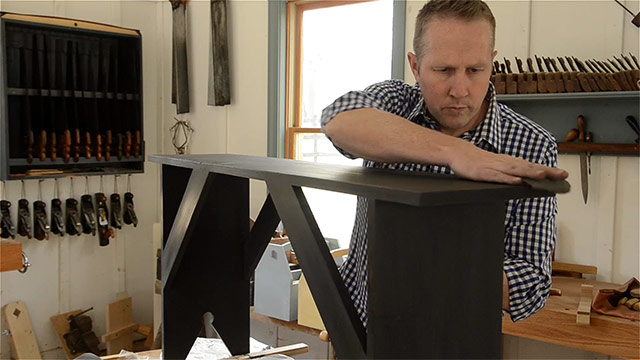
I can also do a little extra buffing in areas where I may want some of the red paint to show through, like on the edges & corners. This gives the furniture an aged look, which I like a lot. I just try to not overdo it.
Adding a Top Coat Over the Milk Paint Finish
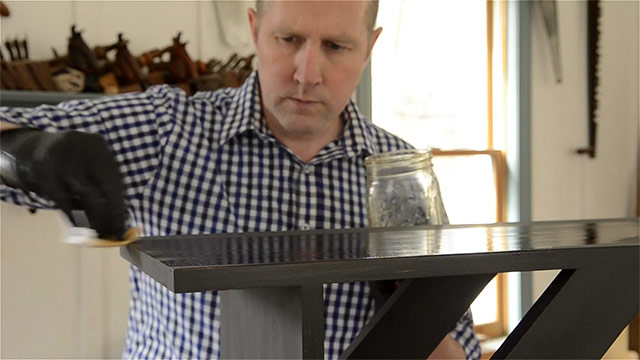
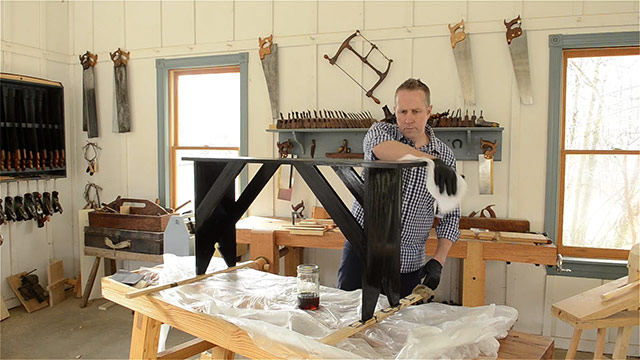
Finally, after using my air compressor again to remove the paint dust, I add a top coat. You can use pretty much any top coat you like, but I’m using a wiping varnish, because I like how the oil in the varnish penetrates the paint, and imparts some depth to the finish, and also some protection for all the rear-ends that’ll be sitting on it.
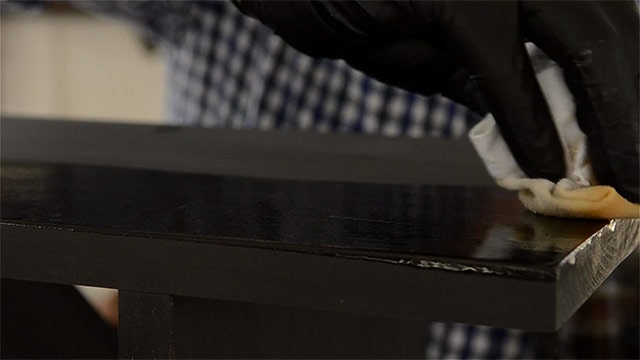
I also like using a wiping varnish, because it wipes on quickly and wipes off quickly, and doesn’t require too much time to build up a finish. After spending so much time with the paint job, I’m not in the mood for a long, drawn out process of applying a complex top coat! Shellac is also a great option, if you like working with Shellac.
Conclusion

Now wasn’t that fun? I had fun, and I hope you had watching! Here are a few photos of the completed Shaker Bench:

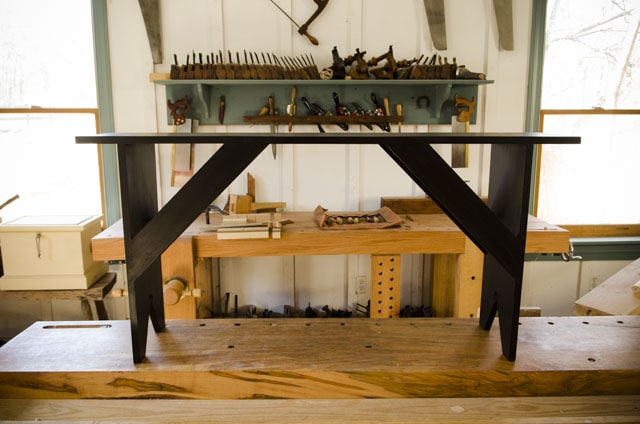
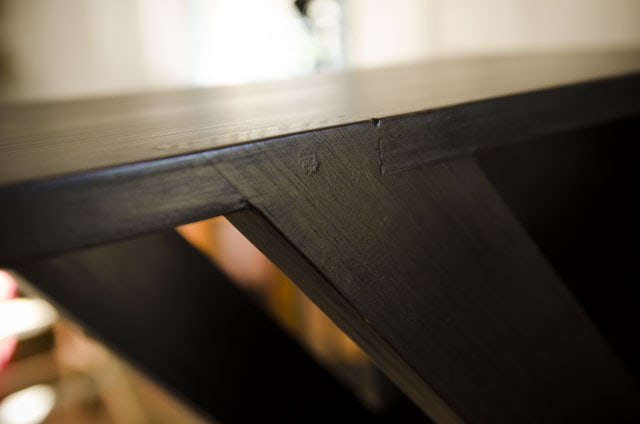
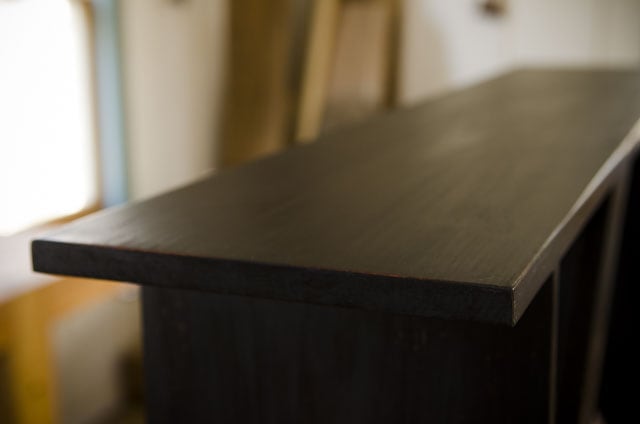
So have I switched to only using homemade milk paint? No. As I already mentioned, there can sometimes be a couple inconvenient drawbacks from making milk paint from scratch, and commercial milk paint sure is more convenient when you’ve got a small project to paint.
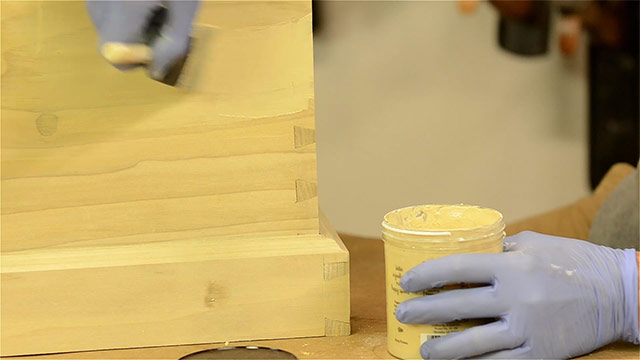
But it sure is fun using a finishing method that’s been around since caveman times. If you’re interested in trying out historical methods like I am, or you just don’t want to go hunting for powdered milk paint, then I hope you give this a try.
If you’ve found this article to be helpful, consider buying the $5 plans for the Shaker Bench (see below), and I hope you’ll leave a comment at the bottom of this page, and consider subscribing to my free articles (here) and to my YouTube channel (here). Thanks for joining me!






Thank you for the article on milk paint. I’ve used the commercial but never made my own.
You’re most welcome Mary Anne! How did you find the article?
Excellent. Keep up the good work.
Thanks Mary Anne!
I’m subscribed. Don’t do much woodworking any more but still have interest.
Welcome aboard Mary Anne!
I can hardly wait to try this on an antique farm table I’m restoring.
Glad you’re going to try it Dale!
Very interesting article, Joshua.,Thank you for sharing your wisdom. I’m a wood turner & recently, over the last few years, started carving spoons. I like the added touch of color at times, and it must be food safe, so milk paint is the perfect choice, not to mention the colors are awesome. Will I make my own? Not sure. I use very small amounts, so the commercial brands might be more practical for my needs. I love the shaker bench,… Read more »
Nice Sam! You should share photos of your spoons on our forum! https://woodandshop.com/forum/
Hi Joshua,
With a homemade milk paint, will it has certain expiry time? Because fresh milk usually expired in one week.
Yes, it will expire fairly quickly, so it’s wise to use it within a day or two.
This tutorial was very precise and educational. Thank you!
That’s a very well explained recipe and I succeeded in a getting a very good texture. However as I kept it for sometime say 20 mins for the first quote to dry it started getting lumpy and lost its flowing texture. Anything I can do abt it ?
Hi Jaya, glad you tried it out! You can keep stirring the paint so it won’t lump. And you can filter it again too.
Thanks a lot ! Your website and work is amazing.
You’re welcome Jaya!
I’m looking to use this as a white wall paint. Any idea how much lime I can add to make it more opaque without losing the binding properties of the quark? Thanks!