4 Steps to Make Quarter Round Molding with a Hand Plane
Put a quarter round molding profile on your furniture with a molding plane and a jack plane
![]() By Joshua Farnsworth | 15 Mar, 2023
By Joshua Farnsworth | 15 Mar, 2023
4 Steps to Make Quarter Round Molding with a Hand Plane
Put a quarter round molding profile on your furniture with a molding plane and a jack plane
![]() By Joshua Farnsworth | 15 Mar, 2023
By Joshua Farnsworth | 15 Mar, 2023
WoodAndShop.com is supported by its audience. When you purchase through certain links on our site, we may earn a small affiliate commission, at no cost to you. Learn more.
Intro to Making Quarter Round Molding
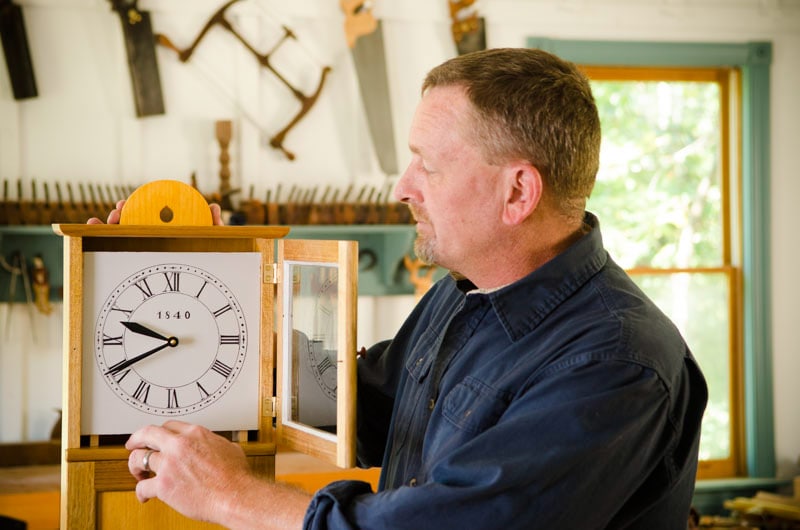
In the above video Will Myers shows how to cut a quarter round molding profile on furniture with an antique hollow molding plane. This video is a excerpt from “Building the Isaac Youngs Shaker Wall Clock with Will Myers“. It is filmed in the Wood and Shop Traditional Woodworking School (check out our woodworking classes!)
What is Quarter Round Molding?
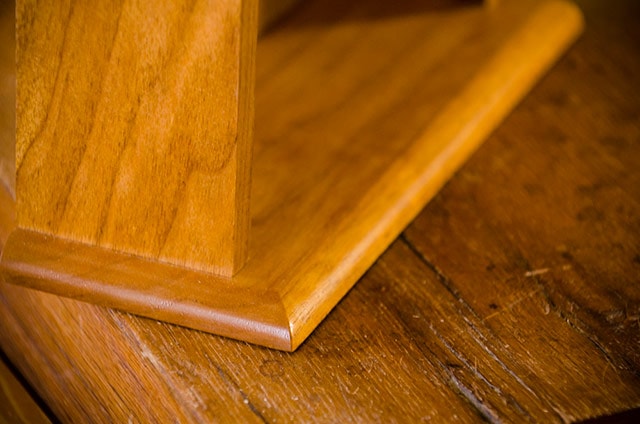
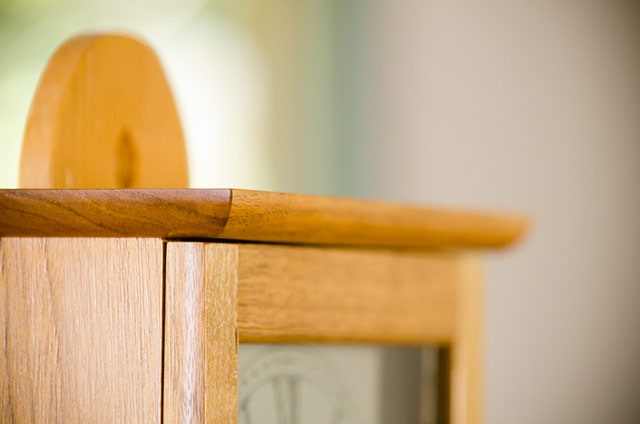
Quarter round molding is basically decorative wood molding that would be one forth (or a quarter) of a circle if a round dowel was sliced lengthwise into four equal parts. Quarter round molding can be purchased in this form, or it can be added with hand tools or machinery onto furniture parts, like this:
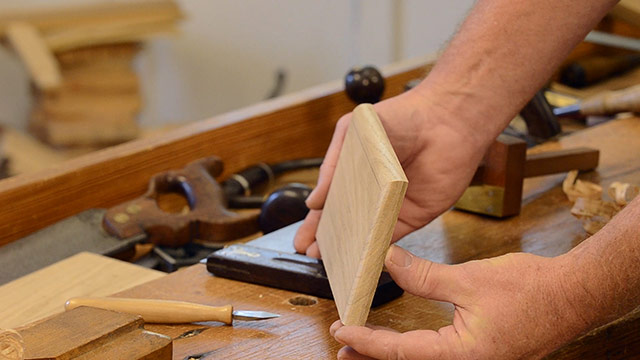
This is the quarter round molding profile that Will Myers cut onto the top board of his Shaker clock in the above video. He made one for the top of the Shaker clock and one for the base of the clock.
Which Hand Tools Do You Need to Make Quarter Round Molding?
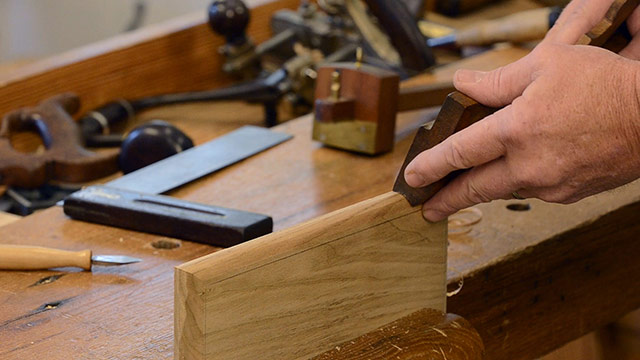
As Will mentioned in the video, quarter round molding profiles can be cut onto furniture parts using a power router. However, the setup time can be much longer for small projects like this clock, and it can also be more dangerous, dirty, and loud. It also requires more of an investment.
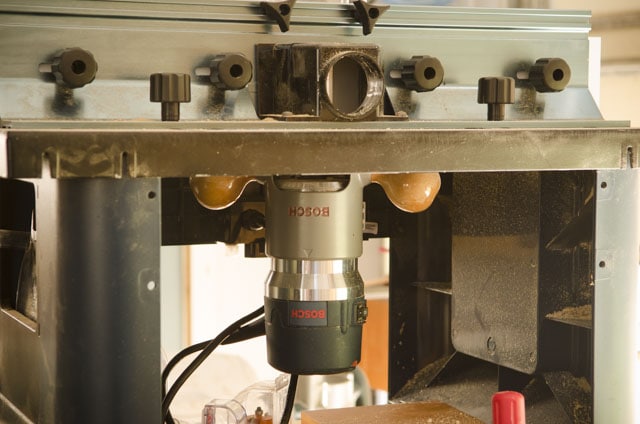
For cutting a simple molding profile like this, all you need is a jack plane (to quickly remove the majority of the waste wood away) and a hollow plane, which is a molding plane. Antique Hollow and Round molding planes come in a set (as seen below) or can be bought pretty affordably alone:
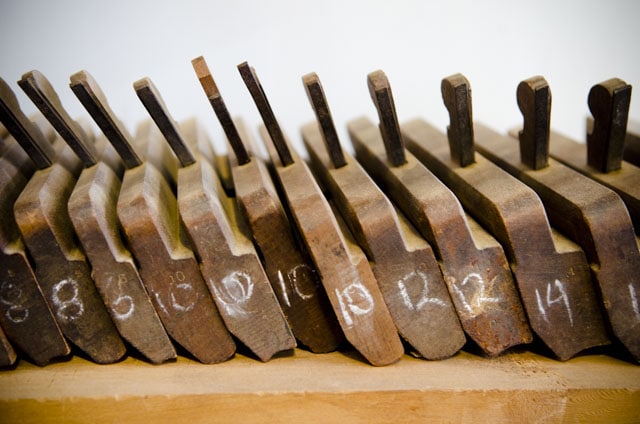
In this video Will used a #10 hollow plane. Anywhere from a #8 to a #12 hollow plane would work nicely for making quarter round molding of this size. You can read more about choosing hollow and round planes in our article here. You can also view vintage hollows & rounds sets here on Ebay
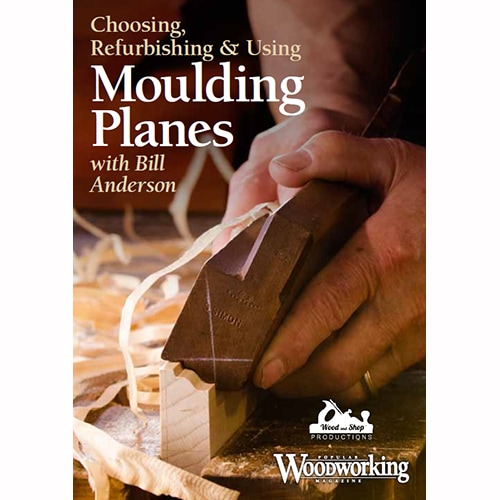
And if you really want to get into buying, refurbishing, and using moulding planes, you can buy our video class here:
You can also make a quarter round molding using a block plane, and just make smaller and smaller facets on the piece of wood. This will take longer and will be harder to get a perfect round shape, but it’s a good option if you don’t want to spend money on a hollow plane.
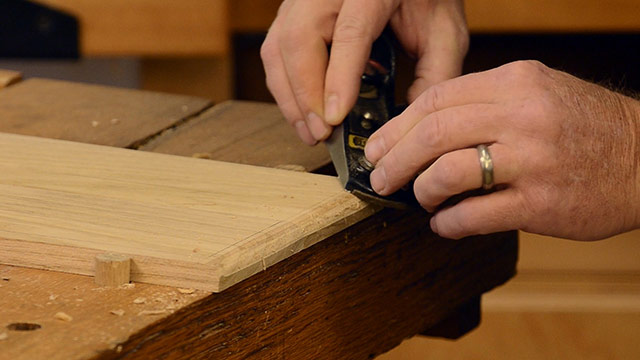
1. Prepare to Cut the Quarter Round Molding
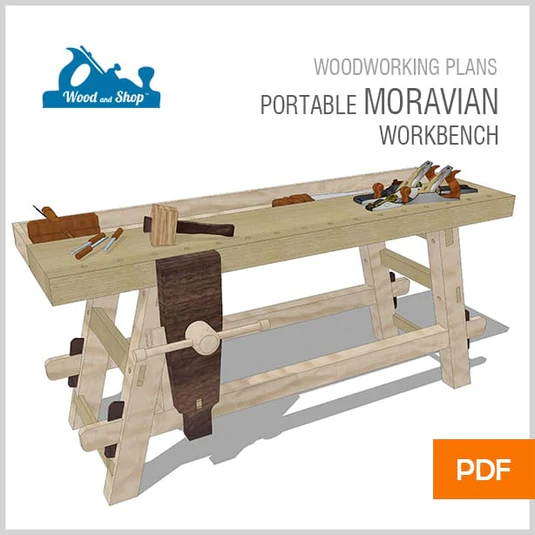
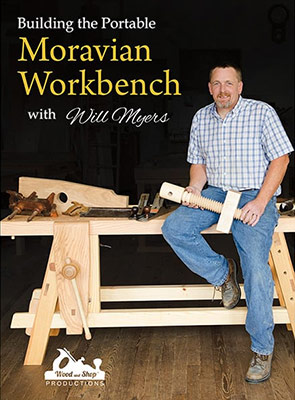
When making a quarter round molding with woodworking hand tools, it’s important to stabilize the workpiece in a bench vise, on a sturdy workbench, like the below Portable Moravian Workbench that Will Myers is using:
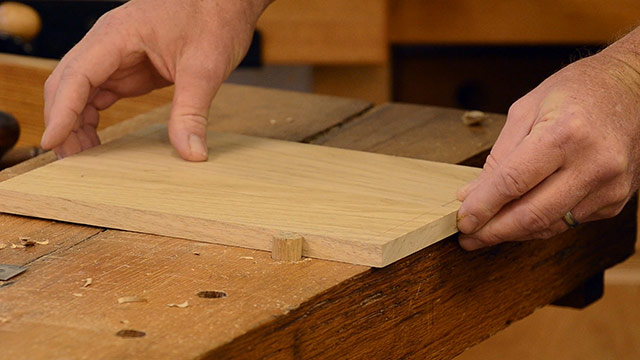
You should mark layout lines on the top of each board so you’ll know how far to plane. They are your safety lines, which you don’t want to cross.
And in this example, Will was cutting the molding profile on two boards at the same time, the bottom board of the clock case:

And the top board of the clock case:
You’ll also want to adjust your hollow molding plane. With a small hammer you tap downward on the iron / blade to make a more aggressive cut.
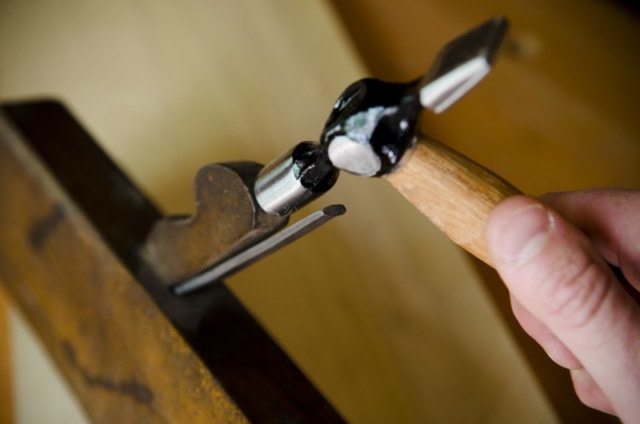
If the cut is too aggressive, then use a wooden mallet to smack the back of the molding plane (on the wooden heal). If you want to watch our full tutorial video, you can find it here: “How to use Antique Moulding Planes“.
2. Remove the End Grain Waste with a Jack Plane
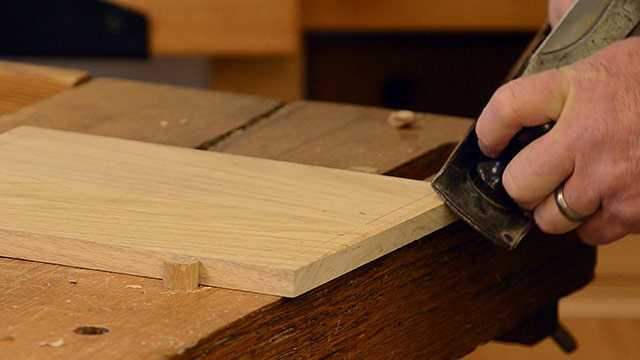
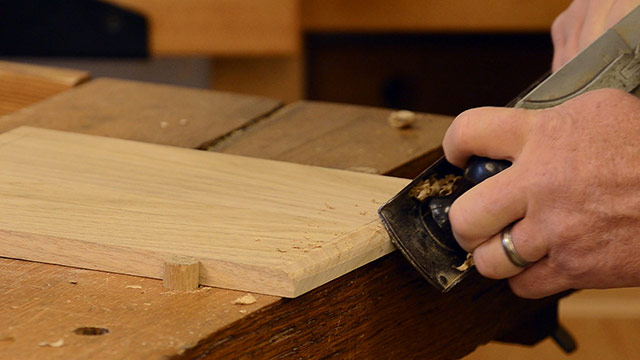
Before using the molding plane it is a good idea to first remove the majority of the waste with the jack plane. The jack plane is more aggressive, and will remove the waste wood much faster than the hollow plane. Leave the fine work for the fine tool, and the rough work for the rough tool. On the end grain, take almost-full passes, stopping before you go to the end of the board. Why? Because you’ll blow out the end. And come from the opposite end, and plane toward yourself:
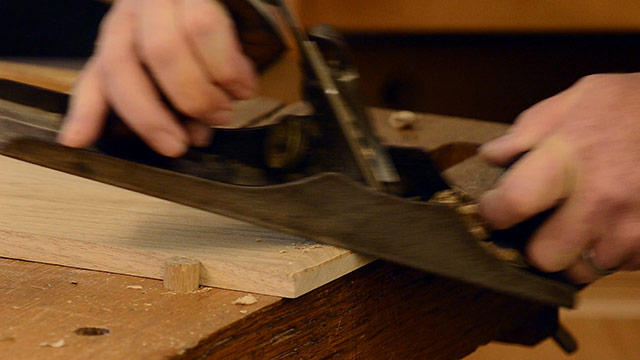
Then keep hand planing from both directions until you get close to your layout lines. I like to start with the ends, instead of the edge, because if I accidently blow out the end grain, I can still salvage the piece when I cut along the edge, or with the long grain.
3. Refine the End Grain Profile with a Hollow Plane
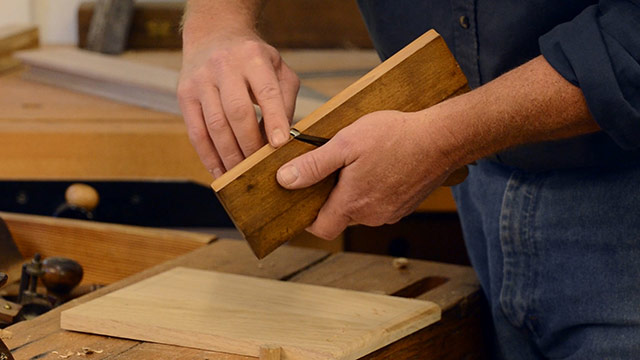
Now that you’ve removed the majority of the waste wood with a jack plane, you can move onto using the hollow molding plane to clean up the quarter round profile. I usually like to use some wax or tallow on the bottom of the hollow plane to make the end grain planing easier. It reduces friction. Another trick for hand planing end grain is to wipe denatured alcohol on the end grain. That’s probably not necessary for this operation, but it can help.
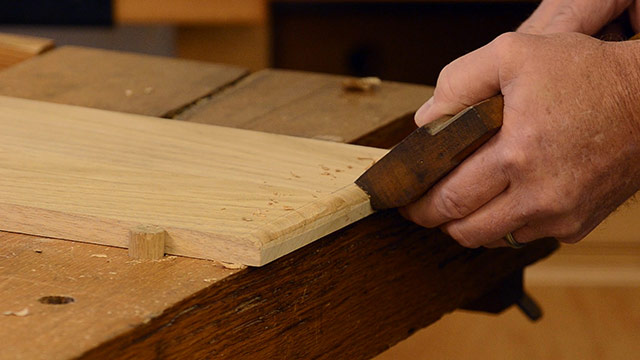
Slowly work the hollow plane along the rough profile, holding it at different angles to make sure you get the whole profile shaped. And just like with using the jack plane, don’t go over the edge, but come from both sides so you don’t blow out the end grain:
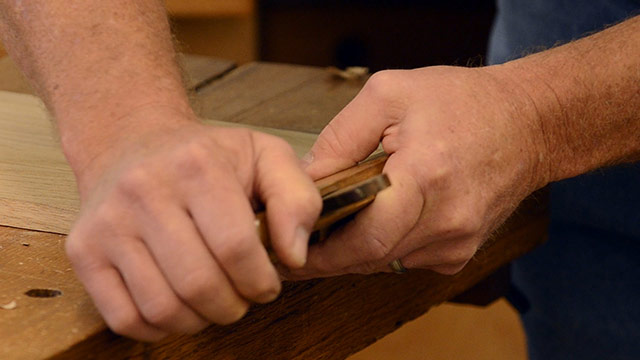
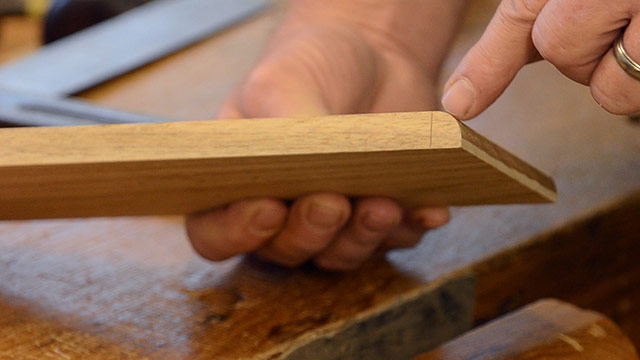
And once you get close to the pencil marks with the hollow plane, then stop. Below you can see how nicely the molding plane rounds the profile. Of course, the bottom of the profile still has a bit of a flat, but that will disappear when you come back with some fine grit sandpaper to smooth the entire quarter round molding profile.
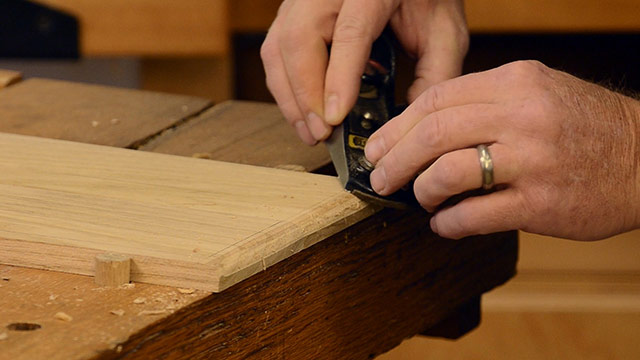
And remember, as I mentioned above, if you don’t have a hollow wood plane, you can use a block plane to create the profile:
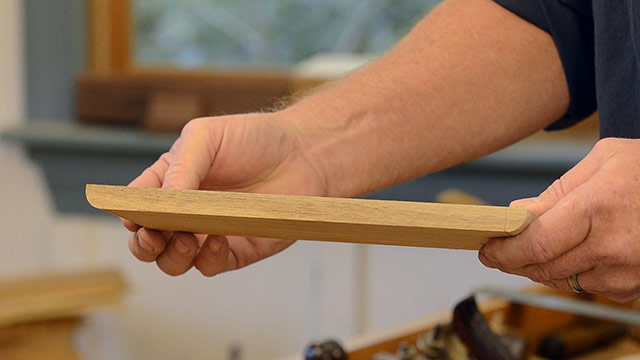
Once you’ve finished the first end, repeat all the same steps on the other end of the board: use the jack plane to remove the rough waste wood and then use the hollow plane or block plane to refine the profile. Once both ends are finished, your board will look like this:
4. Hand plane the Edge Grain Quarter Round Profile
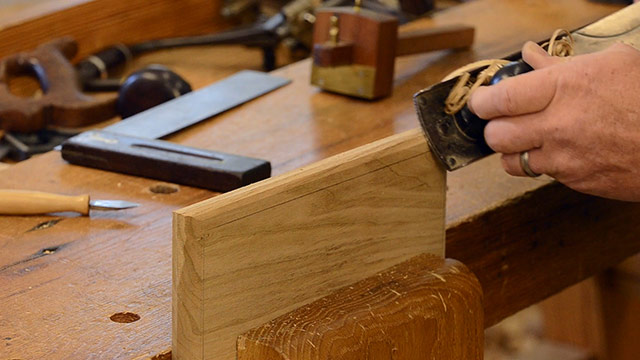
Now that a quarter round molding profile has been cut on both ends of the board, the last step is to connect those two profiles by handplaning the same profile on the edge grain. I find it easier to put the board in the workbench’s face vise, and then again use the jack plane to remove the waste, like this:
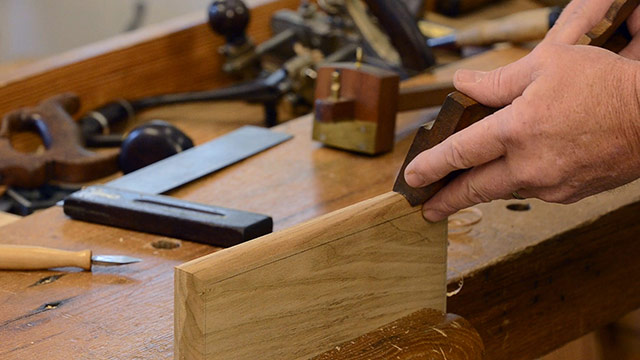
And just like with the ends, use the hollow plane (or the block plane) to refine the edge profile, until the two corners match, and you meet at your pencil marks:
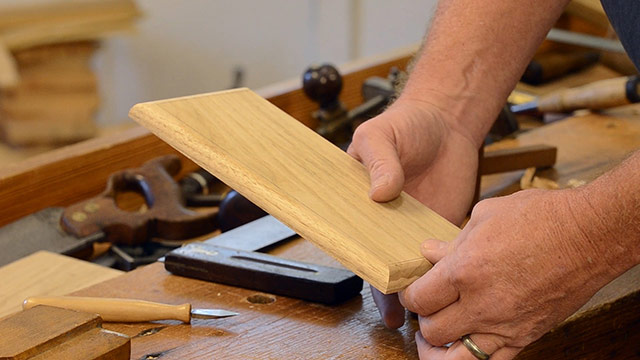
Of course, you would do the other edge if you were planning on making a box, but since this clock will sit against the wall, the beck edge of the board will not receive a profile. The final three quarter round molding profiles should match to look like this:
Please feel free to leave a comment below to share any other tips, or to ask any questions!
