By Joshua Farnsworth
In the above video David Ray Pine stops by my woodworking school to demonstrate his method for making and using a traditional scratch stock to cut a decorative profile. Below I’ll share the steps mentioned in the video. See David’s upcoming classes at the bottom of this page. And if you want to see a tour of David’s workshop, click here.
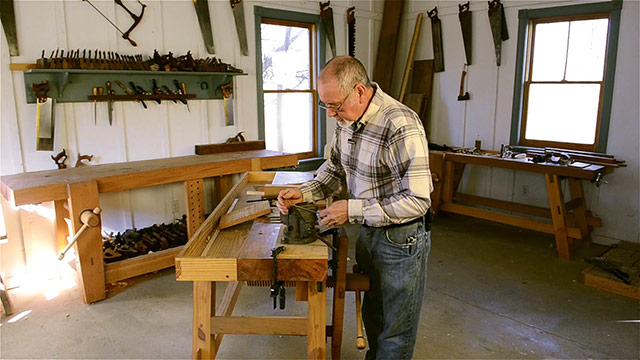
What is a Scratch Stock?
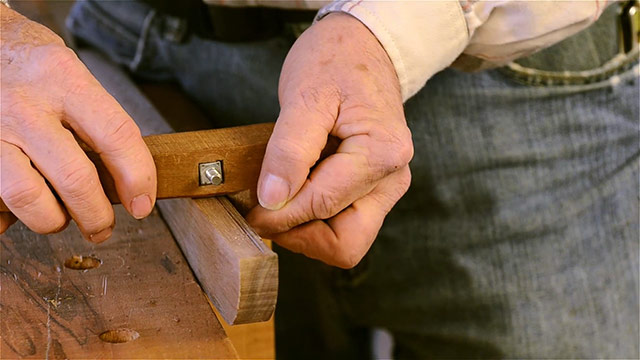
For those who aren’t familiar with what a scratch stock is, it’s a small piece of soft steel with a decorative shape filed into it, held in wooden handle. It’s used to make custom molding shapes in wood, when you don’t have the right shape of router bit, shaper cutter, or molding plane. Or when you just need a short stick of a simple, shallow molding.
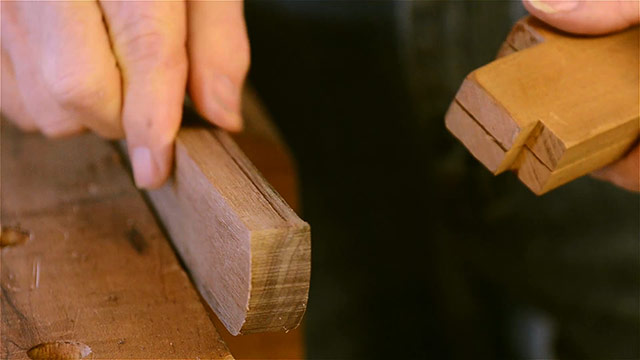
Scratch stocks are very useful because they can be pushed forward or backward, which is great for dealing with difficult or reversing wood grain.
How to Make a Scratch Stock
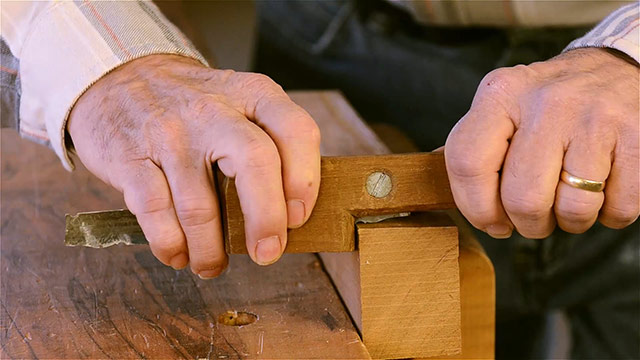
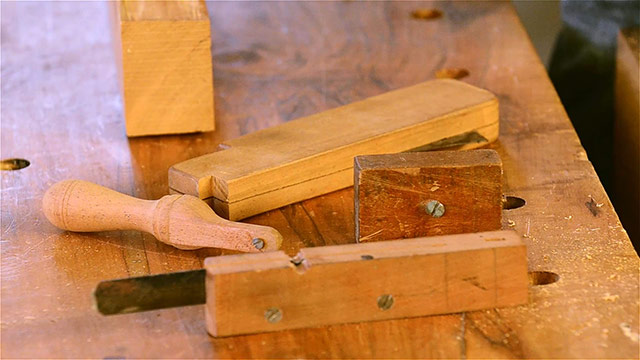
Scratch stocks are super easy to make, and shouldn’t cost you a cent. They are typically just made from scraps in your workshop. The wooden “stock”, or handle is made from a scrap of wood found lying in your scrap bin. Cut a small kerf to hold the cutter, and bore 2-3 holes to add machine screws & nuts as a vise for the cutter. Cut & shape the notch in the stock in a manner that allows you to place your profile in the right spot on your furniture.
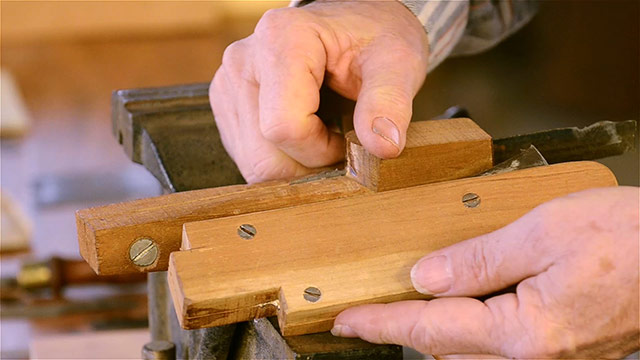
If you have rounded furniture pieces to scratch a profile onto you can shape your stock to accommodate a round shape:
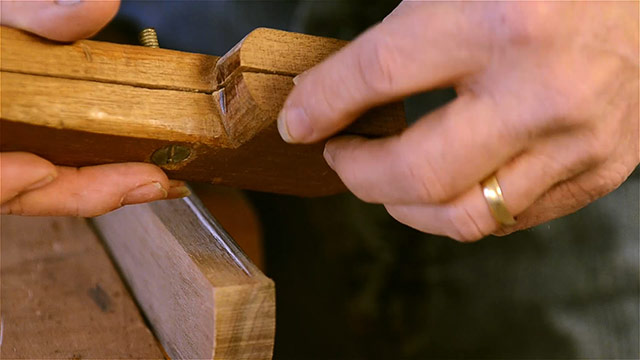
The metal cutter can be fashioned from a thin scrap of sheet metal or old bandsaw blade. It doesn’t need to be tool steel. If using an old bandsaw blade, make sure to file the teeth off (enough to prevent yourself getting cut) and use the back side of the blade for your profile, where the metal isn’t hardened.
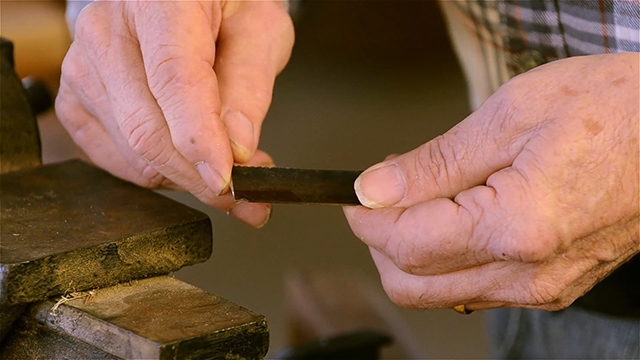
Filing is much easier in non-hardened steel. Use a marker or layout fluid to coat the area of the metal where you’ll be cutting the profile:
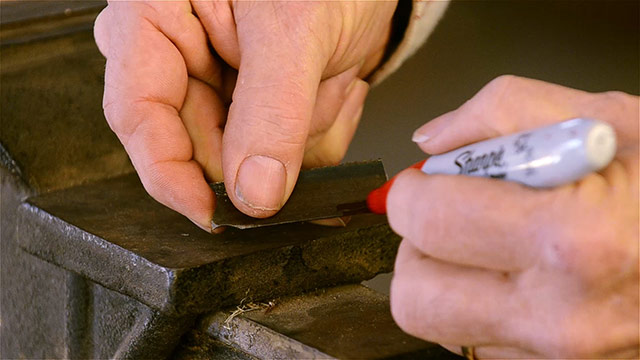
Then use an awl to scratch your desired profile into the metal.
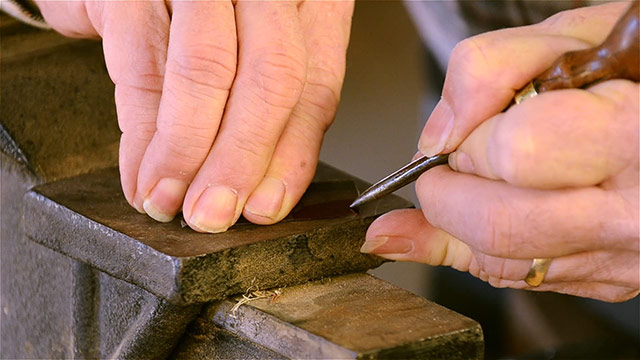
Then use a series of metal files to cut the soft steel down to your scratched profile lines.
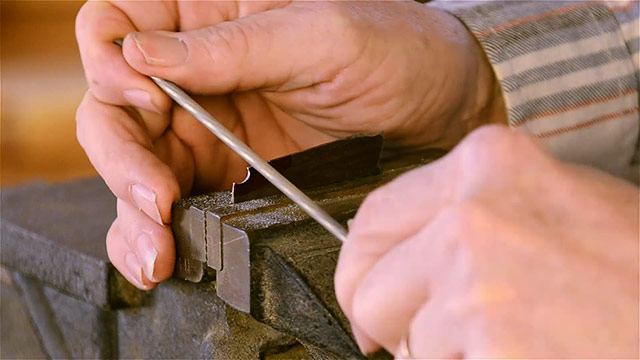
As you can see below, you can make multiple profiles on one piece of metal. This allows you to simply flip the cutter around when you need a different profile.
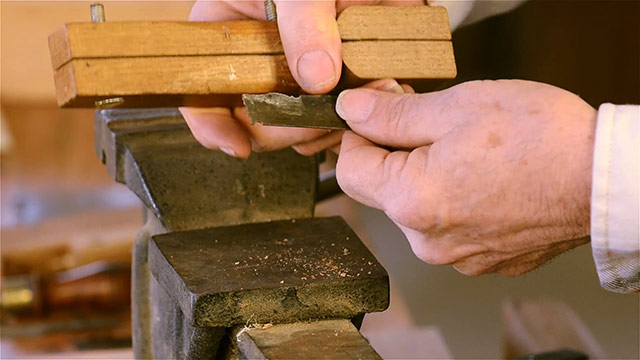
Insert the cutter into the stock so that it just projects enough to make the cut. Then tighten down the screws that you added to the stock.
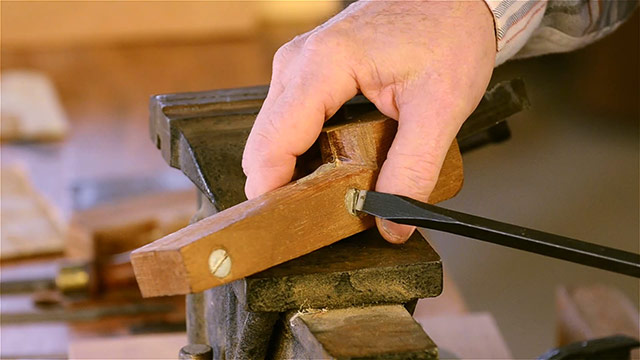
On the scratch stock below you’ll notice that the square nuts were inlaid into the stock to prevent them from moving:

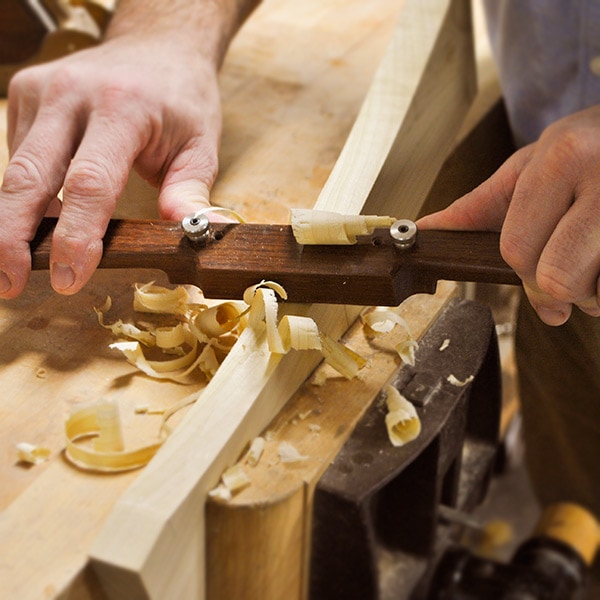
Scratch away until your profile takes shape! Like with molding planes, the scratch stock should stop cutting when you’ve reached the full profile:
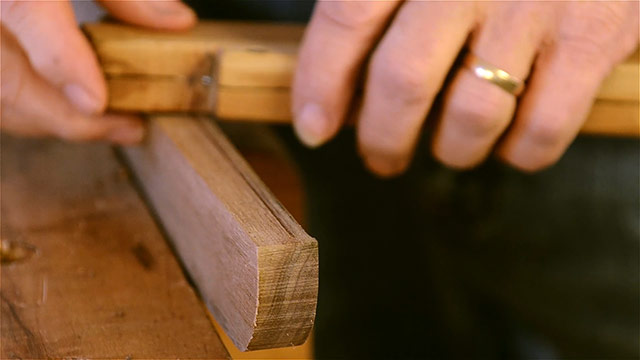
Soon you’ll find a handful of custom-made scratch stocks scattered around your workshop. Comment at the bottom of the page to share your experience with making & using scratch stocks.
2020 Woodworking Classes:
2020 CLASS CALENDAR:
We’ll be adding more classes, so please check back! Or get on our free mailing list (click here) if you want to be one of the first to know when new classes are added.
Mar 12-14: “Introduction to Hand Tool Woodworking with Joshua Farnsworth”
Apr 10: “Hand Cut Moldings with Bill Anderson”
Apr 11: “Hand Plane Skills with Bill Anderson”
Apr 16-18: “Timber Framing with Ervin & Willie Ellis”
Apr 22-23: “Make a Handsaw Till with Tom Calisto”
Apr 24-25: “Make a Dovetail Saw & Tenon Saw with Tom Calisto”
May 1-2: “Restoring Wooden Handplanes with Bill Anderson”
May 11-12: “18th Century Wood Carving with Kaare Loftheim”
May 15-16: “Make a Colonial Ratcheting Table with David Ray Pine”
May 18-20: “Introduction to Hand Tool Woodworking with Joshua Farnsworth”
Jun 5-6: “Build a German Shave Horse with Ervin & Willie Ellis”
Jun 8-9: “Introduction to Wood Veneering and Inlay with Dave Heller”
Jun 11-13: “Bowl Carving & Spoon Carving with Mike Cundall”
Jun 27: “Wood Joinery by Hand with Joshua Farnsworth”
Jul 11: “Make a Moravian Dovetailed Footstool with David Ray Pine”
Jul 16-18: “Introduction to Hand Tool Woodworking with Joshua Farnsworth”
Jul 31-Aug 1: “Carving Wooden Fans & Shells with David Ray Pine”
Aug 29: “Wood Joinery by Hand with Joshua Farnsworth”
Sep 14-16: “Introduction to Hand Tool Woodworking with Joshua Farnsworth”
Sep 18-19: “Sharpening Woodworking Hand Tools with Bill Anderson”
Sep 21-26: “Intro to Chair Making with David Ray Pine”
Sep 29-30: “Make Workbench Fixtures with Bill Anderson”
Oct 9-10: “Make a Wooden Spokeshave with Tom Calisto”
Oct 19-20: “Make a Moravian Dovetailed Candlebox with David Ray Pine”



I absolutely love scratch stocks! It’s so simple to go to and only one’s imagination is the limit. So useful and fun to make :^)