Disclosure: WoodAndShop.com is supported by its audience. When you purchase through certain links on our site, we may earn a small affiliate commission, at no cost to you. Learn more.
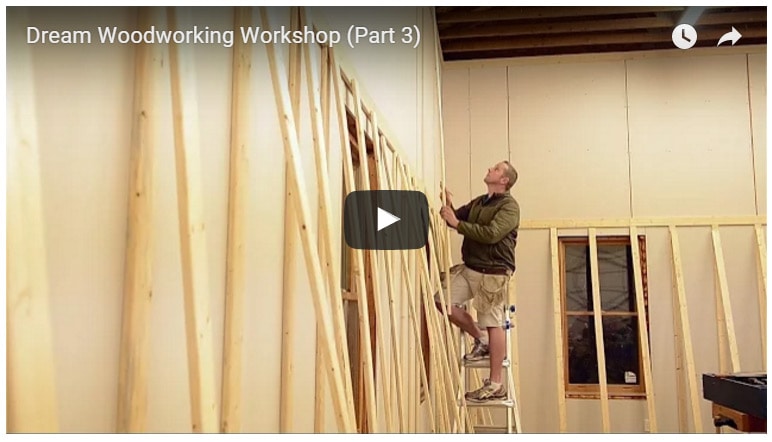
Above is the 3rd progress video of my dream woodworking workshop! You can see the first two videos here. (click here if you’re having trouble seeing this 3rd video).
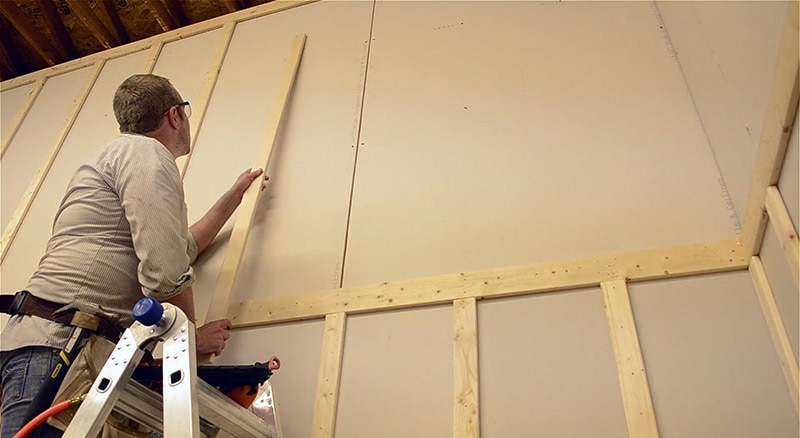
In this phase of my remodel I added battens to the walls to get a board & batten look. I did this both to cover the drywall seams (I hate taping, mudding, & sanding) and to give the workshop walls a historic barn feel.
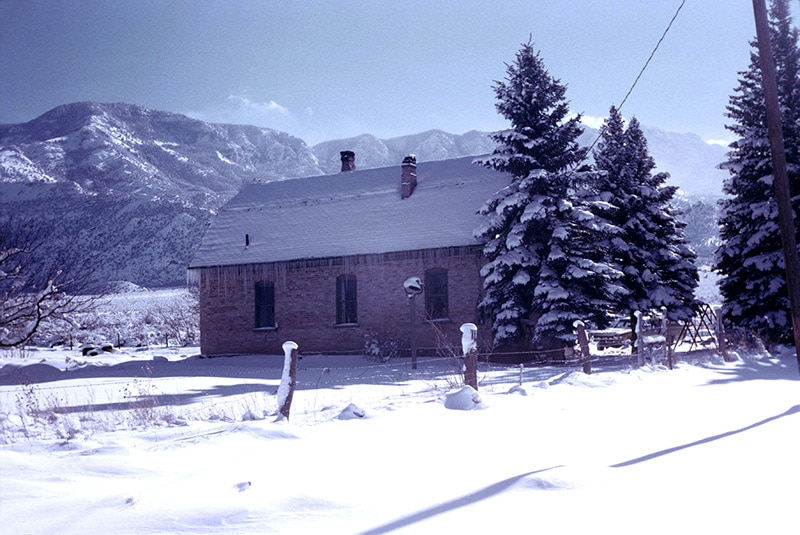
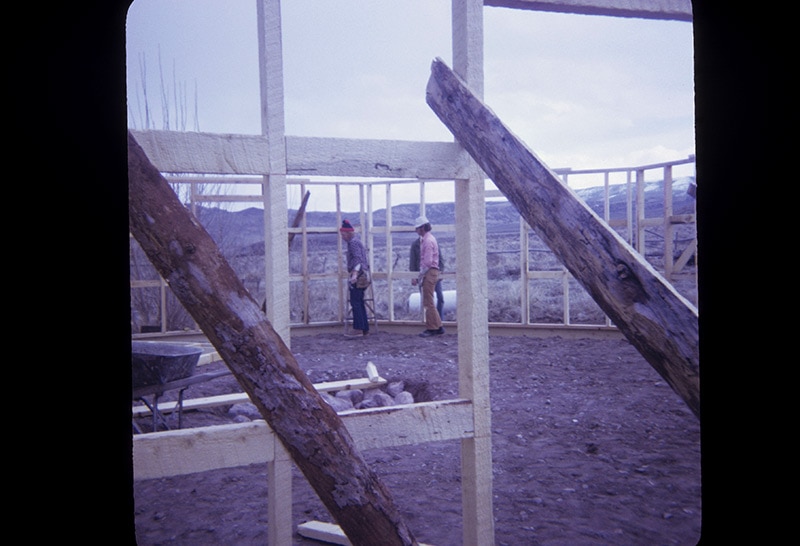
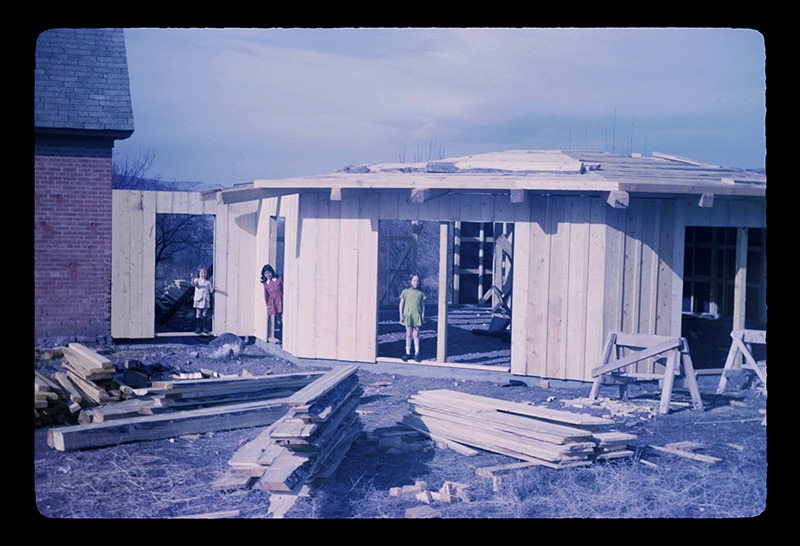
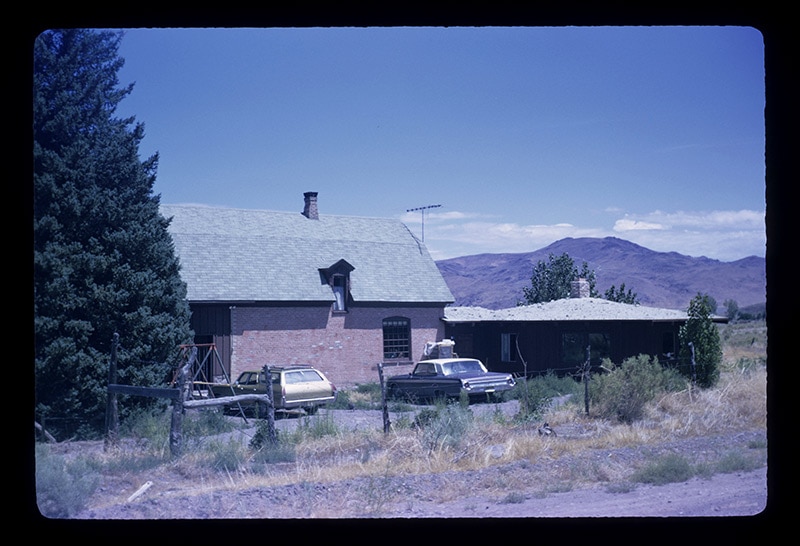
I apologize in advance for my personal childhood memories that I’m about to share…but hey, this is my website, and my history influenced the design of my new workshop…so here we go: So I grew up as the youngest of 10 children on a rural mountain farm in central Utah. Our old renovated brick house had some board & batten construction, mixed with gorgeous old brick work. My parents had purchased the brick home in the 1960’s and renovated it (previously it had been used for grain storage). In the early 1970’s my parents hired a crew to build a Navajo style hogan using a board and batten exterior to match the main house. Here are some photos of their construction job:
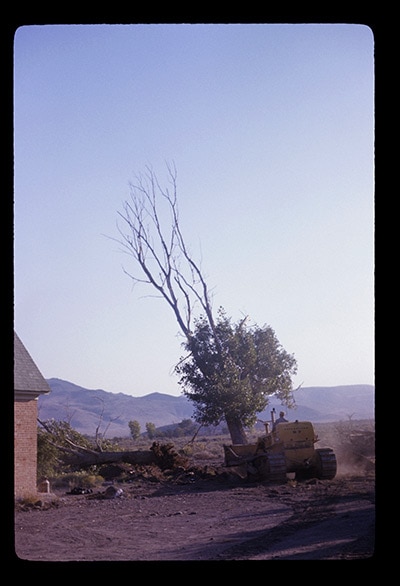
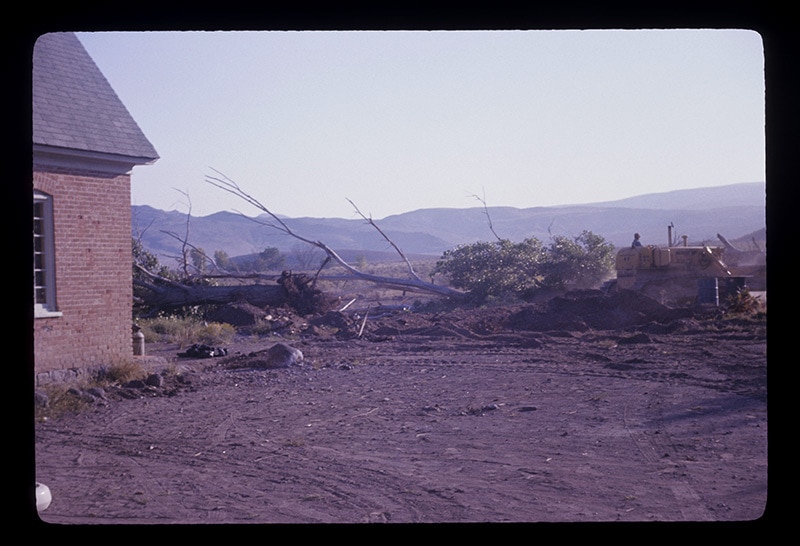
You gotta love the beautiful rough-sawn framing lumber used back in the 70’s in rural Utah:
My sister Heather:
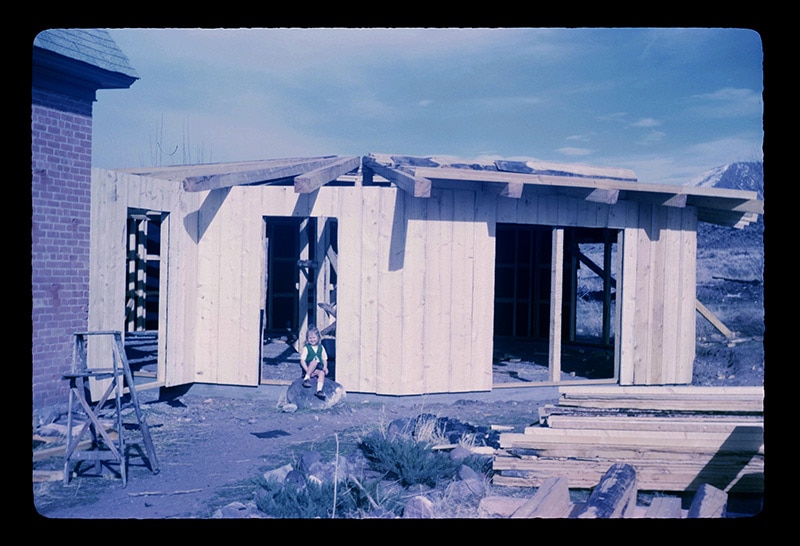
My oldest three sisters, Tiffany (center), Heidi (right), and Andrea (left):
And here’s the finished product (yes, the cars are amazing):
A few years later my sister Tara came along, and then I followed 1 year, 1 month, and 1 day later. We loved our little Annabella home and the freedom to run around town all day without adult supervision…oh the memories of innocent days gone by:
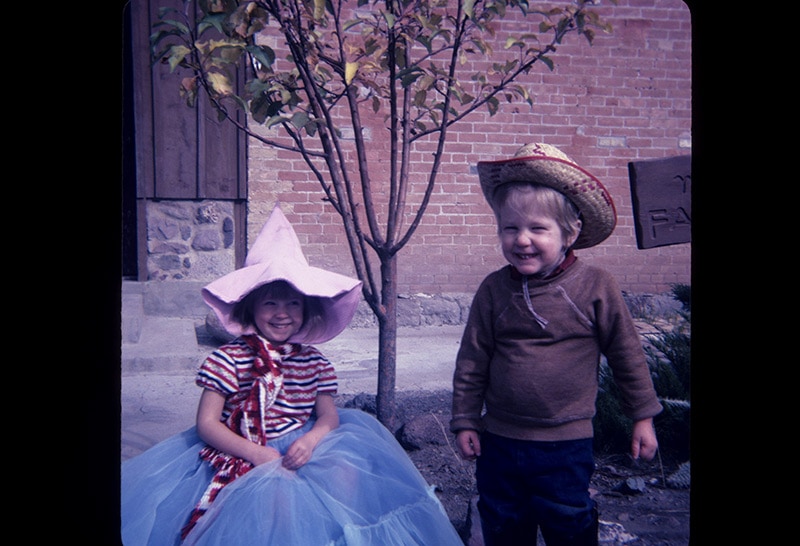
And here’s my beautiful mother (who doesn’t look like she gave birth to 7 babies):

So why did a white middle-aged social worker from Utah build a Navajo hogan? Because one of his greatest passions was working with Native American Indians. Throughout his career he did a lot of work helping many of the western Native American tribes, especially the Navajo people:
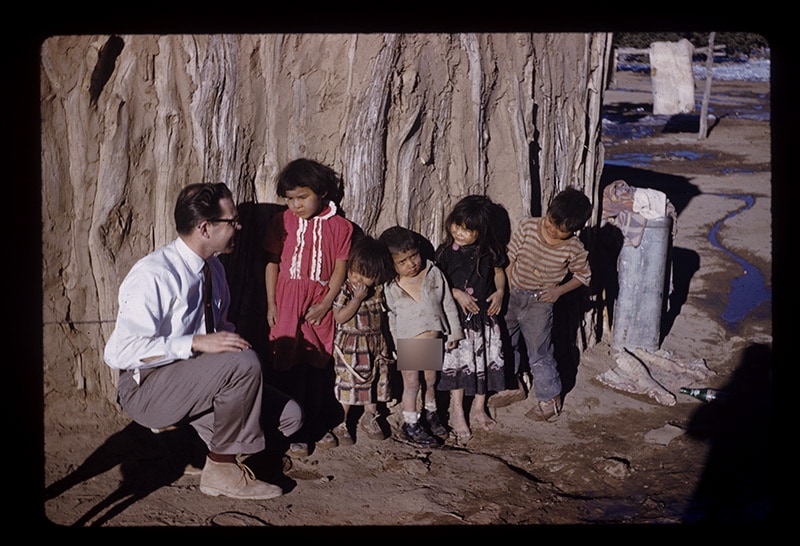
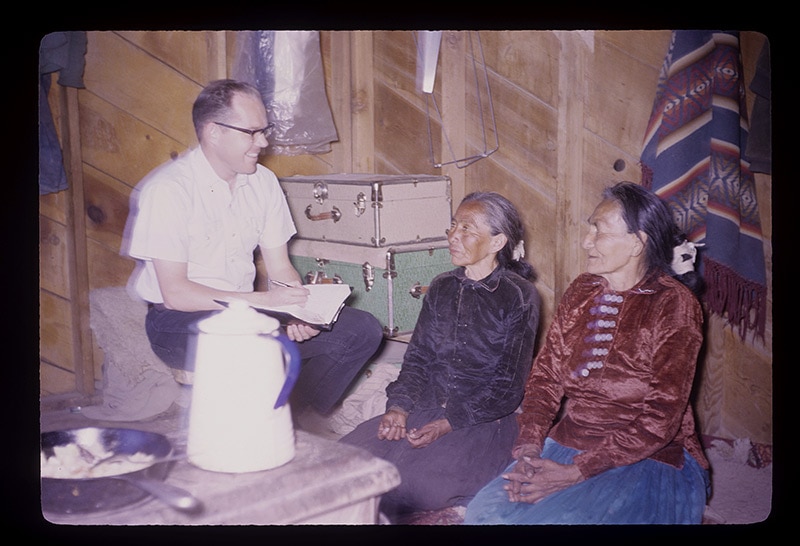
This childhood home (and the hogan) cemented marvelous memories and emotions into my heart. So I guess I’m trying to fold some of those grand memories in my new workshop; especially since my workshop’s exterior looks a lot like my childhood home.
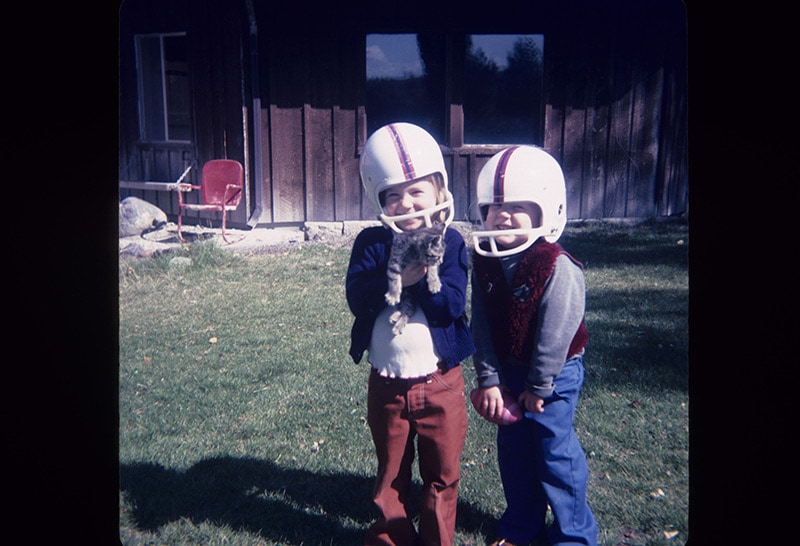
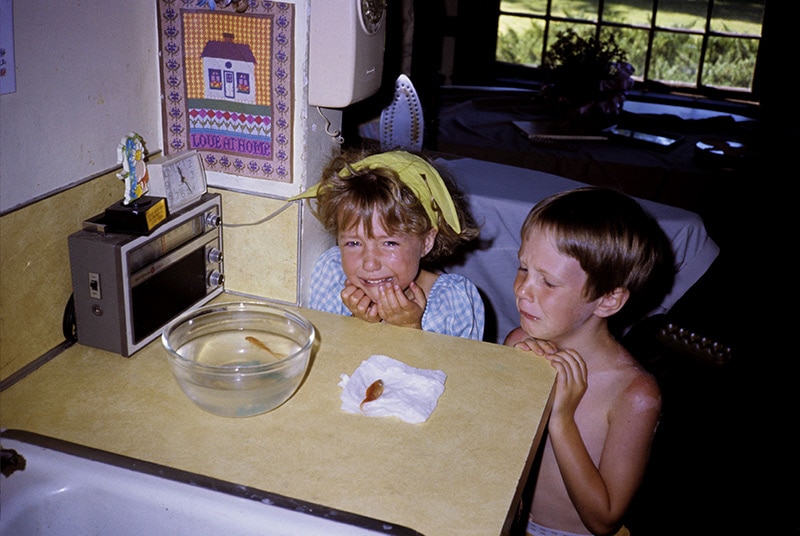
Okay, just two more childhood photographs…my favorites (I’m on the right and my sister Tara is on the left):
Okay, back to my workshop remodel: after I’d installed the battens behind where my wood stove would go, I then found an affordable new wood stove (the used ones on Craigslist were either sold too fast or were too old to meet EPA guidelines…necessary for insurance purposes).
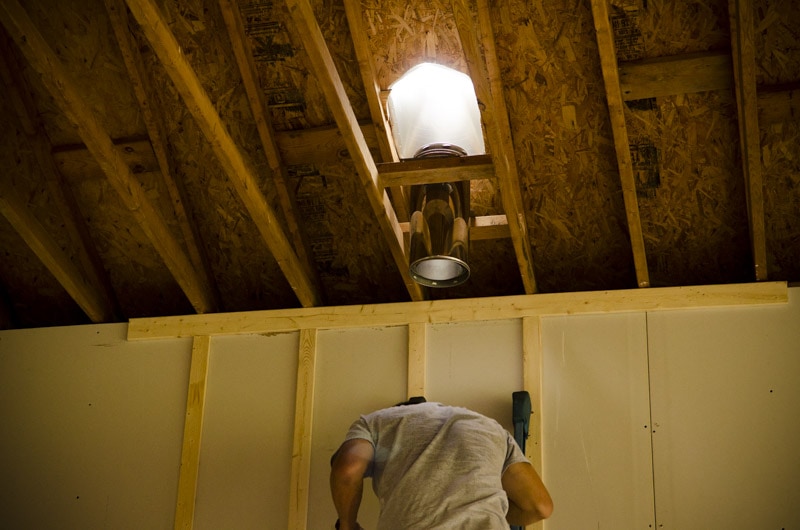
The stove guys installed the wood stove and the very long stove pipe 14+ feet up into my roof. In the video I mentioned that I’d specify the model: it’s the Englander model #13-NCH, 1,800 sq. ft. Wood-Burning Stove. I bought it at a local wood stove store, but I found it at Home Depot as well (the store matched Home Depot’s price for me). It’s been an amazing wood stove! (Update: my sister gave me a larger Jotul wood stove (made in Norway), so I sold the Englander and now have a nice cast iron wood stove with more heat output).

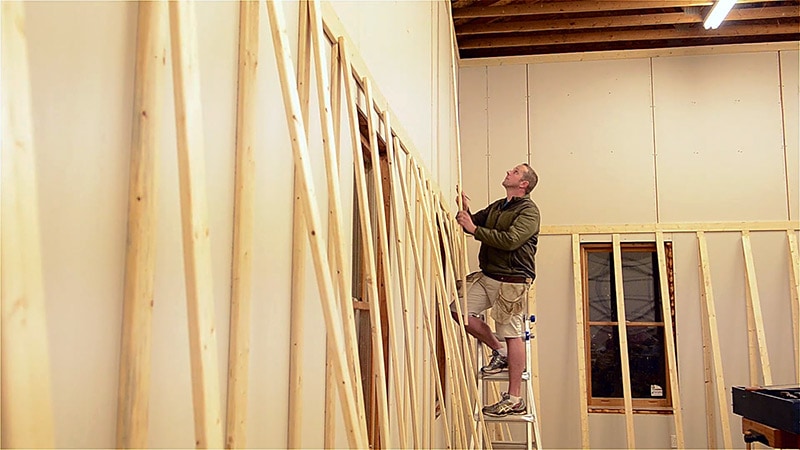
After the wood stove was installed I moved on to adding battens to the rest of the walls:
I wanted to incorporate shaker peg railings like these into my workshop’s center railings:
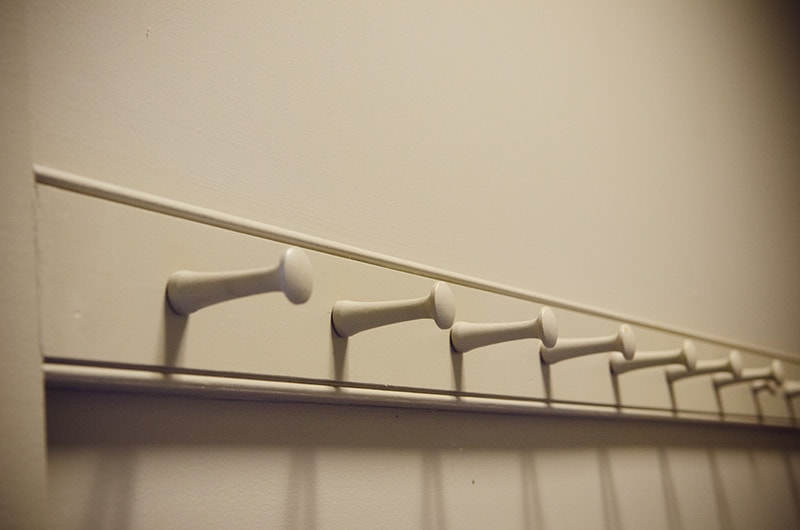
So I ordered 50 birch turned shaker pegs (3 1/2″) from a guy in Maine (via eBay) for the spectacular price of $19.99 (with free shipping). That’s $0.40 per peg! Here’s the eBay link. Because the price was so good I ordered another 50 for other furniture projects that I’ve been working on. I added the pegs to the center railings (you’ll see this in the next video & article).
In the next video & article you’ll see the ceiling go in, the attic insulation get blown, the stairs added, and the primer & paint sprayed on…almost there!
QUICK LINKS TO ALL PARTS:
- My Dream Woodworking Workshop (part 1)
- My Dream Woodworking Workshop (part 2)
- My Dream Woodworking Workshop (part 3)
- My Dream Woodworking Workshop (part 4)
- My Dream Woodworking Workshop (part 5)
- My Dream Woodworking Workshop – All Finished! (part 6)
Make sure you’re subscribed (click here) so you can see the progress over the coming weeks. And feel free to share feedback and ideas in the comment box below!

Joshua, I loved this blog post, especially the write up about your family and the old photos. I grew up in Idaho and could relate with all the family photos. I especially loved the photo of the dead gold fish…priceless. Thanks for all the work you have put into this site…lots of great information here. I also run a few blog sites. I’ll include links. If you’re interested, take a look. My wooden sailboat building blog: buildingshackelton.wordpress.com My cycling blog:… Read more »
Thanks Brent…glad you liked it! Where in Idaho did you grow up? That’s where my mother is from.
Very cool blogs. Gorgeous boat! It’s my dream to build a wooden sailboat someday. I’m also in love with cycling. This part of Virginia is very popular for cycling because of the lovely farmland and blueridge mountain views.
What a nice size shop and really glad to hear about the future school. Living up in Canada we basically wing it, the chance of a hand tool woodworking school is about as remote as finding another hand tool enthusiast! I was musing as I watched the video and wondering if you took the time to thread your shaker pegs(like the shakers did) so they could be easily replaced if broken, but after reading the post and getting them for… Read more »
Howdy to my neighbor up north! You’ll just have to fly down here when the school is finished! No, I most certainly did not thread the shaker pegs. Wow, what a job that would be huh? That’s great to hear about your kids getting to live on some land. They need to run and play outside, rather than being cooped up inside playing video games all day. Have fun with all that cedar, fir, and alder…make sure you post some… Read more »