[Disclosure: WoodAndShop.com is supported by its audience. When you purchase through certain links on our site, we may earn a small affiliate commission, at no cost to you. Learn more.]
By Joshua Farnsworth
In this video & article I’ll be showing how to cut the infamous Tongue & Groove joint with both hand tools and power tools, and also cover the pros and cons of each method.
What is a Tongue & Groove Joint?
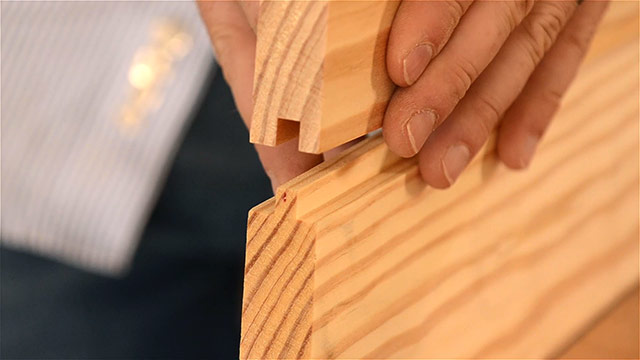
A tongue and groove joint is comprised of a tongue that sticks into a groove, and is used to lock together two boards, but it allows for seasonal expansion and contraction with changes in humidity. A tongue and groove joint is commonly used in applications like wood flooring, the bottoms of blanket & tool chests, and the backs of traditional cupboards.
The tongue & groove joint doesn’t have to fit tightly, as long as it overlaps. And it’s preferable that the tongue is shorter than the groove, so that the joint isn’t pushed apart in seasons of higher humidity. Now let’s talk about what tools you need for making a tongue & groove joint.
What Tools Do You Need for Making a Tongue & Groove Joint?
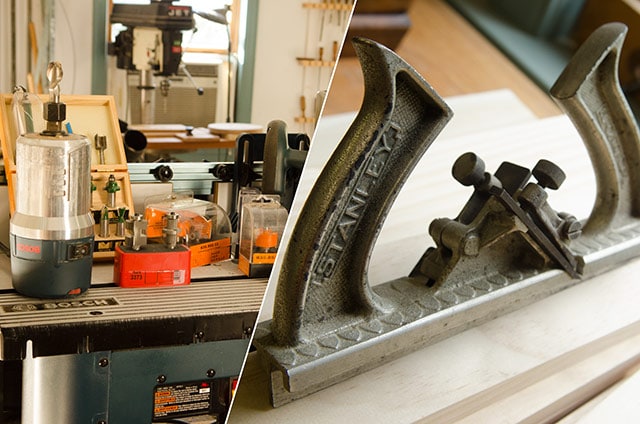
Below I’ll cover which tools you’ll need for making tongue and groove joints. First I’ll talk about hand tools used for making a tongue & groove joint, then I’ll talk about the power tools used for making a tongue & groove joint. (Note: Some of the below links may earn me an affiliate referral fee, but doesn’t cost you anything).
Handplanes Used for Making Tongue & Groove Joints:
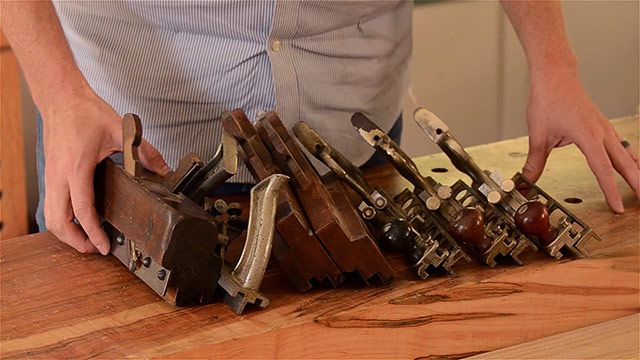
Historically this joint was cut using Tongue & Groove planes. As you can see, there are several styles of tongue & groove planes available, all of which are fun to use.
Wooden Matched Pair Tongue & Groove Planes:
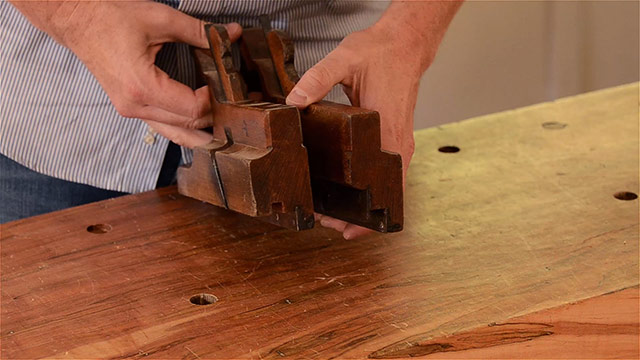
The oldest style that I own is a matched pair, where one handplane cuts the tongue and the other plane cuts the groove.
This is my favorite way to cut the joint, because of the comfort and stability of the plane. However, a good set may not be really easy to find. But definitely keep your eyes open. You can visit this Ebay link to see what’s available.
Come and Go Tongue & Groove Planes:
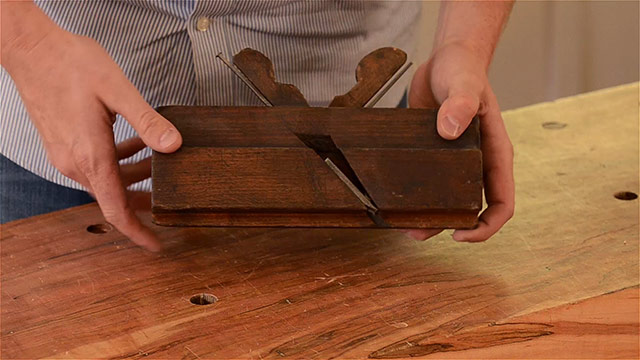
The next style is called a “Come and Go” plane. You cut the tongue by pushing the plane one way, and cut the groove by pushing the plane the other way. The plane originally came with a wooden body, but was replaced by a metal version in the late 1800’s.
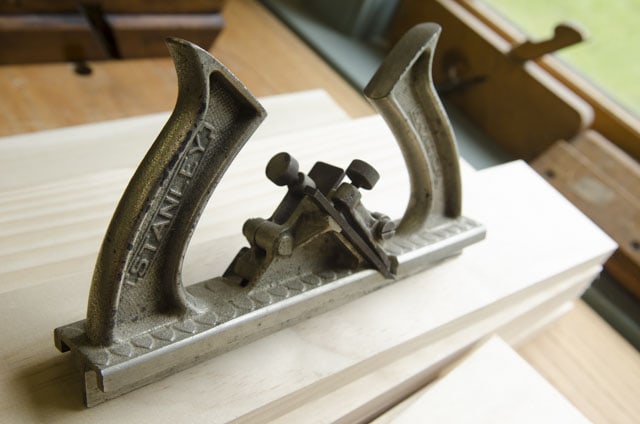
Here you can find both styles on Ebay:
Swing Arm Tongue & Groove Planes:
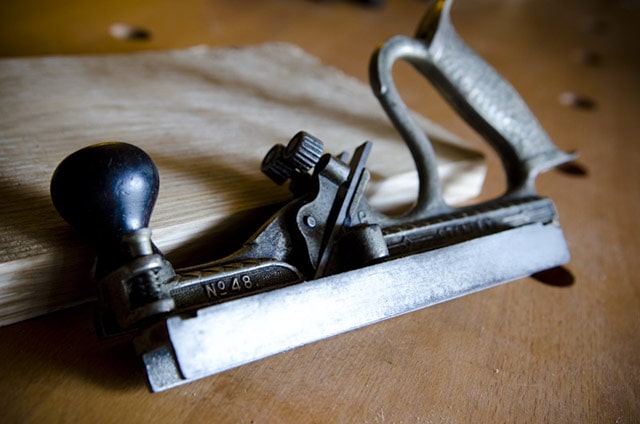
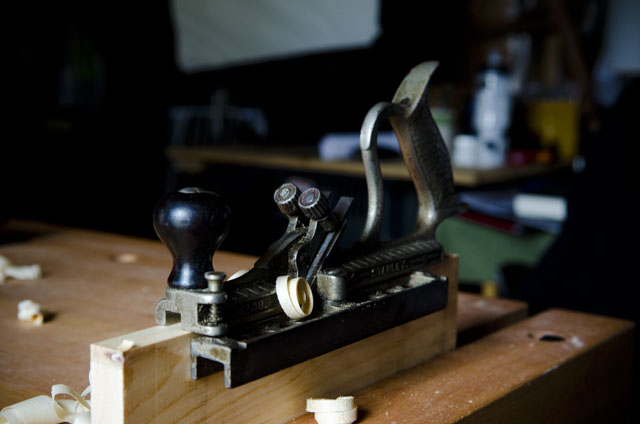
The most readily available Tongue & Groove plane is called a “swing arm” or “swing fence” plane. You push the plane to cut a tongue, then you simply swing the fence around, and plane the groove. These models are quite common and easy to find.
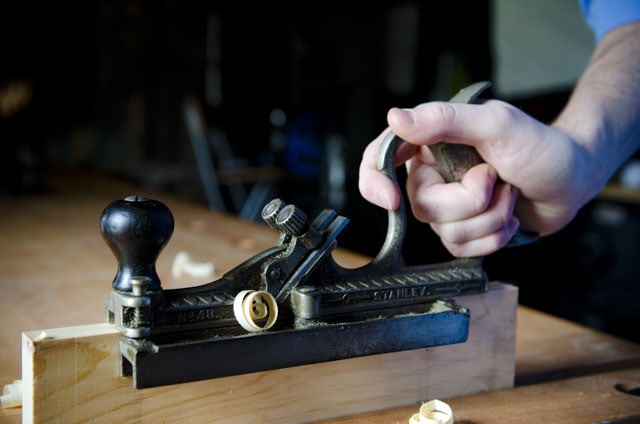
Here are two models of swing arm planes that I own:
- Find Stanley swing arm tongue & groove plane on Ebay
- Find Fulton swing arm tongue & groove plane on Ebay
Power Tools Used for Making Tongue & Groove Joints:
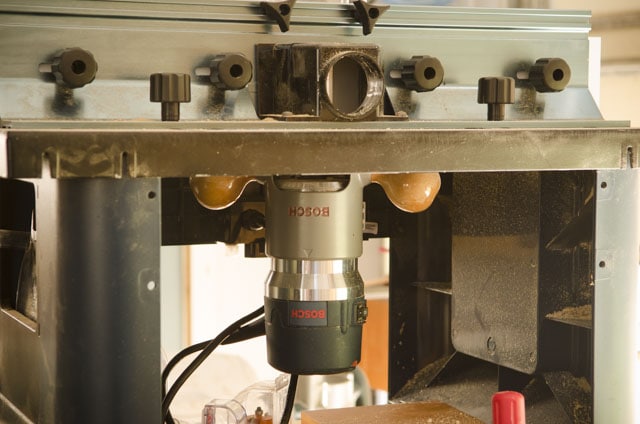
Now let’s talk about the tools needed for cutting the tongue & groove joint with a power router. Here I’ll be focusing on using a router to cut the tongue & groove joint, but you can also cut the joint using a dado stack on the table saw. In the future I’ll try to cover that skill. Basically all you need is a router motor, router table, a tongue & groove router bit set, a shop vac, a couple marking tools, and safety equipment:
Router Motor:
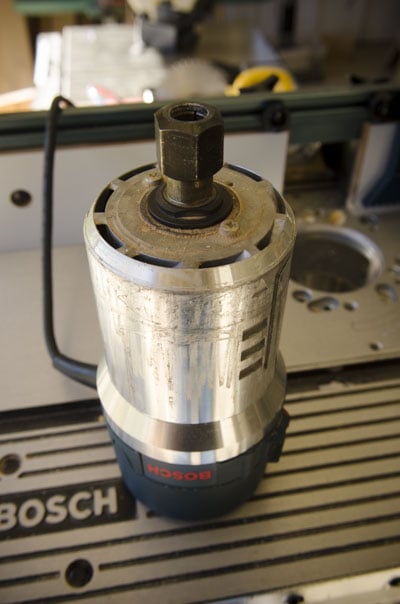
The heart of this setup is the router motor. It is mounted upside down in the router table. This is accomplished by mounting the router’s fixed-base to a router table insert. Then the insert is set into into the top of the router table. Finally, the router bits are inserted into the collet, and snugged tightly with the collet nut. I mostly use a 1/2-inch collet so that I can use stronger router bits with a 1/2-inch shank.
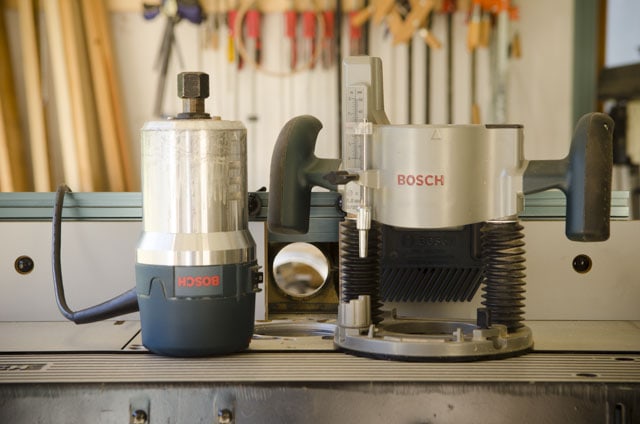
About five years ago I bought this excellent Bosch router motor that comes with a fixed base and a plunge base. That way I can just leave the fixed base permanently attached to the router table’s insert (because it’s hard to adjust it), and I use the plunge router base when I’m using the router outside the router table (e.g. when I’m plunge routing workbench dog holes or table leg mortises). If you plan on just using your router motor in the router table, then you can buy the motor with the fixed base (find it here).
Router Table:
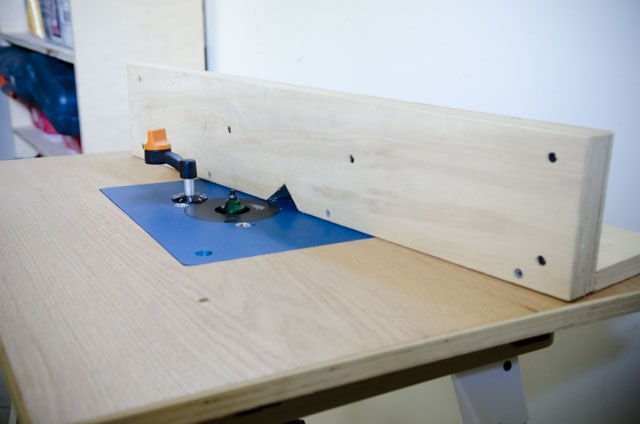
A router table is used to hold the router motor, and has a fence against which the work is run through the rotating router bit. You can certainly make a good router table, like my former router table (pictured above). But if you’d rather build furniture than make a router table, then a manufactured router table is a great choice. My newer router table (pictured below) is quite affordable and has some great features that make it perfect for my workshop.
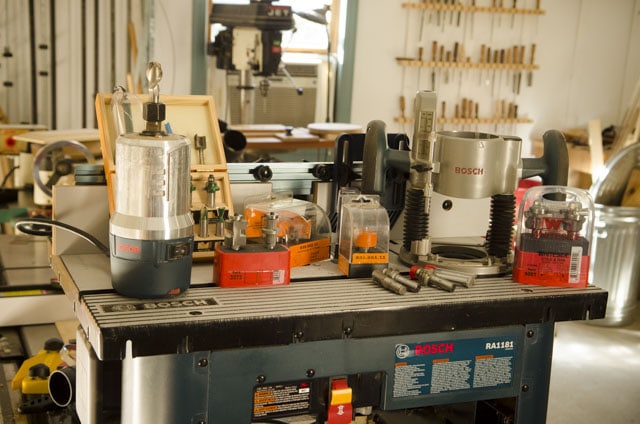
I needed something easily portable, so that I can move the router out of the way when classes are in session. I simply clamp the router table to my table saw extension table, or to a workbench. It also has a lot of convenient features, like:
- A fence that adjusts in multiple ways
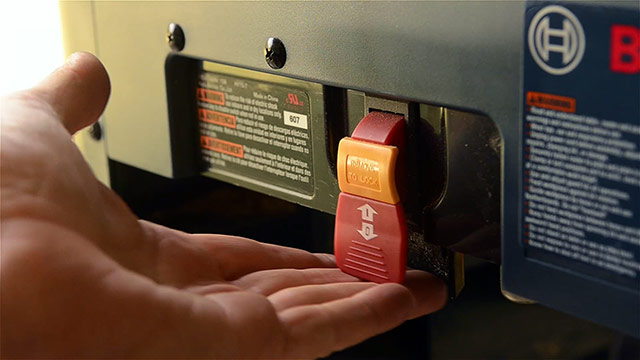
- A power switch that runs both the motor and the shop vac (my favorite feature)
- A shop vac port
- A nice aluminum table & table insert (you have to buy an insert when you make your own router table)
- Adjustable featherboards & router bit guard
- Side storage
You can find my Bosch router table for $199 here at Amazon
Router Bit Set:
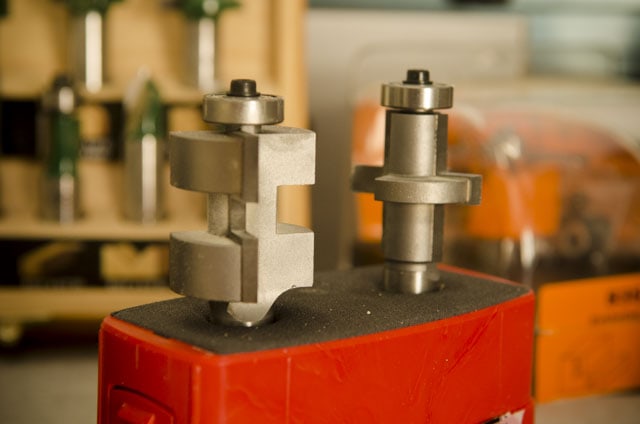
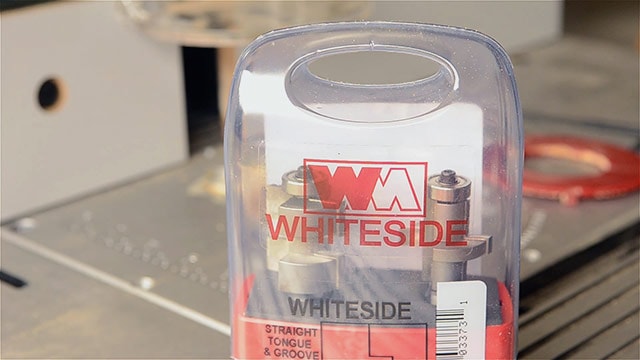
A tongue & groove joint can be cut a couple different ways on the router, but in my above video I used a tongue and groove bit set. Whiteside sent me these excellent router bits to try out, and they work fantastic. Do a little research, and you’ll find that most woodworkers agree that Whiteside makes the best router bits. You can find the router bit set model that I used here at Amazon.
Shop Vac:
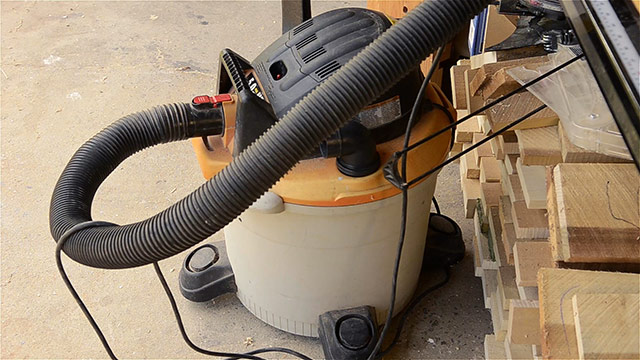
Hooking up a shop vac to the back of the router table is essential, to keep wood chips from flying everywhere. With a shop vac attached, the router method is much less messy than the tongue & groove plane method. You really don’t need anything fancy here. Most any shop vac should work fine. If you don’t have a shop vac, here are some good ones on Amazon (where I do most of my shopping).
Marking Tools:
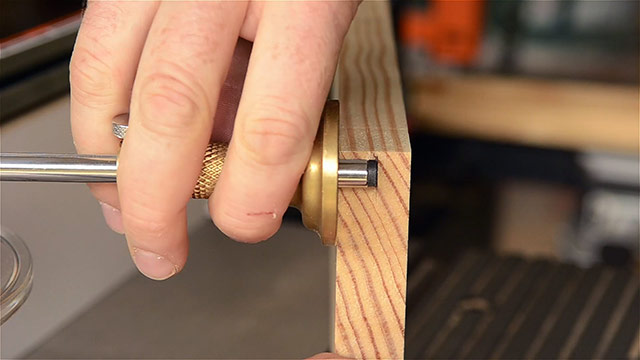
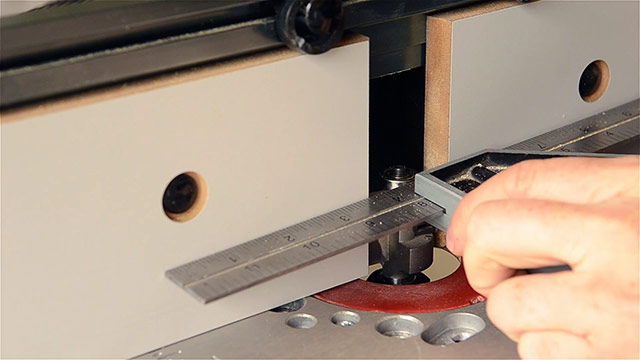
To find the center of the board (for locating the tongue) I like to use a wheel cutting gauge (this is my favorite). I also use a 12-inch combination square (this is the one I use) to align the fence with the router bit’s bearing. You could also just use a longer metal ruler if you don’t have a combination square.
Safety Equipment

The safety equipment that you should use when making a tongue & groove joint on the router table are as follows:
- Safety glasses: These are the safety glasses I use. I buy a multi-pack because I often loose or break safety glasses.
- Hearing protection: I like to use these Bluetooth headphones that my wife gave me for my birthday, because they let me listen to my podcasts in the workshop when I’m doing repetitive tasks, and protect my hearing. They’re also great for mowing & edging the lawn and for chainsaw use.
- Router bit guard: it should come with your router table
- Featherboards: these should also come with your router table. These not only keep the board down for safety purposes, but it gives you a more consistent cut position on the board. I don’t always use a featherboard, but in many situations they are very helpful.
How to Make a Tongue & Groove Joint with a Handplane

Now I’ll teach you the steps of cutting a Tongue & Groove joint with a Tongue & Groove Plane. Whether you’re using a handplane or a power router, make sure you have perfectly squared boards, and make sure that they’re longer than your final length, so you can cut off any plane tearout or router snipe (the groove router bit can cause a small dip at the end of your board). For most applications I square my boards up using a power jointer, thickness planer, and table saw. You can learn more about those tools in my Power Tool Buyer’s Guides here.
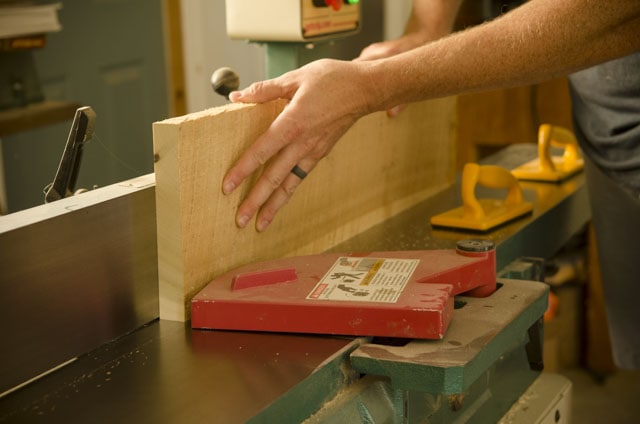
Most vintage tongue & groove planes will work on boards between ¾” and 1”, though the joint may not be centered. This isn’t a big deal. Sometimes a marking on the plane (usually the wooden planes) tells you which size of stock will have the joint centered (¾” or ⅞”). This common swing arm plane will cut a tongue and groove joint in the center of a ⅞” board (can also be used ⅛” smaller or larger…¾” or 1”):
Orient your boards to cut with the grain as much as possible, and use your piece of wood with the most favorable grain for the tongue, since the shoulders will be visible after the cut. The board with the less desirable grain can be used for the groove, since most tearout will be hidden in the center of the joint. Place the tongue board on the left and the groove board on the right, and make a note of which board is which.
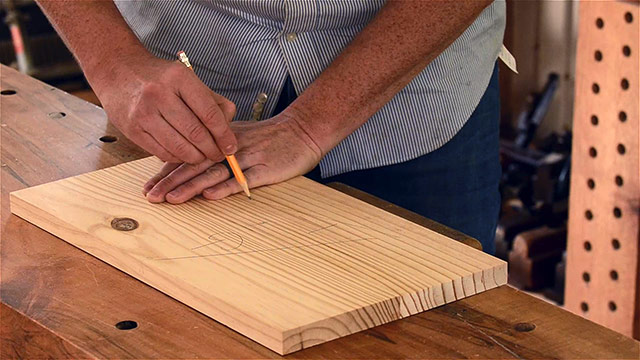
The tongue board lifts up directly into the vise, with the pencil mark facing you. In other words, the edge of the board that was facing you while it was laying flat will now be facing downward in the vise:
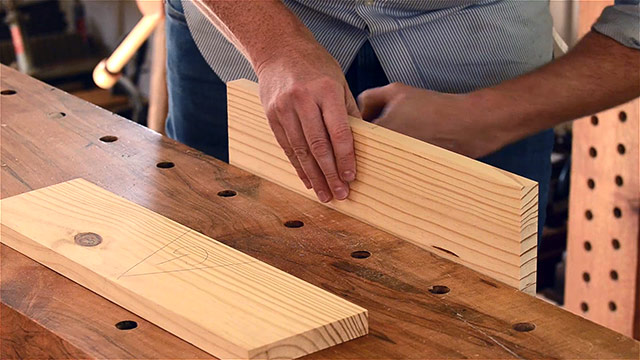
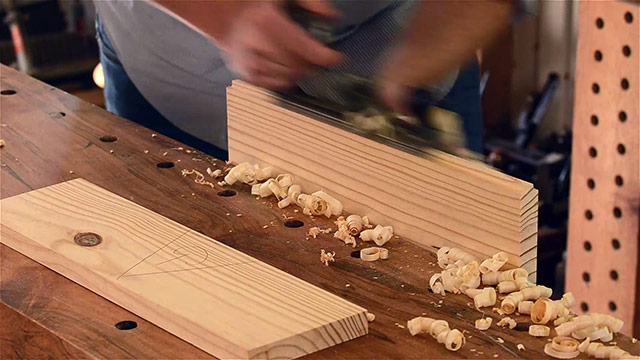
Plane the tongue on this board, being sure to keep the plane straight up and the fence snug against the face of the board. When the plane stops cutting, you’re finished.
Now for the groove board. When lifting it up, make sure the mark is facing you, but flip it upside down. In this case, my arrow would be pointing toward the floor (which you can’t see, because the mark is facing me):
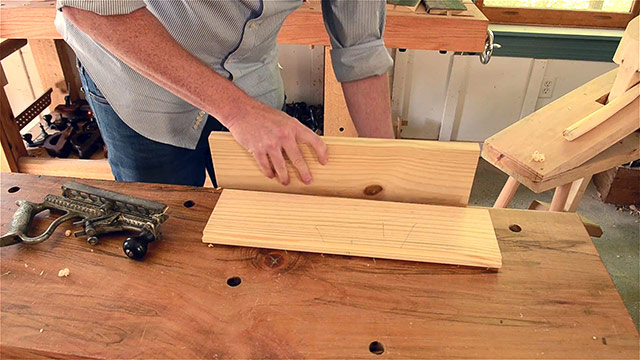
Now switch to the groove cutting plane. If you have a come & go plane, then flip the handplane around. If you have a swing arm plane (as pictured below), flip the fence on the plane. Plane the groove board until the plane stops cutting.
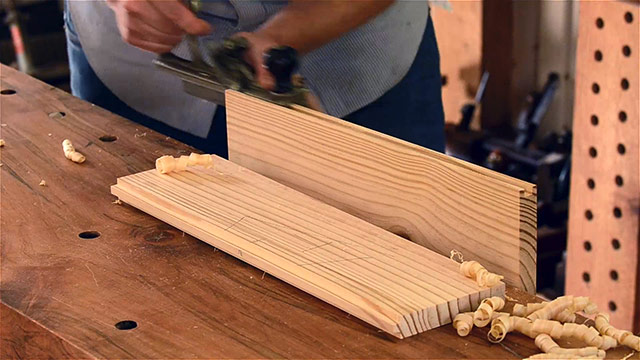
If the fit is tight, and the board looks like it’ll be misaligned, remove a little bit of the sides of tongue with a shoulder plane.
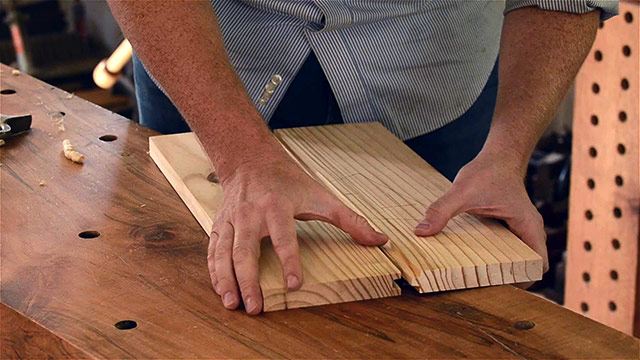
As mentioned earlier, don’t worry too much if the joint isn’t really snug. The tongue & the groove just need to overlap. And if there’s a misalignment, it’s also not a huge problem. A smoothing plane or a sander will level the tops of the boards.
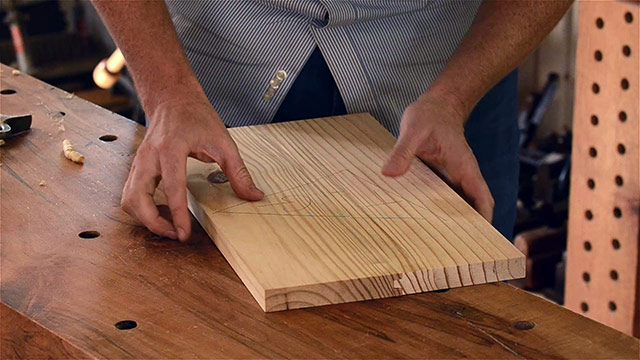
How to Make a Tongue & Groove Joint with a Router Table
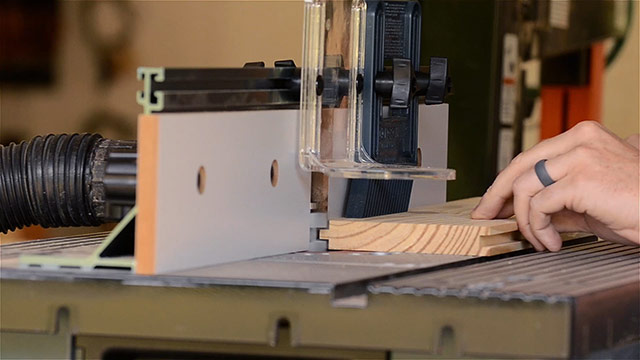
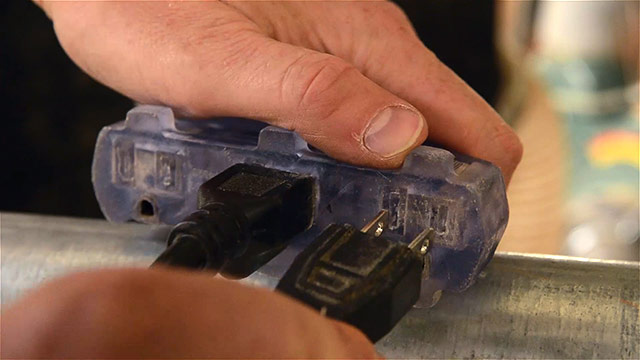
Now I’ll show how to cut the tongue and groove joint with a router, using a tongue & groove router bit set. As with the handplane method, be sure to start out with very square boards. Also, take safety precautions and unplug the router motor before setting anything up. I always unplug the router motor before I change router bits. It’s a little more work than just flipping the power switch, but it’s better to be safe than sorry.
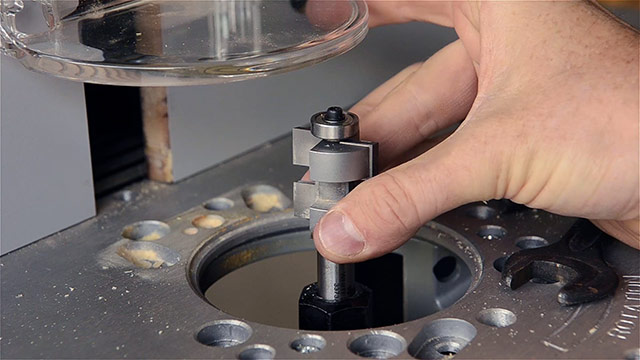
Get out your tongue bit, and install it in the collet, bringing the bit up slightly from bottoming out (maybe 1/8-inch).
These Whiteside tongue & groove router bits have a stronger ½-inch shank, and work on boards between ½” and 1-¼”. Read your router’s user manual thoroughly for instruction on how to tighten the bit in the collet.
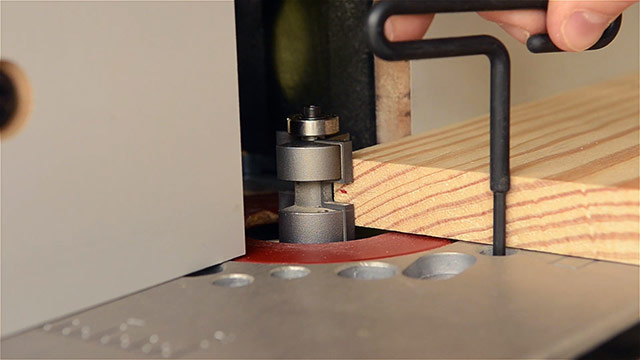
Bring your fence level with the bearing on your router bit, or slightly toward you to make your tongue a bit shorter:

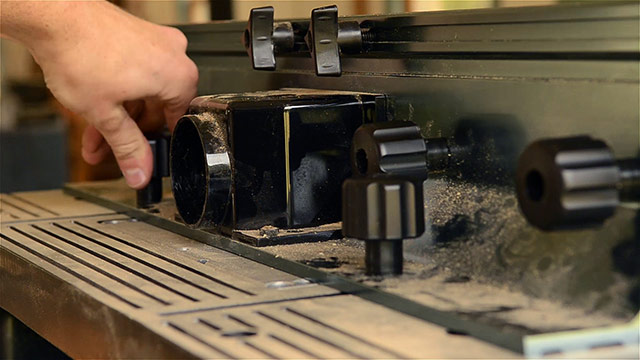
Tighten down the fence so it won’t move while you’re pushing wood through the router. And hook up the shop vac while you’re back there:
I like to use a cutting / marking gauge to find the center of the board. I mark from each side of the board, and then the space right in the middle of the two gauge marks is the board’s center. You could also use a small combination square or dividers. I mark it with a marker that I can easily see.

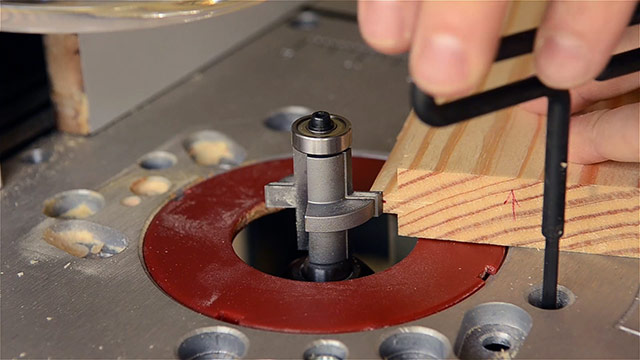
Then I place the board against the tongue router bit, and I use the micro adjuster to raise the bit. Adjust the router bit up or down until the marker line appears to be in the center of the router bit’s tongue opening:
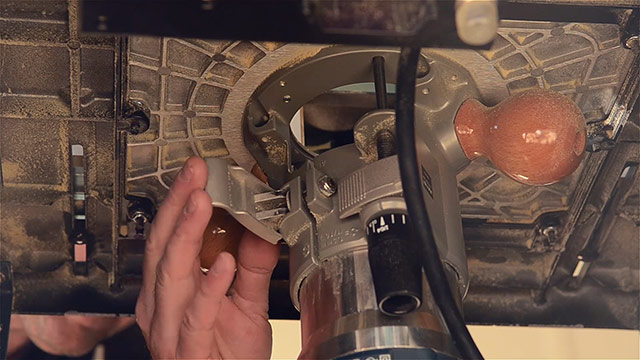
If it doesn’t turn, that means you need to unlock the quick clamp on your router’s base:
Move the fence facing boards (below) so that there is minimal space on either side of the router bit, and install the router bit safety guard, and any other safety features, like featherboards:
And most importantly, remember to use safety glasses and hearing protection. Finally you can re-clamp your motor in the base, plug the router back in, and flip on the power switch. As mentioned earlier, the switch on my router table controls both the router motor and the shop vac.
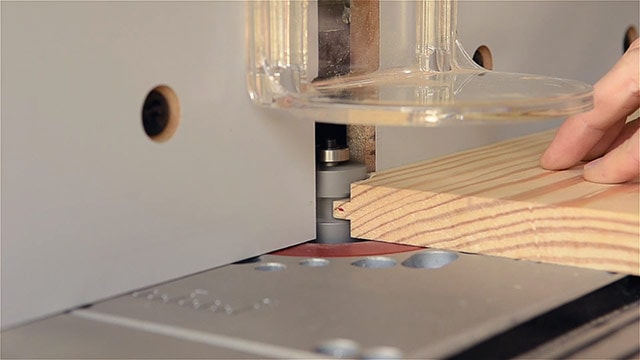
Then feed the wood through the router bit, keeping it tight against the fence, and moving in a right to left direction (the below shot doesn’t show featherboards, but I like to use them):
The tongue should be right in the center of the board, or pretty close to it. As long as you run both the tongue board and groove board with your “show face” (best face) upward, the tongue and groove will line up, and it won’t matter if it’s offset a little.
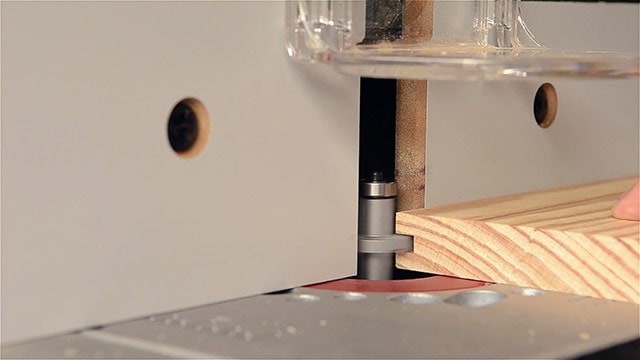
Then remove the tongue router bit and install the groove router bit. Place your tongue board next to the bit’s cutter, and raise the router bit up or down to center the cutter on the tongue:
Follow the same steps and safety precautions for running the groove board through the router bit:
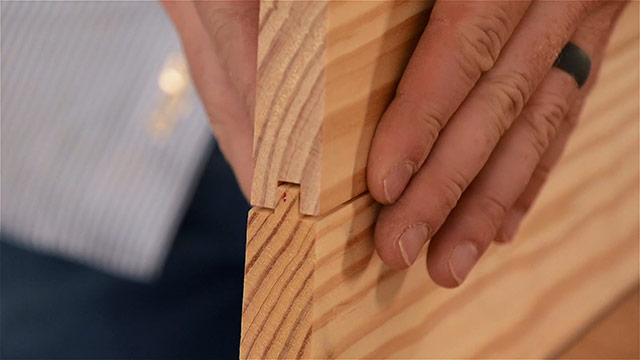
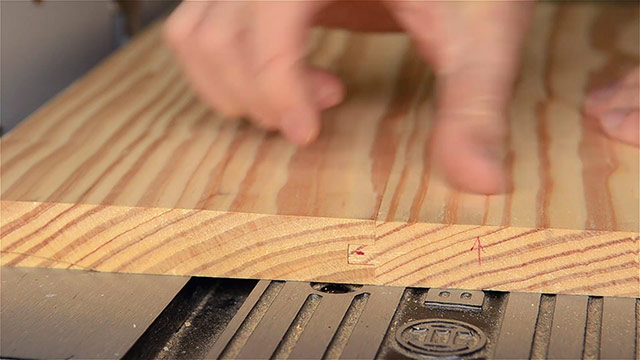
This joint looks pretty good, but there is a slight misalignment, which is typical. Don’t worry if you can’t get a perfect alignment, even after making multiple adjustments and test cuts. Most woodworkers and floor installers plan on having to plane or sand down the boards a bit anyway. No matter how well you square up your lumber, it is bound to move a little.
Also notice that there’s not much space between the tip of the tongue and the bottom of the groove. After this test cut I adjusted my tongue bit to cut the tongue a little lower so that there would be more of a gap on my flooring. This is required for expansion & contraction of the wood. You can also just take a couple passes with a handplane to lower the tongue.
Comparison: Pros & Cons of Tongue & Groove Plane vs. Router Table
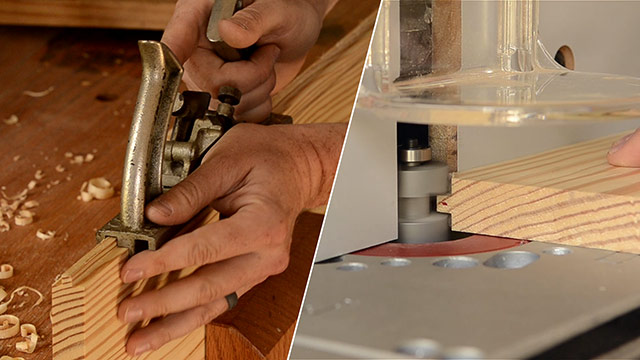
Pros of using a Tongue & Groove Plane:
- Faster than machines if you’re just doing one or two joints
- Quiet
- Safe
- Fun
- Historical
- Inexpensive
- “BIG PLUS to hand plane option: you’re ready to rebuild in a non-electric post-apocalyptic world.” (submitted by YouTube user Thomas Russell).
Cons of using Tongue & Groove Planes:
- Much slower if you’re doing a lot of wood, like on flooring
- If your tool is vintage, the setup and sharpening time can take awhile
- Often difficult to work with the grain…even if you think you’re cutting with the grain
- The joint can be difficult to fit if your plane doesn’t stay completely vertical…it takes practice. Even with practice, this method still often (i.e. almost always) requires some adjusting with a shoulder plane to get it to fit right. But fortunately it doesn’t have to fit tight, it just has to overlap.
- Unless your stock is the right size for the plane, the joint won’t be centered in the board. Not a huge problem.
- Can get tiring on your hands
Pros of using a Router Table:
- Much faster if you’re cutting a lot of wood
- Easier to be consistently accurate, with better fitting joints
- Works better with difficult grain
Cons of using a Router Table:
- Takes more time to setup than a T&G plane
- A more expensive option if you don’t already own a router & router table
- Can be dangerous if you don’t act safely
- Loud & messy (if you don’t wear hearing protection or use a shop vac)
Conclusion
For the flooring job that I’m doing I’ll stick with my power router table, and for smaller jobs I’ll use my beloved Tongue & Groove planes.
In the future I’ll be doing similar videos & articles about making wood joints with hand tools vs power tools, so make sure you subscribe below!
What tips do you have for cutting tongue & groove joints? Please share your comments at the bottom of this page…






Hi Joshua, many thanks for your article . I’ve bought your bosch router table and router but am struggling to find a suitable tongue and groove bit to produce my required 6mm tongue and groove for a hardwood flooring project. All the bits I’ve found so far give a 1/2“ / 12mm tongue and groove. Any suggestions would be much appreciated… Regards Graeme, England.
Thanks Graeme! Sorry, but I’m not much of an expert on router bits. I just make my projects fit the bits that I’ve got. Where in England do you live? I used to live up in Scotland.
Lincolnshire, so quite a way down from Scotland…. I’ve managed to source some bits from amazon but not sure of the quality, time will tell. The whiteside bits weren’t the size I needed but the quality looks good, unfortunately expensive to ship across the pond.