[Disclosure: WoodAndShop.com is supported by its audience. When you purchase through certain links on our site, we may earn a small affiliate commission, at no cost to you. Learn more.]
WINDSOR ROCKING CHAIR RESOURCES
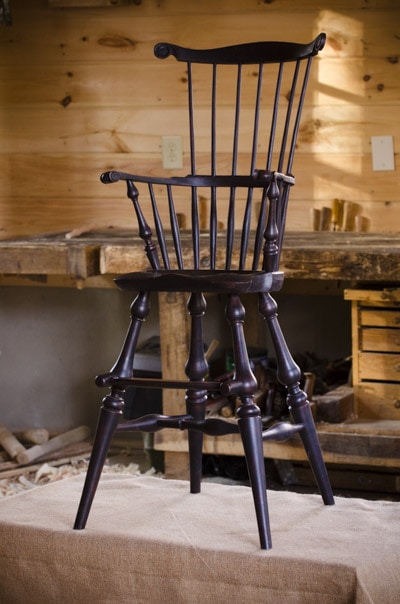
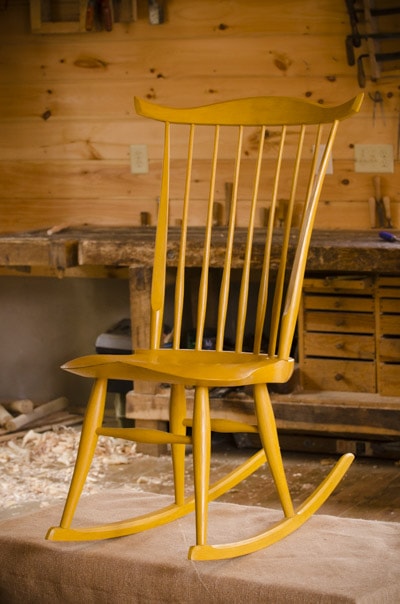
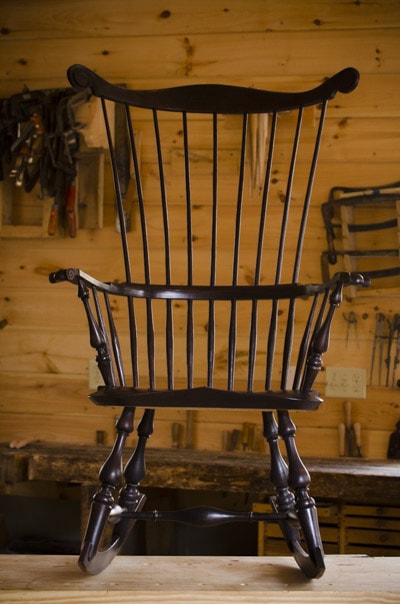
Below you will find resources and links for the DVD “Build a Traditional Windsor Rocker with Elia Bizzarri”. Click here to purchase the DVD or Digital Download.

WINDSOR CHAIR PLANS
Windsor chair plans are quite detailed and require a great deal of work on the part of the designer, so all windsor chair plans will usually cost you some money. You can purchase various plans from different designers, but these are the plans that Elia used in this DVD:
TUTORIALS REFEREED TO IN THE DVD
In the video Elia refers to Wood And Shop tutorials for:
- Flattening & dimensioning boards with hand tools by Joshua Farnsworth (click here)
- Sharpening card scrapers by Elia Bizzari (click here)
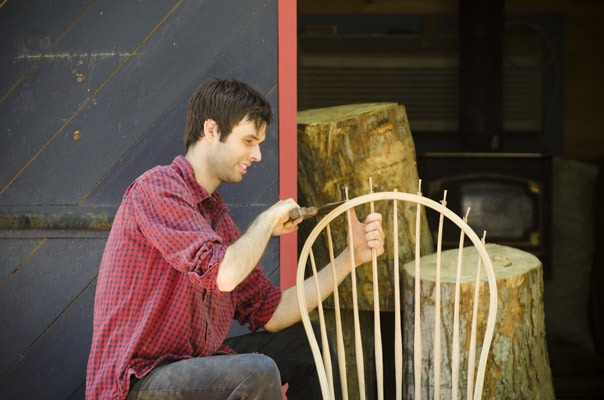
BUILD A WINDSOR ROCKER IN-PERSON WITH ELIA BIZZARRI AND ROY UNDERHILL:
Want to build the Continuous Arm Windsor Rocker with Elia Bizzarri and Roy Underhill at the Woodwright’s School? Click here for the class registration.
ELIA’S WINDSOR ROCKER ON TELEVISION:
See Elia Bizzarri build this Windsor rocking chair on two episodes of The Woodwright’s Shop television show with Roy Underhill:
LIST OF TOOLS FOR BUILDING A WINDSOR CHAIR:
Below is a list of tools that Elia Bizzarri’s students have found helpful for building their Windsor Chairs in the class and at home:
- Chair Parts by Elia: If you don’t have a way to split your own log or turn your parts, Elia sells custom split & turned chair parts to make your chair making a little easier. You can buy his log rivings here, and his turned chair parts here.
- Pine Seat Blanks: this is Elia’s source for quality pine seat blanks (Find it here).
- Tenon cutters: 1/2″ & 5/16″ for spindles, 5/8″ Veritas for stretchers (or use a dowel plate or turners gate). 1/2 & 11/16 tapered for legs & arm stumps. (Find tenon cutters here or here).
- Reamer: Needs to be 6 degree included angle. You can make one (greenwoodworking.com) or I’ll sell you one. Dave: If you have one bring it. I’m sure not many people have them. (Find it here).
- Travisher: for fine shaping of the seat. (Find it here).
- Marking Gauge: For marking the seat thickness and for marking spindles and the bow when drawknifing them to size. (Find it here and here).
- Try square: Make sure it will stand upright; some tip over if the wood is worn. Metal-bodied ones are nice. Handy and used often for drilling and reaming holes. A six inch length is plenty. (Find it here).
- Small Backsaw: A cross cut and rip saw, or a saw filed with hybrid teeth that will work both ways. (Find it here).
- Bench Chisels: I like a 1” chisel. A 3/8” is handy for rocker slots. A couple of sharp chisels are handy for trimming wedges, paring joints to size and splitting spindles and legs for wedges. I’d recommend a 3/8″ or ½” and a 5/8″ or ¾” for this. (Find them here).
- Gouges: For trimming leg tenons – something beefy and of moderate sweep. Gutter – a veiner, I use an 11/7. Fan back volute – my gouges are mis-matched so I don’t know what I use. 8/13 is the tightest curve I use, so if you had the next three or four wider #8s, I think you’d have it. Maybe. (Find it here).
- T-Bevel: Get one that locks well, like a Stanley #18. The Japan knock-offs I’ve seen are junk, as are the plastic things at Home Depot. Dave: Very useful and needed a lot. Easy to find on the new or used tool market pretty inexpensively. I would suggest folks bring at least one and I think anything longer than 6 inches is cumbersome. (Find it here).
- Bevel Gauge / Bevel Board: helps you to quickly set accurate angles on your T-bevel. (search here). (Find it here).
- Bit Brace (Find it here).
- Auger Bits: We use 3/8″, ½”, and 11/16″ bits. If we’re boring without electricity, a 5/8″ bit. Both Braces and bits are easy to come by on the used market. (Find it here).
- 5/8″ Bradpoint bit: for Stretcher mortices. (Find it here).
- Scrub Plane: Pretty handy for the seat although other planes (with a highly cambered iron) will work, especially a Stanley No. 5 Jack Plane. (Find it here).
- Jointer Plane or Fore Plane: No. 6, No. 7 or No. 8 bench plane: Used a lot for flattening the seat. (Find it here).
- Block Plane: a blog plane is useful for many parts of the chair construction. (Find it here)
- Compass Plane: while not required, this plane is very helpful when building the rockers (Find it here).
- Drawknife: probably the most used tool for chair making. (Find it here or here).
- Spokeshaves: I use both flat bottom and curved front-to-back. both are used frequently and flat bottom shaves are easy to find on the old tool market. The Bogg’s curved bottom shave was helpful often. (Find it here and here).
- Sharpening stones and slip stones (Find it here).
- Dividers (Find it here).
- Dead blow mallet: for assembly (Find it here).
- Card Scrapers: Look for a thin, flexible scraper to finish the curved surfaces. (Find it here and here).
- Inshave / Scorp: Barr has a nice one. (Find it here).
- Bow Saw/Turning saw or Bandsaw (Find bowsaws here…find bandsaws here).
- Extension rule: very useful for measuring stretcher lengths and other parts. (Find it here).
- Froe & Froe Club: A froe can be purchased new or antique. A froe club is simple enough to make from a small log (Find froes here).
- Auger Bit Extension. (Find it here).
- 5/16″ Micro Kreg Jig bit: for boring spindle holes in Bow. (Find it here).
- Kiln: make your own (watch the DVD for details)
- Steam Box: make your own (watch the DVD for details)
- Shaving horse: Tim Manney’s blog has a good design (Find it here)
- Pencils
- Liquid Hide Glue: hide glue is prefered because it can be heated to repair damaged char parts (Find it here).
- Sledge Hammer: for splitting the log (find it here)
- Splitting Wedges: for splitting chair parts from the log. Either look for wedges without the bevel or remove bevels on the grinder (Find it here).
- Hatchet (Find it here).
- Lathe: not a must…you can use a drawknife & spokeshaves to make the spindles & legs…but a lathe is much faster. You can also build a spring pole lathe (Find it here).
- Turning tools: For baluster legs I use a ¼” spindle gouge, ½” oval skew, ¾” roughing gouge and a parting tool. Bobbin turnings are the same, except you can use a 1” skew (safer) and you don’t need the spindle gouge.
- Other Chairmaking Resources: Peter Galbert’s Book is the best chairmaking book. (Find it here).
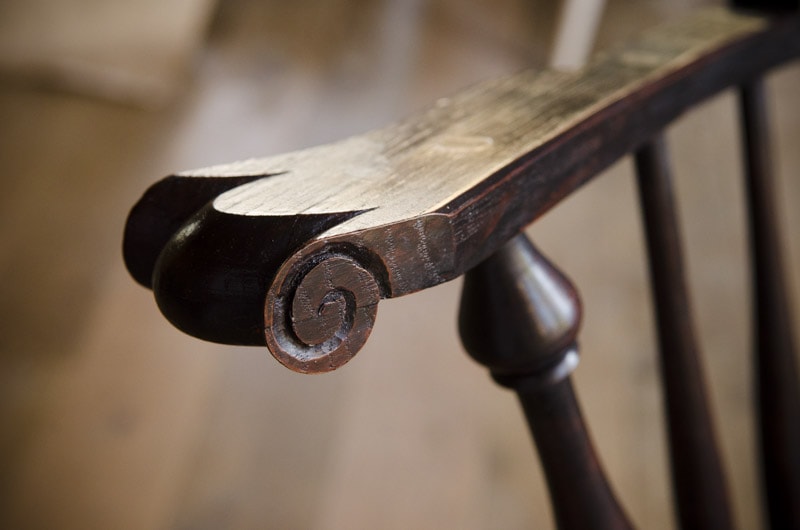
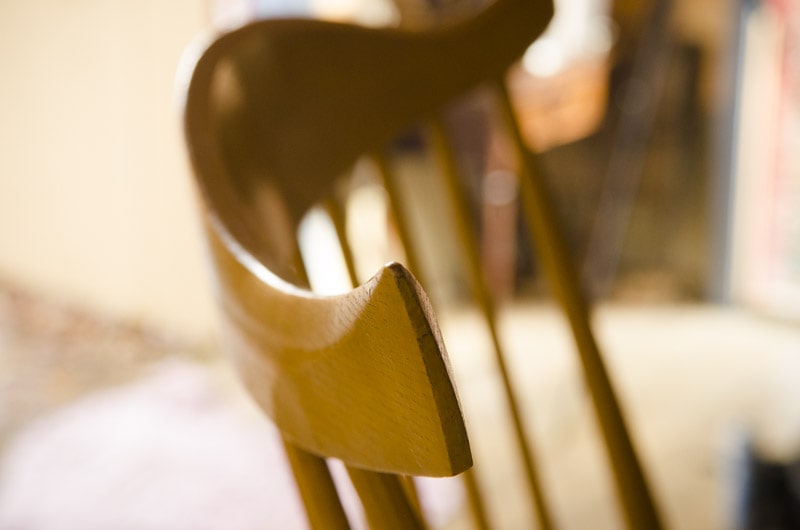
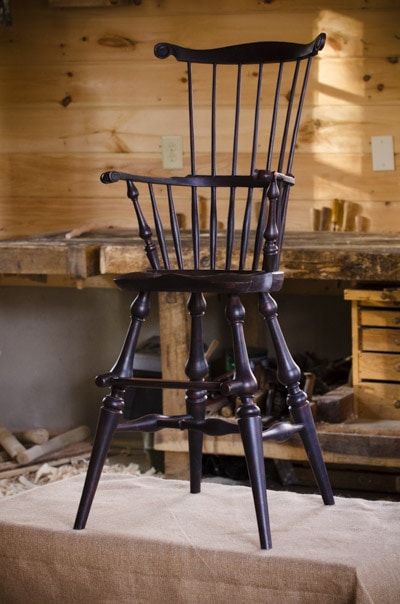
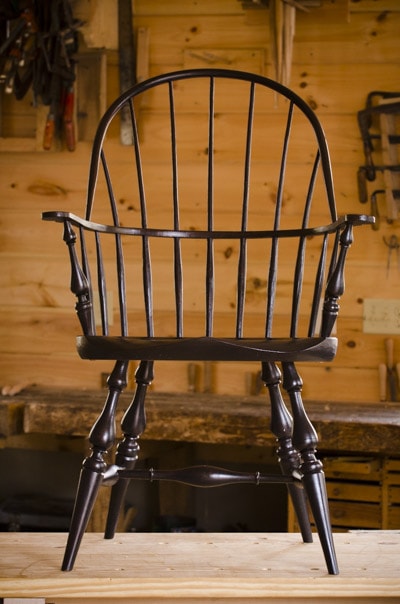
PHOTOS FROM THE WINDSOR CHAIR VIDEO SHOOT:
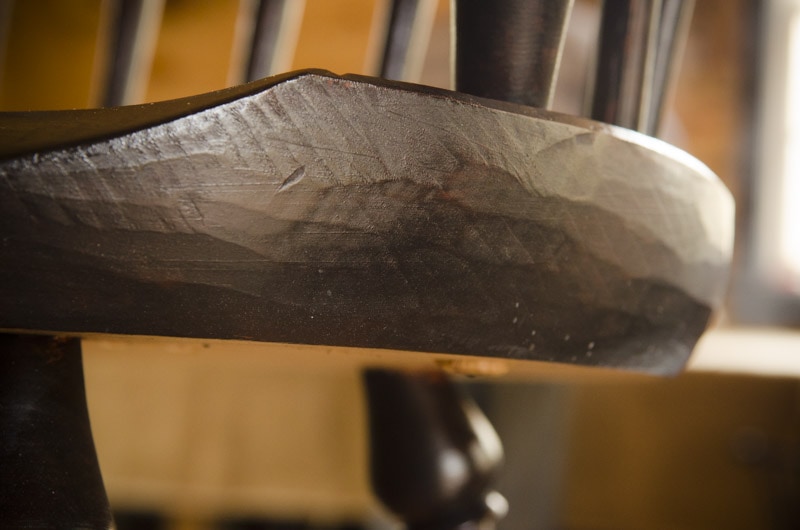
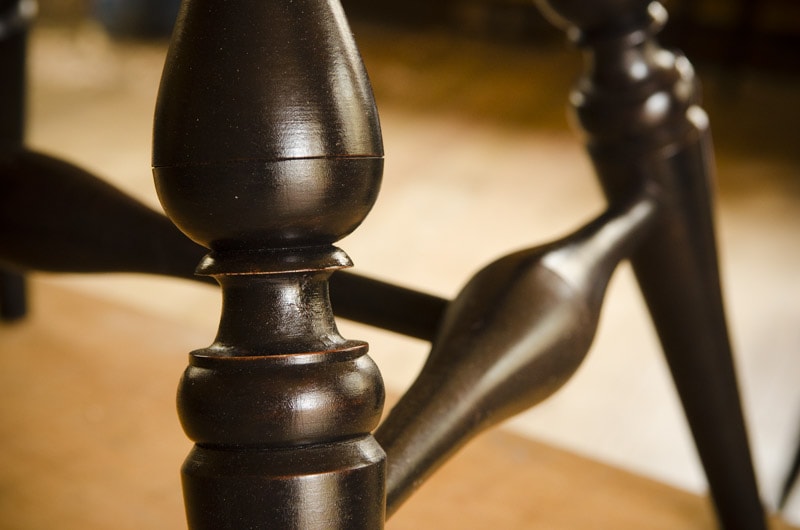
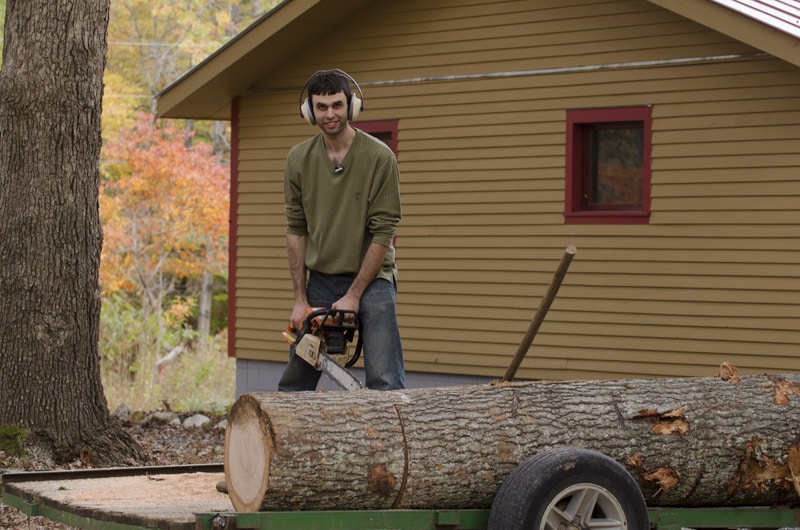
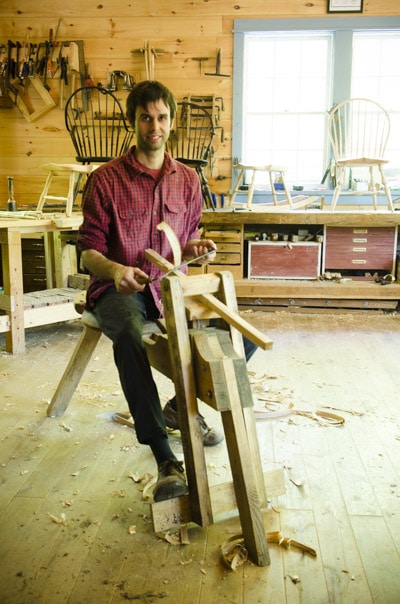
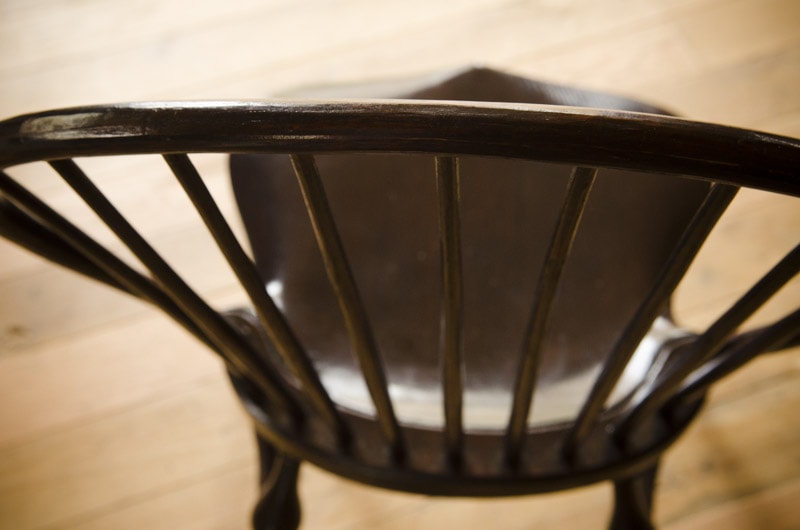
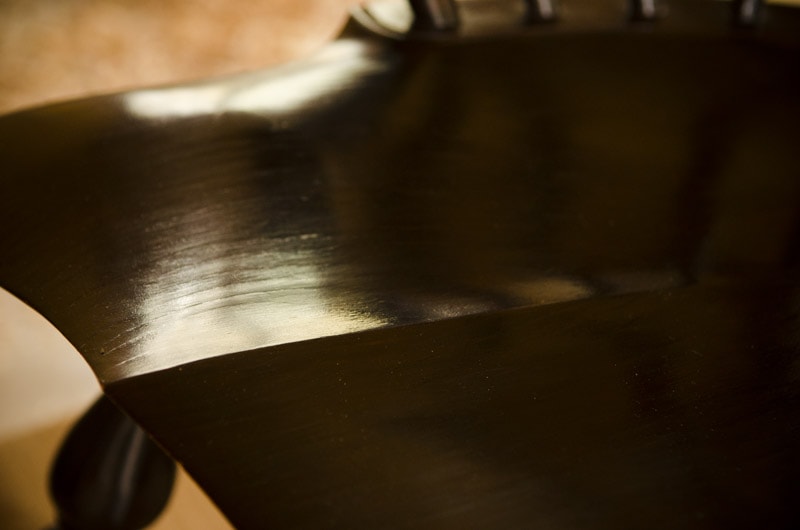
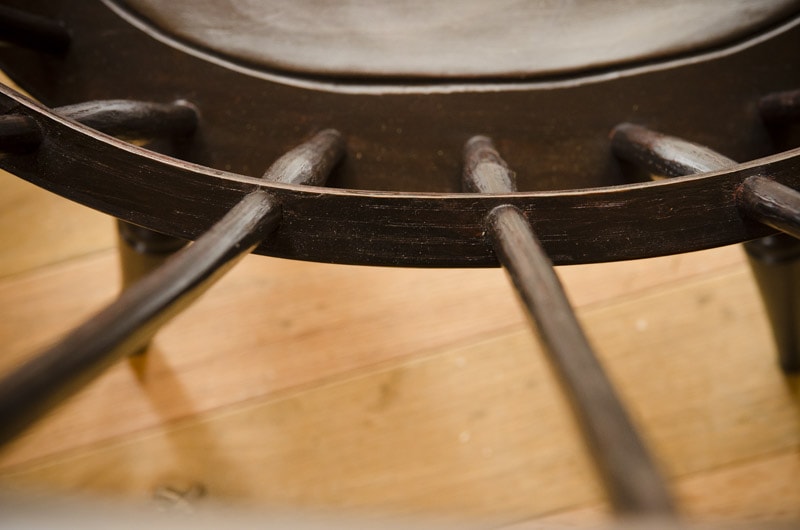
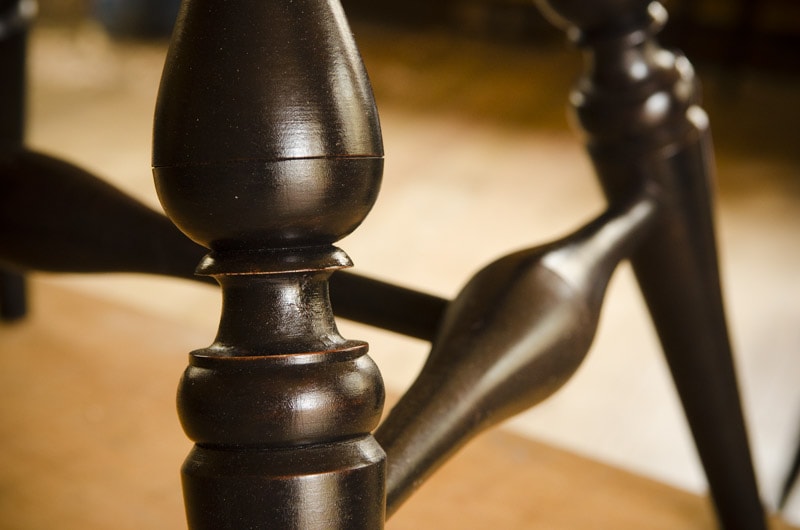
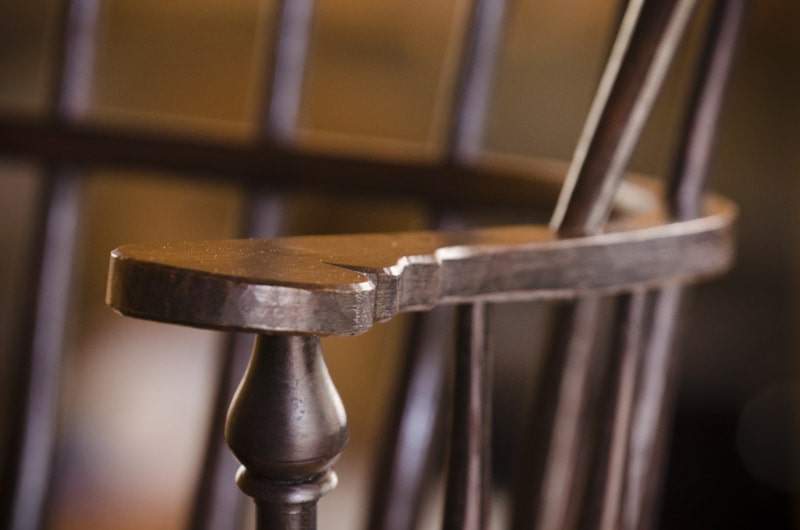
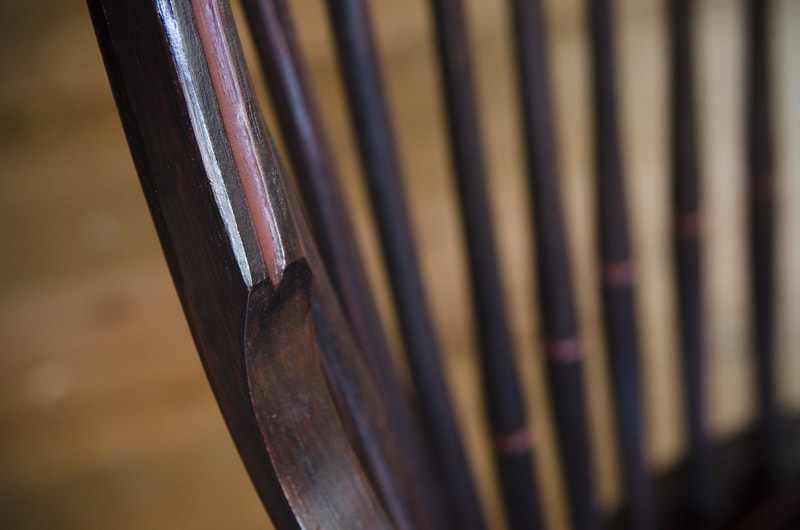
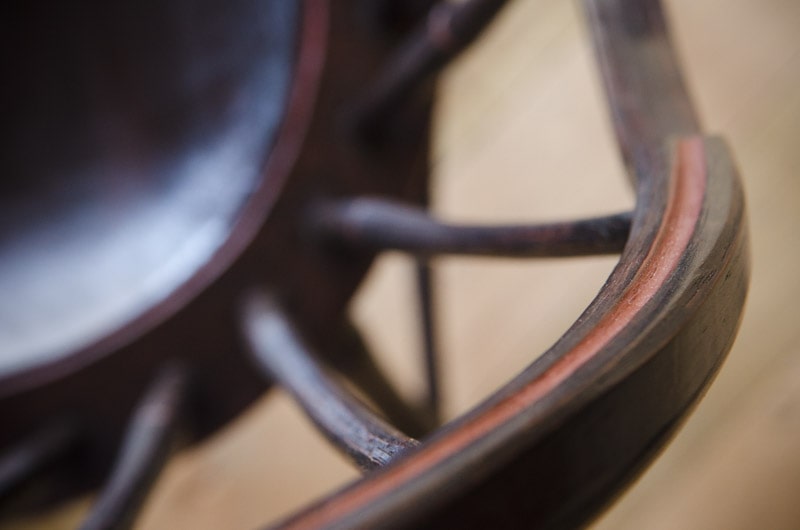
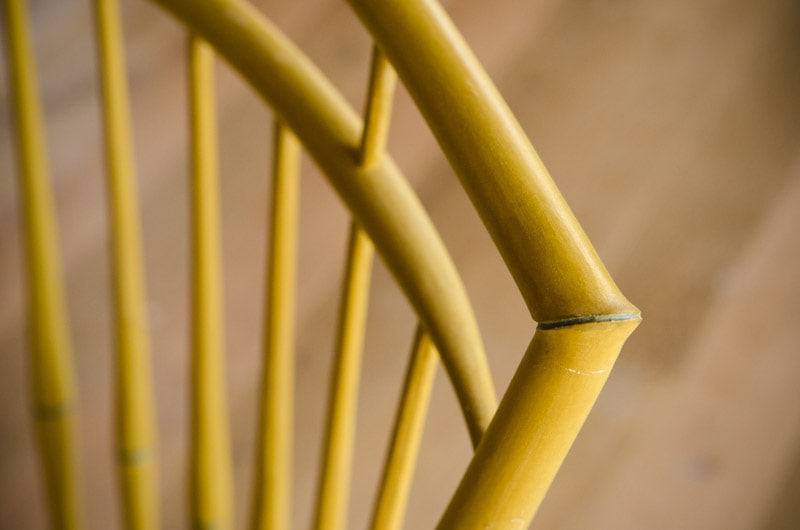
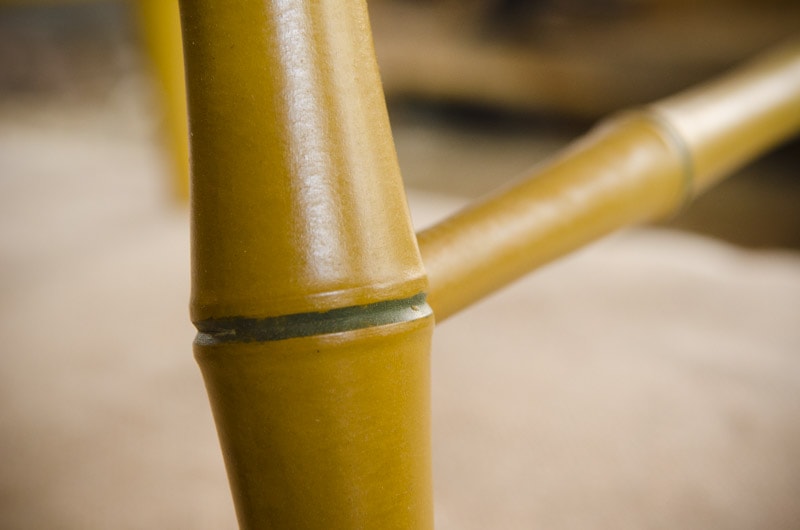
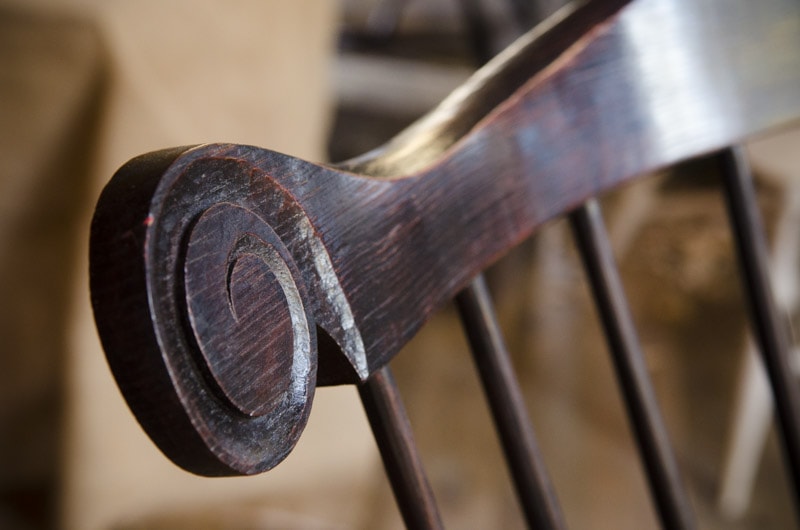
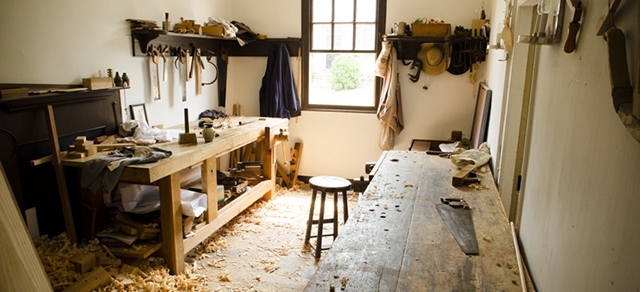
Here are some photographs that I took during the three visits to Elia Bizzarri’s workshop:

