(Continued from page 1)
2. Buying Products for Finishing the Wood
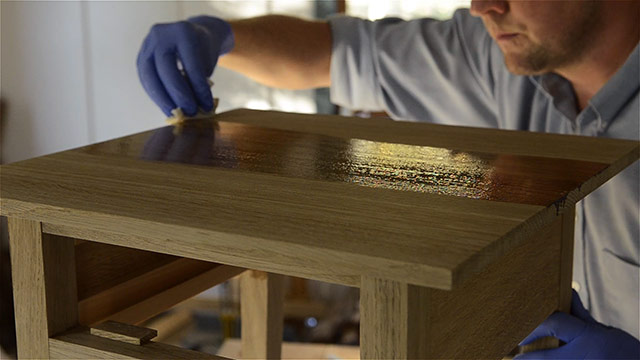
The two primary purposes of applying a wood finish to your wooden furniture are to beautify it and protect it. Wood finishes can be wiped on, brushed on, or sprayed on. Some finishes penetrate the wood, while others ride on the surface.
Below I’ll briefly discuss the different types of wood finishes, and which brands of wood finish are best for different purposes. But remember that not any one type of wood finish is best for all situations. There are always trade-offs. Each finish may work well in certain situations, but not in every situation.
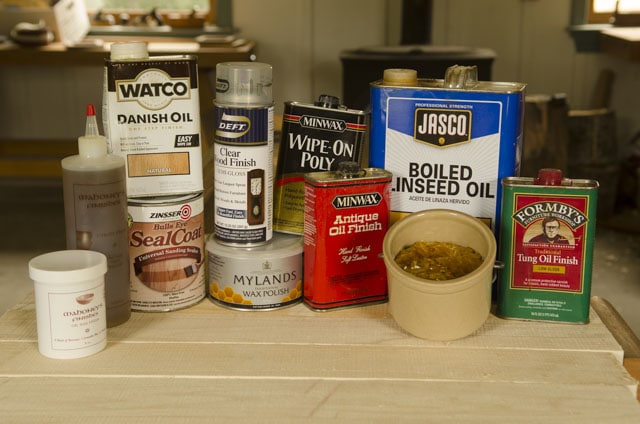
This isn’t meant to be a comprehensive list of every single type of wood finish on the market, but just categories of the main wood finish types, with some specific brands that myself or others happen to use. It is meant to be a quick summary to clarify different types of wood finishes for new woodworkers. This also isn’t meant to be a tutorial on wood finishing. There are thousands of wood finish recipes and methods for wood finishing, and many of them combine several of the wood finish products listed below.
If you want an in-depth resource for wood finishing, buy the popular book “Understanding Wood Finishing” by Bob Flexner. Also, go back and read past woodworking magazine articles on different wood finishing techniques and recipes. There are hundreds of them! Now read on below for different categories of wood finishes:
Oil Finishes
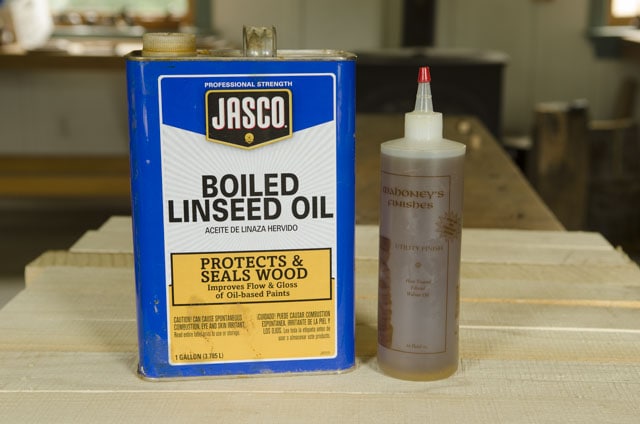
Oil finishes are one of the oldest types of finishes, and one of the most simple. Oil finishes penetrate the wood to bring moisture and richness. Oil finishes aren’t as protective as other finishes, but have a natural beauty that the other finishes often can’t achieve. Oil finishes are great for pieces of furniture that won’t come into contact with moister, such as a wall cupboard or picture frame. Some common natural finishing oils include linseed oil (which comes from flax seed) and pure tung oil (not to be confused with the varnish sold as a “tung oil finish”), which penetrate the wood surface, and then harden. Walnut oil has also recently been marketed, though it’s a lot more expensive than linseed oil or tung oil. And I don’t know of any research that has been conducted as to whether walnut oil hardens similar to linseed oil or tung oil. And I sometimes use mineral oil on food-safe surfaces, like butcher block countertops or cutting boards.
For many of my furniture projects I apply an oil, like Boiled Linseed Oil to add depth and clarity to the wood grain. I just add the oil, and wipe it off after it has soaked in uniformly. After the oil dries and hardens, I often add a more protective top coat, like those listed below, because these oils won’t build up a film surface.
Boil Linseed Oil (often referred to as simply, “B.L.O.”) is the most affordable and most widely available true oil finish for wood. Raw linseed oil takes too long to dry, so furniture makers often use the boiled version. Boiling linseed oil is not without risk, as it involves heating up raw linseed oil, but you can do a quick internet search to learn how to safely boil it. Or you can buy commercial Boiled Linseed Oil, which manufactures have added metallic dryers to, so that the linseed doesn’t have to be boiled. Not everyone loves the idea of using chemical dryers, but many woodworkers don’t mind.
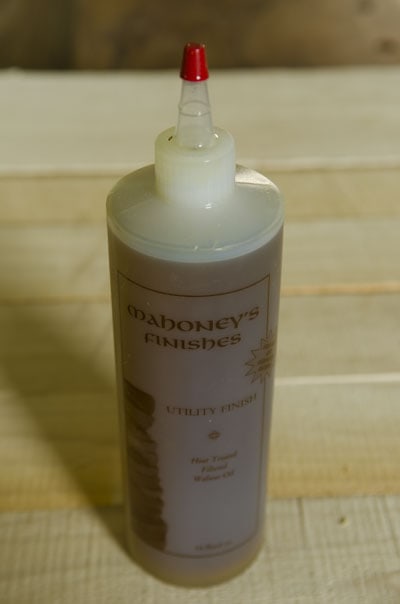
Another safe option is Walnut Oil. Mahoney’s Finishes sells a nice walnut oil, which I especially use on food-safe items like wooden spoons and cutting boards, which I’d never use commercial Boiled Linseed Oil on. Eating metallic dryers doesn’t appeal to me.
- You can find Boiled Linseed Oil at most any hardware store, and also on Amazon (find it here) if you’re the type that doesn’t like to drive to the store anymore.
- You can find Mahoney’s Finishes walnut oil here at Highland Woodworking and also here at Amazon.
Wax Finishes & Polishes
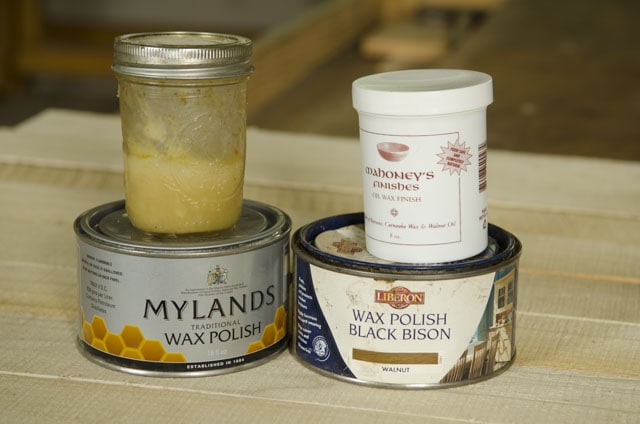
Wax finishes are just slightly more protective than the pure oil finishes mentioned above, but were historically one of the most often used wood finishes. Today, I usually just use them on top of other finishes as a polish or extra moister barrier, but on their own, waxes can leave a lovely and natural surface on furniture that doesn’t need much protection. And quite often I polish new and antique furniture with wax polish finishes.
Most historical-style furniture waxes are a mixture of some sort of wax (usually beeswax, shellac wax, or carnauba wax), oil (usually linseed oil or walnut oil), and sometimes turpentine. The main differences are ratios of those different ingredients. And if buffed out really well with a soft cotton cloth or polisher, a wax finish can be finished and polished at the same time, and obtain a decent sheen. You can watch my video of Don Williams using his French Polissoir to get a lovely sheen:
In my workshop I have a lot of different wax finishes, which I’ll show below:
My homemade historical beeswax finish
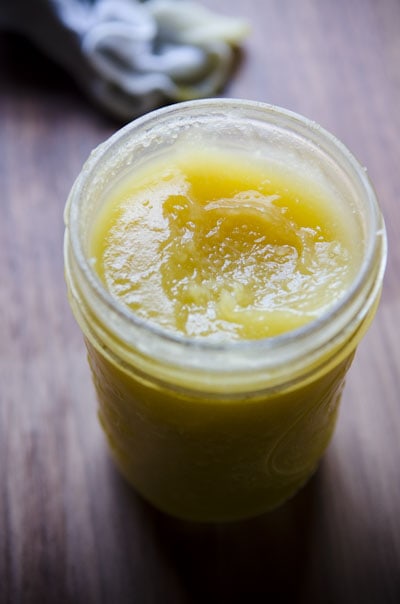
I often make my own historical beeswax finish using melted beeswax, boiled linseed oil, and turpentine. As mentioned above, I’ve seen many variations on this finish. If I want more of a penetrating wax finish, I’ll use less wax, which gives me a softer finish (as seen above). If I want more of a hard polish, then I’ll use more beeswax in the recipe. And sometimes I make a food-safe variation of this wax finish to apply to cutting boards, cheeseboards, and wooden spoons. To accomplish this I just replace the boiled linseed oil with mineral oil. You can watch my video on making this finish here:
You can also get the recipe, and read the instructions for making the beeswax polish here.
Mahoney’s Finishes Oil Wax Finish
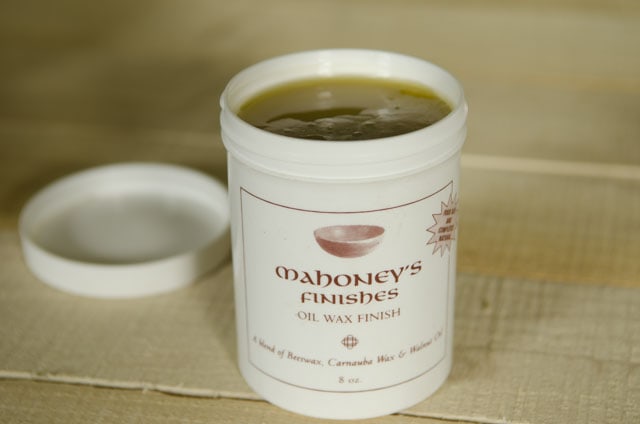
Mahoney’s Finishes has a nice wax finish on the market, called “Oil wax finish”. It is a natural blend of Beeswax, Carnauba Wax, and Walnut Oil. It can be used in a very similar manner to my home made beeswax finish (above), and is food safe (similar to my food safe variation, but with walnut oil instead of mineral oil). It is quite a soft liquid wax finish, which means less wax, and more oil. This means less protection and less sheen, but it will be better at penetrating wooden spoons, cutting boards, wooden bowls, wooden countertops, etc. It is a popular wax with bowl turners who aren’t necessarily looking for a hard sheen. I found the best price here.
Mylands Traditional Wax Polish
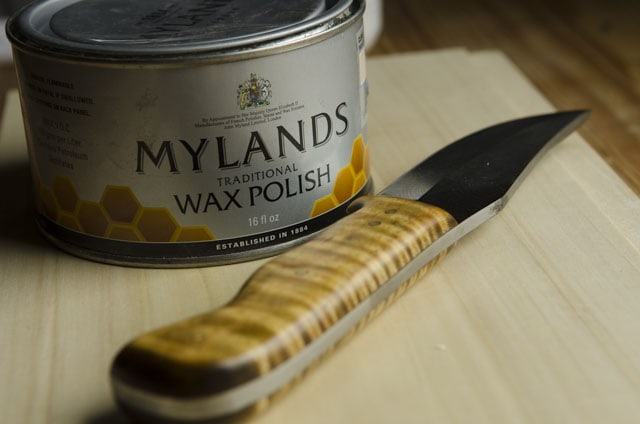
Another wax polish that I like is Mylands Traditional Wax Polish, which is has been manufactured in London for over a century. It is a hard-drying furniture wax that is particularly popular with woodturners. This wax includes a combination of Beeswax, Carnauba wax, shellac wax, some sort of solvent, and some other proprietary ingredients. I apply this wax with steel wool, and then buff it out with an old piece of a clean T-shirt. This wax gives excellent hard coating and sheen when buffed out, and improves in luster with additional coats.
Unless you’re experienced with polishing, this hard polish should only be left on furniture surfaces for just a few minutes, and then buffed well. Use just a small amount, and work on just one or two areas at a time. If you apply the wax to a whole piece of furniture, and then wait too long to buff the wax off other parts, the wax will harden and will be too difficult to buff out. Then, I suppose you would have to heat the furniture with a blow dryer, which could lead to problems. Mylands wax polish is also popular with woodturners.
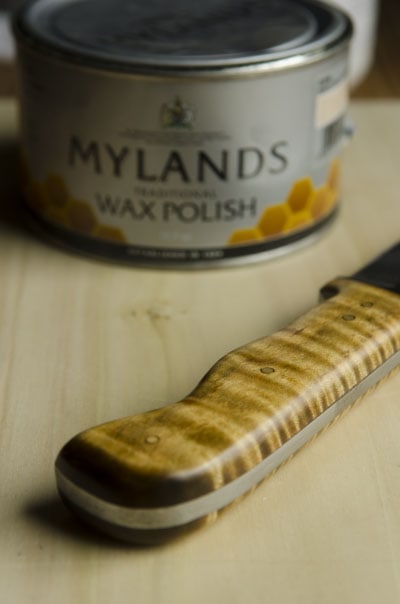
I use the clear wax polish, though Mylands does come in tinted colors. You can purchase Mylands wax polish here or at your local woodworking store.
Liberon Wax Polish
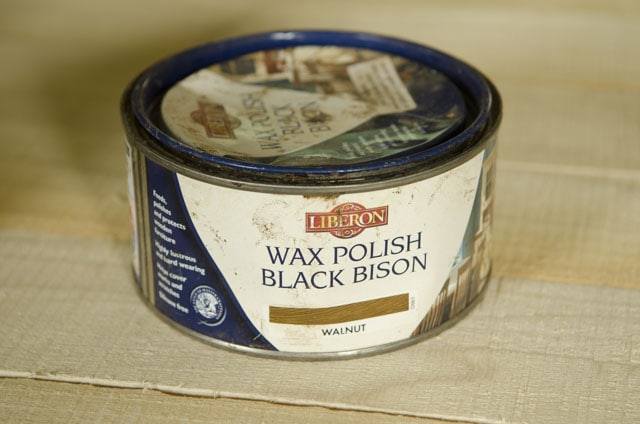
Liberon also makes a fine wax polish, and I use their tinted Walnut polish, for adding a darker tone to woods. You can also buy it in other tones, and in a clear color. It’s not as hard of a wax as Mylands, which may not offer as much protection as a hard wax like Mylands, but it is easier to buff and does offer a longer time between application with steel wool and buffing (about 20 minutes). This wax polish is very popular with antique furniture owners as well as furniture makers. I found the best price for Liberon Wax Polish Black Bison here.
Shellac
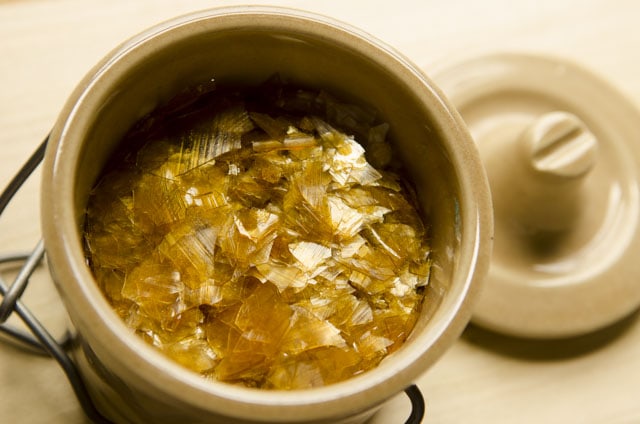
Shellac is a historical wax finish derived from secretions of the Laccifer Lacca insect, native to Southeast Asia and India. The finish comes in flake form, and when dissolved with denatured alcohol becomes a liquid finish that provides a lovely natural finish. It can be applied by brush or by cloth pad. When applied by pad, combined with special polishing techniques and oil, a high-gloss finish can be achieved, which is known as the French Polishing technique.
Shellac from a can has been liquefied with alcohol, but is still too thick for use as a finish, so woodworkers “cut”, or thin down the liquid shellac with more alcohol. Properly thinned-down shellac dries very quickly, which can greatly reduce the time it takes to finish a piece of furniture.
Shellac has excellent repairability. By adding more thinned shellac to a damaged surface, the alcohol in the shellac helps to dissolve the previous coat slightly, allowing the new coats to blend in (hopefully seamlessly). Shellac is fairly safe to work with, although denatured alcohol, the common solvent, is believed to cause some health problems. If you have health concerns, you can use isopropanol, which is totally safe. Shellac offers fair protection to your furniture, though not nearly as protective as a polyurethane varnish. If you want the luster of shellac, but want more protection, a top coat can be applied over the shellac (oil-based or water-based), as long as you use dewaxed shellac, and not normal shellac. A protective top coat won’t stick to normal waxy shellac very well. Dewaxed shellac also works great as a washcoat, to prevent top coat finishes from unevenly penetrating blotch-prone wood, like cherry. The downside of dewaxed shellac is that it has less moisture protection than normal shellac. But if I’m worried about moisture damage, I just use a clear top coat over the shellac.
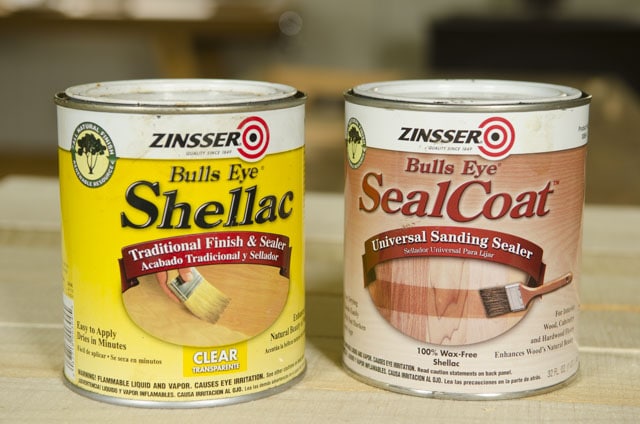
So when buying canned shellac I usually just buy Zinsser Bulls Eye Seal Coat (pictured above, right) rather the normal Zinsser Bulls eye Shellac (pictured above, left). The Seal Coat version is dewaxed, meaning the wax has been removed. I have a hard time finding the Seal Coat version at local stores, so I always just buy it online. You can buy the SealCoat shellac here. Then I thin it down with denatured alcohol (watch the video below for instructions).
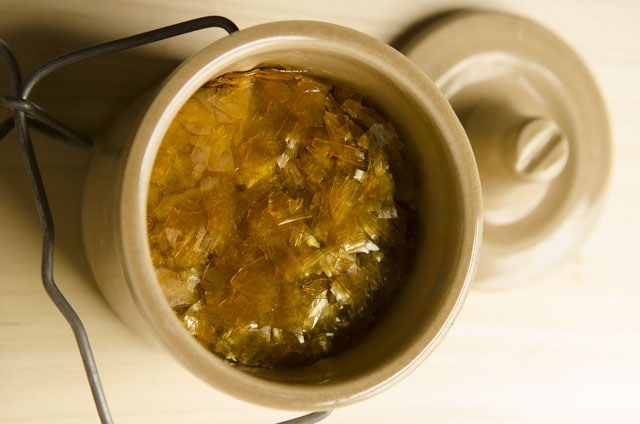
Unless you’re going to use shellac on a large piece of furniture, a quart of SealCoat may be more than you can use before the finish expires (about 6 months after opening). So purchasing a small weight of dewaxed shellac flakes may be the better option for you, since shellac flakes will last longer than mixed shellac (1-3 years vs. 6 months), and you can mix up very small amounts (a little goes a long way). How can you tell if shellac is still good? Easy: put a small amount of shellac on some glass, and if it hasn’t dried after an hour, then it’s bad.
Unlike pre-mixed shellac (which only comes in clear and orange) Shellac flakes come in different colors, depending on the color of the original shellac secretion, including super blonde (the most clear), blond, orange, and garnet. Different shades of shellac flake can help warm up, or tone your furniture slightly, like warming up bland kiln-dried walnut. This link will lead you to a large variety of dewaxed shellac flakes that you can buy, and you can also see the variety of shellac colors. Start off with a smaller, less expensive bag of shellac flakes (4 oz. to 8 oz.) so you can see how much you would use on a small project.
This is a fantastic Fine Woodworking Magazine video, where Mike Pekovich teaches how to thin and apply shellac, especially shellac flakes. And his method doesn’t involve any calculations:
Varnishes
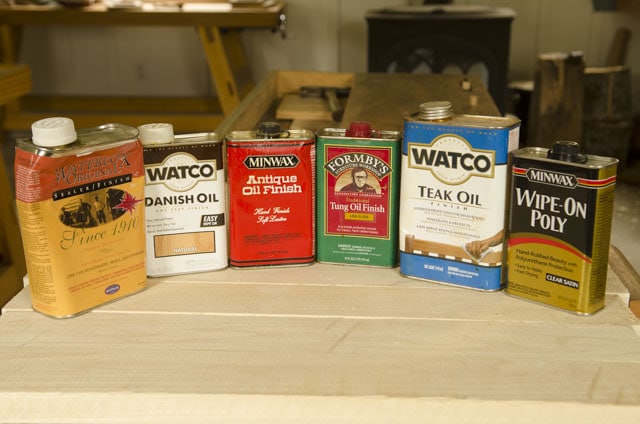
Varnishes are finishes that include a mixture of oil, resins, and solvents. The addition of different resins will create different types of varnish. Urethane varnish (called polyurethane) is the most popular type of varnish because of it’s superior protection.
Varnishes offer a better protection and surface sheen to the wood than a standalone oil finish, though they can often give an artificial look to the wood, if you’re not careful. The ratio of oil to other ingredients can change the artificial vs. natural look balance, but also the level of protection. Varnishes are typically brushed on, but thinned-down wiping varnishes have become very popular due to their ease of application. Also, varnishes don’t dry quickly, so when brushed-on or sprayed-on, they are prone to catching dust in a dusty environment, like a woodworking workshop. But by using a wiping varnish, the dust won’t be a problem, because you will be wiping the finish and dust away. Any dust will be easily removed when scuffing between coats.
To build up the finish with a wiping varnish, the finish is simply wiped on, and wiped off after it has soaked in for 10-15 minutes. And usually after 24 hours another coat of wiping varnish is added. This process is repeated until the furnish surface has built up to an acceptable shine and level of protection.
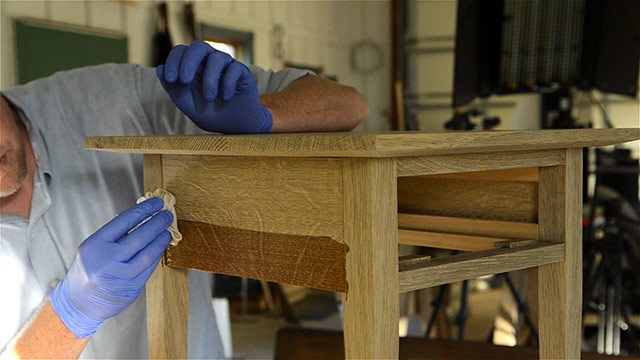
Varnishes are the most popular wood finish for most woodworkers, since they offer the best protection, with the least amount of skill. There are more protective wood finishes, but not that can be easily applied by the average woodworker.
Some varnishes, like Danish Oil, are referred to as an oil-varnish blend because of the high ratio of oil to resins and solvents. These types of varnishes are mostly oil. Oil-varnishes like this offer greater depth, clarity of figure, and ease of application, but aren’t as protective as a varnish like polyurethane, which has more resins. But these oil-varnishes are more protective and do build faster than true oils.
Quite often, when I’m finishing a table top, for example, I mix polyurethane (a urethane varnish) with danish oil (a oil-varnishes blend) to achieve a difference balance of more protection with greater penetrating beauty. At other times I often add boiled linseed oil to a table to add depth, and after it is dried I will add multiple coats of polyurethane for protection from water and heat.
But quite often for furniture pieces that just need a little protection, danish oil right out of the can is one of my go-to wood finishes.
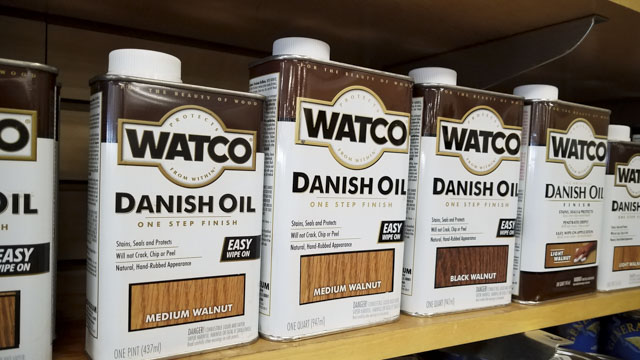
There are several good makers of Danish Oil. Watco brand danish oil is probably the most easy to find locally. It can usually be found in most hardware stores, and online at Amazon (find it here). It comes in different tints, but I just use a clear Danish Oil.
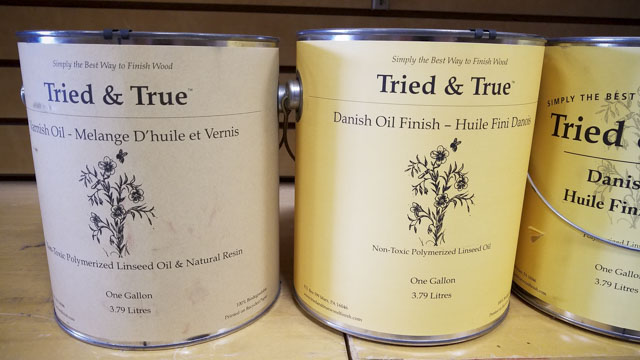
Another popular brand is Tried & True Danish Oil. This danish oil is much more expensive than Watco brand, but the manufacturer uses linseed oil and natural resins to make this a food-safe and environmentally-friendly oil-varnishes blend. I have friends who use this as a finish for their butcher block countertops and cutting boards in their kitchen. It’s also commonly used by wooden spoon carvers and bowl turners who will be using their pieces to eat from. You can buy it here, or at specialty Woodworking stores, like Woodcraft.
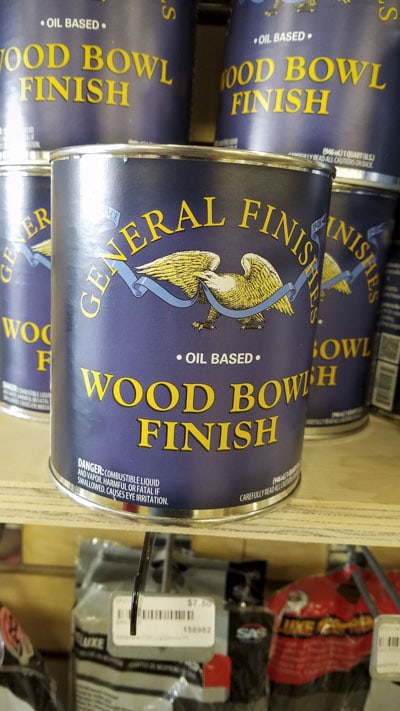
Another food safe oil-vanish blend is made by General Finishes, and is called “Wood Bowl Finish” (formerly called “Salad Bowl Finish”). I’ve used this with success on cutting boards, and it offers better protection than food safe waxes that I mentioned in the wax section.
The manufacture says: “Wood Bowl Finish is a durable oil-and-urethane oil-based finish and can be used as a beautiful and safe topcoat on wooden bowls, cups, spoons, decorative wood countertops or other wood surfaces that come into contact with food. For butcher block countertops actively used for chopping and cutting, we recommend Butcher Block Oil.” Because it is also non-toxic, I would assume that General Finishes uses similar natural resins, like Tried & True. You can find General Finishes Wood Bowl Finish here.
Most, if not all of the manufactures of oil-varnish finishes keep their ratio of oil to resin secret, so it’s hard to know exactly how protective (or toxic) a wood finish will be. So trial and error, and word of mouth are the only way to really know how well a varnish works. One oil varnish that I like (and several of my friends who are long time professional furniture makers) is Antique Oil Finish, made by Minwax.
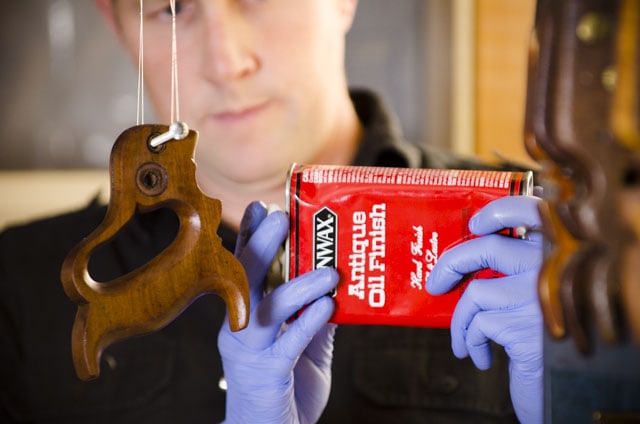
Antique Oil Finish is a wiping varnish, so it is easy to apply, it builds pretty fast with minimal coats, dries fairly fast, and it leaves a lovely satin sheen with little coloration. It’s also pretty affordable. So this makes Antique Oil Finish my go-to finish in many cases. I also really love using it on tool handles, whether new or antique. The downside is that I strangely have a hard time finding it in local hardware stores. But I do most of my shopping online now anyway, so at about $11.50 for a pint (free shipping), it’s a pretty good deal. I buy my Antique Oil Finish online here.
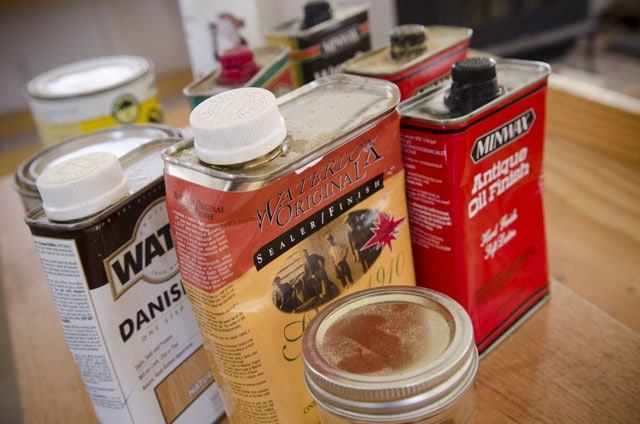
Here are some other popular varnish finishes that you can compare and read reviews for:
- General Finishes Arm-R-Seal Urethane Topcoat (find it here)
- Minwax Wipe-on Polyurethane (find it here)
- Waterlox Original (find it here)
- Watco Teak Oil finish (find it here)
- Tung Oil finish (find it here)
*Keep in mind that some woodworkers and scientists consider many of the oil-based varnishes and waxes to be unhealthy to use, due to solvents and other petroleum-based ingredients. If you have health or environmental concerns, then do some research before you use a finishing product. Natural oil finishes or water-based finishes may be the best option for you.
Water-based Finishes
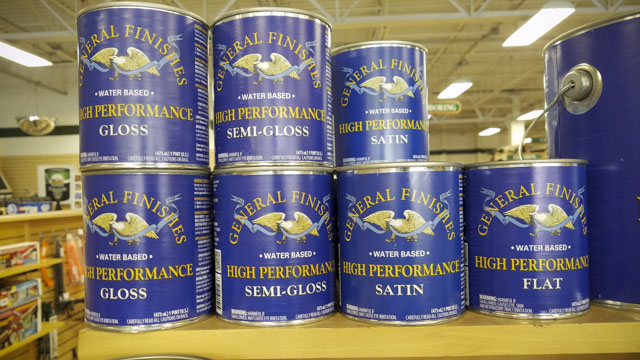
Water-based wood finishes are a recent innovation, in an attempt to create a safer finish, where water replaces some of the more dangerous or environmentally unfriendly chemicals in traditional varnish. Because of the lack of oil, the water-based finishes give an absolute clear finish, which may be desirable on a furniture piece where an amber hue is not wanted, like on maple.
So it sounds like the perfect finish, right? Well, not exactly. Remember, every wood finish has its pros and cons. Although a water-based urethane is a strong surface, it isn’t as strong or as resistant to heat or solvent damage, as oil varnishes are. I’ve heard from a woodworker who applied a water-based finish to his furniture, and after the finish had cured, the lotion on his wife’s hand damaged the surface, and it couldn’t be repaired. Water-based finishes don’t repair well, and usually have to be completely stripped. They also don’t adhere very well to certain surfaces, like oil-based stains or certain paints.
So water-based finishes are more of a special-use wood finish for me. I like to use them only when I want to achieve a total neutral, clear finish. For example, if I want a maple table top to stay white, and not turn amber/yellow, I would use a water-based wood finish. I use General Finishes “High Performance Water-based Topcoat” finish, which you can buy here for about $22.50 per pint (shipping included). Sometimes WoodCraft has a sale on this popular finish.
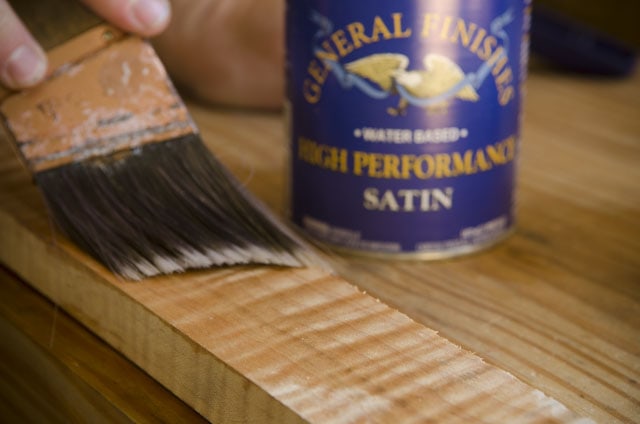
General Finishes has made water-based finishes their specialty, so they have become the most popular manufacture of water-based wood finishes for woodworkers, so that’s what I use.
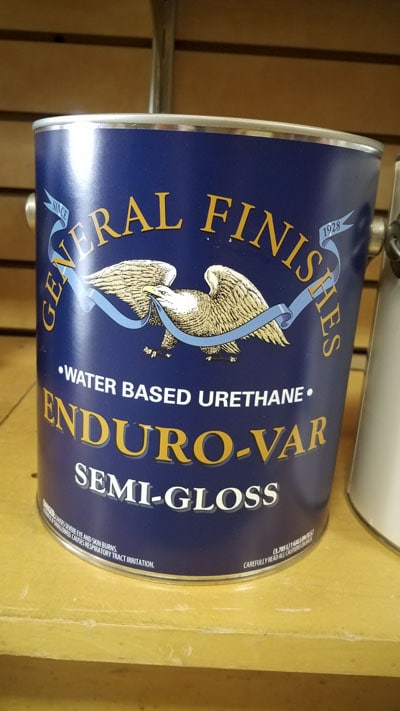
If you’re set on using water-based finishes for safety or environmental reasons, but you still want the slightly amber historical hue that oil varnishes give, then you’re in luck. You can either lay down a washcoat of amber dewaxed shellac beforehand, or you can use a water-based urethane like “Enduro-Var” by General Finishes.
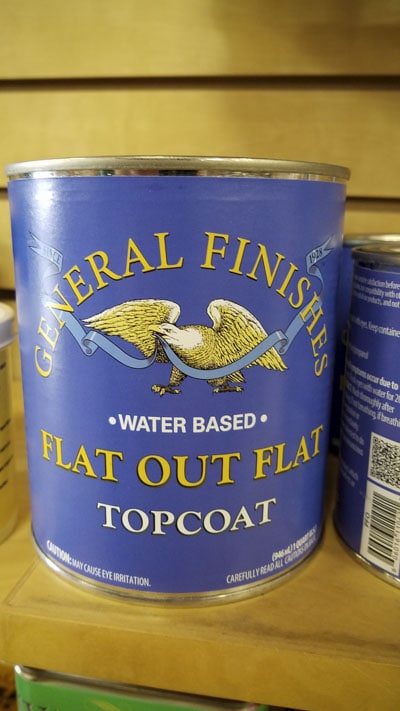
If you are looking for a very flat water-based topcoat, then General Finishes sells their “Flat out Flat Water Based Topcoat“, which you can buy here for about $35 per quart (shipping included).
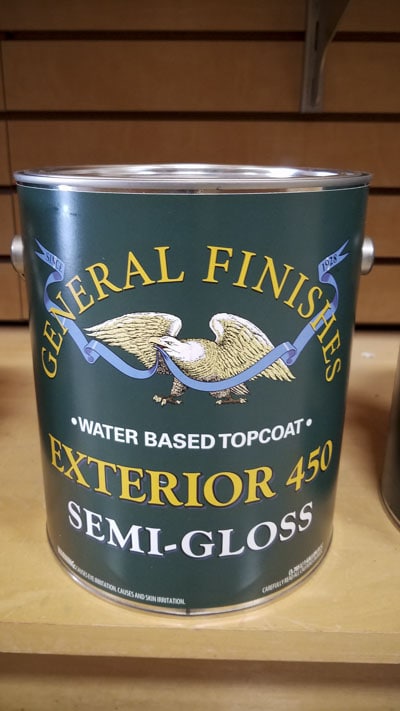
General Finishes Exterior 450 is a clear coat preferred for furniture that will be stored outdoors, like patio furniture. You can find it here for about $36 per quart (including shipping).
Lacquers
Most commercially produced furniture from the mid 1900’s onward has been finished with a solvent-based lacquer finish, due to it’s decent durability, fast application, self-leveling, no sanding between coats, fast curing, easy blending, and beautiful depth. It is the first finish that I learned how to use in the spray booth, when I was in wood shop class in high school. It can be sprayed on or brushed on.
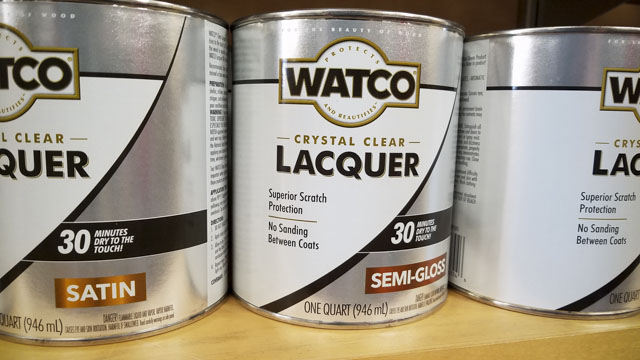
But for all of its strengths, it has some safety drawbacks. Lacquer fumes are very strong and can cause dizziness and prolonged exposure can make you sick due to the toxicity of the chemical composition. You should use proper ventilation and wear a respirator mask that is approved for organic vapors and gases. Most people spray lacquer, due to the greater ease and speed, though some professionals prefer brushing on lacquer. Sprayed solvents are highly flammable, and can cause explosions. These are some reasons that many hobbyist woodworkers don’t use lacquers. However, by spraying outdoors or in a garage with the garage door wide open (spray into a cardboard box) these risks are minimized.
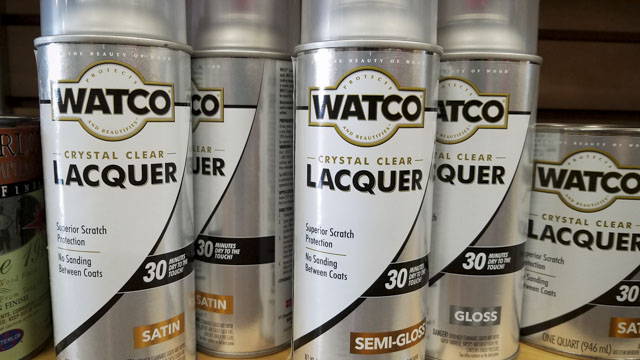
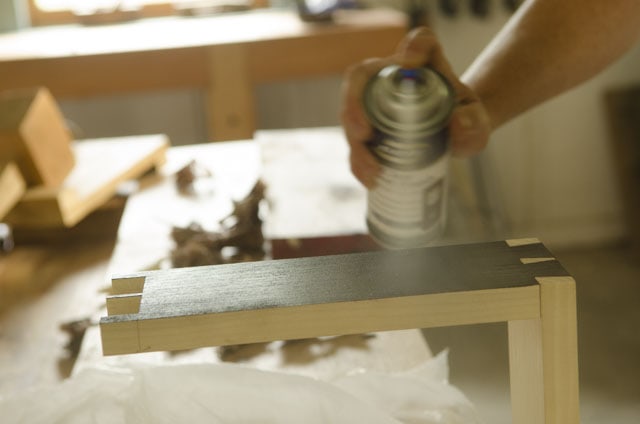
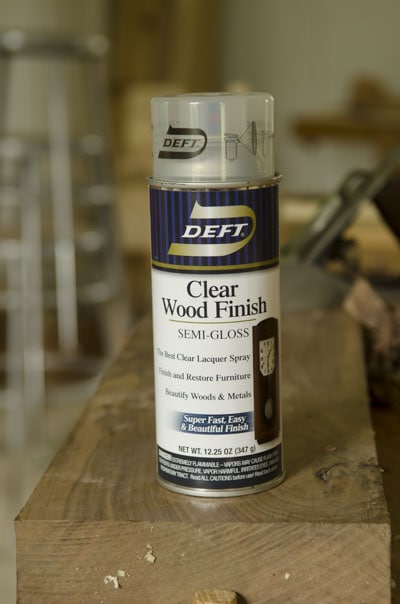
The most commercially available lacquer is nitrocellulose lacquer. And for smaller furniture projects, even professionals now use small aerosol cans, as the below Deft clear wood finish lacquer that I use on occasion. Deft aerosol spray lacquer has been a favorite of woodworkers for years. Using an aerosol spray can of lacquer allows you to get fine results without having to invest in an expensive explosion-proof spray booth and spraying equipment. Nitrocellulose lacquer doesn’t give as protective a surface as polyurethane, for example, but the finishing time is much shorter. There have been recent developments in safer water-based lacquers, but the general consensus seems to be that it doesn’t give the results that nitrocellulose lacquer gives.
If you’re interested in using lacquer, you should read this great article called “Working with Lacquer” by Joe Hurst-Wajszczuk. He shows how to spray and brush lacquer, and gives more insight on how to be more safe using lacquer.
Paint
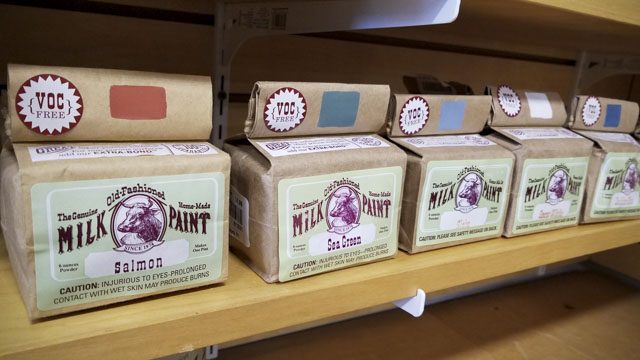
Paint is a colored coating that usually covers wood, rather than clear-coating the wood (as with the above wood finishes). It is made with pigment mixed with different types of binding and hardening bases. Most modern paint is latex paint (a soft, flexible paint which has superseded the now-outlawed lead-based paint), and the most historical paints are oil paints and milk paints. The binding agent for the pigment in oil paint was traditionally linseed oil, and the binding agent for the pigment in milk paint was traditionally lime and casein protein from milk.
I haven’t tried mixing historical oil paints, but I sometimes use a flat latex paint on my furniture, when durability isn’t a requirement, and when I need a special color. But most of the time I use milk paint. It is my furniture paint of choice due to it’s very hard surface and muted, historical hues. Milk paint can either be mixed at home from milk, or purchased in powder form from a few different retailers. And I can easily buy a white milk paint powder and mix natural earth color pigments of my own choice to get nice results.
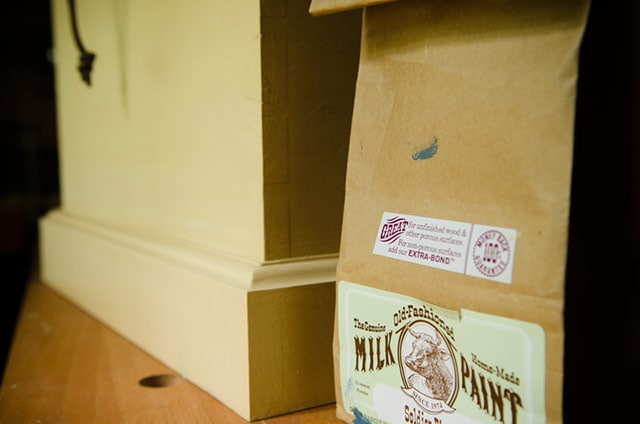
Making your own authentic milk paint requires a bit of work, so most people opt to buy pre-made milk paint powder, which is available from a few companies:
Old-Fashioned Milk Paint Company: This is the milk paint powder that I have primarily had experience with. The company offers a good selection of historical colors, and their paint gives a nice, hard finish if mixed, strained, and applied appropriately. This milk paint is usually available at smaller hardware stores, at woodworking stores (like WoodCraft), or online here at Amazon. Due to shipping, it’s a few dollars cheaper locally, if you can find it near you. I prefer to buy their white milk paint color and mix it with iron oxide pigments that I buy from the The Earth Pigments Company (here).
The Real Milk Paint Company: this is another popular brand of milk paint, but I haven’t used it yet. The company carries a larger selection of finishing products, including pre-mixed milk paint, but I don’t know if their milk paint is as traditional as the Old-Fashioned Milk Paint. I haven’t been able to find a retailer near me, but you can also buy their products on Amazon, here.
General Finishes Milk Paint: General Finishes is the third retailer that I know makes milk paint. I’m not sure how close this is to actual milk paint, but it comes premixed in pint, quart, or gallon cans. At $35 a quart, it’s quite costly, but the color selection is good and if you don’t want to experiment with mixing your own powder paint, this may be a good option for you. You can see the premixed cans of General Finishes milk paint here on Amazon.
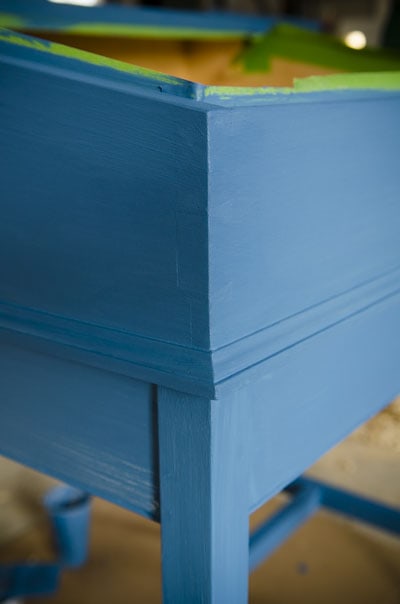
Making Chalk-based Paint
Another option that has become popular with “Upcyclers” is chalk-based paint. My sister originally told me about how she and many other ladies that she knew were painting old furniture with chalk-based paint. It looks similar to milk paint, and is pretty durable. Some people seem to think that you can apply it on old furniture without sanding, but I find that a little hard to believe. When I’ve used it, it has been on bare wood, and I’ve had good results with it.
The original brand of chalk-based paint is sold under a proprietary name Chalk Paint®, manufactured by Annie Sloan (very expensive), but some other companies have introduced similar versions under variations of the name (some of which you can find here). But I find it much cheaper to make chalk based yourself, at a low cost and with virtually any color you want.
On the above blue desk I used homemade chalk-based paint using simply a quart of flat latex paint from a paint store, inexpensive plaster of paris, and water. The recipe I used says to smoothly mix 1/3 cup of plaster with 1/3 cup of water, and then thoroughly stir in 1 cup of latex paint. The plaster not only increases the flatness of the finish (making it look similar to milk paint) but it also hardens it, similar to milk paint.
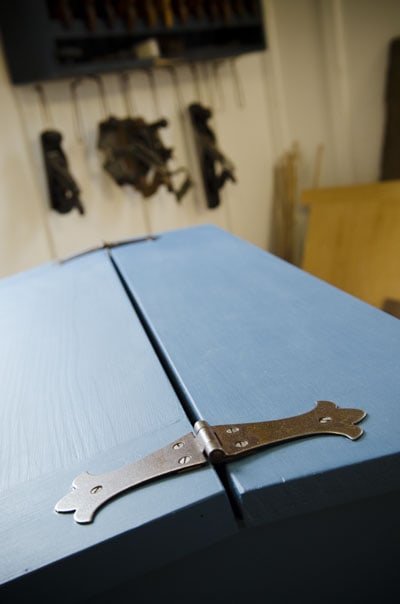
It has been several years since I painted this desk, and though the desk has been dented and drawn on (by my children) no bare wood has shown through and there has been no cracking or peeling. I call that a win. While I don’t love a chalk-based finish quite as much as a milk paint finish, it’s quite close. And it’s cheaper and faster to mix up, with no straining or sanding required between coats.
3. Buying Products for Applying & Preserving the Wood Finish
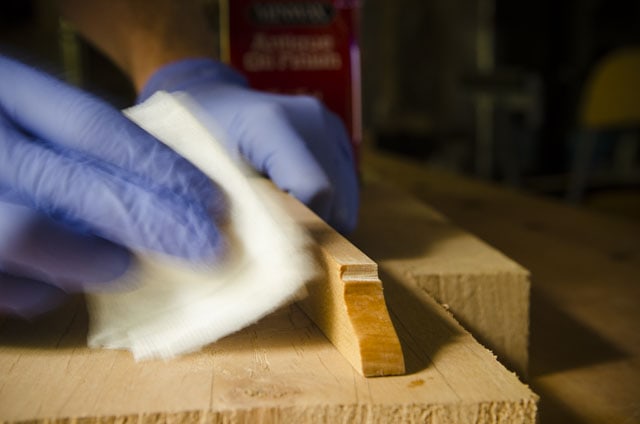
There are so many wood finishing accessories and products for wood application, that I can’t possibly mention them all here. And I don’t even use a tiny fraction of them, since my wood finishing techniques are pretty basic. But I will mention a few items that I use, and that others have recommended to me. First I’ll briefly recommend what to use for applying the finish, followed by ways to preserve the finish, and finally I’ll talk about products to protect you from wood finishing.
Products for Applying a Wood Finish
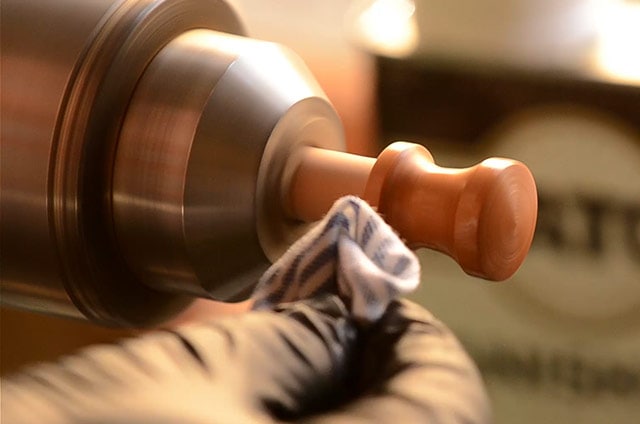
The majority of the finishes that I use are hand-applied oil finishes or wiping varnishes. And I hope that I don’t disappoint you, but I usually just use old cotton T-shirts that my family can’t wear anymore. The kind of T-shirt that has been washed so many times that it is super soft. This is what professional wood finishers have recommended to me.
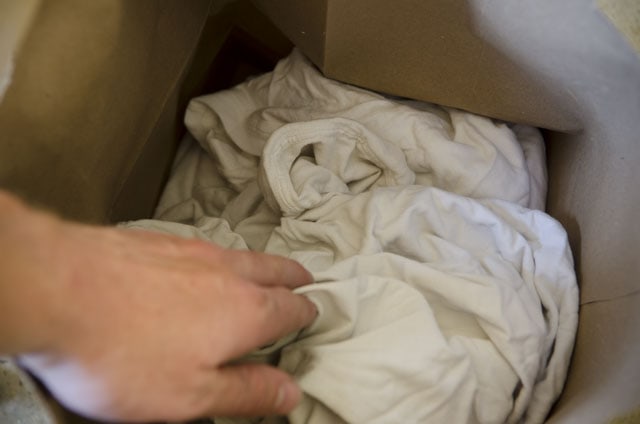
Whenever a T-shirt is past its expiration date, I just make sure it has been washed, cut it into rags, and then throw it into my bag of clean finishing rags. The T-shirt cloth can be used for careful padding on of finish or for wipe-on / wipe-off applications.
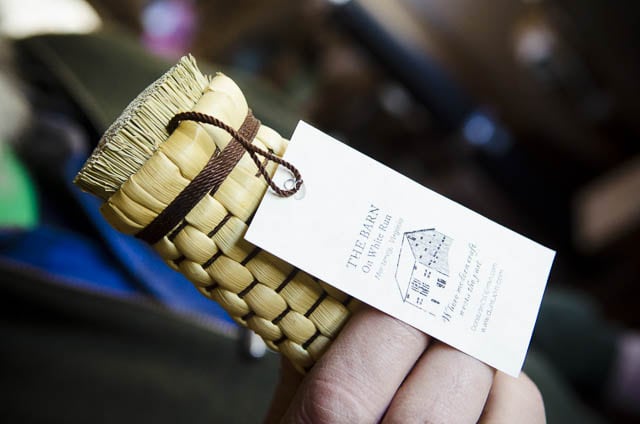
As you may have seen in the video further up on this page, historical finishing expert Don Williams applies wax finishes to his furniture with a historical French Polissoir, which applies the wax and buffs the finish at the same time. Don’s polishers and waxes can be purchased at his website (here). While at Don’s “barn” he also recommended to me a super-soft, lintless cotton cloth for applying and buffing delicate finishes, called Webril Handi-Pads. You can find them here. This is what he used when doing furniture restoration and preservation at the Smithsonian museum.
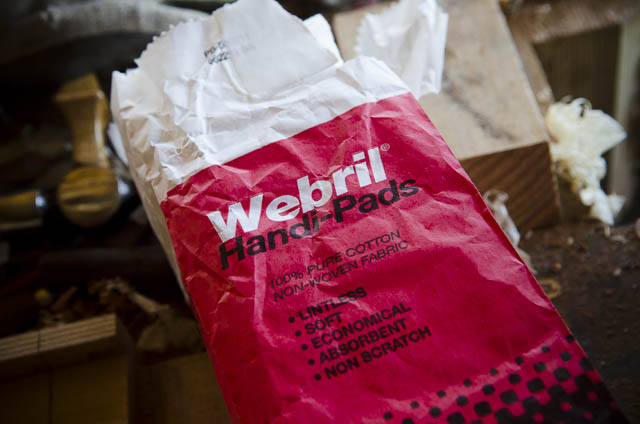
One safety note to consider is that you should never pile up used rags or cloths. The finish on these cloths can spontaneously combust into flames. This would definitely cause a bad day.
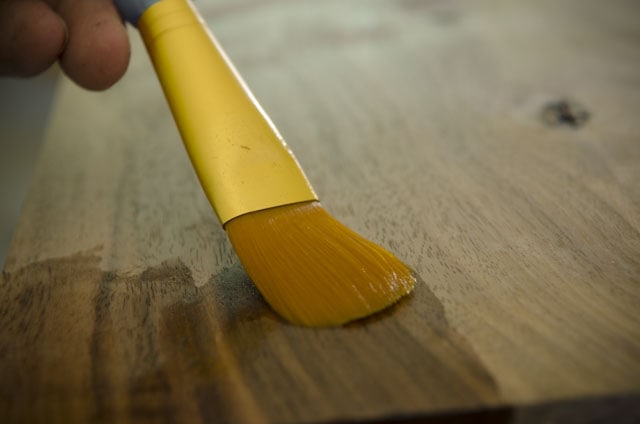
I obviously always use a paint brush to apply paint to furniture, and occasionally I’ll use a brush to apply a wood finish, specifically on larger pieces or when using water-based finishes (which are difficult to wipe on). A quality brush can really make a big difference in applying wood finish or paint, and will leave a better surface with fewer streak marks. Here are a few points to consider when buying a brush for wood finishing:
- A 2-inch brush is typically considered a good size for beginners to start with for normal finish application. I use smaller brushes for detail work.
- A natural bristle (i.e. filament) brush is better for using solvent-based finishes (like varnish or lacquer).
- China bristle brushes (made from the hair of Chinese boars) are an economical, yet decent quality bristle style to start with (runs $10-$20).
- A European ox hair bristle brush is the finest and softest type of brush available today for wood finishing (runs about $40 for a 2-inch brush)
- A brush with a combination of the above bristles works somewhere between the two and costs somewhere between the two.
- Due to the cost, badger hair bristle brushes aren’t made much anymore.
- A synthetic bristled brush is required if you plan to use water-based wood finishes or paint.
- A synthetic bristled “Taklon” brush (as pictured above) will work well for both solvent-based finishes and water-based finishes. They just don’t load a lot of finish at one time.
- Always properly clean your brush after use, so it will last a long time.
What are the best brands of brushes for wood finishing?
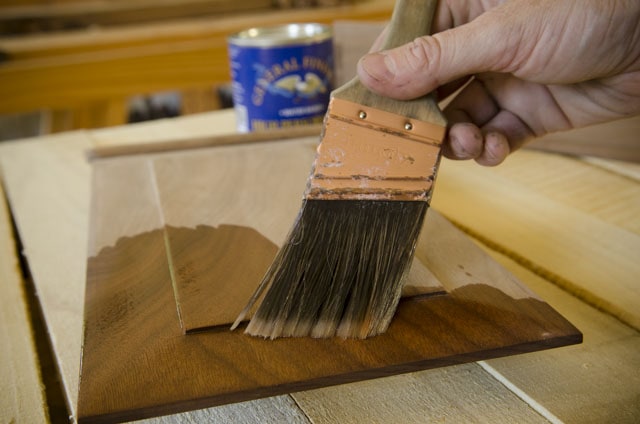
- Purdy is a popular brand for wood finishing brushes and paint brushes, which you can find a large selection here. I have also bought Purdy brushes at local hardware stores and paint stores. When shopping, use the above recommendations to find the right brush for your project.
- Wooster is another popular brand for wood finishing brushes and paint brushes, which you can also find a large selection of here.
- Omega (Italian company) makes excellent brushes for wood finishing, as well as for shaving.
- Tools for Working Wood has a good selection of natural-bristled and synthetic-bristled brushes for woodworkers. They carry nice European ox hair brushes. European ox hair brushes are usually considered the best on the market. See their selection here.
- Find a good selection of Taklon brushes here at Amazon. I use the smaller brushes for applying shellac on smaller projects.
- Jeff Jewitt (professional furniture finisher, mentioned earlier in this article) sells some nice China bristle brushes and Taklon brushes here.
- Shellac.Net carries a large line of brushes for applying shellac (here).
- I also use inexpensive disposable foam brushes, like these, for applying some finishes & paints, and also for applying glue. I do try to wash them out and reuse them as many times as possible.
Buying Products for Preserving Wood Finishes
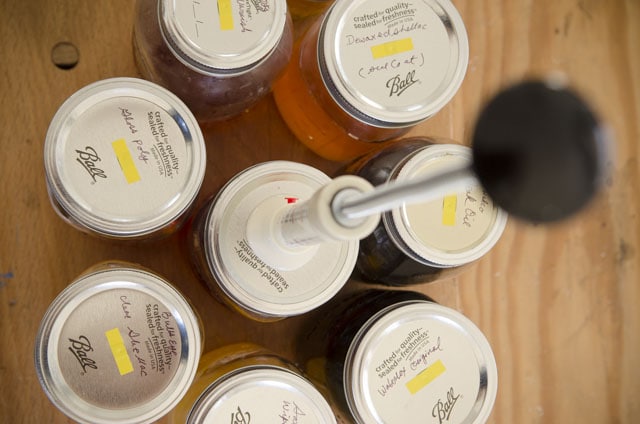
Finding out that your expensive wood finish has gone bad, is a bad feeling. But there are some options for persevering your wood finish. Some finishes can be preserved for a little while longer, and some for a long while longer.
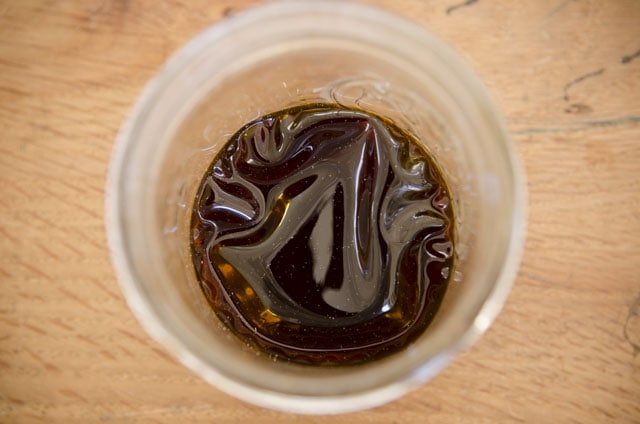
I wrote an article about preserving wood finish, and a contraption that I discovered that has helped me to keep my wood finish from going bad. You can read the article here, and watch the video below:
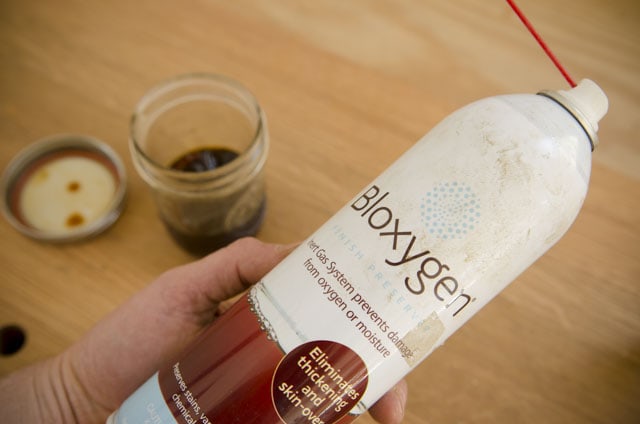
One product that I have NOT found helpful in preserving wood finish, is Bloxygen (canned argon gas). I write all about this in the above article.
Buying Safety Products for Finishing Wood
Woodworking is incredibly fun and relaxing, but is a lot more enjoyable when you know that you are safe from the hazards associated with finishing a furniture project. Breathing dust & wood finish fumes are harmful to your lungs, and can cause lung cancer and other diseases. And your hands and eyes should to be protected from harmful chemicals that may be in your wood finishes. One of the reasons I love to use hand tools is that it’s usually a lot healthier because I often create wood shavings in place of saw dust. But I do still use power tools, I do some sanding, and I use wood finishes. So my health risk is lower than some woodworkers, but not eliminated. This is why I am careful to use a few safety products when finishing my furniture.
Respirators for Woodworking
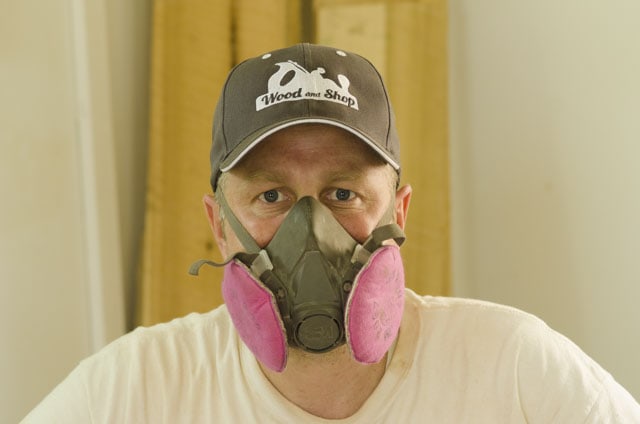
Whenever I create more than a little bit of sawdust from sanding, or when I apply a toxic wood finish, I put on a respirator mask. Paper dust masks just aren’t good enough. The great news is that good respirator masks are now very inexpensive, thanks to online retailers. Below is a list of a few good respirators for woodworkers. Please make sure that before you purchase a respirator, that the filters are designed to work for preventing both dust particles and toxic fumes that may be in your particular wood finishes. Check the NIOSH website to make sure the filter that you buy will be suitable for what you’re working with. Some of the respirators can accept multiple filters, for different solvents and particulates. Most respirators also come in small, medium, and large sizes. So make sure you get the right size for your face, or else you could find it uncomfortable.
- 3M Dual Cartridge Respirator Assembly: this respirator is one of the most popular, as it is approved for use with both solvents and particulates (sawdust).
- 3M Rugged Comfort Quick Latch Half Facepiece Reusable Respirator: this respirator is approved for gases, vapors, and dust. It also has high ratings.
- 3M Half Facepiece Reusable Respirator Assembly: this is the respirator that I bought a couple years ago, and it has worked fine.
Nitril Gloves for Applying Wood Finish
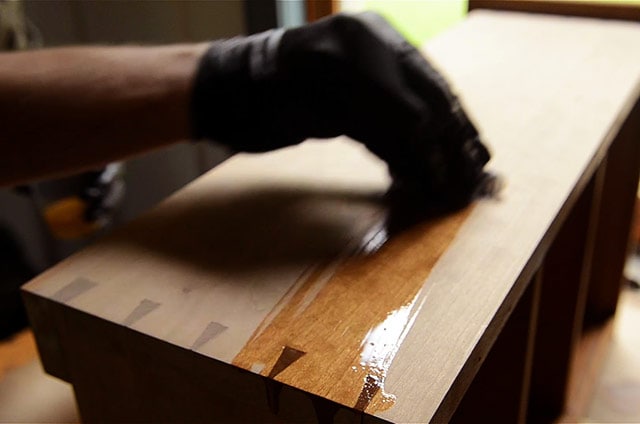
Whenever I apply wood finish or use wood glue I use gloves, to protect my hands from any toxic chemicals that may be in the wood finish, but also to keep my hands clean. These are the nitrile gloves that I use in my workshop (I like size medium, even though I have fairly large hands). I like these gloves because they are thin enough for me to feel what I’m doing (unlike big rubber gloves) but thicker than most other nitrile or latex gloves. This brand is also quite popular. It has the highest reviews on Amazon, but is thinner than the gloves that I buy.
Safety Glasses or Face Shield

I use safety glasses anytime I use power tools, anytime I apply wood finish that can splash in my eyes, or anytime I feel at risk of anything flying at my face. Years ago when my wife and I were prying up nails from an oak floor, a nail flew up into one of her eyes because she wasn’t wearing safety glasses. It was a scary experience, but fortunately surgery saved her sight. But we gained a real appreciation for safety glasses. Most safety glasses are required by law to meet certain protection standards, and safety glasses are so inexpensive, so there’s really no reason to not wear them. My kids always wear safety glasses when they visit my workshop, if power tools are involved, even if they aren’t helping out. Here are some great, inexpensive safety glasses:
- MAGID Y50BKAFC Iconic Y50 Design Series Safety Glasses with Side Shields: These safety glasses are protective and nerdy-cool. If you don’t wear safety glasses because they look strange, well now you don’t have an excuse. At $7 a piece, you can look cool and be protected.
- JORESTECH Eyewear Protective Safety Glasses, Polycarbonate Impact Resistant Lens Pack of 12: this is the highest rated multi-pack of safety glasses on Amazon. At $1 a pop, you can throw a pair away if they get scratched or stepped on, and you won’t feel upset.
- 3M Virtua Protective Eyewear (6- Pack): These are the safety glasses that I own. I did purchase a multi-pack because I regularly scratch and break any kind of eye glasses. These are just about identical to the multi-pack above, but about twice as expensive. I doubt these are any better than the above pack. This style of safety glasses fogs up easily in humid or sweaty conditions.
- NoCry Safety Glasses with Clear Anti Fog Scratch Resistant Wrap-Around Lenses: I did own a pair of these safety glasses, and before I stepped on them (grrr) they actually did a pretty good job at not fogging up. And they were quite comfortable.
- Safety Goggles Fits Over Prescription Glasses Clear Anti Fog Anti Scratch Impact Splash Proof: safety goggles like this would honestly be a great idea for using finishes that may splash at your face, as safety glasses may not totally stop liquids coming at your face. This is the best reviewed pair of safety goggles on Amazon, and fairly affordable at $18.
- DEWALT DPG82-11/DPG82-11CTR Concealer Clear Anti-Fog Dual Mold Safety Goggle: another pair of safety goggles, with a bit lower reviews (probably because there are way more reviews), but very popular. These are half the price of the previous safety goggles.
Continue to the Buying Guide for Wood Turning Tools & Wood Lathes (#14)…
TOOL GUIDE SHORTCUTS:

HAND TOOL BUYER’S GUIDES
- Intro to Buying Woodworking Hand Tools
- Workbench & Tool Storage
- Layout, Marking, & Measuring Tools
- Handplanes
- Handsaws
- Chisels
- Sharpening & Honing Supplies
- Mallets & Hammers
- Hand Drills, Braces, & Bits
- Tools for Curved Work
- Tools for Green Woodworking
- Woodworking Clamps, Gluing & Fasteners
- Tools for Wood Carving
- Products for Wood Finishing, Sanding & Scraping
- Wood Turning Tools & Lathes

