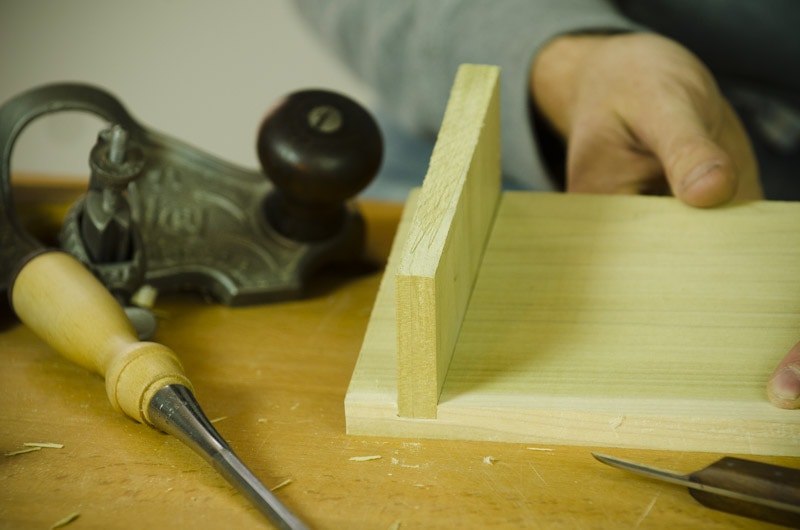
In my above video I show how to cut a simple dado joint with basic woodworking hand tools. What is a dado joint used for? A dado joint is used for securing shelves inside cabinets or book shelves.
[Disclosure: WoodAndShop.com is supported by its audience. When you purchase through certain links on our site, we may earn a small affiliate commission, at no cost to you. Learn more.]
TOOLS THAT YOU’LL NEED
Even though I have a nice tool buying guide (here), I’m still often asked for links to the tools that I use in my videos, so here is a list of tools that I used in this video:
WORKBENCH:
HAND PLANES:
HAND SAWS:
CHISELS:
MARKING & MEASURING:
- Veritas Wheel Marking Gauge or Veritas Dual Wheel Marking Gauge
- Marking knife (chip carving knife)
- Staedtler Mars 780 Technical Mechanical Pencil
MALLETS & HAMMERS:
CUTTING THE DADO JOINT
In the dado video I show these basic steps:
- Use a marking gauge to determine the distance of your dado joint from the edge of the board.
- Hold the shelf piece against the other board, and hold the workpiece down with 1 or 2 holdfasts
- Scribe the shelf piece onto the other board with a marking knife. This ensures a tight fit. Make a pencil mark so you’ll remember which edge goes into the joint.
- Remove the holdfasts and shelf board then use a marking gauge to mark the desired depth of your dado joint: Approximately 1/3 – 1/2 of the way down.
- Use a marking knife to create trenches for your backsaw
- Use your cross cut back saw to cut close to your final depth
- Use a bench chisel (smaller width than your dado joint) to pare out waste, but not all the way to your final depth.
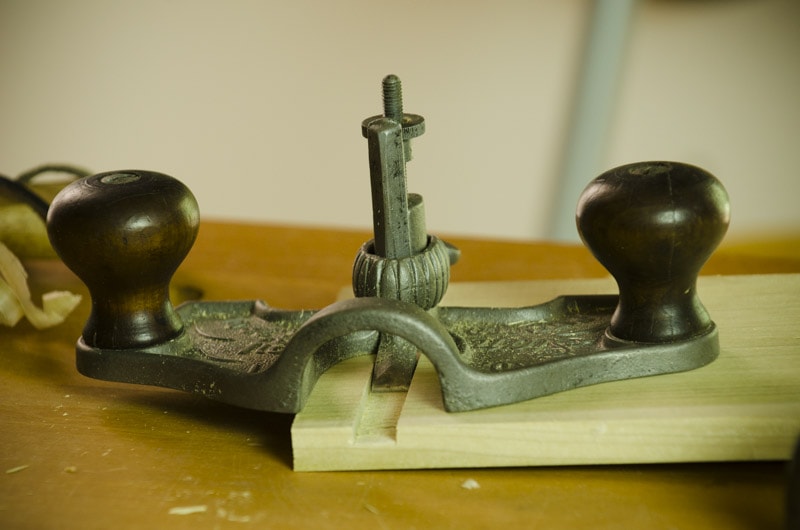
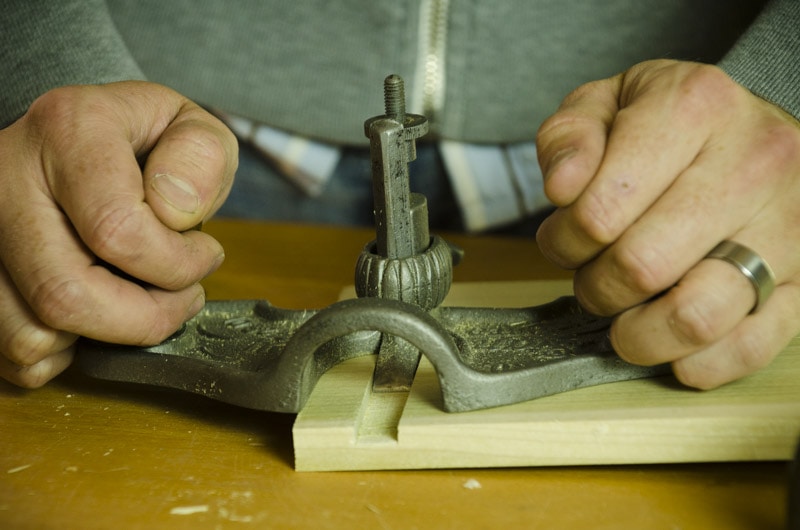
- Use a router plane (like my Stanley No. 71) to clean up the bottom of the dado joint and bring the joint down to its final depth.
- Fit the shelf piece
This is a very simple way to make a dado joint and it’s faster (if making a couple dados) than setting up and shimming a dado stack on a table saw!
CLICK HERE TO SUBSCRIBE TO JOSHUA’S FUTURE ARTICLES & VIDEOS!




Hi Joshua,
I’m certainly no expert, but one suggestion I would make is to ensure that your router plane is level by having another piece of wood at the same thickness as your board on the “outside” of you plane to prevent it from tipping. With almost half of the plane unsupported, as in your video, there’s a greater potential for it to not be level.
I’ve been enjoying your videos.
Rob
Hi Rob, thanks for the tip. Yes, that is certainly a good idea. However, I ensure that I place enough pressure on my work piece to keep it from rocking.
Joshua,
I’m curious why you feel using a dado plane is more difficult. It seems using the p lace require far fewer steps, fewer tools and is much faster. When cutting stopped dadoes this method is the way to go, but wouldn’t it be easier in other cases?
MJ
Hi Mark, Thanks for your question! I’m not the only one who feels this way. Even Roy Underhill and Bill Anderson personally told me this. A Dado plane isn’t as clean or as fast as sawing down then removing with a chisel. It takes more effort (and you have to setup a fence to ensure the plane planes a straight joint) and leaves you with a less clean dado joint…even if you have a good sharp nicker. You also don’t… Read more »