How to Refurbish a Metal Rabbet Plane
Bill Anderson shows how to refurbish an antique metal rabbet plane
![]() By Joshua Farnsworth | Published 08 March, 2024
By Joshua Farnsworth | Published 08 March, 2024
How to Refurbish a Metal Rabbet Plane
![]() By Joshua Farnsworth | Published 08 March, 2024
By Joshua Farnsworth | Published 08 March, 2024
In the above video, Bill Anderson gives an in-depth tutorial on how to refurbish an antique metal rabbet plane. A rabbet plane is used to cut a rabbet joint in wood for furniture.
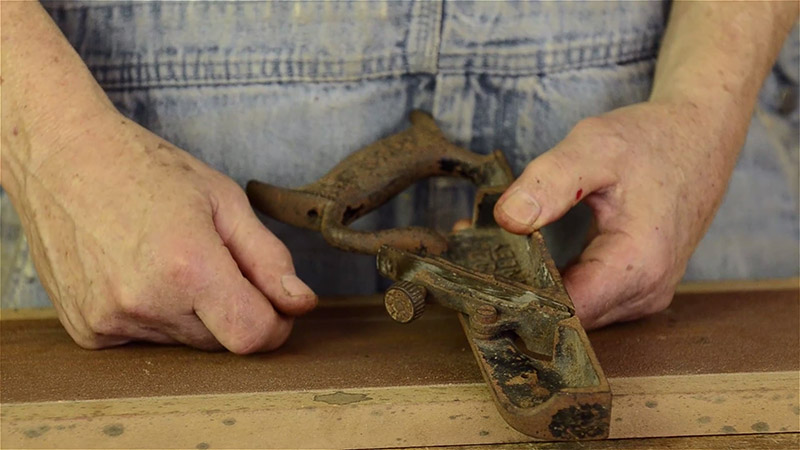
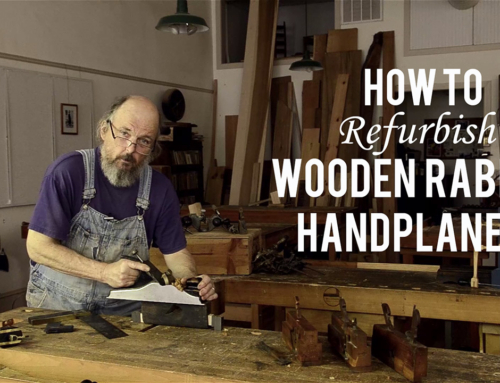
In this video Bill shows how to refurbish the metal rabbet plane for functionality, rather than for cosmetics. Cosmetic handplane restoration tutorials can be easily found online. Last week Bill showed how to refurbish a wooden rabbet plane. You can find that article & video here.
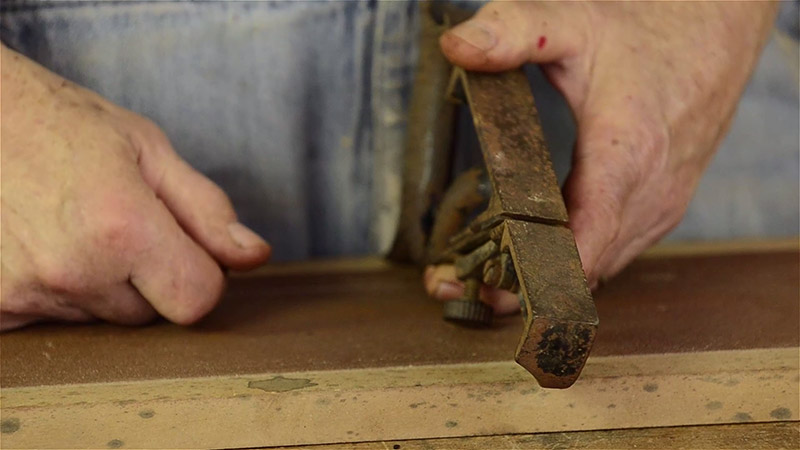
Bill first shows a terribly neglected Stanley #180 metal rabbet plane. The sole and side of this rabbet plane are two of the most important parts to be squared up so the rabbet plane will function properly.
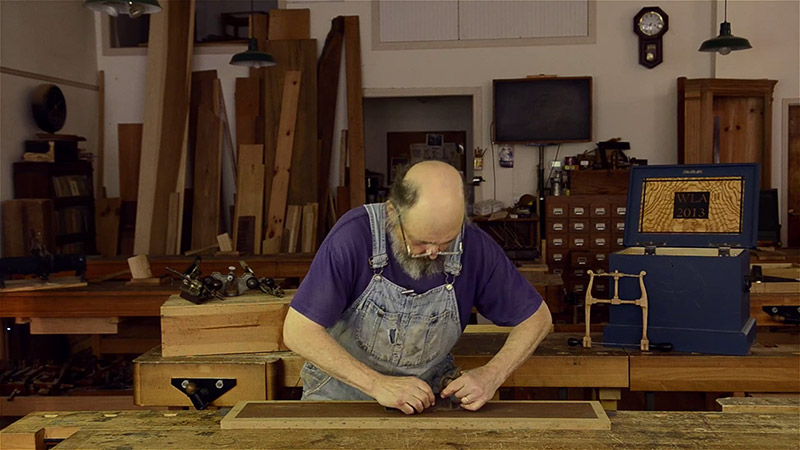
First Bill works to flatten the sole (bottom) of the rabbet plane using a very flat MDF board with belt sander sandpaper. He occasionally checks his progress. As you can see, after several minutes of flattening, the sole is still not flat:
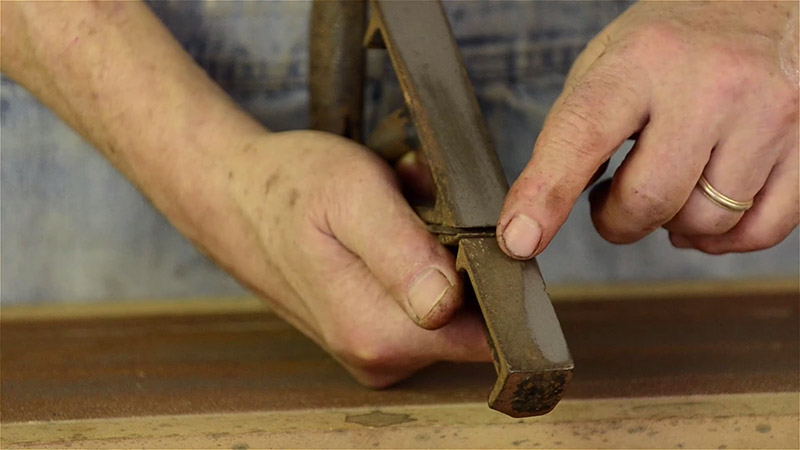
Flattening metal handplanes definitely requires a good deal of elbow grease! After flattening the sole, it’s important to flatten the side of the rabbet plane that will be riding against the wood. Here’s what it looks like after some more work on both faces:
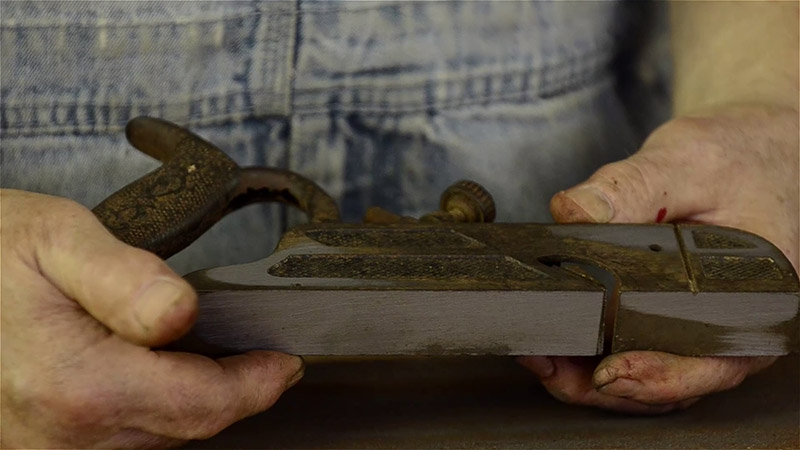
If possible, keep flattening both faces until the surface rust disappears. It’s a good idea to check the plane with a square to make sure you aren’t creating an angle shallower than 90 degrees.
Once Bill takes care of flattening & squaring up the rabbet plane body, he flattens the back of the rabbet plane iron (i.e. blade) on sandpaper, and then checks the actual blade edge for squareness:
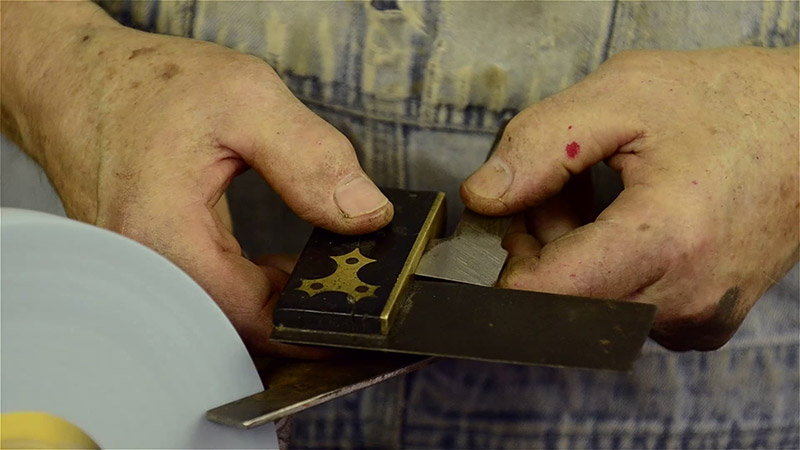
He grinds the tip of the iron’s edge, straight on against the grinding wheel until it is square to the edge of the iron. He moves the iron back and forth so the thin bevel edge doesn’t overheat:
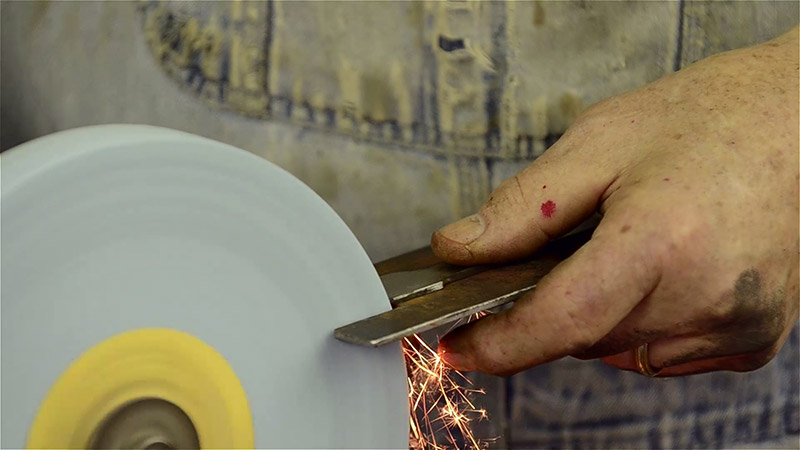
Then Bill moves on to grinding the bevel at a 25 degree angle, and eventually honing the iron on a series of oil stones, water stones, or diamond stones.
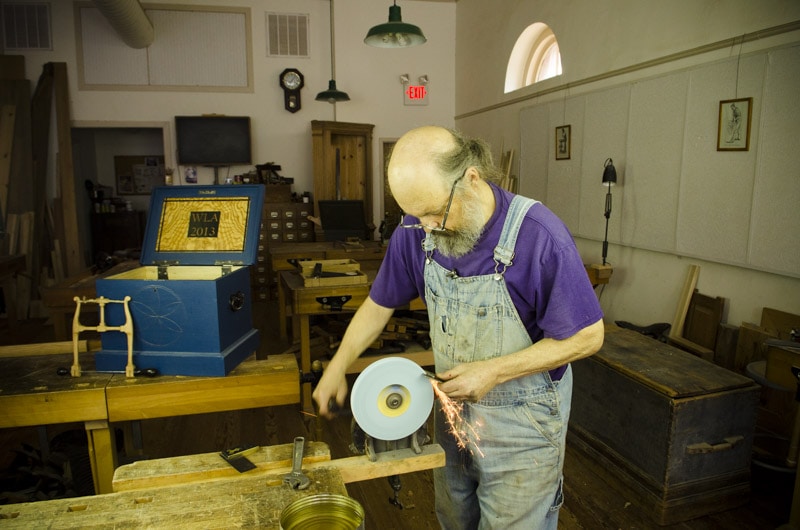
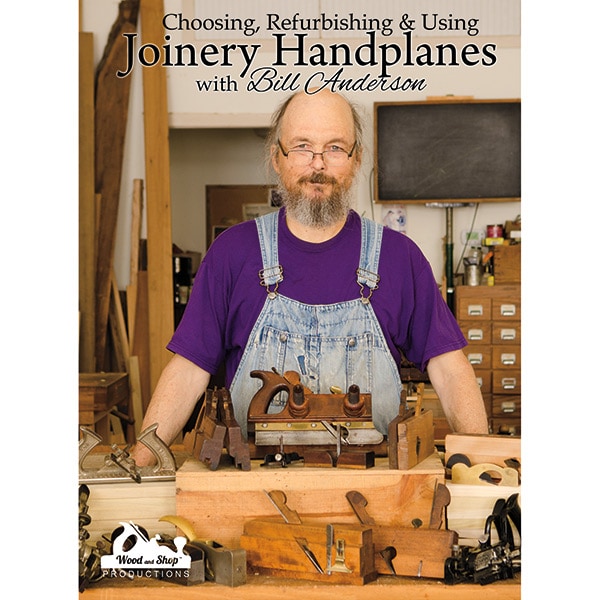
This video is an excerpt from the popular video: “Choosing, Refurbishing, and Using Joinery Handplanes with Bill Anderson” which you can buy here.
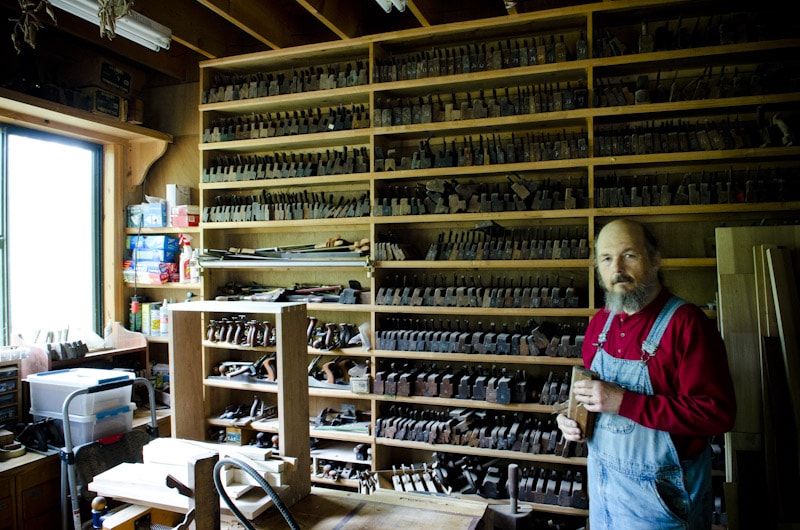
Bill is a handplane expert, and an accomplished maker and restorer of wooden hand planes. His workshop is full of both wood planes and metal planes, and he teaches classes on making, refurbishing, and sharpening hand planes. See Bill’s classes at our school here. Bill is also now (as of 2024) teaching small, private classes at his workshop outside of Chapel Hill, North Carolina. You can see his website here.
