By Joshua Farnsworth
In this article I will show you some methods for how to design furniture for your woodworking projects. You can definitely find existing woodworking plans for furniture and projects that other woodworkers have built. You can find millions of woodworking plans online.
But I personally love the creative bliss that comes when I design furniture myself. Why? Because I can create furniture that will fit into my custom spaces in my home or in the homes of clients. I also love the creative process.
1. Look for existing furniture design ideas
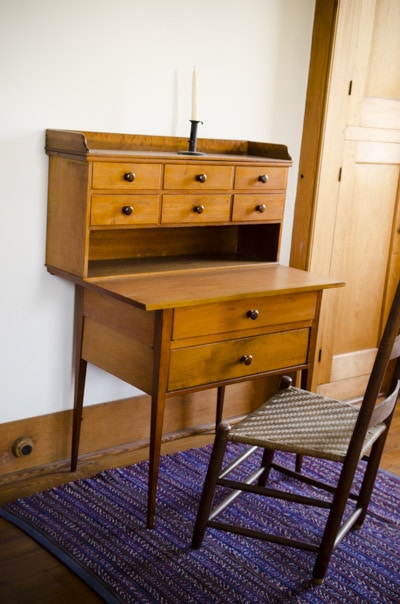
There are very few original furniture designs out there. Most furniture designs that you see were at least inspired by someone else’s earlier furniture design. I always start my furniture design process by looking at existing furniture pieces. For ideas I either visit a museum or look at photos of furniture, both antique furniture and modern furniture. I look at furniture that is pleasing to the eye, and that has the correct proportions for furniture. Here are some free resources that I use for furniture ideas:
- Google Image Search: This is usually where I start, because I can enter a term like “antique trestle table“, and then click the “images” tab in Google, and I can scroll through thousands of beautiful photos until I find just the right look that I’m going for. And quite often if I click through the image, I’m taken to an antique auction house, and I find multiple high-resolution views of the furniture piece.
- Museum furniture databases: An amazing free resource that I’ve found is searchable online furniture databases at museums or living museums. One of my favorites is the Hancock Shaker Village database (here). Another one is the furniture database at the Colonial Williamsburg museum (here).
- Pinterest furniture photos: I’ve also found some nice furniture designs that woodworkers and furniture lovers have pinned to Pinterest. You can visit my Pinterest boards here to see some of the furniture that I’ve saved.
- Others? Please comment below if you can share some other great resources for free furniture design ideas.
2. Make a Rough Sketch of the Furniture
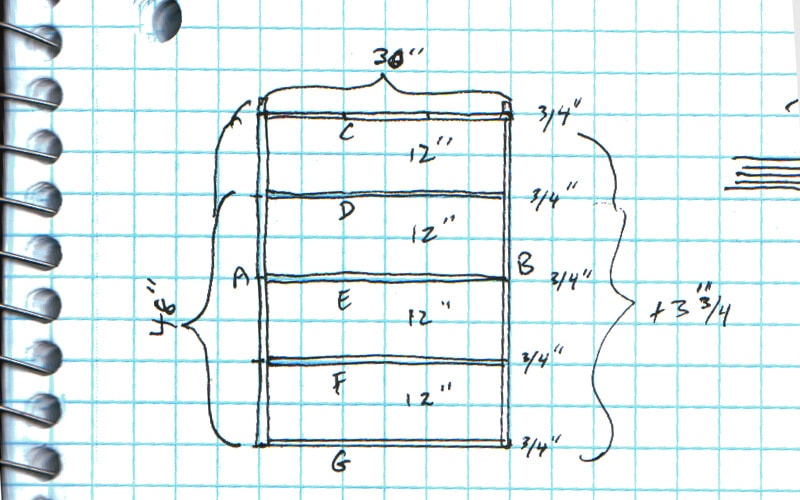
Once I find a general furniture look that I like, then I’ll visualize where that furniture piece will reside, and consider how I’ll modify the dimensions to fit my space, being careful to maintain the eye-pleasing general ratios of the original furniture piece. You can read this Fine Woodworking Magazine article PDF on designing pleasing furniture proportions.
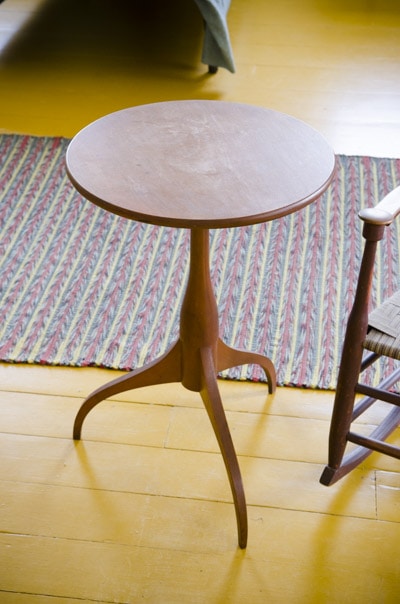
My goal is to customize the actual sizes to fit my spaces and to maximize aesthetics and comfort. If I’m building a book case, for example, I will actually measure my books to make sure my big coffee table books will fit.
3. Make Technical Drawings or Woodworking Plans
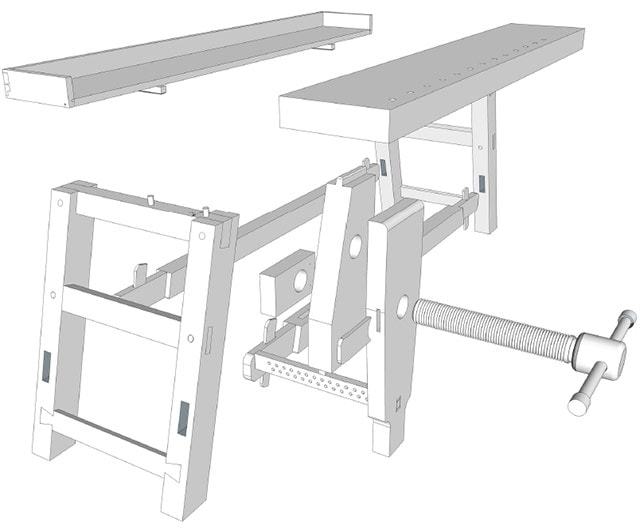
Most of the time I stop at the previous step, and start building my furniture from a rough sketch. But occasionally a piece of furniture is more complex and requires more detailed woodworking plans and a cut list.
Such is the case with a complex project, like the above Portable Moravian Workbench (you can see our Moravian workbench plans here).
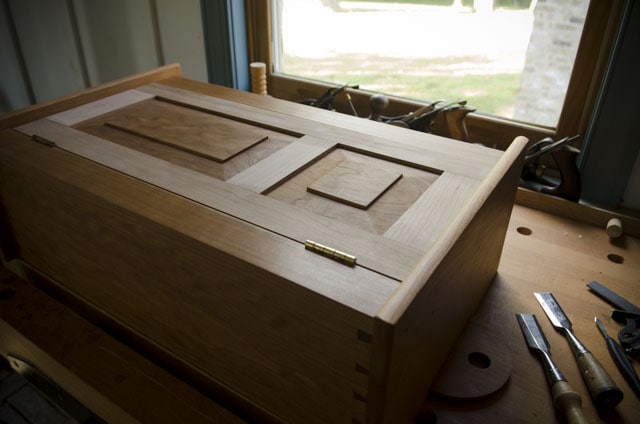
Also, if you are building furniture for a client, it is way easier to make a technical drawing to show them so they can visualize the furniture and make changes to the design before you actually build the furniture piece.
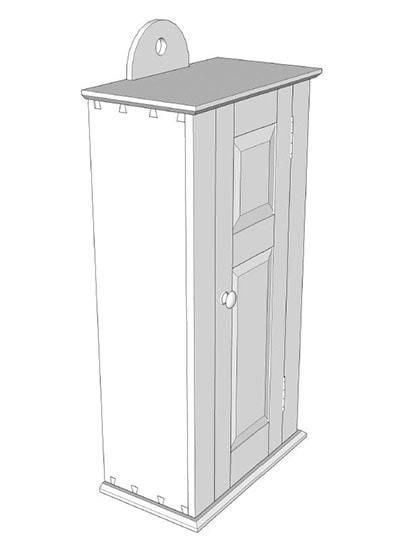
You can find the woodworking plans for this Cherry Shaker Hanging Cupboard that I designed here.
Free Woodworking Design Software
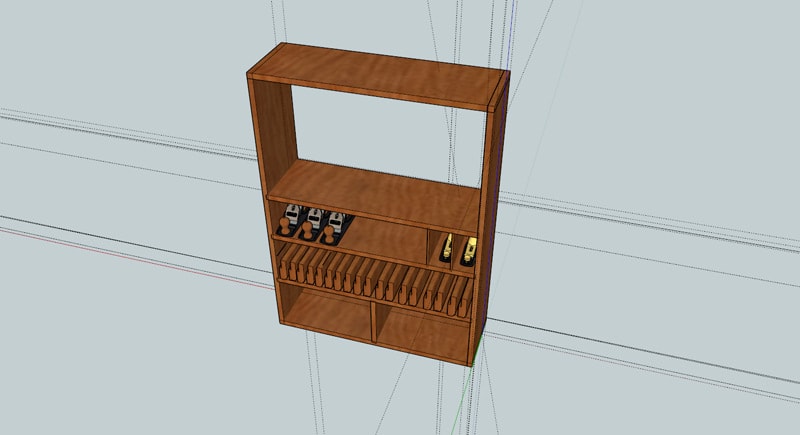
There are a some great 3D wood design software options on the market, but I’m not going to mention them, because I prefer free software for to design furniture. I use SketchUp, and I love it. It used to be called Google SketchUp, but Google sold the company, and another company now owns the free 3D wood design software. But SketchUp is still free for woodworkers like me. I find SketchUp to be pretty simple to learn, but it has the flexibility to let you get very advanced with your furniture designs as your skills grow. It allows you to draw woodworking plans, but it also lets you see and move around your design in a 3D space. It also generates a cut list. I find it most helpful in figure out how to fit woodworking joints together.
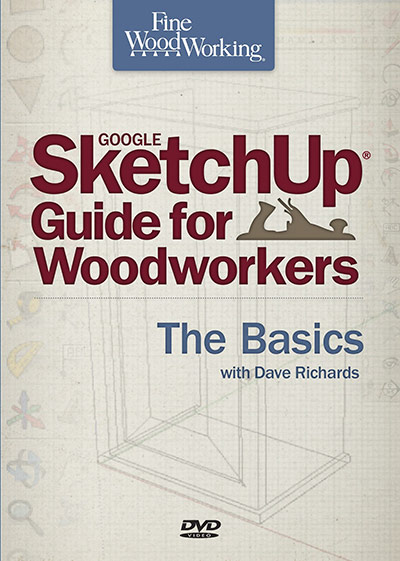
There are a lot of free tutorials online and on YouTube, but I’ve found the resource that helped me the most is this SketchUp Guide for Woodworkers:
It’s only about $16 and the DVD loads the videos and class project files on your computer. It’s a little old, but it’s not outdated. I still go through these tutorials anytime I need a SketchUp refresher, and the lessons work just fine with the new SketchUp interface.
Again, you can certainly watch free YouTube videos to learn SketchUp (I’ve embedded a good one below), but I didn’t find YouTube videos nearly as helpful as this guide. The author, David Richards, just really knows SketchUp for drawing woodworking plans and 3D models. But below I’ll share some other resources for SketchUp:
- Buy “Fine Woodworking SketchUp® Guide for Woodworkers“
- Download the free version of SketchUp here.
- Here’s the SketchUp for Woodworkers website. It’s a good resource, but doesn’t go into a lot of depth.
- You can also download free 3D objects (like tools) from 3D Warehouse, and import them into your Sketchup software (note that some older versions of 3D objects aren’t compatible with newer versions of the software).
- Below is the most helpful SketchUp video playlist that I’ve watched on YouTube:
RELATED
Which 20 Woodworking Hand Tools Should You Buy First?
Why Traditional Hand Tool Woodworking?
10 Jaw-Dropping Woodworking Shop Tours
57 Page Moravian Workbench Plans Now for Sale
How to Make a Mortise and Tenon Joint with Woodworking Hand Tools
8 Steps to Cutting Dovetails with Woodworking Hand Tools
Conclusion | Design Furniture for Woodworking

So that’s basically a simplified version of my process to design furniture for woodworking. If you have any questions or comments, please leave them below. And in the next of the 10 Steps to Getting Started in Traditional Woodworking, you can Learn how to Choose Stable, Strong, & Beautiful Wood (Step 6).
Shortcut to 10 steps:
- Step 1: Buy the Right Woodworking Hand Tools
- Step 2: Setup Your Workshop & Tool Storage
- Step 3: Learn how to Tune, Refurbish, & Sharpen Tools
- Step 4: Learn how to Use Woodworking Hand Tools
- Step 5: Learn how to Design Woodworking Projects
- Step 6: Learn how to Choose Stable, Strong, & Beautiful Wood
- Step 7: Learn how to Square & Flatten Rough Boards
- Step 8: Joinery: Learn how to Layout & Cut Joints
- Step 9: Learn how to Assemble, Fasten, & Glue-up
- Step 10: Learn how to Traditionally Finish the Wood




As somebody that has never did any kind of woodworking prior, these videos are a great guide to point me in the right direction. They are very informative and your not talking above my head. So many of my questions were answered just by spending an hour watching and being educated. Thank you
For the contest:
Video- Howarth Bow Saw
T-Shirt: Wood and Shop Logo Shirt (Large)
Rock Hill, SC
Joshua, I would like to begin by saying thanks! I thoroughly enjoy your site and videos. I would like to ask for your opinion on, what might help classify my abilities as a basic to intermediate wooding skills, and most importantly, I don’t expect you to waste your valuable time in any long explanation. I am starting to construct two identical end tables from purchased plans. Would you recommend building each one individually or “both at the same time”. I… Read more »
Hello Bob, I’m glad you’ve found my website to be helpful! If I’m making two end tables, then I definitely make them at the same time. It saves on time.
Cheers,
Joshua