Disclosure: WoodAndShop.com is supported by its audience. When you purchase through certain links on our site, we may earn a small affiliate commission, at no cost to you. Learn more.
Introduction: Buying Tool Sharpening Supplies
By Joshua Farnsworth
Having sharp woodworking hand tools is one of the absolutely most important aspects of traditional hand tool woodworking. But it can also be a real challenge, and often takes several years to really figure out the sharpening methods that you like best. There are so many ways to accomplish the same result. When I first got started in traditional woodworking I made the mistake of trying to buy the cheapest sharpening supplies, and I had to repurchase a lot of supplies.
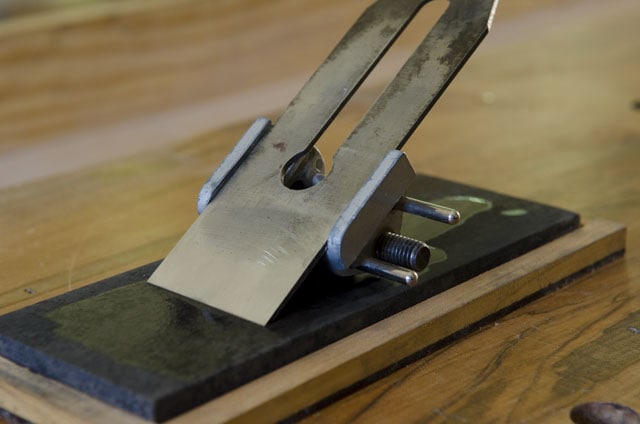
So below I’m going to tell you which hand tool woodworking sharpening supplies you should buy and which sharpening supplies you shouldn’t buy. This page is dedicated to edge tools, like hand plane sharpening and chisel sharpening, and the second page is dedicated to hand saw sharpening.
And this advice applies to all sharpening supplies: Having sharp tools is usually more important than having amazing tools, so be prepared spend a little more money to buy the right sharpening tools upfront; you’ll save money this way. I’d rather cut a board with a razor sharp cheap saw than with a dull (or poorly sharpened) expensive saw. Ideally you can have great tools that are sharpened properly. Alright, scroll down to get started!
Summary of Woodworking Hand Tool Sharpening Steps
Below is a summary of the basic steps of sharpening edge tools (like hand planes & chisels) and hand saws. This page won’t go into details on how to sharpen. For that refer to my hand tool sharpening page for sharpening tutorials.
~ Steps for Sharpening Edge Tools ~
Lapping the Back
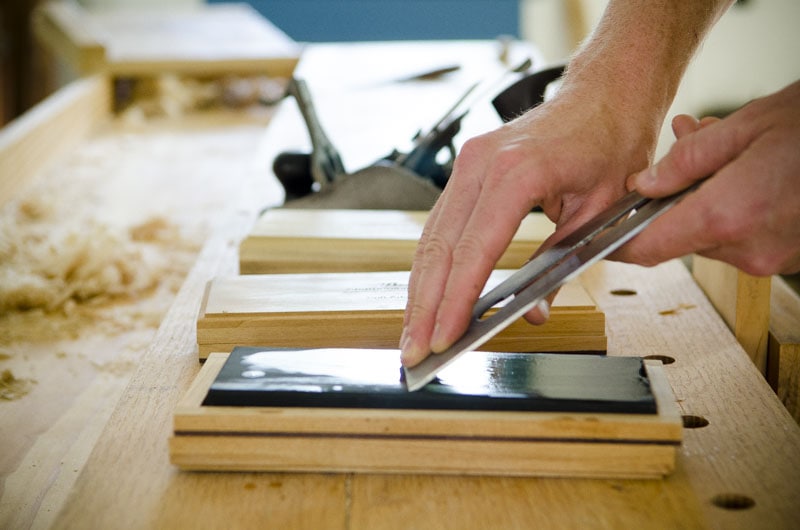
The first part of sharpening edge tools (e.g. chisel sharpening & hand plane sharpening) is flattening the back so it will lead to an invisible (and sharp) edge. Lapping can be done on diamond plates, sandpaper, water stones, oil stones, etc. The key is to move from progressively course media to fine, so you end up with a flat, polished back. The entire back of an edge tool need not be polished, but just the first half inch or so.
Grinding a Bevel
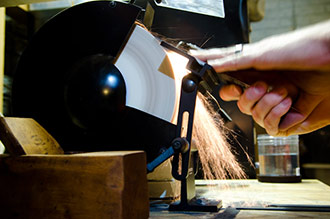
After lapping/flattening the back, next comes the establishment of the bevel with a grinder, sandpaper, or other sharpening systems like the Work Sharp sandpaper sharpener or a wet grinding system (like these). Different bevel angles lead to different results. A low bevel angle is weaker, but works better for paring wood. A higher bevel angle is stronger, but doesn’t cut as well as a low angle bevel.
Honing
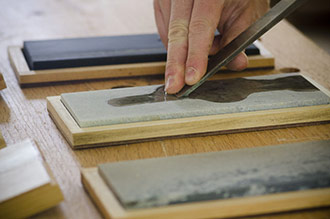
After establishing the desired bevel angle, the next step is to refine and harden the edge with progressively finer waterstones (or whetstone sharpening) , oil stones, or sandpaper until the edge disappears and the intersection between the back and bevel is razor sharp. After honing, you should be able to shave hair from your arm.
Stropping
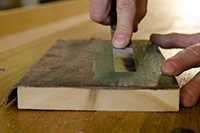
The last, optional step, after honing the edge is to get the sharpest edge possible using a leather strop, with fine buffing compound on leather. Woodworkers who are diligent about stropping every few minutes won’t have to return to their honing stones very often, if at all, because the stropping keeps the edge from getting dull.
~ Steps for Hand Saw Sharpening ~
Jointing
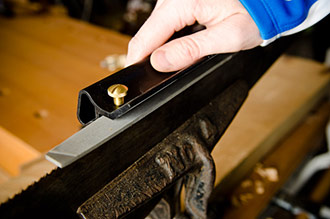
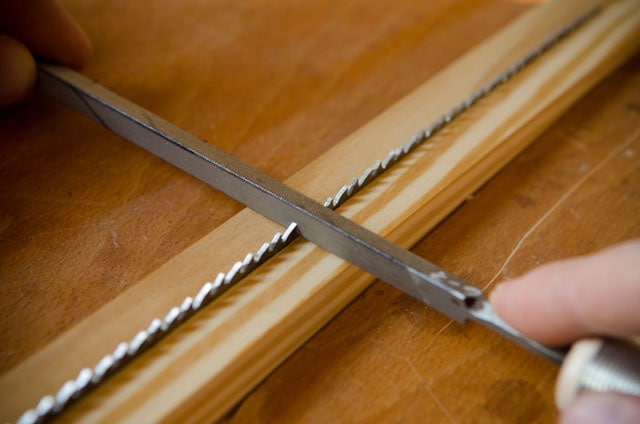
The first part of hand saw sharpening is to use a file to level the tops of the handsaw teeth so they are all the same height. This step doesn’t have to be done every time someone sharpens their handsaws, but just when the saw is sharpened for the first time or after the teeth have become damaged or overused.
Filing/Shaping
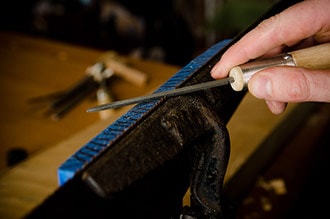
After jointing the tops of the teeth, a woodworker shapes the tooth angles with appropriately sized triangular files. Rip teeth and Cross-cut teeth are sharpened at different angles, and more about tooth shape and tooth points can be learned in my handsaw buying guide (here).
Tooth Setting
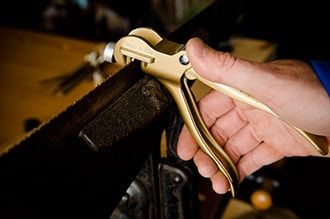
After the saw teeth are shaped, a woodworker uses a special tool to set spread the teeth apart slightly so the teeth won’t bind up in cutting the saw kerf. Different uses of a handsaw and different tooth size require different amounts of set. Personal preference is also a determining factor in the amount of set on saw teeth.
Stoning
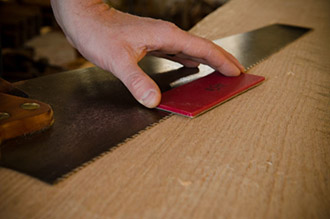
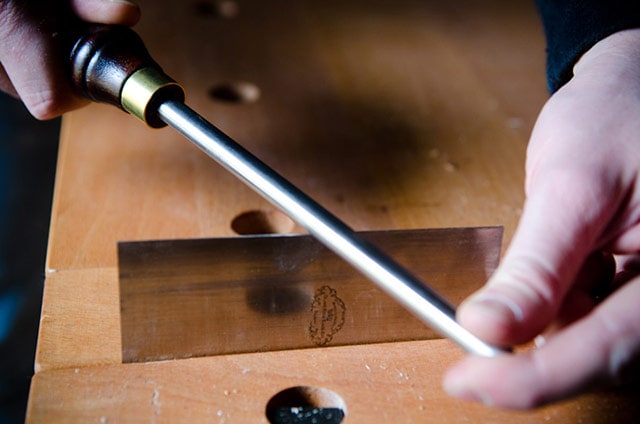
The final step is to remove the burrs created when shaping the teeth, by lightly running a fine diamond stone along the face of the teeth. Test the sharpened saw teeth, and if the saw tracks to one side of a line, then run the stone along the edge that tracks. See details on our hand saw sharpening page (here).
Best Sharpening Supplies for Woodworking Edge Tools
On this page I’ll talk about the best sharpening supplies you’ll need for sharpening woodworking edge tools, chisel sharpening and hand plane sharpening. On the following page I’ll talk about which supplies you’ll use for sharpening woodworking handsaws.
Let me first say that there are many methods for getting a keen edge on chisels & plane irons. You can see my page on learning how to sharpen your hand tools here. I’ve tried a lot of different sharpening systems, like chisel sharpening jigs and hand plane sharpening jigs, and they all have pros and cons. And I use different sharpening systems depending on the situation, so below I’ll mention some that works best for me.

Buy an Edge Tool Grinding System
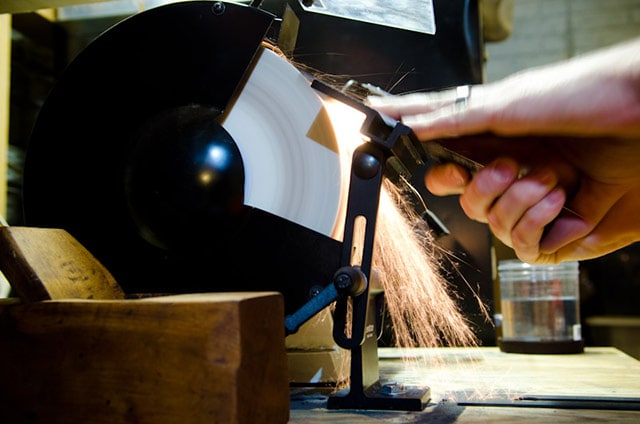
1. Slow Speed Bench Grinders
Establishing a correct angle for the job at hand is of upmost importance when sharpening edge tools (like handplanes and chisels). There are different ways to establish an angle, but my favorite sharpening process starts out on a slow speed bench grinder with special wheels (like white aluminum oxide wheels) that don’t heat up as much as traditional grinder wheels. However, you can overheat the edge of your chisels and handplane irons even with these special wheels. Regularly quenching your hot edge tool in water or peanut oil is essential. You can even grind your edge tools on a cheap normal wheel as long as you quench often enough. Slow speed grinders and cooling wheels just require less quenching. Just make sure that you regularly dress (or flatten) your wheels (pictured below). I use a diamond wheel dresser to accomplish this. I purchased this inexpensive dresser on Amazon and it has worked just fine for me and other woodworkers that I know.
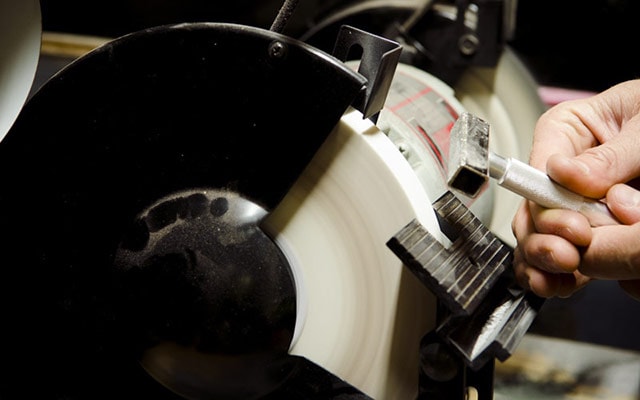
The tool rests that come with grinders are not really versatile, but I don’t mind them. Some people take them off and replace them with something like the Veritas Grinder Tool Rest (pictured below). It’s a very popular tool rest and I like mine. The angle is simple to adjust. You can purchase it here. But it isn’t necessary to start grinding. But my new favorite grinder tool rests will be mentioned below.

The Vertitas Grinding Jig (sold separately) leaves a bit to be desired as far as I’m concerned. It is supposed to allow you to clamp your edge tool in it’s jaws, and then keep your grinding square by sliding back and forth in the tool rest. But it doesn’t really work well, as far as I’m concerned. It’s like training wheels when you’re learning to ride a bike. It kind of keeps you from messing up, but it never seems to give great results. Instead of using that jig, I just use a square and a fine tip sharpie marker to mark a square edge, then set the tool rest perpendicular to the wheel, and grind a flat, straight edge, and then reset the tool rest to my desired angle (usually 25 degrees) and grind the bevel until the tiniest of flat exists. This will then be honed away.
Here are some good 8-inch slow speed bench grinders. If you already have a normal bench grinder, you can buy aluminum oxide grinder wheels for it right here. I prefer a finer grit wheel, like 80-150 grit. Perhaps the best wheels for cool grinding are these 80 grit Norton blue grinding wheels.
My new Favorite Bench Grinder system: Wolverine Grinding System with VARI-GRIND jig
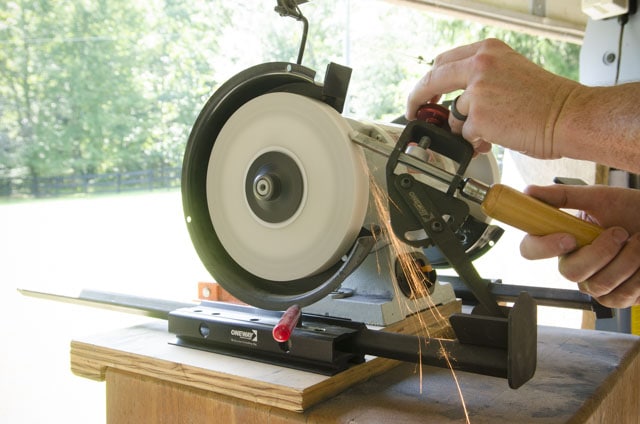
A few years ago I found an amazing jig system for grinding bevels on my woodturning tools and my edge tools. It’s the “Wolverine Grinding Jig“ with the optional “VARI-GRIND jig“. This system, when accurately mounted under each grinding wheel allows much more simple grinding of detail spindle gouges and roughing gouges (for woodturning). It also has a tool rest for skew chisels and normal edge tools, like handplane irons and chisels. I have removed my Veritas jig in favor of this new setup, and have really enjoyed it.
You can compare prices for the Oneway Wolverine Grinding jig at these online stores:
- Shop for the Wolverine Grinding jig at Amazon
- Shop for the Wolverine Grinding jig at WoodCraft
- Shop for the Wolverine Grinding jig at Rockler
- Shop for the Wolverine Grinding jig at Highland Woodworking
And you can find the Vari-grind attachment if you want to sharpen turning tools with a fingernail grind:
- Shop for the Wolverine Vari-grind attachment at Amazon
- Shop for the Wolverine Vari-grind attachment at WoodCraft
- Shop for the Wolverine Vari-grind attachment at Rockler
- Shop for the Wolverine Vari-grind attachment at Highland Woodworking
You can read more about this Wolverine grinding jig on my Woodturning Tools guide (here).
2. Hand Crank Grinding Wheels
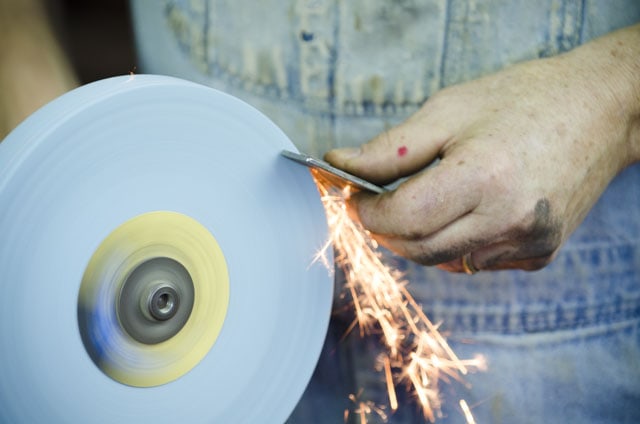
Vintage hand crank bench grinders (like these vintage bench grinders on Ebay) are another fantastic option for grinding an edge, and are affordable and more safe than a power bench grinder. You just need to learn how to crank & sharpen at the same time. Or get your kids to do it for you! Again, just buy a new grinding wheel for it, if needed. Here and here you’ll find some good articles on choosing antique hand crank grinders. Before you buy a vintage hand crank bench grinder, make sure the seller has a good return policy, and that they can confirm that the hand crank grinder has good gears and functions properly.
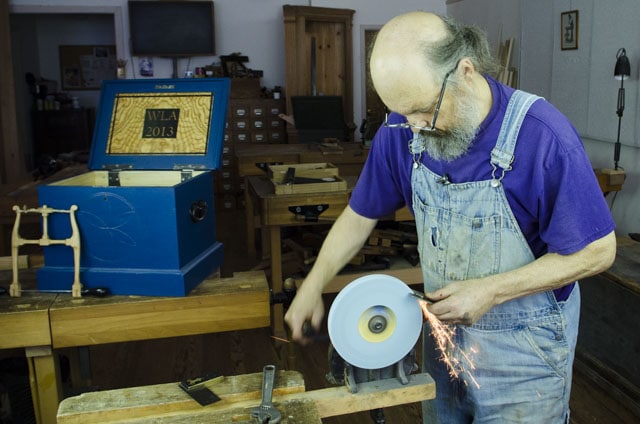
3. Sandpaper Grinding & Honing / Scary Sharp System
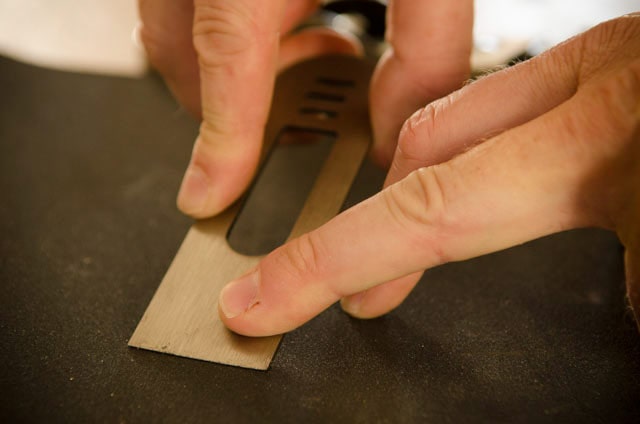
If you’re on a tight budget and want to start off with a sharpening system that’s more “affordable” in the short-term, then you can start off with using sandpaper on a flat surface, like plate glass, MDF, granite, or Melamine shelving (the latter being my preferred base). This will work for both flattening the backs of edge tools and establishing the bevel. Some people refer to this as the “Scary Sharp System”. You simply attach the sandpaper grits to the flat surface (spray adhesive if you’re using melamine) and for this first grinding stage, use course sandpaper (I like 60 or 80 grit sandpaper).
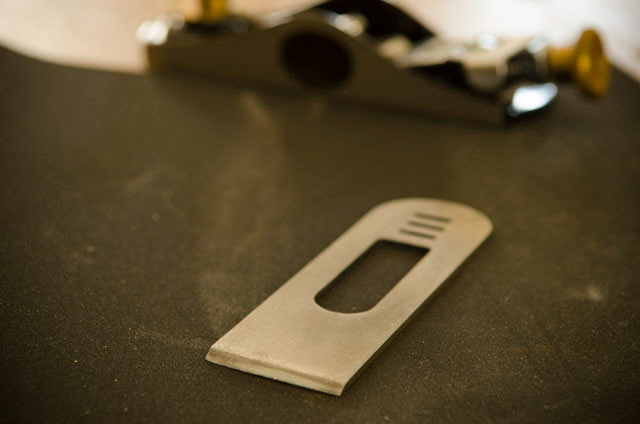
If you plan to use a honing guide for sandpaper grinding (on the more course sandpaper), make sure it isn’t a really nice one, because the course grits of sandpaper will tear the wheel up over time (see further down on this page for advice on choosing a honing guide). On the rare occasion that I grind using this method, I just freehand it. Then I progress from my grinding grit (60 or 80 grit) through finer grits (the honing phase) until I have a fine edge that shaves arm hair. You can find many free tutorials online for this method of sandpaper sharpening, but here’s one video:
Here is a store where you can buy all the items ready-made for this Scary Sharp Sharpening System.
The only problem with a sandpaper sharpening system, is that it can be very costly in the long run. However, if you make or buy a leather strop (read more further down), and are diligent with keeping your edge super sharp, then you won’t have to return to grinding or honing steps very often, and your sandpaper cost won’t skyrocket.
4. Work Sharp WS3000
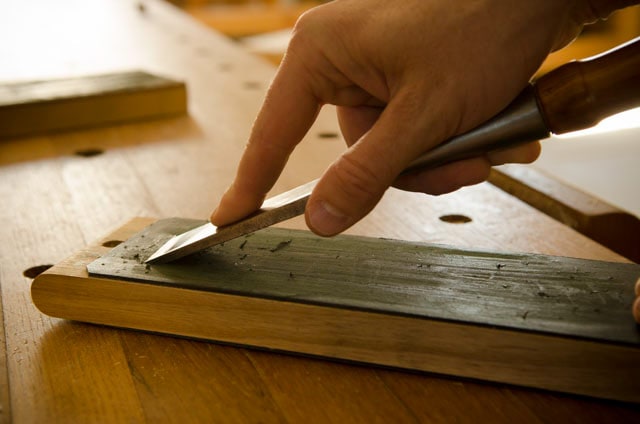
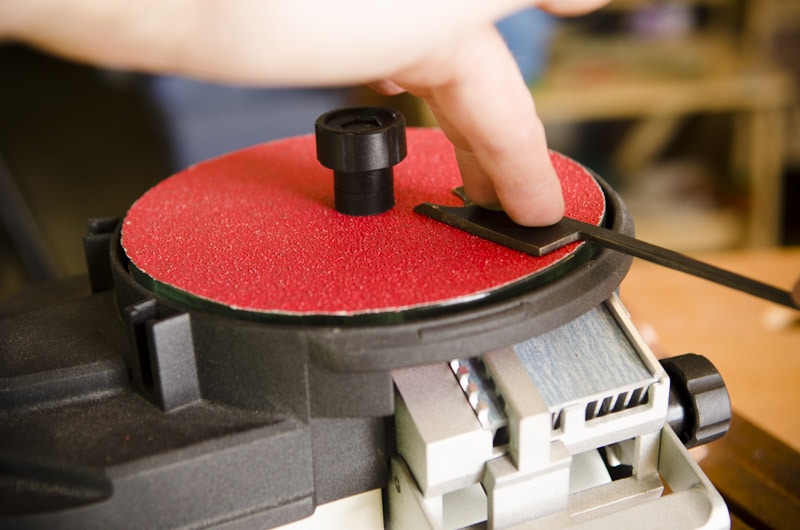
One of my favorite sharpening systems that I use quite a bit is the Work Sharp 3000. It’s similar to the above sandpaper sharpening system, but the glass plate spins around at a high speed. For lapping the back of the tool I set the blade on the top (as in the photo above). I especially like using a Work Sharp for flattening the backs of chisels and hand plane irons. It’s the fastest way I know to do that. If I want to grind or hone a bevel, then I set the desired angle, and slide the chisel or plane iron underneath:
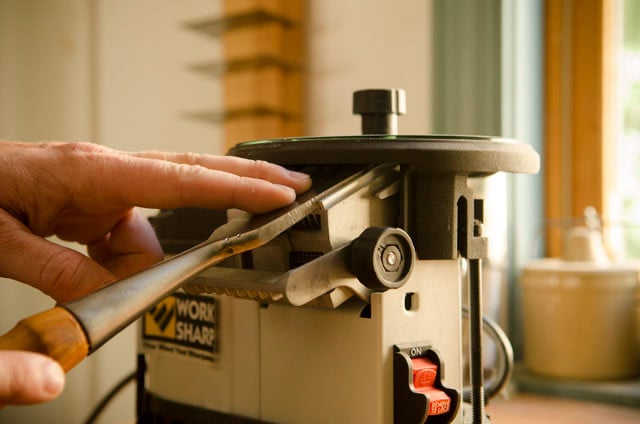
Each glass wheel can have two grits, one on each side. I have 3 glass wheels that cover grits from 60 grit all the way up to 1,000 grit. The sandpaper from Work Sharp is quite expensive, so I buy my own sandpaper. I use 6 inch sanding discs without holes (see them here).
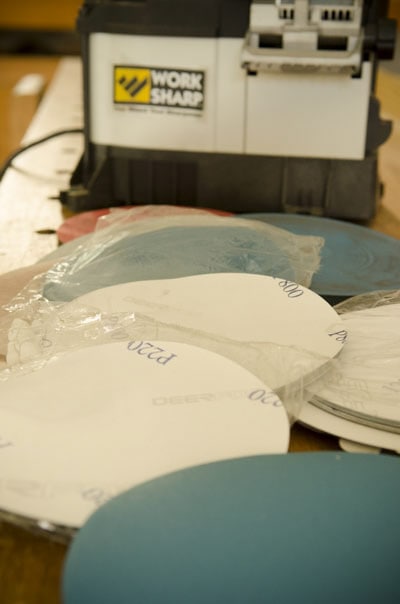
Once they need to be changed, these are harder to remove than the discs made by Work Sharp, but the cost is much lower, so I’m willing to spend time pulling out a razor blade and glass cleaner to remove them from the glass plates.
You can find the WorkSharp at these online stores:
5. Water Grinding Wheels
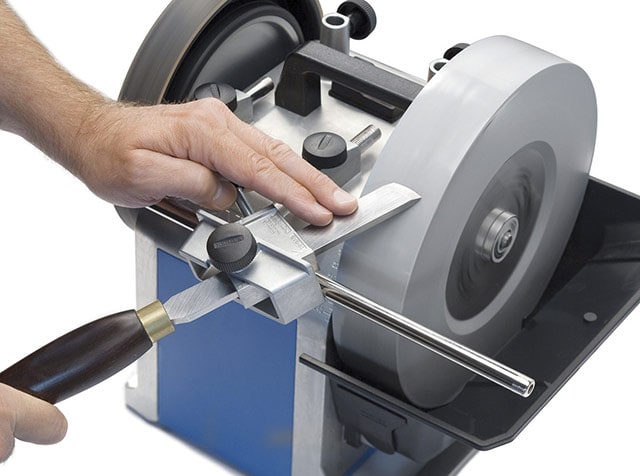
Another edge grinding system includes a wet grinding system (like this Tormek sharpening system). The stone spins inside a tub of water to keep the tool from overheating. I haven’t used a system like this, so I can’t give an educated opinion, however I have talked with a couple friends of mine that own Tormek wet grinders. They have all said that their Tormek machine is a painfully slow way to sharpen their edge tools. Also, the Tormek machines are extremely expensive (they range from $400 to $800, plus the cost of many attachments). Other companies like JET, Grizzly, and other off-brand names have copied this design, but all have poor customer reviews due to manufacturing flaws.
Buy an Edge Honing System
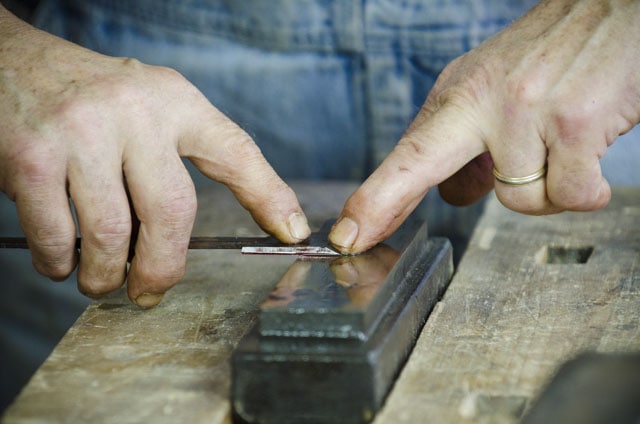
Over the years I have spent a lot of time researching and testing different tool sharpening and honing methods, like sharpening stones, and have altered and changed my methods several times. And sometimes I use different methods and systems, depending on the situation I’m in (e.g. sharpening tools for a furniture project vs. sharpening dozens of tools for a class).
I have finally come up with a honing system that works well for me, and may be helpful for other people interested in hand tool woodworking. But it would be arrogant for me to suggest that any parts of my sharpening system must be used by everyone. It works for me and my workflow, but may not work for everyone. But I hope it’s helpful to you.
In the above grinding section I mentioned sandpaper sharpening (both on the Work Sharp and with sheets of sandpaper on a flat surface), and how you can move from course grits to fine grits. I won’t discuss it again in this section, since the only difference between the grinding stage and the honing stage is just the grit of the paper. I’ll focus this section predominantly on sharpening stones (i.e. honing stones):
- Water Sharpening Stones
- Oil Sharpening Stones
- Diamond Sharpening Stones

1. Water Sharpening Stones for Sharpening Woodworking Hand Tools:
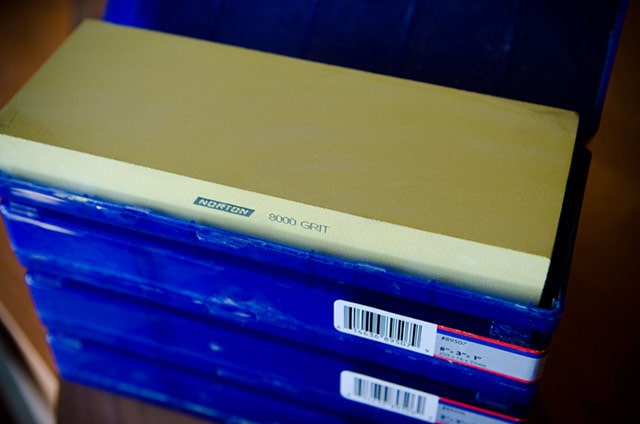
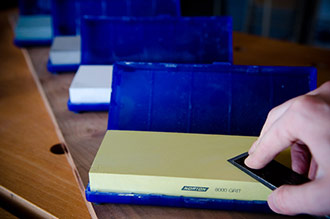
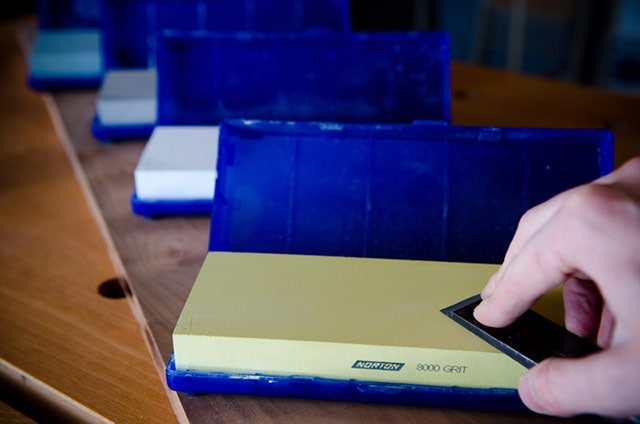
Waterstones are sharpening stones that are basically a synthetic brick of grit that breaks free easily to allow grit to accumulate in your wet slurry and provide fast honing of your woodworking tools. Waterstones are my honing stone of choice. Waterstones cut faster than any other honing stones, and they provide a mirror polish. The downsides are that you have to soak the stones (except for the dense 8000 grit polishing stone) and you need to flatten them quite often. But I now keep a bucket of water nearby, and sharpen with these sharpening stones in a $5 drywall mud tub from a hardware store (like this) so this wet process is a lot more convenient than it used to be.
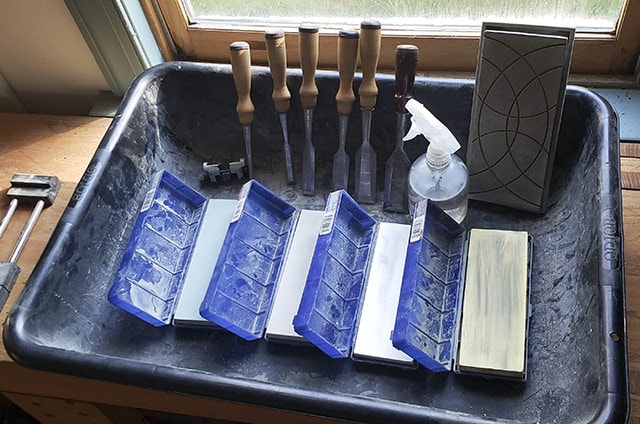
Woodworkers can get confused when deciding which grit waterstones they should buy. From my experience and from talking with other woodworkers, these are the grits that I recommend for waterstones: This set of 4 waterstones (click here) runs about $225 which includes:
- Norton 220 Grit 1″x3″x8″ Waterstone (approx. $32)
- Norton 1,000 Grit 1″x3″x8″ Waterstone (approx. $49)
- Norton 4,000 Grit 1″x3″x8″ Waterstone (approx. $65)
- Norton 8,000 Grit 1″x3″x8″ Waterstone (approx. $90)
Moving from 220 grit all the way to an 8,000 grit polishing stone will give you a perfectly honed edge. The 220 grit stone isn’t necessary, but is very convenient for lapping and minor grinding. These stones are wide enough for any hand plane iron (i.e. blade). And these 1-inch thick stones will last you for years. The 8,000 grit will likely last you for the rest of your life, so don’t cringe too hard at the high prices. Handplane expert Bill Anderson told me that he still has his waterstones that he purchased 25 years ago, after using them extensively!
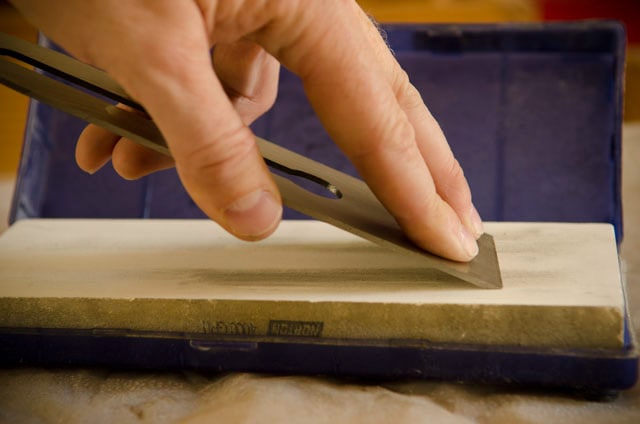
If you’re on a tight budget, Norton also sells two-sided stones (like this), although the honing process will take a longer, and it will be harder to get the 1000 grit scratches out with the 8000 grit stone. A 4000 grit stone is a nice transition to remove the scratches from the 1000 grit before final polishing on the 8000 grit stone. You can also buy a kit with the best two-sided stones:
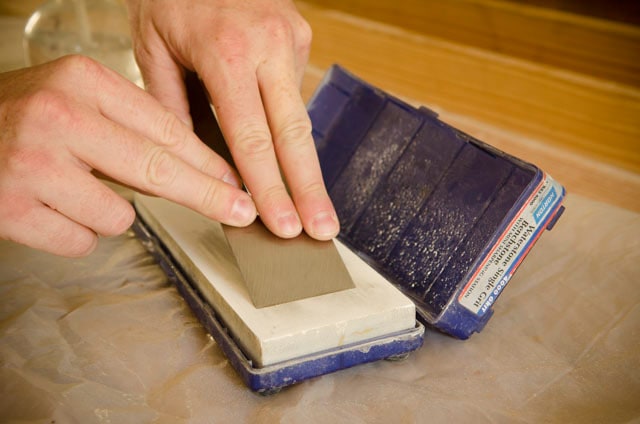
A word of warning: don’t by cheap waterstones, like this terrible double-sided $47 waterstone. I decided to test it out to see if I could recommend a more affordable stone, but discovered that it didn’t really have a 6,000 grit side at all…just a thin 6000 grit veneer that wore away after several honings. Please trust me when I tell you that having nice honing stones, like those mentioned above, will save you hours of frustration and will make sharpening enjoyable (instead of a chore). Here are some places to look for waterstones:
2. Oil Sharpening Stones for Sharpening Woodworking Hand Tools:
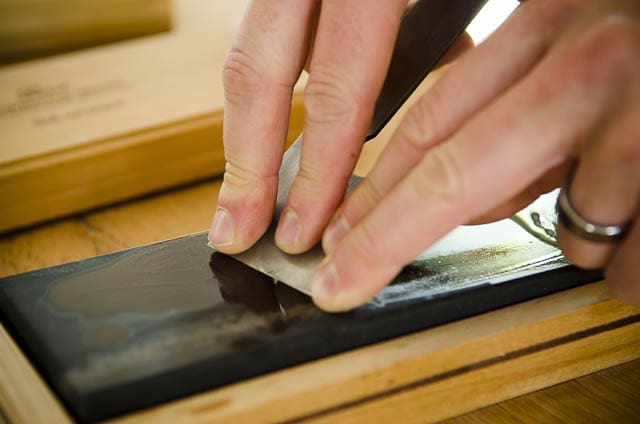
Oil sharpening stones are natural stones that are quarried and cut to size. Oil stones are convenient because they can be used right on your workbench without water. They also don’t need to be flattened very often, as they are a harder media than waterstones. However, this hardness means that the media doesn’t break down as easily, and doesn’t cut the metal as quickly as waterstones. I also find that waterstones get a sharper edge than oil stones. There are tradeoffs with every type of honing stone. That’s why I own both waterstones and oil stones.
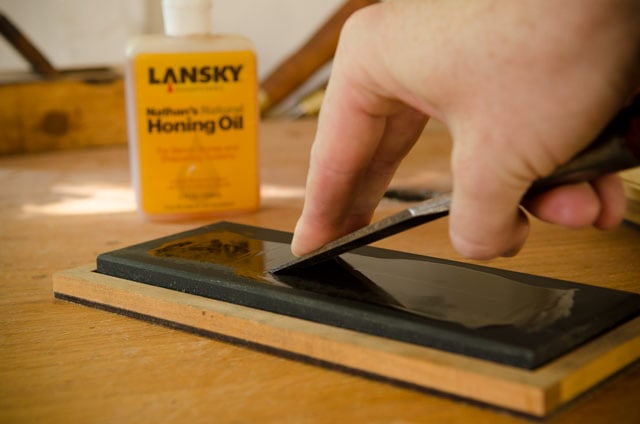
The most common types of oil stones are India Oil Stones and Arkansas Oil Stones. After talking extensively with oil stone experts, I can recommend Arkansas stones as the most durable oil sharpening stones, which will give you the best, and sharpest results among oil stones. Arkansas stones usually progress like this in grit: Soft Arkansas stone > Hard Arkansas Stone > Black Surgical Arkansas Stone > Translucent Arkansas Stone.
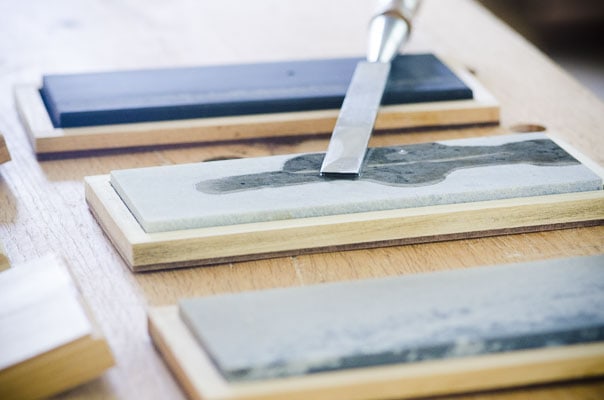
But contrary to what some people may say, you don’t need the very expensive “translucent” stone. This will save you some good money right here. The grit difference between the black surgical stone and translucent stone isn’t really noticeable. I spoke with an Arkansas stone manufacture, and asked him about translucent Arkansas honing stones. He said that translucent stones won’t give a noticeably sharper edge than the black Arkansas stones. The fragile translucent stones are so expensive because they are difficult to find in large pieces in the quarries, not because they are so much more useful. So I recommend a three oil stone kit in the 8-inch x 3-inch size: (a) Soft Arkansas (courser grit), (b) Hard Arkansas (medium grit), and (c) Black Arkansas (fine grit). Here are the oil stones that I own, from the Best Sharpening Stones company. Moving through these three grits will give you a nice edge for your chisels and handplanes.
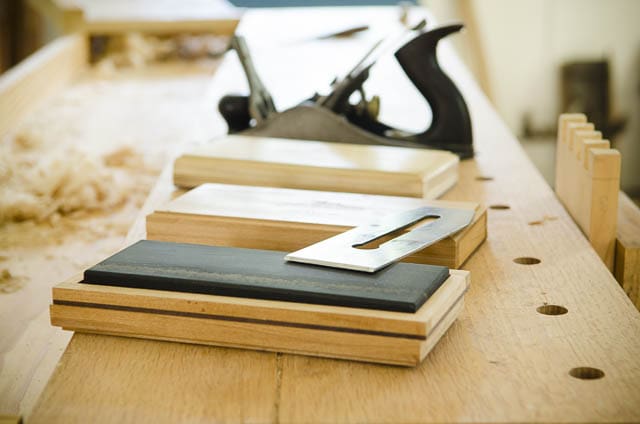
I chose this particular set because the stones are wide enough (3-inches) to accommodate handplane irons and long enough (8-inches) to give a decent stroke. Natural oil sharpening stones wear down much slower than the synthetic waterstones, so a thinner stone like these (1/2-inch thick) will still last you for many years. And you also won’t have to flatten these stones after each use, like you should with waterstones. Regarding Arkansas stones, the manufacture told me: “You can do about 20 times more sharpening before flattening compared to Norton water stones, about 15 times more compared to Shapton and 30 times more than water stones from China.” And he also sells Norton water stones. You can compare oil sharpening stones at these stores:
- See oil sharpening stones at Taylor Toolworks
- See oil sharpening stones at WoodCraft
- See oil sharpening stones at Rockler
- See oil sharpening stones at Highland Woodworking
- See oil sharpening stones at Amazon
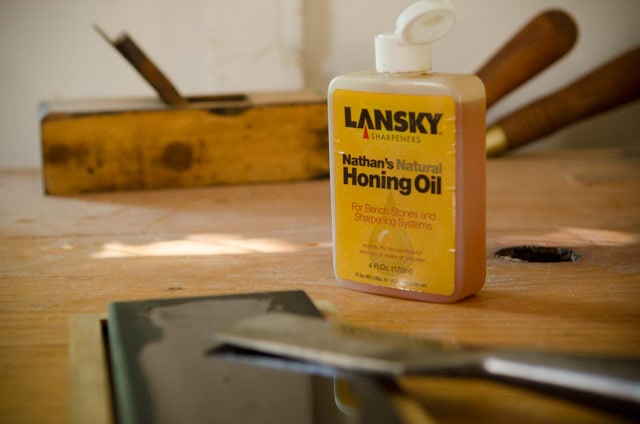
And this is what I consider to be the best honing oil to be used on oil sharpening stones.
3. Diamond Sharpening Stone for Sharpening Woodworking Hand Tools:
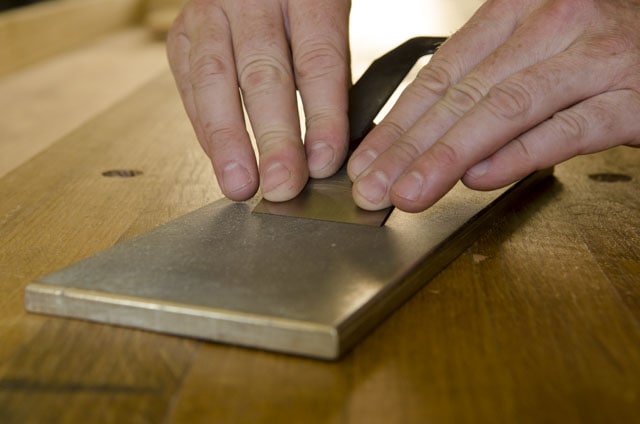
Diamond Sharpening Stone
Diamond stones have been around for quite awhile now, but have gotten really popular in the past few years. I have used diamond stones, and they work fine, but I haven’t introduced them into my workshop yet, because my water stones and oil stones are many years away from needing to be replaced. The possible convenience offered by diamond stones just hasn’t been worth several hundred dollars to me. But I can share some of the pros and cons of using diamond stones for woodworking.
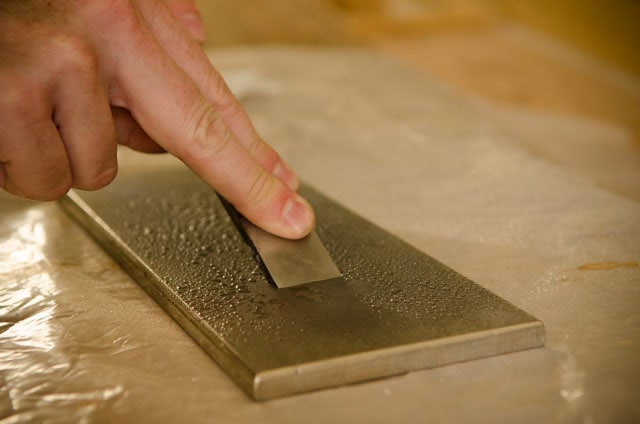
Pros of using Diamond Stones for sharpening woodworking hand tools:
- The most desirable feature of diamond stones is that they don’t need to be flattened. Water stones should be flattened after every use, and can be messy with all the water and slurry from honing.
- Diamond stones can be used without much water or even with glass cleaner.
- Diamond stones will last for quite a long time before needing to be replaced.
Cons of using Diamond Stones for sharpening woodworking hand tools:
- Diamond stones don’t cut as quickly or as aggressively as water stones. The media doesn’t break down, and offer much cutting in the slurry of honing. Many students bring diamond stones into my woodworking school, and they are surprised by how much faster honing is with the water stones that I use.
- Diamond stones lose their initial aggressiveness over time, whereas honing stones that use media that breaks loose into the honing slurry will cut the same throughout the life of the honing stone.
- Diamond stones must be dried after use or they will rust.
Look for Diamond stones that are 3-inches wide, so that you can handle any hand plane iron. The two popular brands of diamond stones are DMT (find on Amazon here) and EZE Lap (find it on Amazon here). I also found a set of three 8″x3″ diamond stones on Amazon (here) and they seem to have quite good reviews and are more affordable than the above brands. However, I can’t give my opinion, since I haven’t used them.
Paul Sellers has a good article (here) about which grits of diamond stones to buy, which I’d recommend that you read, since the grit system can be a bit confusing and inconsistent between brands. You can compare diamond sharpening stones here:
- See diamond sharpening stones at WoodCraft
- See diamond sharpening stones at Taylor Toolworks
- See diamond sharpening stones at Amazon
- See diamond sharpening stones at Rockler
- See diamond sharpening stones at Highland Woodworking
Diamond Hones
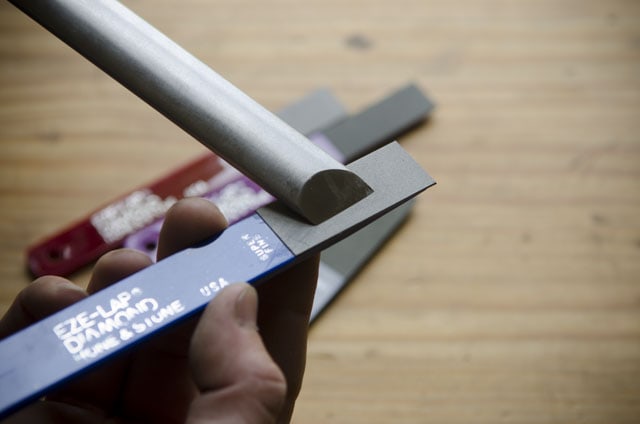
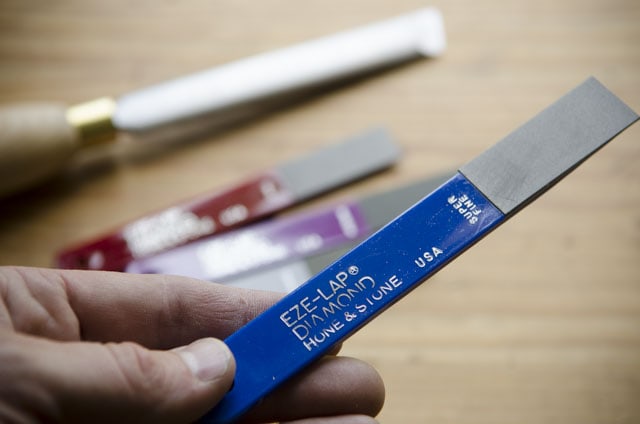
Some edge tools are a bit difficult to hone with large stones, so I use small diamond hones. This EZE-LAP diamond hone set is what I use to hone not only my turning tool bevels, but also bevels on my wooden spokeshaves, molding planes, and other complex-shaped tools. I also use them to “stone” the set teeth on my handsaws. You can find this diamond hone set here on Amazon for about $24.
And a diamond honing cone (like this one) is probably the best tool I’ve found for removing the burr that forms when sharpening rounded edge profiles, like molding planes and gouges.
Buy Slip Stones for Special Sharpening
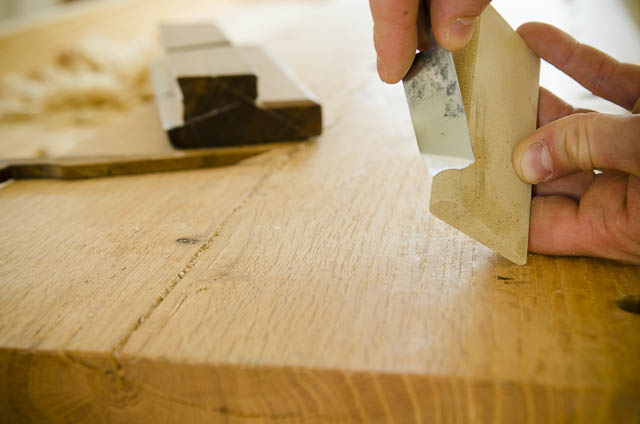
Slip stones are essentially small honing sharpening stones used for unusually shaped hand tools. I use slip stones for sharpening molding planes, hook knives, and other tools that I can’t sharpen with large honing stones.
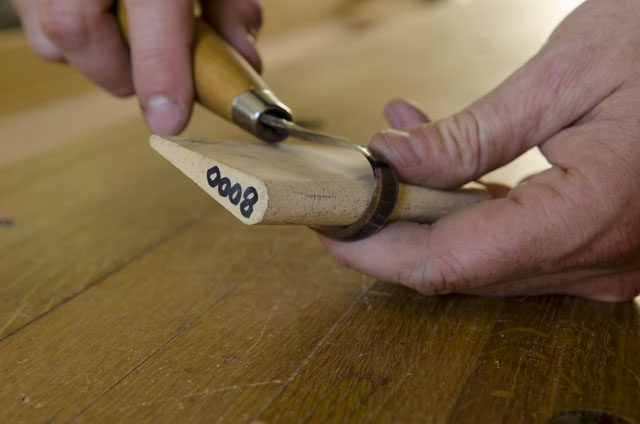
Slip stones come in all the same media as full sized honing stones: Water Slip Stones, oil slip stones, and diamond slip stones. I own several water slip stones, which come in a long cone-ish shape (see above) and can be specially modified to help you get into the various parts of a moulding plane iron or other blade. Like with honing stones, I would recommend that you start out with three grits: 1,000 / 4,000 / 8,000:
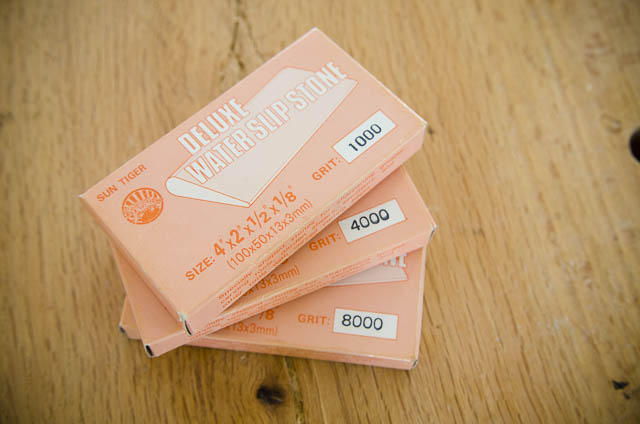
You can compare a selection of slipstone waterstones here:
- See slipstone waterstones at WoodCraft
- See slipstone waterstones at Taylor Toolworks
- See slipstone waterstones at Amazon
- See slipstone waterstones at Rockler
- See slipstone waterstones at Highland Woodworking
Norton specifically makes slip stones (find them here), but I have not used them. However, their waterstones are high quality, so I’m sure their slip stones would work just as well. Ceramic slip stones are another option (I own some), and they work fine for honing moulding planes. I use them alongside my water slip stones, but they may not be necessary.
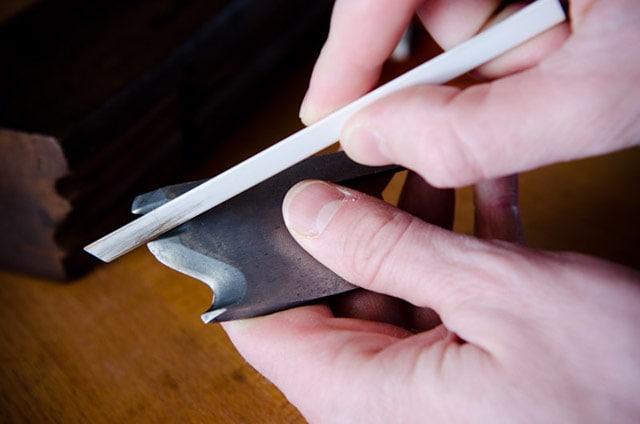
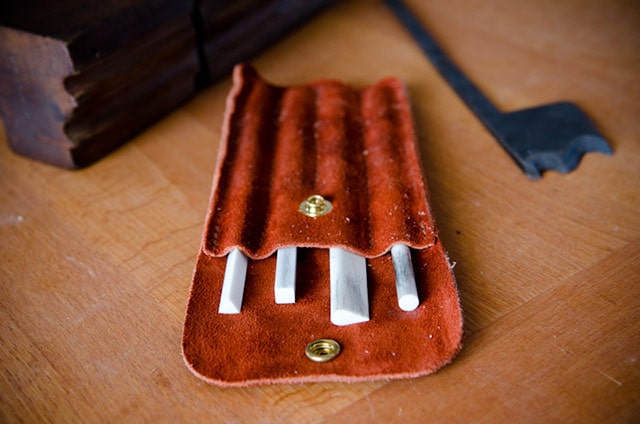
I purchased this Spyderco set on Amazon, which comes with 4 shapes and a leather pouch. I’ve found these files work just fine.
Buy or make a Leather Stop
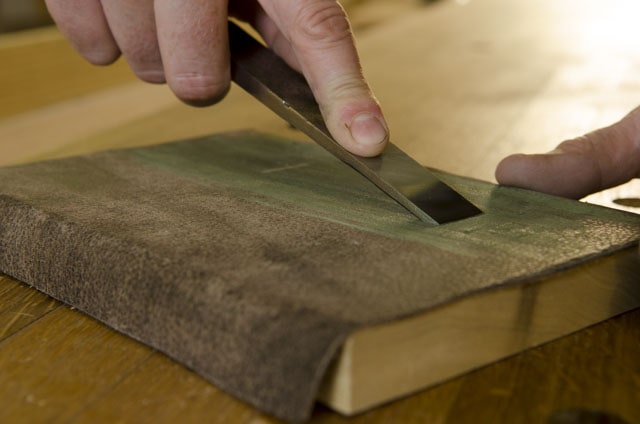
As I mentioned earlier, taking an extra step beyond honing can give you an even sharper edge on your hand tools, and keep you from going back to the honing stone. This is stropping on a leather strop.
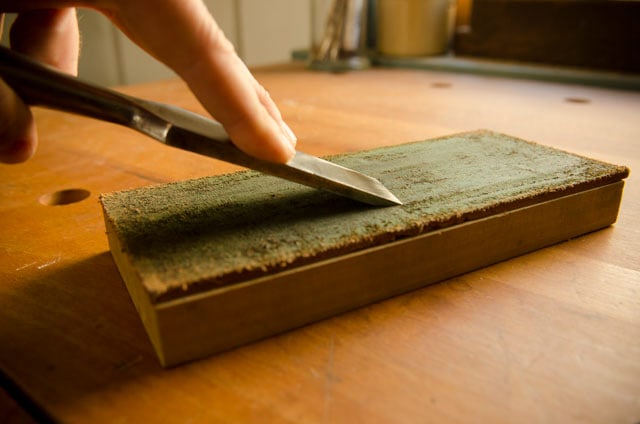
I make leather strops for my school using scrap leather glued to scrap wood. I then rub fine buffing compound on the leather, and have students rub the tool bevel on the leather stop every 2-3 minutes of work.
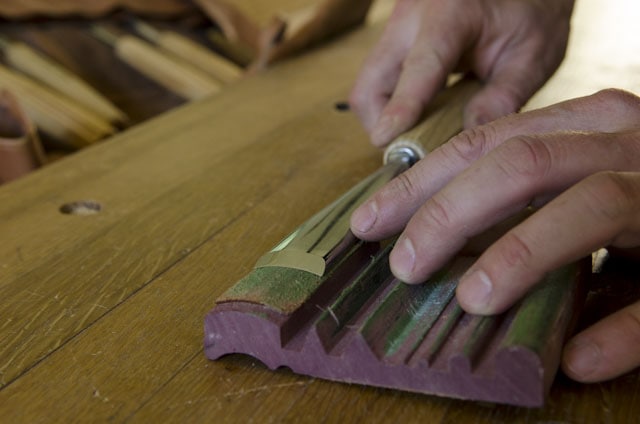
Using the rough side of the leather gives a better way to hold the compound. If you want a second strop for extra, extra fine stropping, then you can make a strop with the smooth side of the leather facing upward. If you can’t get down to the shoe repair shop to buy scrap leather, then you can just buy this leather strop and compound here on Amazon…actually, it’s cheaper than the shoe repair shop in my town. You can just glue it to a scrap piece of wood, and you’ll be ready to strop! You can compare different strops at these stores:
Buy a Diamond Lapping Plate
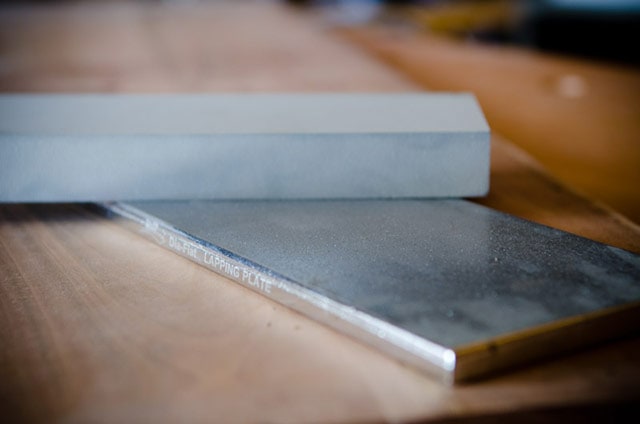
If you decide to purchase water sharpening stones or oil stones, you will need a method for flattening them. You can certainly flatten them using sandpaper on a flat surface, but you will burn through a lot of expensive sandpaper, and the grit will continually gum up the sandpaper. A diamond lapping plate can quickly and easily lap my waterstones and oil stones flat, which is vital for properly sharpened chisels and hand planes.
One product that I now use quite often is a diamond lapping plate. I own two diamond lapping plates. The first was the DMT DIA-FLAT Lapping Plate (pictured above, and I purchased here).
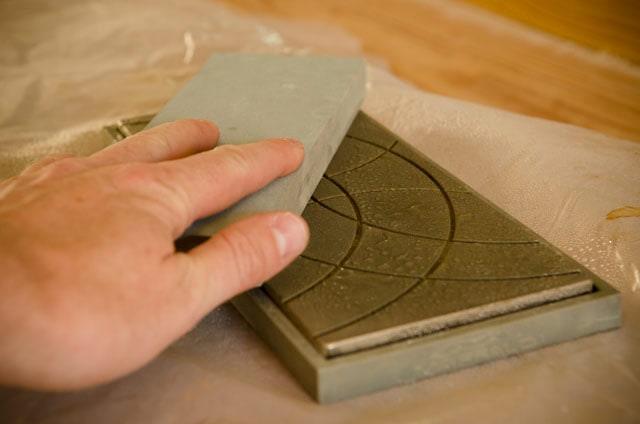
The second was the Maxi-smart diamond laping plate made by Maffalo (pictured above and below. I bought it here). This second diamond lapping plate is a little bit cheaper than the DMT diamond lapping plate, and it also comes with a cool silicon sleeve to keep the plate from sliding around. I actually now prefer the Maffalo diamond lapping plate.
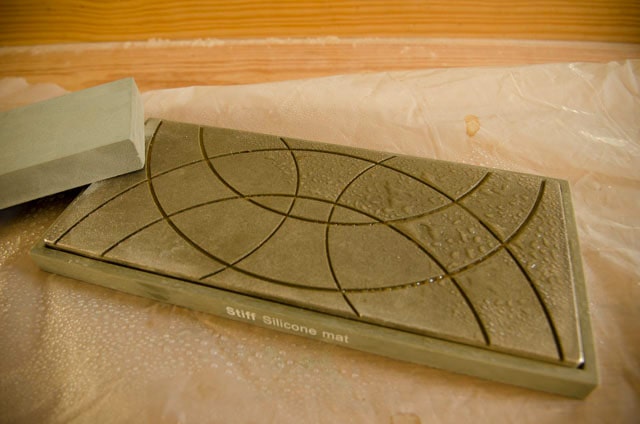
You can compare prices of more diamond lapping plates at these stores:
- See diamond lapping plates at WoodCraft
- See diamond lapping plates at Amazon
- See diamond lapping plates at Highland Woodworking
UPDATE: A few years ago my woodworking friend told me that he used to lap his waterstones on cinderblocks. I was intrigued to see how well it would work, so I made a video of my experiment:
Buy a Honing Guide for Chisel Sharpening and Hand Plane Sharpening

Honing guides are used to hold chisels and handplane irons at a consistent angle for honing. In many situations I have moved to honing freehand (because it’s faster), but when I sharpen certain hand planes for classes, I use a secondary bevel (specifically when I want consistent camber). For this a honing guide is much easier.
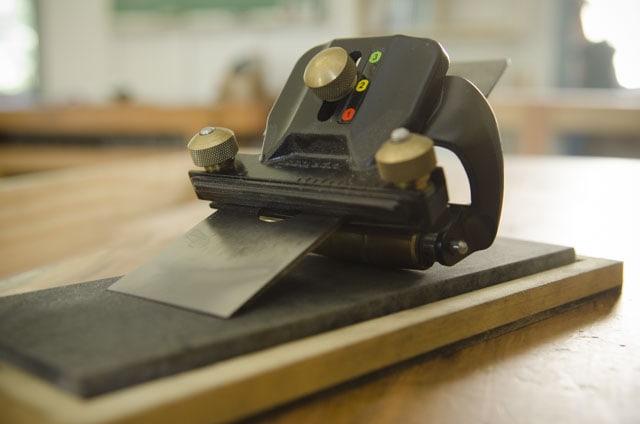
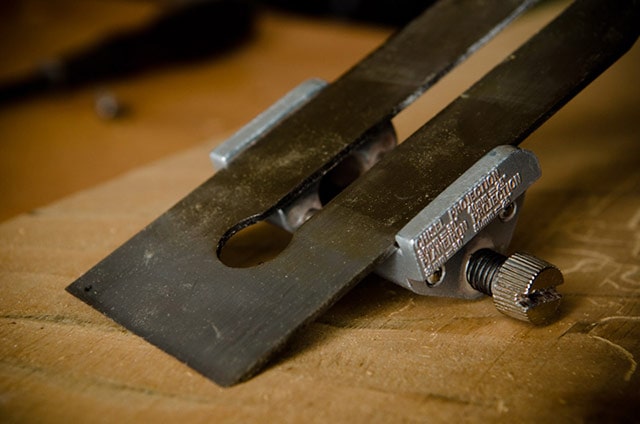
The great news is that you don’t need an expensive honing guide. I often have students bring in their very expensive honing guides to class (like this Veritas honing guide and this Lie-Nielsen honing guide), but I have used a couple very simple and inexpensive ($10-$20) honing guides for years, with great success. Actually, I got one of my honing guides at a tool swap for $1 and I love it!
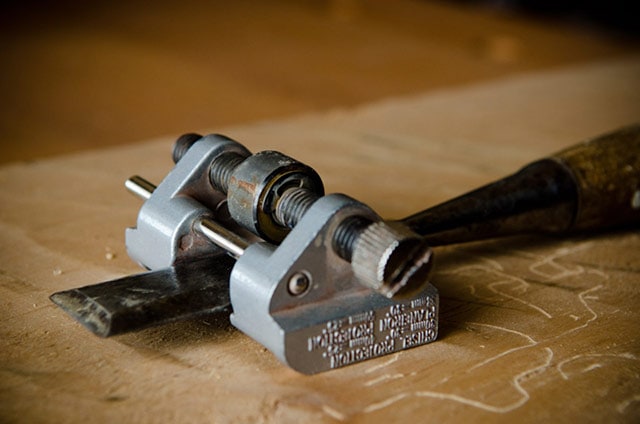
About 10 years ago I purchased this Robert Larson Honing Guide and it has worked just fine. Just make sure to use a properly sized screw driver, so you don’t strip the screw head.
If you want to compare prices on a broad range of other honing guides, you can check these stores:
Buy a Card Scraper Burnisher
A cabinet scraper (i.e. “card scraper”) helps you to finish difficult surfaces that you may not be able to get smooth with a hand plane. Curly maple or other figured woods are a good example. You can learn how to sharpen a card scraper by watching my video tutorial of Elia Bizzarri teaching how to sharpen a card scraper (here). A burnisher is a steel rod used to harden the card scraper edge, and create a folded micro edge. Don’t try to use a screw driver. Instead purchase a dedicated burnisher. I purchased this Crown Burnisher on Amazon (around $20) and have found it to be satisfactory. You can compare prices on card scraper burnishers at these stores:
- See burnishers for card scrapers at Taylor Toolworks
- See burnishers for card scrapers at WoodCraft
- See burnishers for card scrapers at Amazon
- See burnishers for card scrapers at Rockler
- See burnishers for card scrapers at Highland Woodworking
Below you can watch my video on sharpening a card scraper (and here you can read the article):
Page: 1 | 2




Continue to the Hand Saw Sharpening Supplies Guide on the next page….