How to Make a Wooden Pizza Peel
Make a wooden pizza peel using hand tools and power tools
![]() By Joshua Farnsworth | Published 13 February, 2024
By Joshua Farnsworth | Published 13 February, 2024
How to Make a Wooden Pizza Peel
![]() By Joshua Farnsworth | Published 13 February, 2024
By Joshua Farnsworth | Published 13 February, 2024
Disclosure: WoodAndShop.com is supported by its audience. When you purchase through certain links on our site, we may earn a small affiliate commission, at no cost to you. Learn more.
Introduction
In the above video I show how to make a wooden pizza peel / bread peel using woodworking hand tools and power tools. Click here to get the free PDF plans in case you want to make a pizza peel too! And remember, you can adjust the measurements to accommodate your oven size and your preferences.
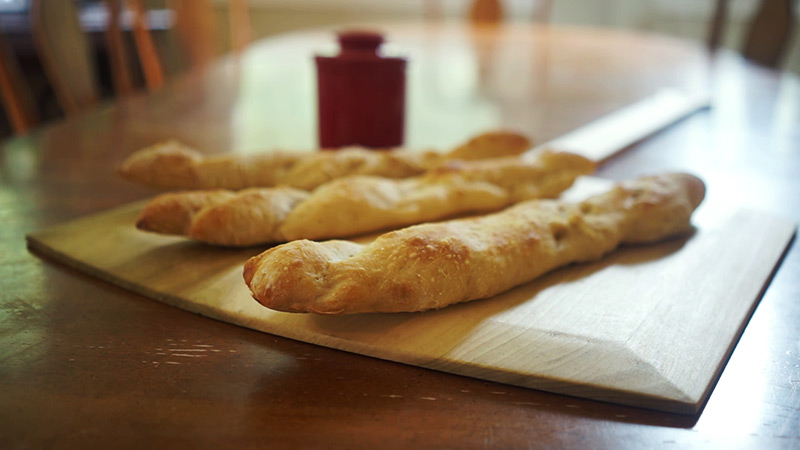
In the below 8 steps I’ll summarize how I made this wooden pizza peel:
- Measure your oven
- Cut the lumber to dimension
- Layout the three boards
- Refine the handle
- Glue up the pizza peel
- Add an arc to the pizza peel
- Add a bevel to the pizza peel
- Sand & finish the pizza peel
1. Measure your oven
I drew my free pizza peel plans based off of the size of my oven, and also the uses my pizza peel would have. I actually make more bread than pizza, and needed a wooden pizza peel that would hold longer French baguettes. “Pain À L’Ancienne” is my favorite French bread, which you can find a recipe for here or in my favorite bread baking book. So I designed my pizza peel to be as wide as possible for my standard-sized oven, without being too tight for maneuvering.
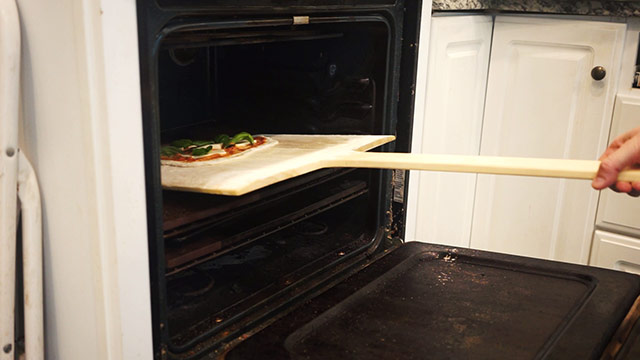
So even though my plans are for a standard oven size, I would recommend measuring the width and depth of your oven to make sure my dimensions will fit. If mine is too big, then simply adjust the measurements for your wooden pizza peel.
2. Cut the lumber to dimension
My wooden pizza peel is 1/2-inch at the thickest. A 3/4-inch pizza peel would be too thick, in my opinion, so standard, pre-dimensioned 3/4-inch lumber would probably not work.
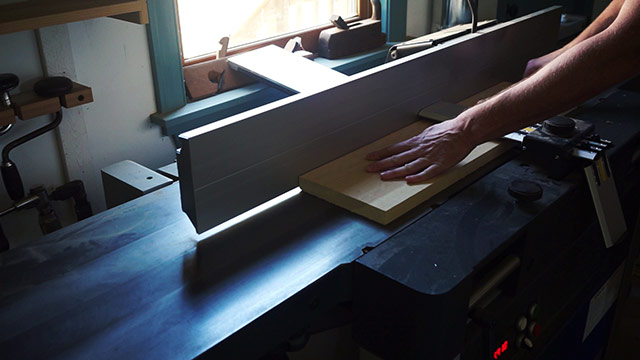
So you may need to mill your own lumber to get it to 1/2-inch thick. If you are new to woodworking, here are some of our tutorials on squaring your lumber using both hand tools and power tools:
In this project I just mill up three pieces: two side boards and one long center board. I used my woodworking machines to mill the lumber (see my power tool buyer’s guides here). Once I got to the table saw, I just ripped the side boards to width, and squared up one end on each board. I’ll cut them to length length after I do some measuring. I did cut the center handle board to the final length on the table saw.
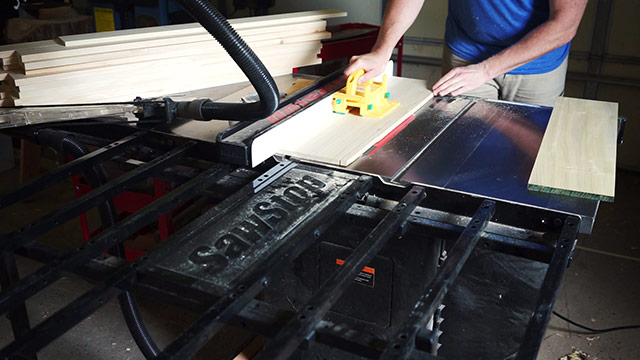
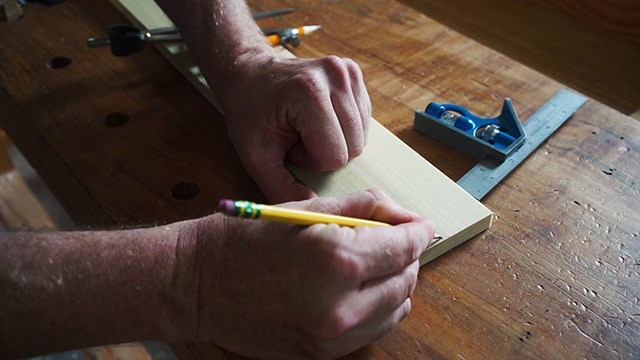
After I squared up my three boards (according to my drawings) I was ready to lay out the boards. I made a mark on the center handle board where I wanted the paddle of the pizza peel to start. I lined up the two side boards flush with that line, making sure to put the cut ends of the side boards against the pencil line:
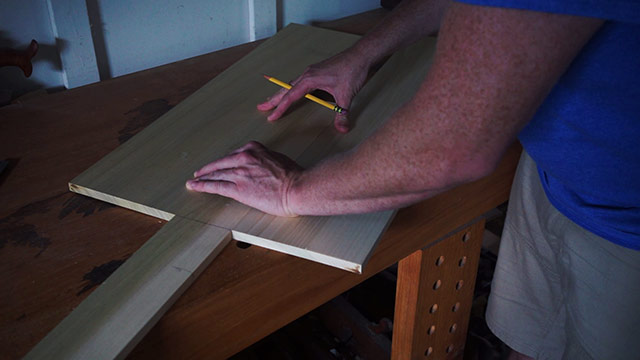
Then I marked the other ends of the two side boards where the center handle board ended, which gave me the final length of the side boards:
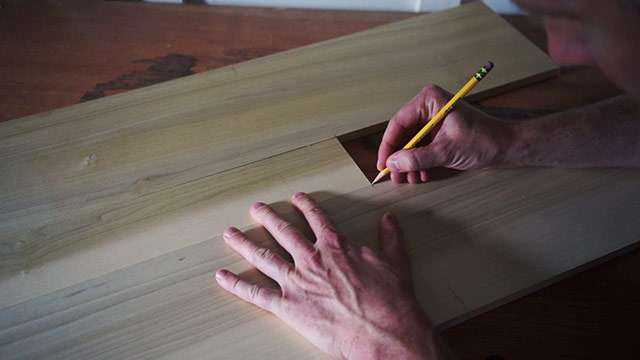
I went back to the table saw and cut the two side boards at that pencil mark, to give me the final length of the two side boards:
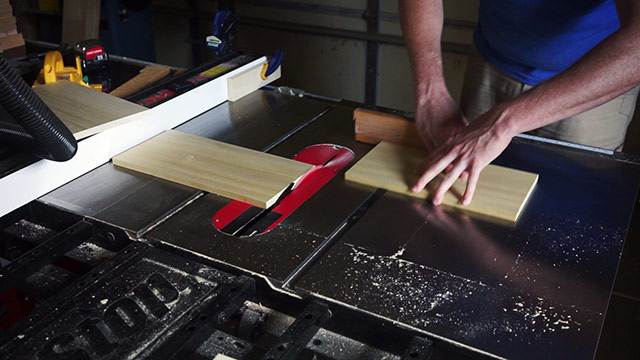
Then I placed the side boards in place next to the center handle board. You can see that this essentially now looks like a pizza peel:
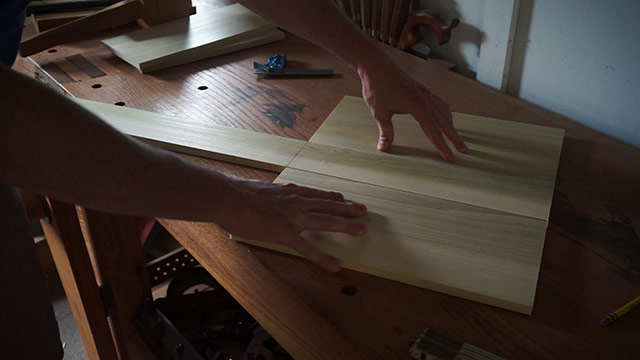
But you don’t want to stop with a pizza peel that looks like this, do you? We need to do some more layout and shaping, which we’ll continue in step three below.
3. Layout the three pizza peel boards
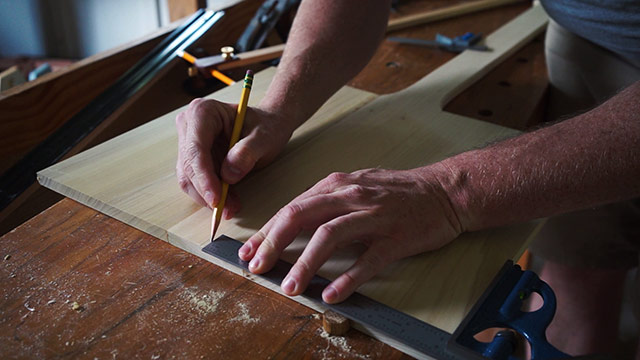
The vast majority of the shaping of the pizza peel is on the center handle board. First I found the center of the handle board, by marking from both edges with a combination square, and then finding the midway point between those two marks:
Then to get the rounded top of the handle, I used a compass with a pencil. I just moved the point down the pencil line until it would reach the top and both sides. Then I drew the arc, like this:
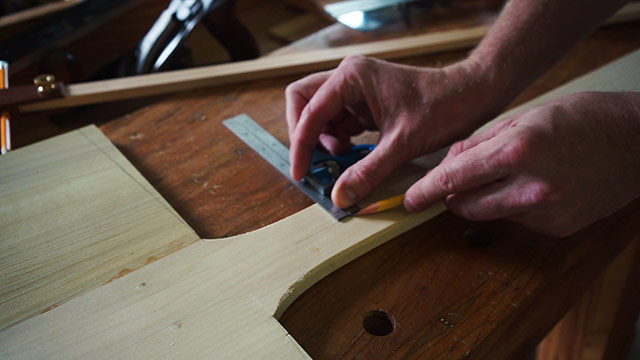
Next I came in from the two edges and drew pencil lines, with the help of a combination square, to establish the final width of the handle:
Of course, make sure you don’t change the setting on the combination square when you switch sides.
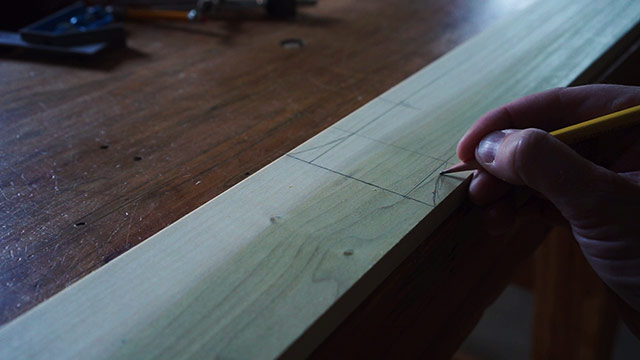
Then I marked down a bit, where I wanted the flared edges to start:
Next I free-hand drew the flared part of the handle. This doesn’t have to be perfect, because you’ll go back and cut the profile out and use a rasp to even the two flares out:
Then I went down and created some flares down where the side pieces will meet the center handle board:
That’s all the layout I did. Next, in step 4 we’ll move onto cutting and shaping the wooden pizza peel.
4. Cut and refine the pizza peel handle
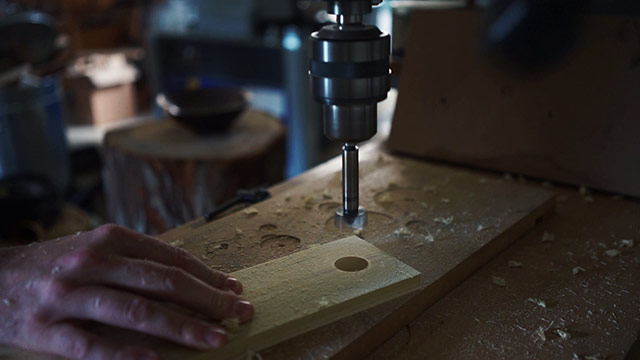
After laying out and cutting out the center handle board, the next step is to refine the handle to remove the rough saw marks, and make the pizza peel handle smooth, comfortable to hold, and nice to look at. After marking the center point of the handle hanging hole (see the plans), I used a drill press to bore out the hole:
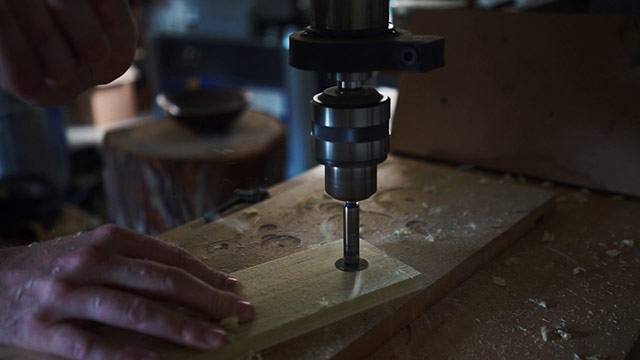
I used a Fortner bit so I could get a nice, clean hole. You can use a brace and bit if you want to make the pizza peel in a traditional manner.
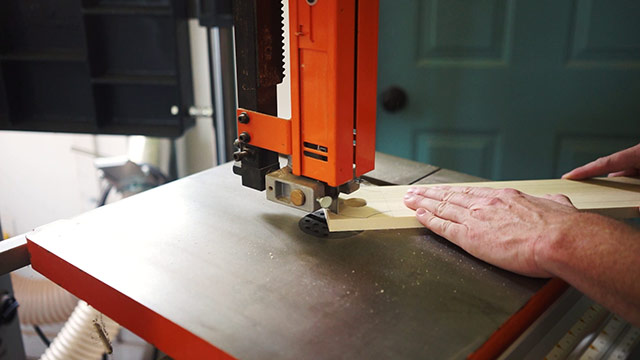
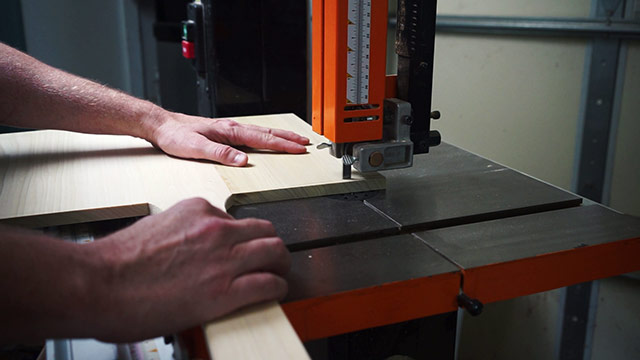
Next I moved to the bandsaw to start cutting out the handle profile. I started with the top of the handle:
Then I moved to cutting near the two side lines, to give me the final width. When using a bandsaw or a bow saw, I like to make relief cuts so that I don’t get stuck in the cut:
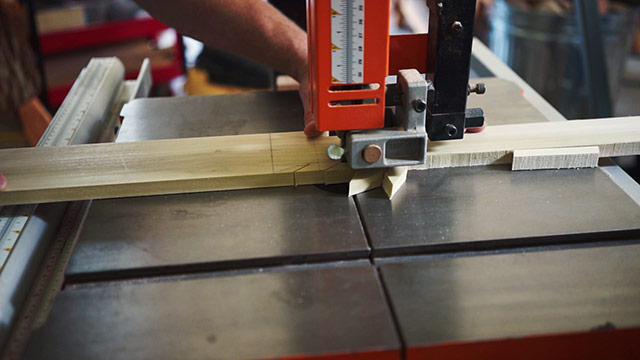
And you can see here how I cut the curves. The wood looks terrible, but it’ll look much nicer after we refine the curves:
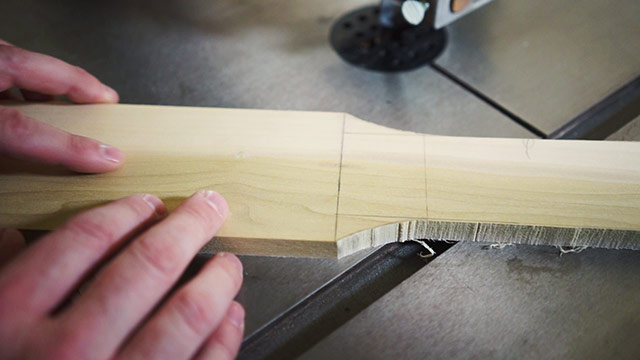
Here’s what the handle looks like after being cut out, but before being refined:
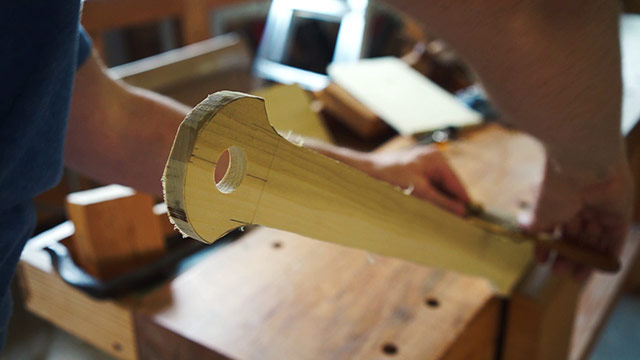
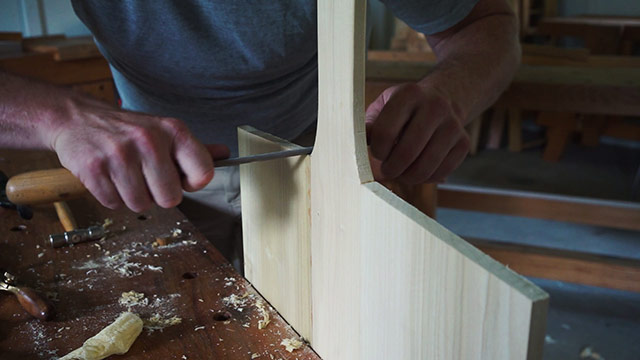
Next I used a hand -stitched rasp to fare the curves of the handle, and remove the bandsaw blade marks:
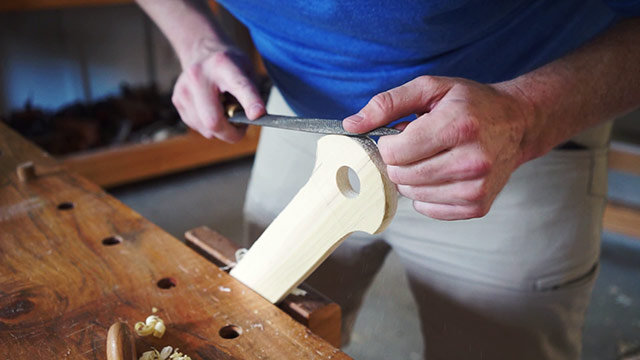
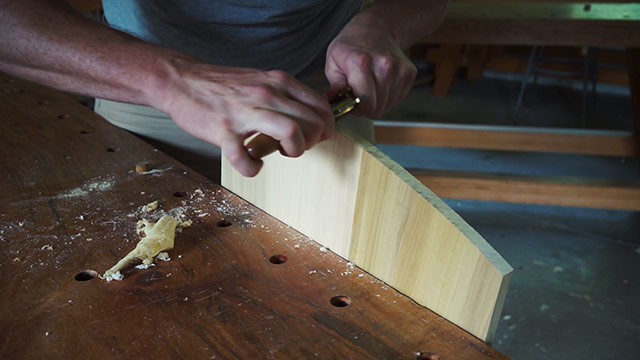
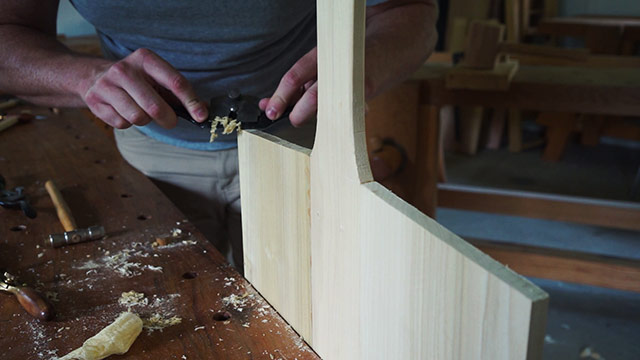
I used a spokeshave to remove the bandsaw blades from the sides of the handle, and also to add a bevel to the edges of the handle, so it will be comfortable in the hand:
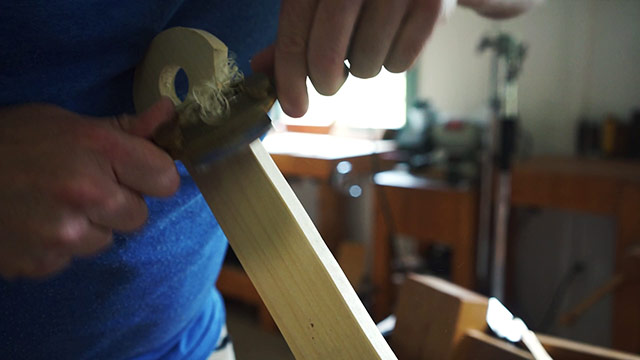
I switched back and forth between using the rasp and the spokeshave. You can see more about the specifics of these tools that I recommend in my curved-work tool buyer’s guide here. This is a fine-toothed rasp.
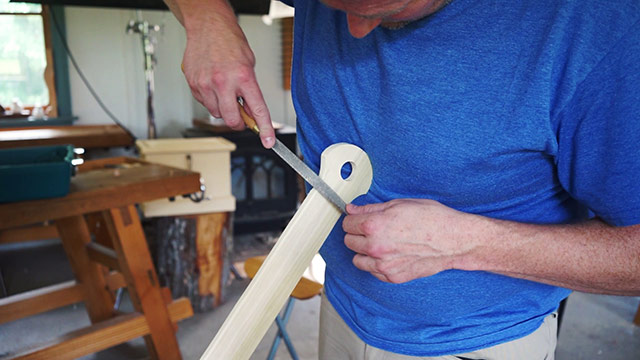
I used the rasp to add bevels to the parts of the curve where the spokeshave had a hard time making a bevel. Using a fine-toothed hand-stitched rasp gives you a much finer finish than some of the raps that you’d find in the hardware store.
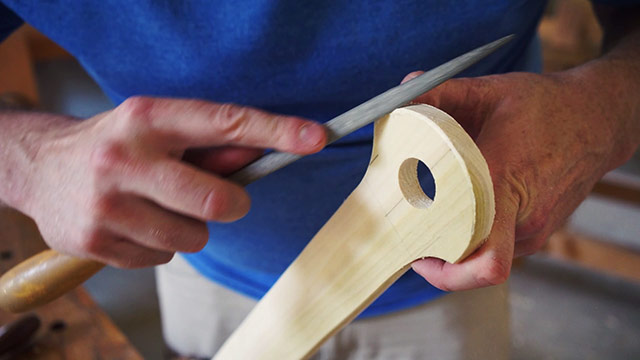
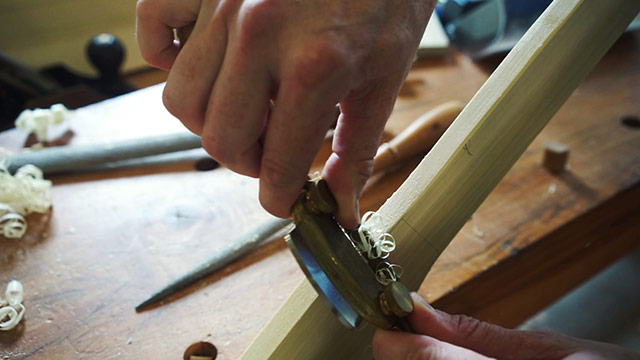
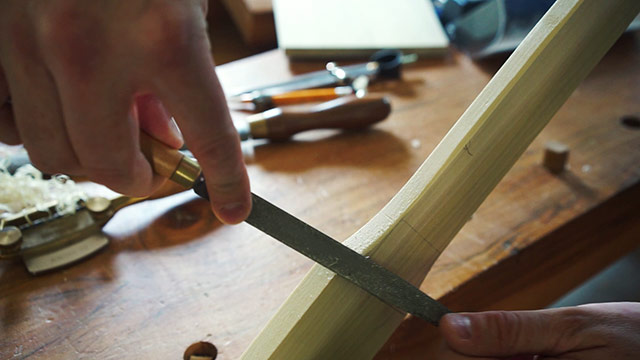
Here is that the handle looked like after refining it with a rasp and spokeshave, but before I used sandpaper to do the final smoothing:
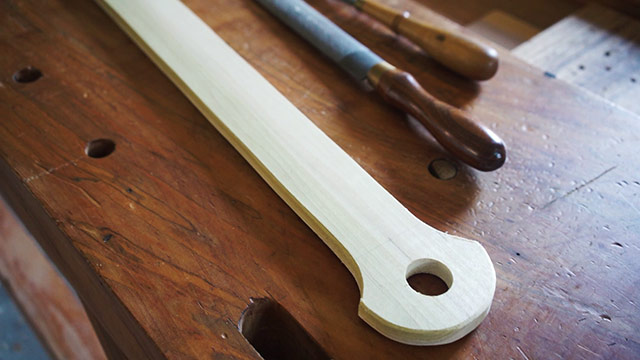
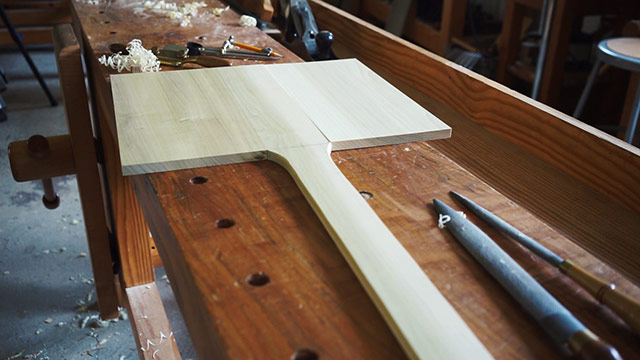
And as you can see here, the center handle board is all shaped, and the three boards are all ready to be glued up in step 5.
5. Glue up the pizza peel
Now that the center board is more-or-less complete, it’s time to glue the two outer boards on either side of the center handle board. I like to use parallel clamps like these, because the pizza peel can sit flat on the clamp bar. But you can use other types of clamps too. See my woodworking clamp & glue guide to learn more.
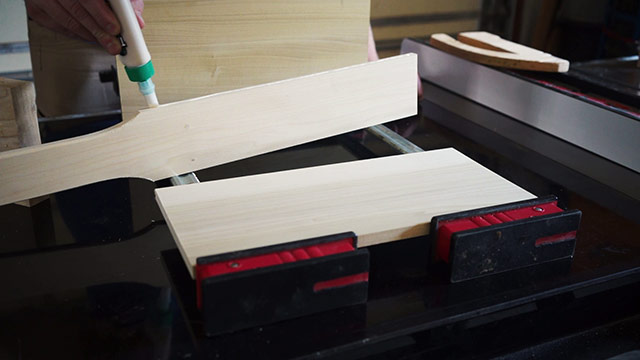
I like to use Titebond III wood glue (which I buy here) because it works on wood that is going to get wet or be in humidity. And you’ll most definitely be washing your wooden pizza peel. Though I wouldn’t recommend that you submerge it in water.
I try to not use too much glue, and I spread it out on the edges, and put the two edges together. I like to rub the edges back and forth to get the best possible adhesion between the board edges.
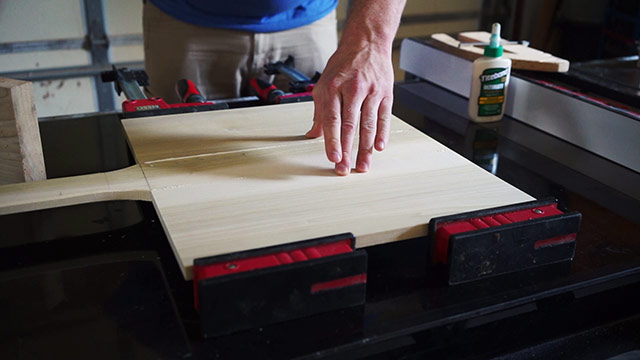
Then I clamp up the three boards together and wait a few hours before taking them out of the clamps. If you do get some glue squeeze out (which is likely with thinner lumber like this), then it’ll be easier to remove it before the glue gets too hard. Come back and scrape the glue off with an old chisel about 20-30 minutes after the clamping. If you wait too long, the glue may tear wood fibers out. If you try to wipe the glue off with a wet cloth, the glue may spread throughout the wood pores, making it difficult to apply a finish.
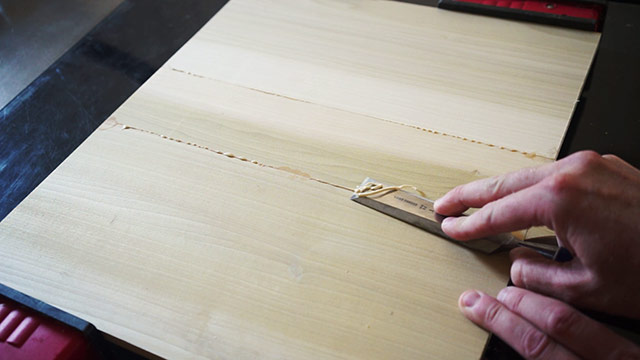
Even though the glue is technically set after a few hours, I would recommend waiting around 24 hours before you move onto the next steps, which can be pretty rough on the glue joints.
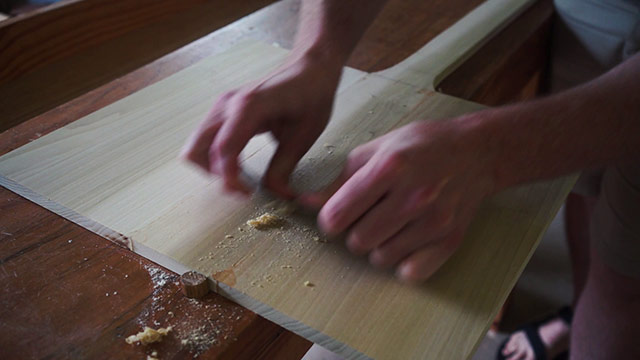
You can also use a card scraper to clean up the glue joint line, after the glue has dried.
6. Add an arc to the pizza peel paddle
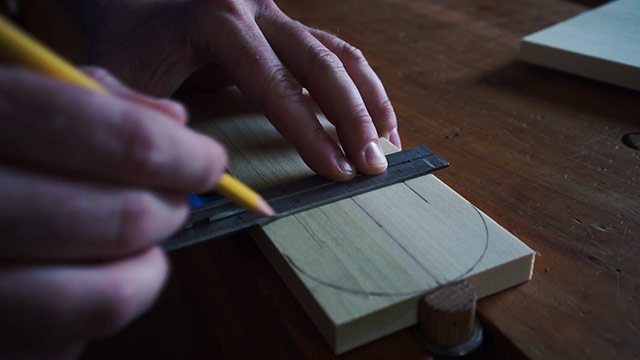
This step is optional, but I like to add a traditional arc to my wooden pizza peel. I find the center of the handle by measuring from both sides with a square or ruler.
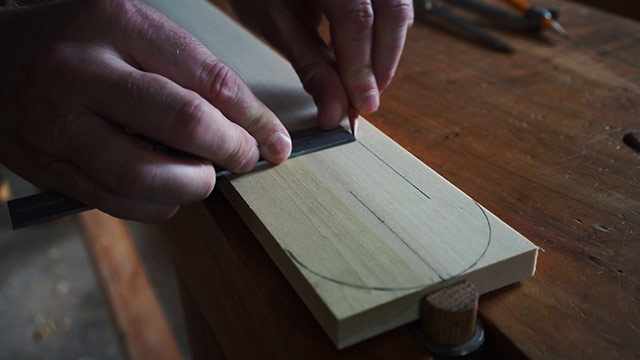
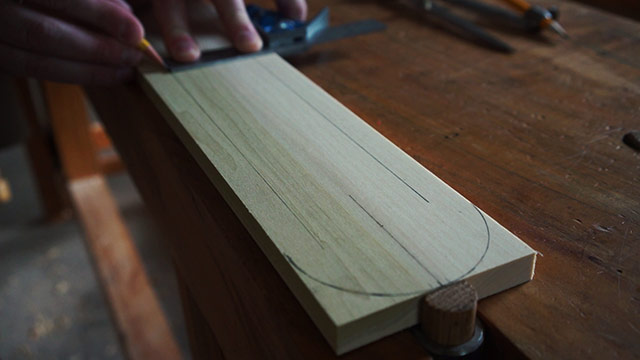
After I make the center mark, I use a combination square to scribe the pencil line a ways up the handle:
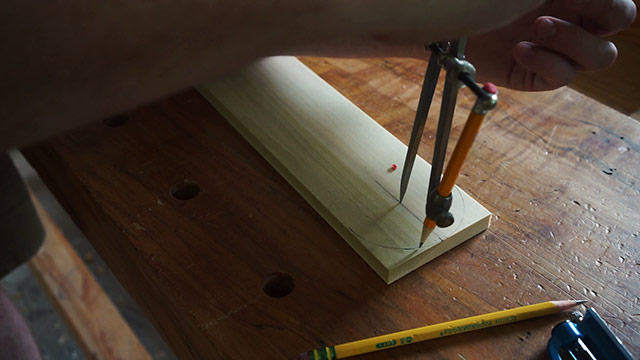
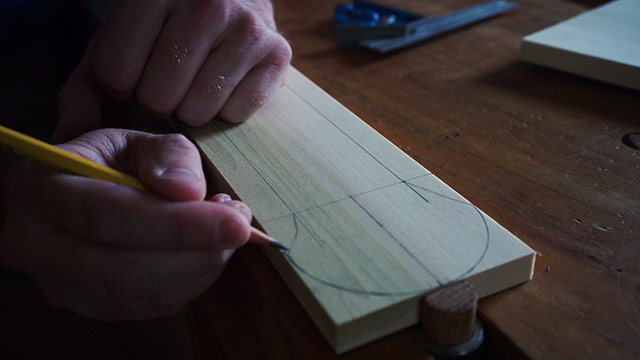
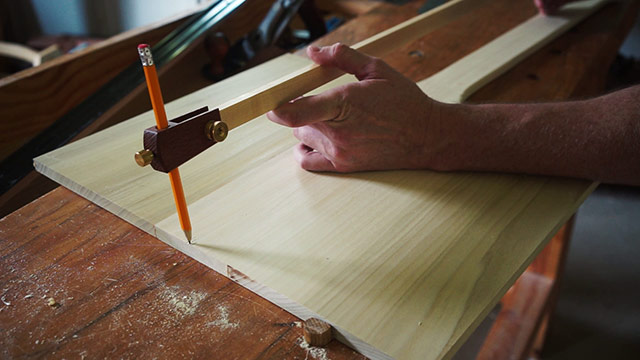
Then I use trammel points (buy some here) with a long stretcher to create a nice-looking arc. I place the pointed end of the trammel points on the handle center line, and then I put the pencil end on the edge of the peel paddle:
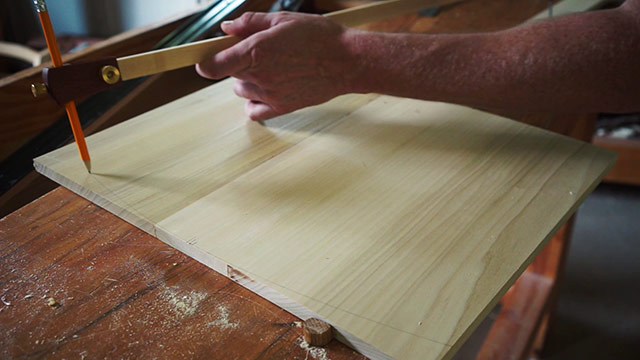
You can experiment with different arc sizes. The farther back the pointed end of the trammel point is, the less extreme the arc’s curve radius will be. Once I decided on the radius size, I scribed the curve onto the wood with the pencil end:
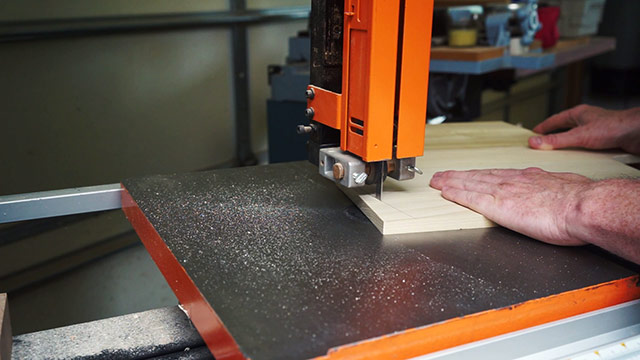
After I drew the arc, I cut along the line, or rather just outside the line. In this tutorial I used a bandsaw, but you could easily use a bow saw or a coping saw (like this coping saw that we use in our school).
I also used this time to cut the back angle, where the pizza peel handle starts:
Then I used a very sharp spokeshave to smooth the curve. This spokeshave needs to be very sharp, and have a fine mouth, because it is all end-grain, which is harder to shave than edge grain:
I also used a sharp spokeshave to trim the end grain on the back end of the pizza paddle:
I used my fine rasp to fare the curve where I couldn’t get my spokeshave:
7. Add a bevel to the pizza peel
After adding an arc to the wooden pizza peel, I used a marking gauge (I use this one) to layout the bevel. The bevel makes it possible for you to slide the pizza peel under the pizza or bread loaves. I came back about 1-1/2″ for the top bevel:
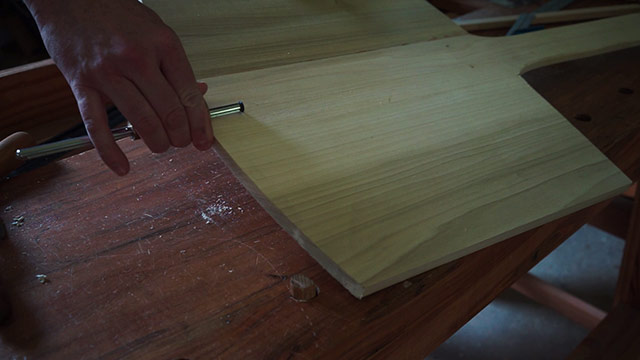
And I like a 1/8″ to 1/4″ bevel for the edge. This is measured from the bottom of the wooden pizza peel:
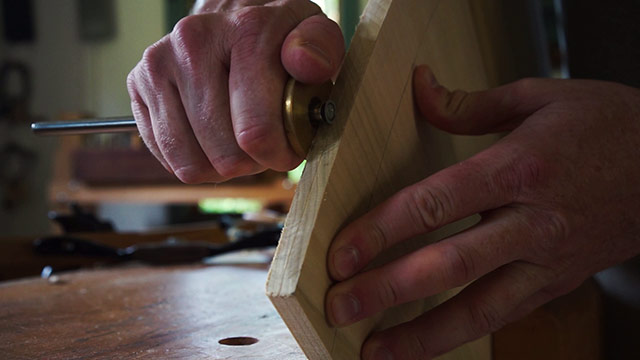
Then I used a jack plane to remove the initial wood quickly, first going across the grain on the front of the pizza peel. This is rough work, so don’t be alarmed if the wood looks bad during this stage:
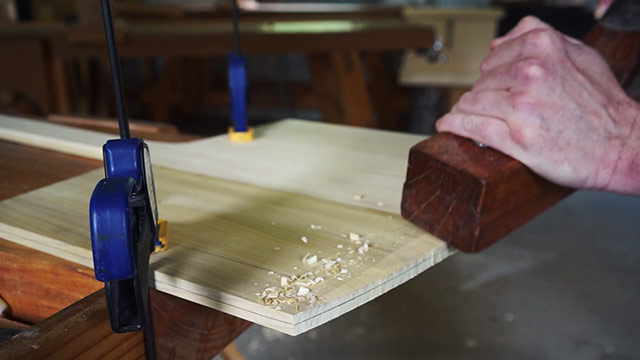
Before I got too close to the layout lines I stopped, and moved to handplaning the sides, until I got close to the layout lines:
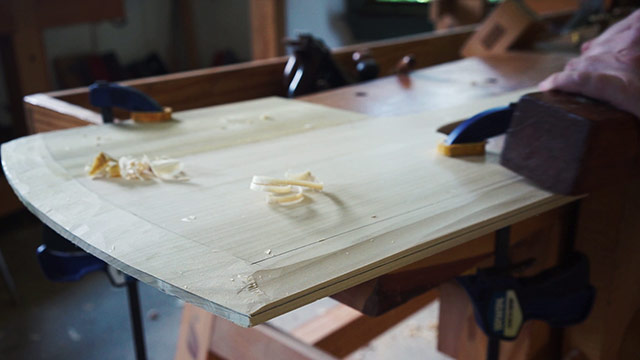
Then I switched to a smoothing plane to gradually come down to the layout lines for a fine finish:
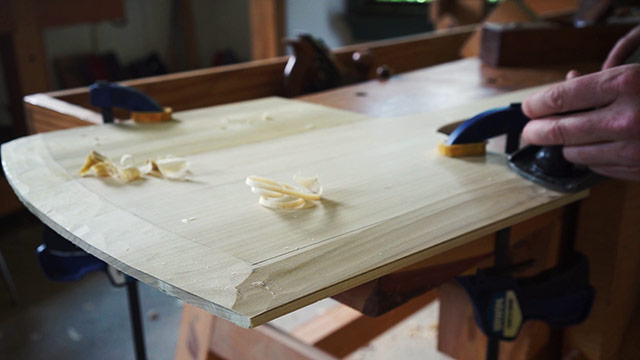
I first planed with the grain, on the sides, until smooth.
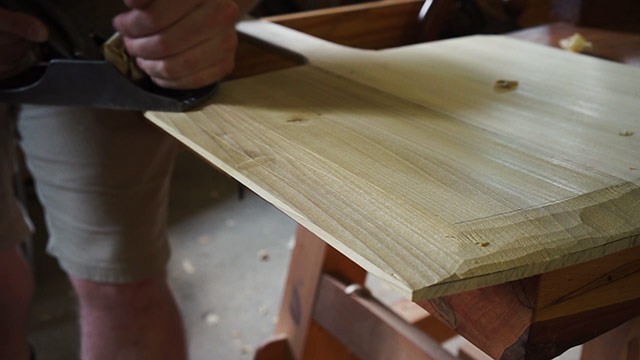
And then I finished by smoothing the front bevel with the smoothing plane:
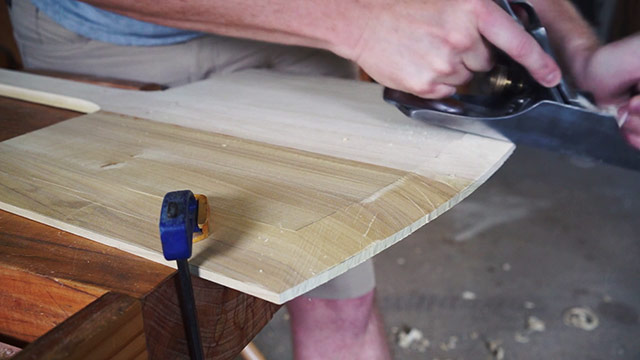
This was a #604 Stanley Bedrock smoothing plane, but you can use most any sharp smoothing plane. You can learn more about the different types of handplanes in my article, here.
8. Sand & finish the pizza peel
Finally, I sanded the entire surface of the pizza peel. This can all be done by hand, but if you have a power hand sander, it can speed things up a bit for the face grain and bevels of the pizza peel.
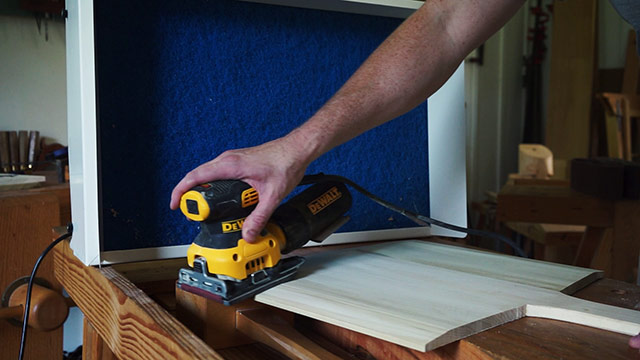
I used this hand sander in the video. And be sure to take care with sawdust. Either wear a mask with a respirator or use a bench sanding dust collector, like this one that I use.
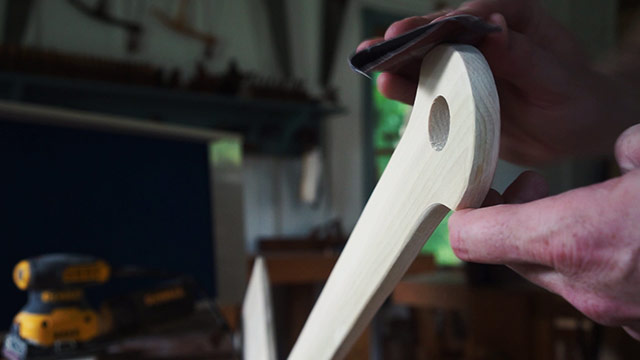
Move through your preferred order of sandpaper grits. Here’s a helpful article from Wood Magazine on order of grits.
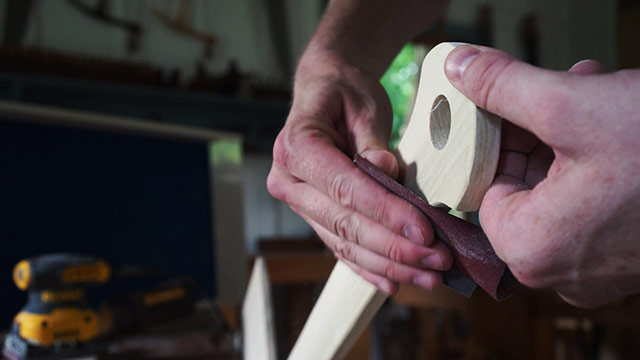
When you hand-sand the handle, take care to not remove the nice edge facets created with your spokeshave and rasp. Before my last sanding grit, I wiped the wood down with a damp cloth to raise the grain. Then I lightly sanded the raised-grain down with 220 grit sandpaper.
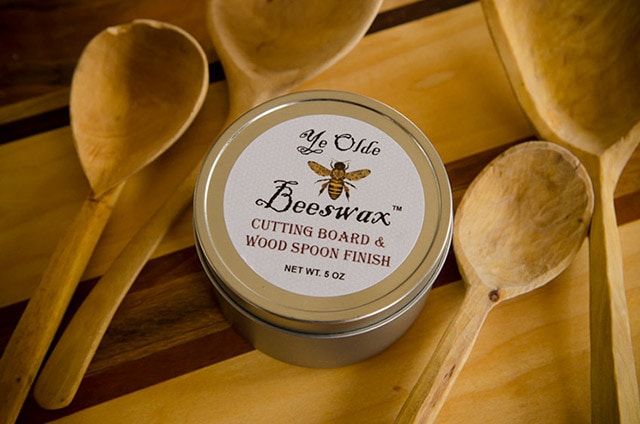
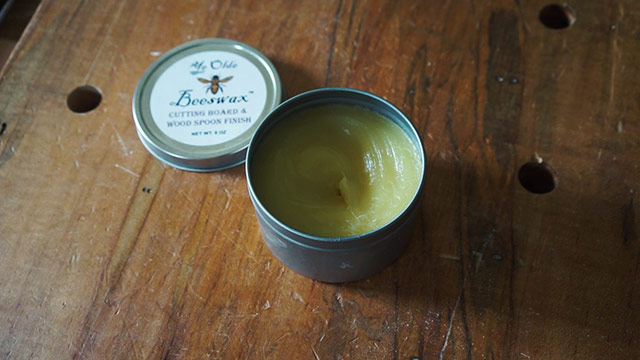
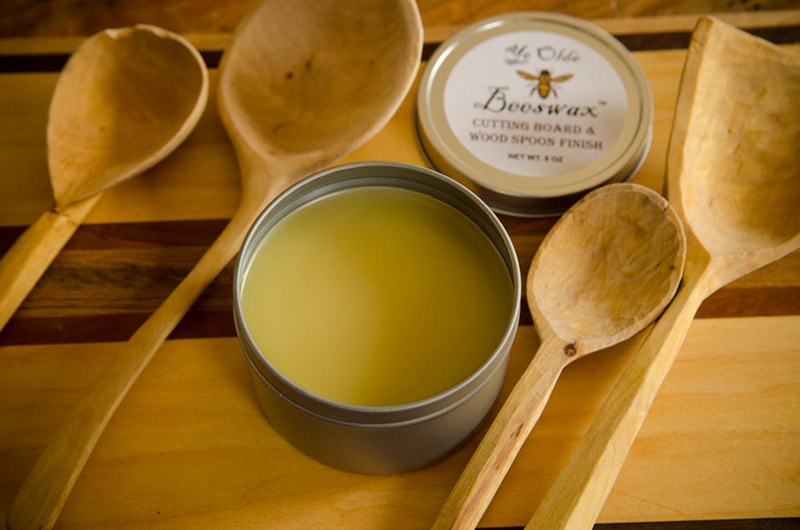
Adding a food-safe wood finish is a great idea to protect your pizza peel. I actually formulated my own food-safe beeswax wood finish, which I make here at our school. You can buy it here in our store. I like to warm the wax near a window before I use it, so that it’s soft and easier to apply:
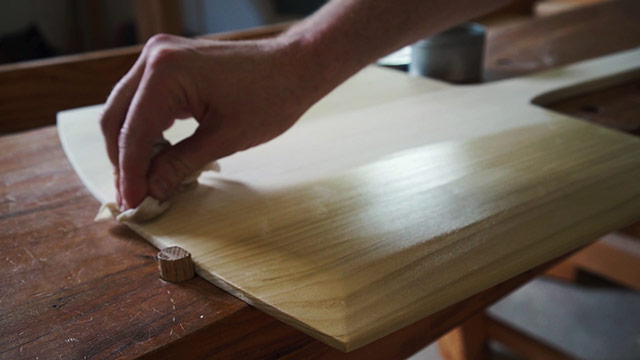
I used a cutoff from an old T-shirt, and wiped the beeswax finish onto all parts of the finely-sanded wood:
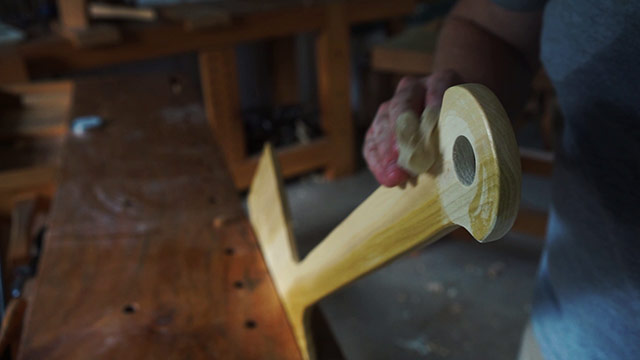
I made sure to get the wax finish onto all surfaces, including the bottom and inside the wall-hanging hole:
This is what the final wooden pizza peel / bread peel looks like:
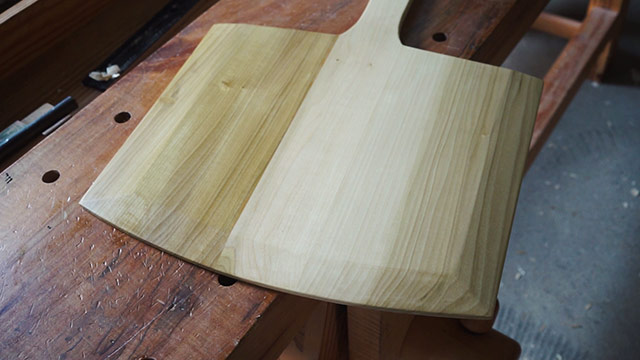
I used tulip poplar wood for this pizza peel, which I milled from trees from the forest behind my woodworking school. Over time the green will turn into a nice light brown. But you can use pretty much any food-safe wood (see here for a discussion on some species of wood that aren’t safe for food contact).
Conclusion: The Best Part of the Project
Now for the best part of the project…making pizza or bread! It’s time to make pizza or bread using your best pizza peel! If the pizza or bread doesn’t slide off as easily as you would prefer, consider using your handplane to make the front bevel longer and thinner.
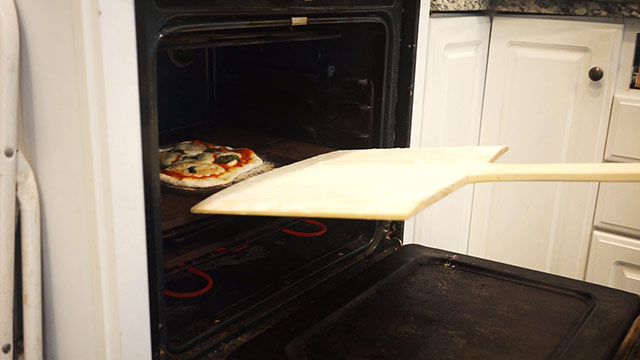
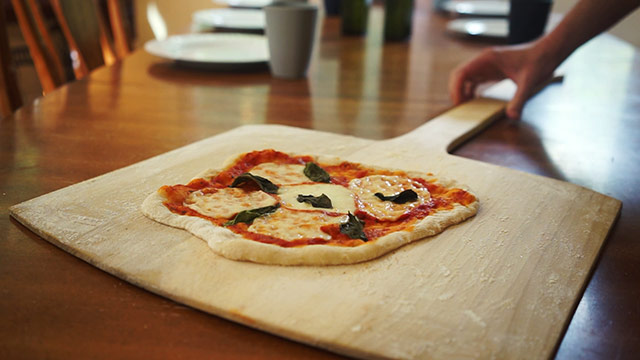
Also make sure you use corn meal and flour to ensure that the sticky dough will slide easier. You can also use cooking parchment paper and just slide it onto your hot pizza stones in your oven. And after you pull the pizza out of the oven with your new, DIY pizza peel, you get to eat the pizza! My favorite pizza is a traditional Italian-style Margarita pizza, with a thin crust, fresh mozzarella cheese, a fresh tomato sauce, and basil. Share your favorite pizza flavor below in the comment section!
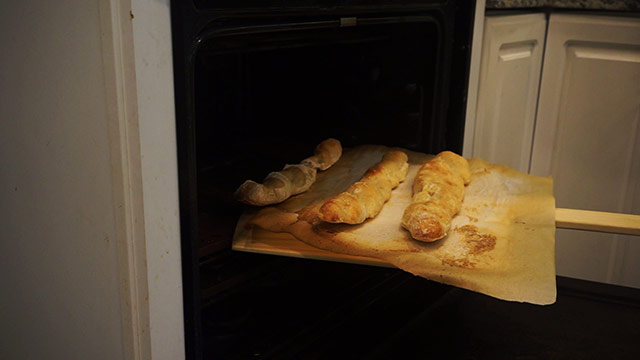
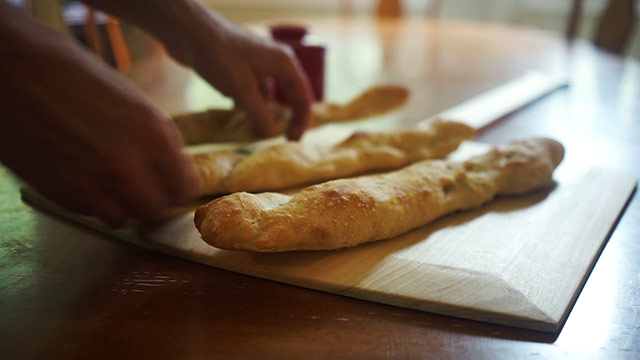
And of course, my absolute favorite food, French bread, uses my wooden pizza peel to bake:
I hope you enjoyed learning how to make this DIY pizza peel / bread peel!







Nice job! What type of wood did you use?
Thanks Tom! I used tulip poplar, but you can use most woods.