How to Square Boards for Woodworking with Power Tools
6 Steps to Square Rough Cut Lumber with a Table Saw, Woodworking Jointer, Wood Planer, and Band Saw
![]() By Joshua Farnsworth | Updated Mar 01, 2022
By Joshua Farnsworth | Updated Mar 01, 2022
How to Square Boards for Woodworking with Power Tools
6 Steps to Square Rough Cut Lumber with a Table Saw, Woodworking Jointer, Wood Planer, and Band Saw
![]() By Joshua Farnsworth | Updated Mar 01, 2022
By Joshua Farnsworth | Updated Mar 01, 2022
In this video & article I’ll show you how to square boards or lumber for woodworking with power tools, in 6 simple steps.
Introduction: How to square boards for Woodworking with Power Tools
Quite a few years ago I made a video and detailed article called “How to Square, Flatten, and Dimension Rough Boards with Hand Tools“. It became one of the top videos and articles on how to square boards for woodworking with hand tools. Since then I’ve had a lot of people ask me to also share a video on my process to square lumber for woodworking with power tools.
Because I need a lot of lumber squared up I typically turn to my woodworking machines for this job. Using hand tools to square up my huge volume of lumber would just take too long. But when I want to cut joinery or when I’ve got a board that’s too wide for my machinery, I’ll often use hand tools.
I find this is a good mix for me, but there’s no right or wrong way. It’s just a matter of personal preference about how to square boards.
My Woodworking Machinery & Accessories

I’ll be showing you how to square rough cut lumber with a table saw, jointer, planer, and band saw. But first I’ll show you which woodworking power tools & machinery that I use to square lumber for woodworking:
- My 17″ Grizzly band saw: https://amzn.to/2MRjbwW
- My band saw resawing fence: https://amzn.to/2MQGsPs
- My favorite band saw blade: http://bit.ly/38eSGYR
- My Felder Jointer / Planer: https://bit.ly/3wiUGMH
- My SawStop Table saw: https://amzn.to/2XvczGW
- My SawStop folding outfeed table: http://bit.ly/2O5buCE
- Check out all my other power tools in my power tool guide: https://woodandshop.com/woodworking-power-tool-buying-guide/
Alright, now that we covered some of the essential tools for woodworking, I’ll show you how to square boards!
Step 1: Size the board to rough dimensions on the band saw
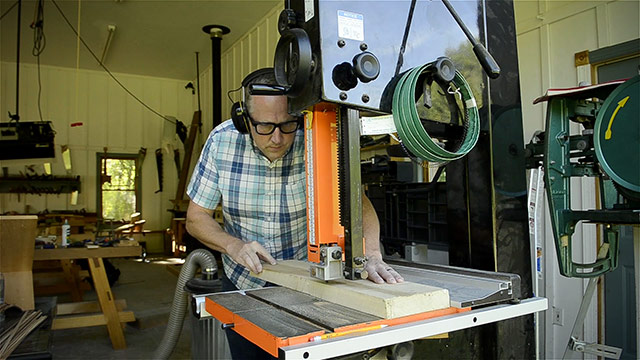
As part of my lesson on how to square boards for woodworking, I’ll be building a dovetail box with a sliding panel lid. For this dovetail box project I’ll first use my band saw to rip this board to a fairly uniform width; somewhat close to my final required width.
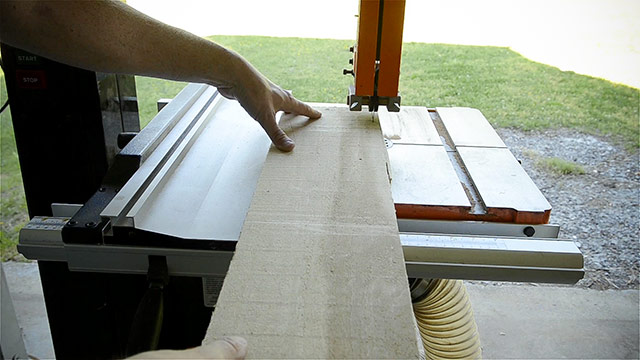
Here I want to keep as much width as I can, so I’m just removing the rough edge.
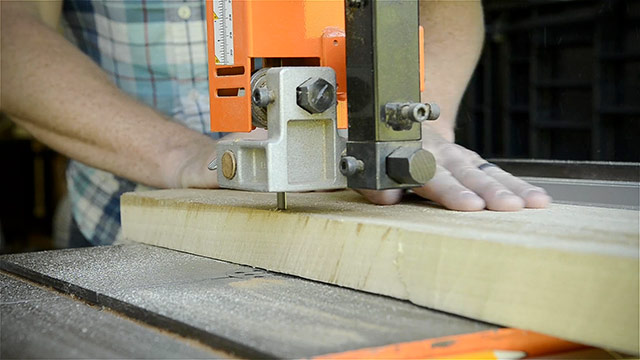
I’ll next resaw this wider board in half on the band saw to get two boards that match.
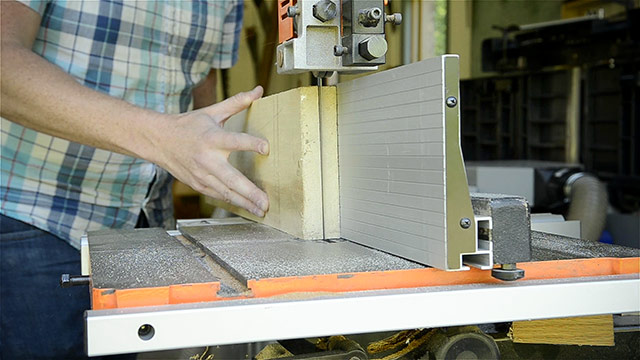
It’s important to use a fence and band saw blade that are intended for resawing (see the above tool section for my specific blade and resaw fence, along with all the other machinery that I use in this video).
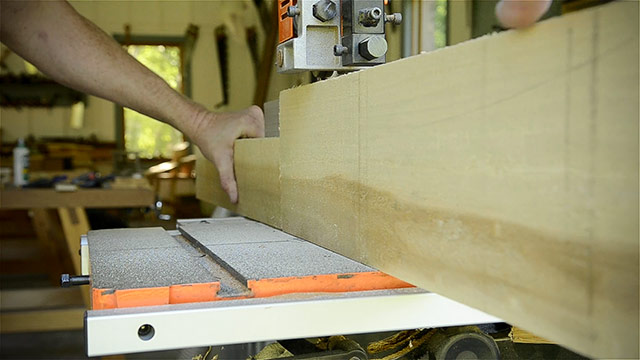
For safety purposes, I use a push stick or a scrap board to push the end of the board through the blade. The resulting two boards here are referred to as bookmatched boards, because it gives you two boards with similar looking grain.
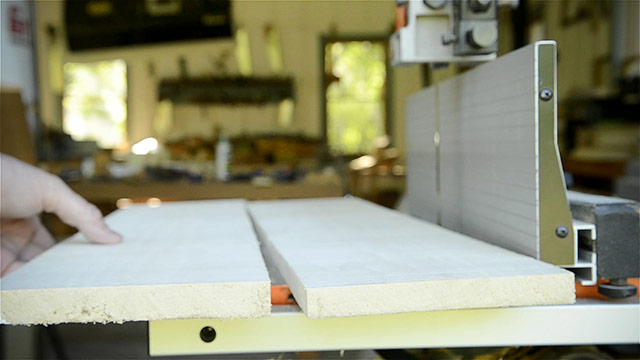
Step 2: Flatten one face of the board on a woodworking jointer
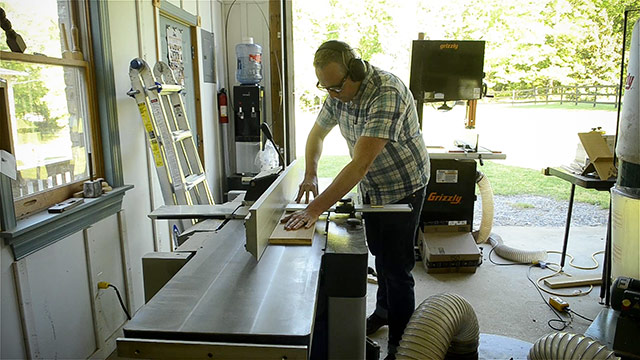
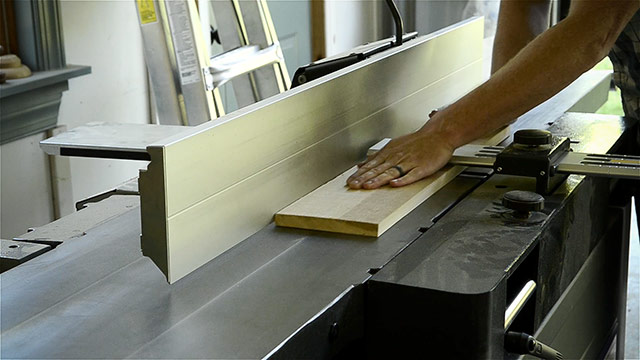
Now I’ll show you how to square a board with a jointer as the first machine. I take the boards to my power woodworking jointer and adjust the fence and guard to the approximate size of my boards so I can stay safe. My Felder machine uses a European guard which allows me to use my bare hands to push the board over the cutter head. I repeat this until the board shows no more signs of rough wood.
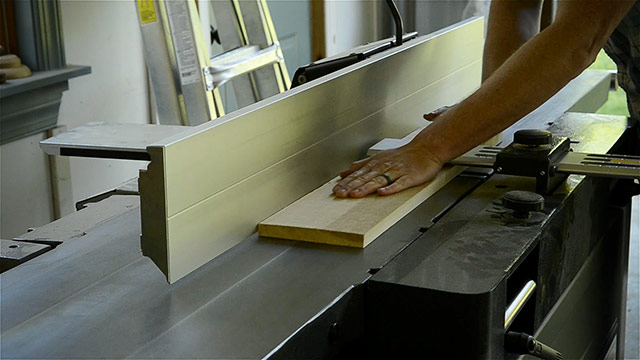
If you have a swinging guard on your woodworking jointer, like on many jointers common in the United States, then make sure you always use paddles to protect your hands.
Step 3: Use a woodworking jointer to joint one edge square to the flattened face
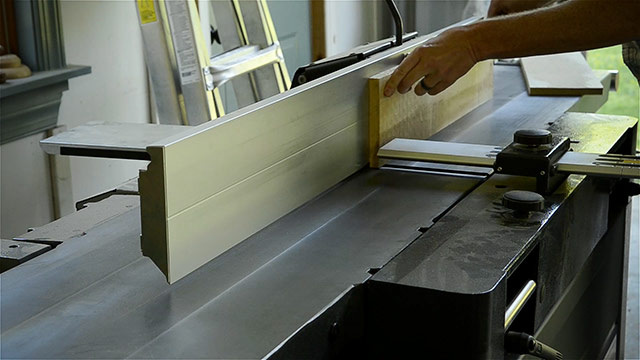
Now that I have a perfectly flat board face, I flip the face up against the woodworking jointer fence. I adjust the jointer guard for safety, and then I run the edge of the board over the woodworking jointer cutter heads. I make sure that I keep the flattened face flat against the jointer’s fence.
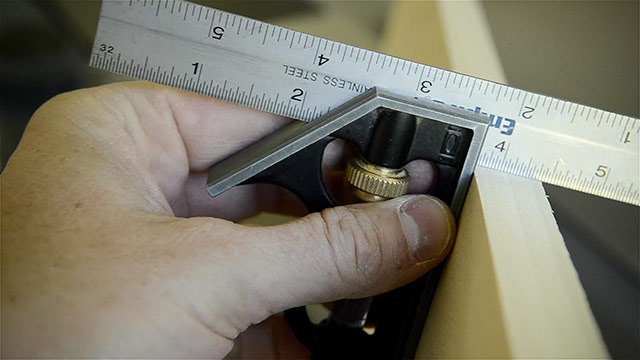
And I keep jointing the edge until it’s cutting all the way from the start of the board to end. The board edges should now be a perfect 90 degree angle to the flattened faces.
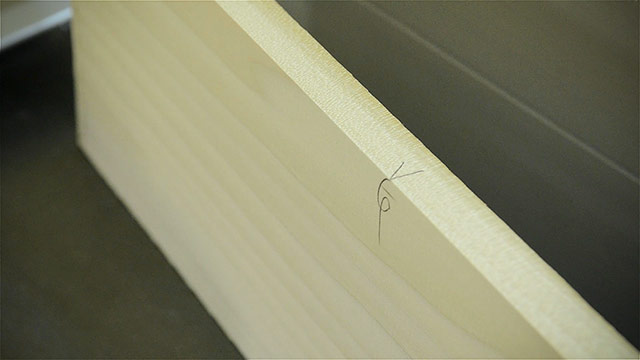
Step 4: Use wood planers to thickness Plane the other face
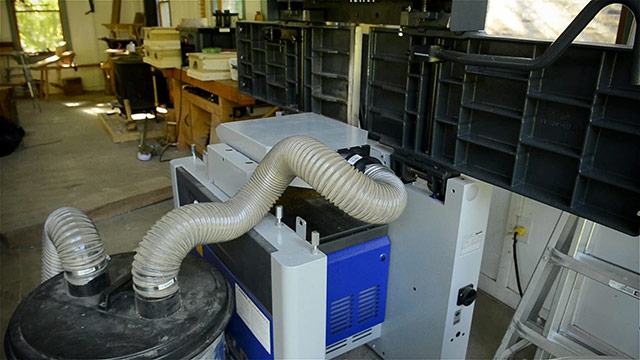
The next step is to take the boards to a thickness wood planer, or in my case, flip the top up to use the planer configuration.
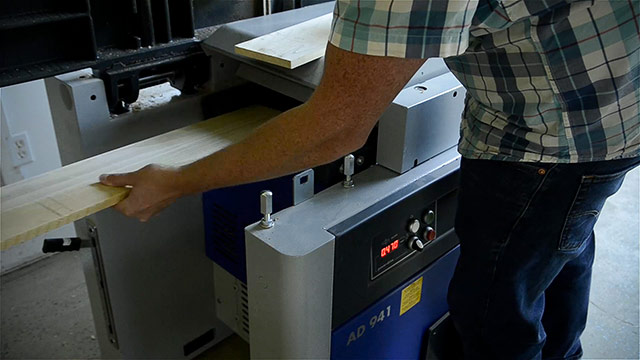
I put the flattened face downward on the wood planer table, and push a button to advance the wood planer base up toward the cutter head. I keep moving the base up a little at a time until the rollers grab onto the thickest board and pull it through.
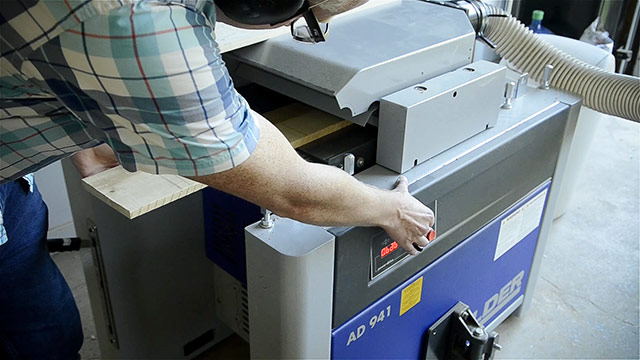
I send through all the boards that I want to plane. And then I keep raising the base up a bit each time, and I keep sending all the boards through the wood planer on each new thickness setting. And when I’ve finally reached the thickness I want, I stop the machine.
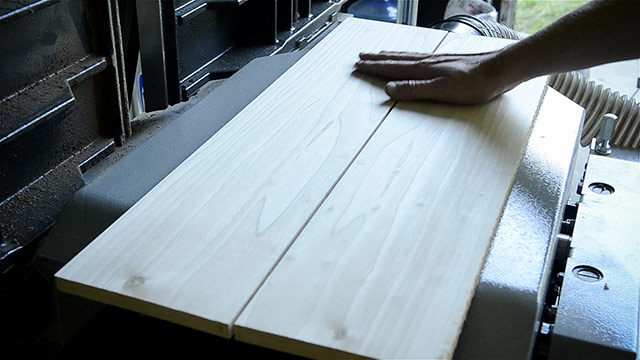
Step 5: Rip the boards to final width on the table saw
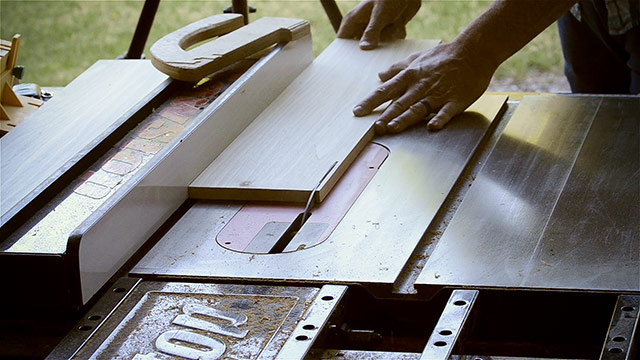
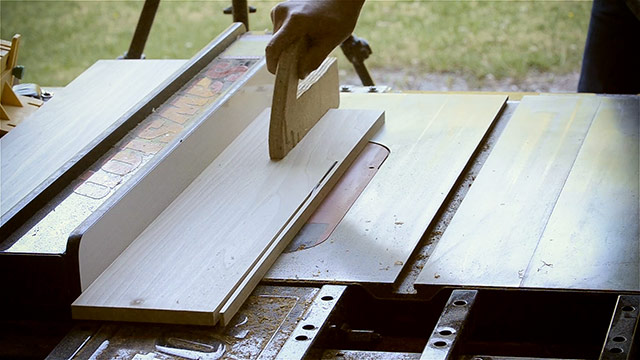
Now that all my boards are the same thickness I take them to the table saw for ripping to final width. I set the width that I want on the table saw’s fence, and lock it down. This will ensure that all of my boards will be ripped to the exact same width.
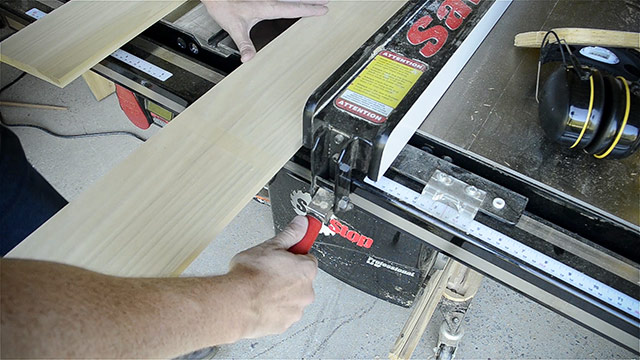
Then I set the table saw blade to a height that’s just slightly higher than the thickness of my board. It’s safer to have the minimal amount of blade exposed. I make sure I tighten the blade wheel after adjusting the height.
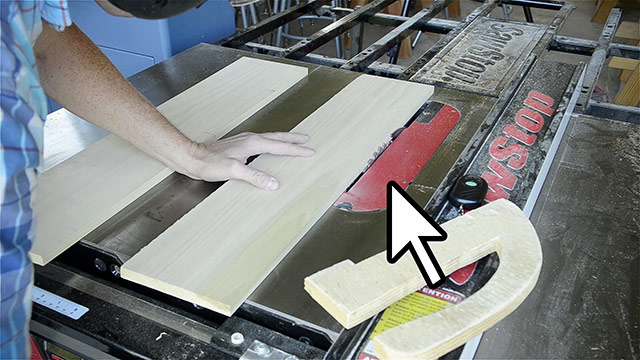
You can see this zero clearance insert (above) around the blade that will lead to a cleaner cut. And that riving knife (below) behind the blade will help prevent a dangerous kickback by preventing the newly cut parts of your board from closing up and pinching the blade.
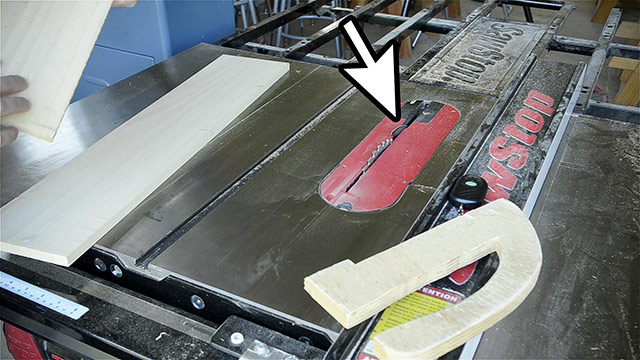
I turn on the dust extractor and then I turn on the table saw blade. This is where you need to be extra careful, even if you have a SawStop table saw like this.
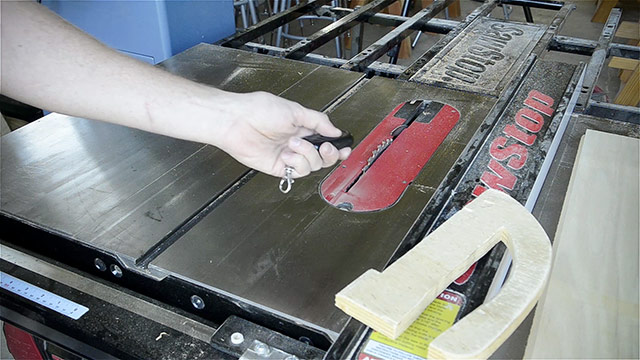
I always keep my hands away from the red area unless I’m using a push stick. And I make sure that my jointed edge is running tightly against the fence.
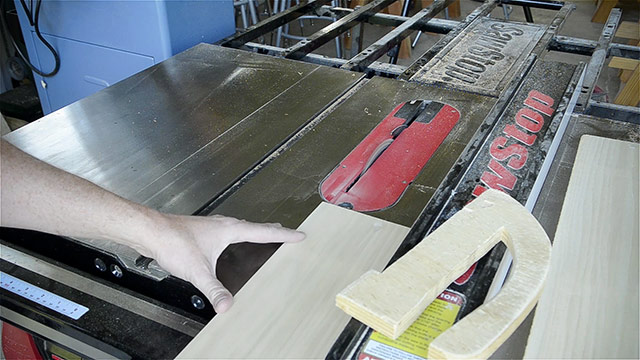
Once the wood is at this point I grab my push stick and push it the rest of the way through the blade. I repeat this step for all of the boards.
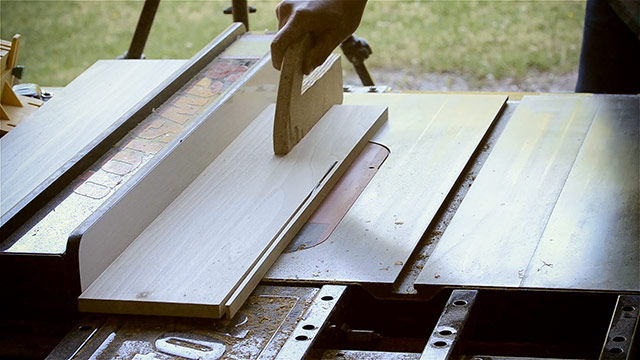
Now that all the boards are the exact same thickness and width, I’m ready to move onto the last step: cutting the boards to the same length.
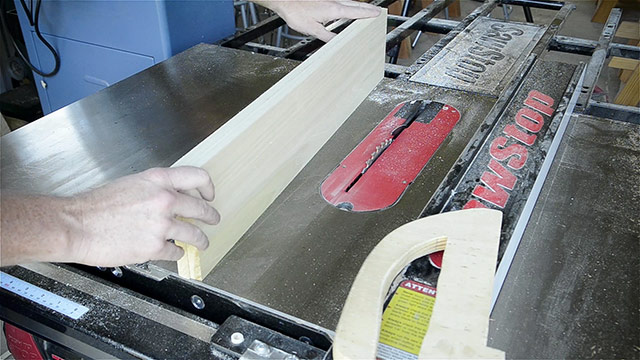
Step 6: Crosscut the boards to final length on the table saw
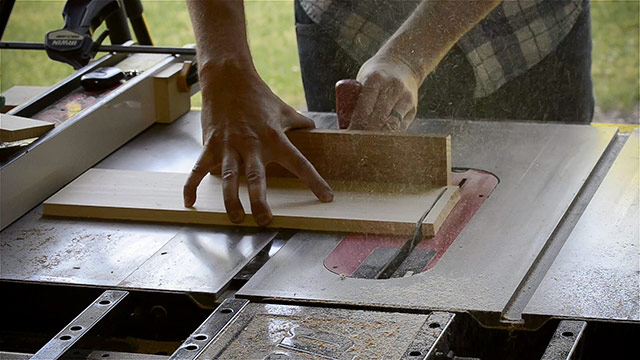
The last step to square lumber for woodworking is to use a table saw to crosscut the board ends. There are several ways to cut a board to length, but the most common is to use a miter gauge. Most table saws come with a miter gauge. After ensuring that the gauge is square to the blade with a combination square and test cuts, I first cut off an end that may have an imperfection that I want to get rid of, like this knot.
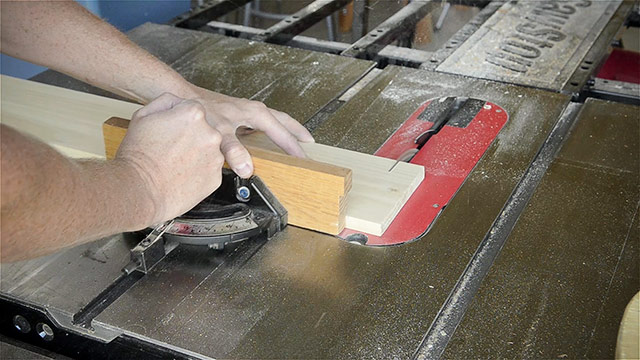
Notice how I never put my hand near the table saw blade to grab the cutoff piece, until it’s fully stopped:
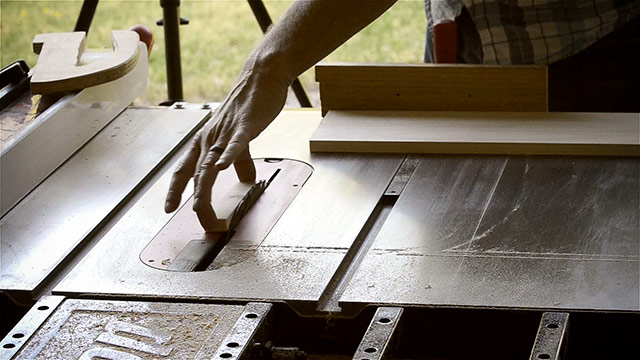
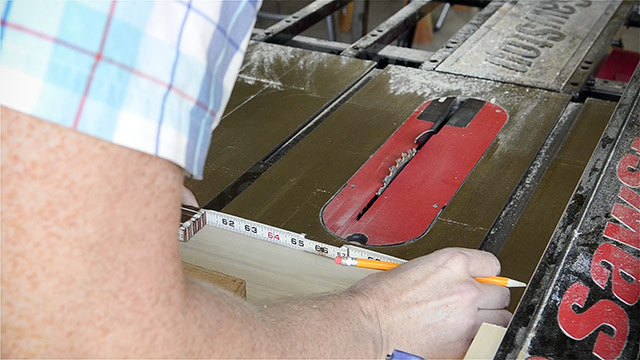
Next I mark the final length of my first board using a folding rule or tape measure, and make a tick mark:
I set a stop block against my fence and butt my board’s freshly cut edge against it:
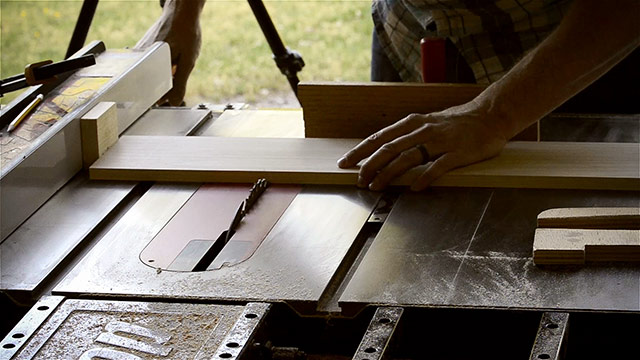
I look down over the blade and move the fence back & forth to line the board up so I will cut right where I want. I lock the table saw fence in place, and then move the stock block way back to the back of the fence, and clamp it in place.
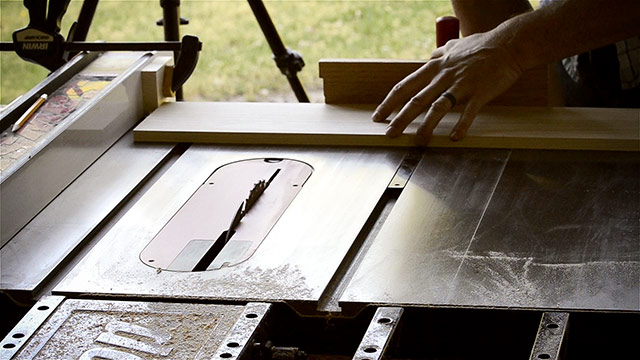
Then I slide my board’s freshly cut edge back against the clamped stop block. This block not only allows me to perfectly repeat the same cut on the other boards, but it also helps to prevent my board from binding against the fence, which could be dangerous.
I proceed to cut all the pieces that need to be that particular size, making sure I hold my board tightly against the miter gauge and the saw’s table. Again, notice how the edge of the board isn’t touching the fence during the cut:
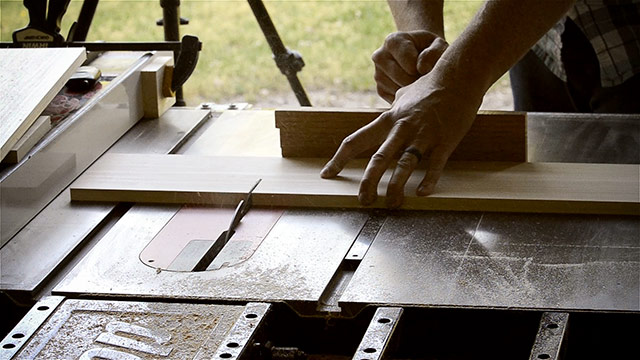
In this case I’m building a rectangular dovetailed box, so I want two of the sides to be longer than the ones that I just cut, so I repeat the process to measure and cut these to my longer dimension:
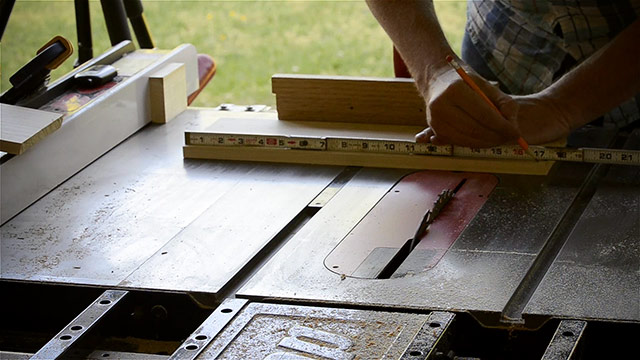
And by the way, click here if you want to be notified when I release the box build video in my store! I’ll show this full project lesson on making a dovetailed box with a sliding panel lid.
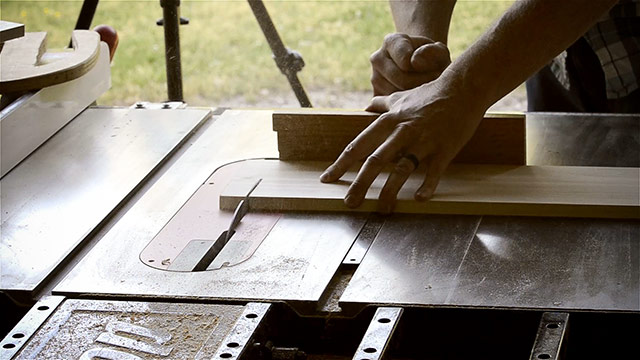
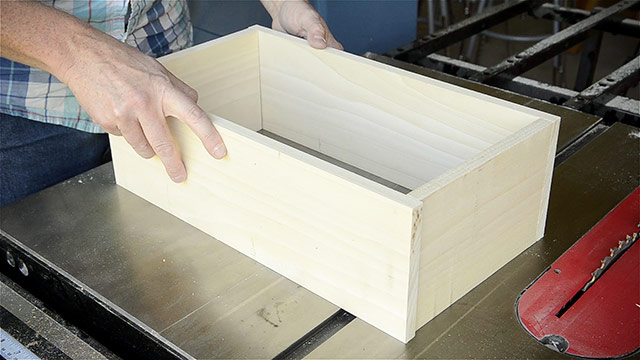
And here are all four pieces of the box, nicely squared up and cut to the right lengths.
Conclusion: How to square lumber for woodworking
So that’s how to square boards on a table saw, wood planer, woodworking jointer, and band saw. Having such nicely dimensioned boards will make it much easier for me to build my dovetailed box. Some people square lumber for woodworking a bit differently than I do; if so, please comment below and share your method, or any tips that I may have forgotten to mention. Again, make sure you subscribe below if you want to be notified when I release my sliding panel dovetail box in my store.
I’ll see you next time here in my shop!
TOOL GUIDE SHORTCUTS:
HAND TOOL BUYER’S GUIDES
- Intro to Buying Woodworking Hand Tools
- Workbench & Tool Storage
- Layout, Marking, & Measuring Tools
- Handplanes
- Handsaws
- Chisels
- Sharpening & Honing Supplies
- Mallets & Hammers
- Hand Drills, Braces, & Bits
- Tools for Curved Work
- Tools for Green Woodworking
- Woodworking Clamps, Gluing & Fasteners
- Tools for Wood Carving
- Products for Wood Finishing, Sanding & Scraping
- Wood Turning Tools & Lathes






Joshua, I do basically the same as you do. Except my first step I use a track saw because my track is 120″ long or 2 60″ long tracks and as you do I just straighten the edge. Then I mill the width about 1/2″ proud and go to the jointer and planer. After which I cut material to final size.
Nice Geoffrey!
Joshua, Great video, thanks for putting that together. As expected, I do things a bit differently. I follow you route for the 4-square of rough boards. I have set up my sliding miter saw as a dedicated crosscut station. This allows me to use my table saw primarily for rip cuts which means I have a dedicated rip blade which does not change unless I need to do a dado or rabbit cut on the table saw. The miter saw… Read more »
you are welcome