How to Flatten Board with Woodworking Hand Tools and Power Tools
By Joshua Farnsworth
In Step 7, I’ll talk about one of the most basic and essential skills in traditional woodworking: how to square, flatten, & dimension your own rough lumber into finished boards.
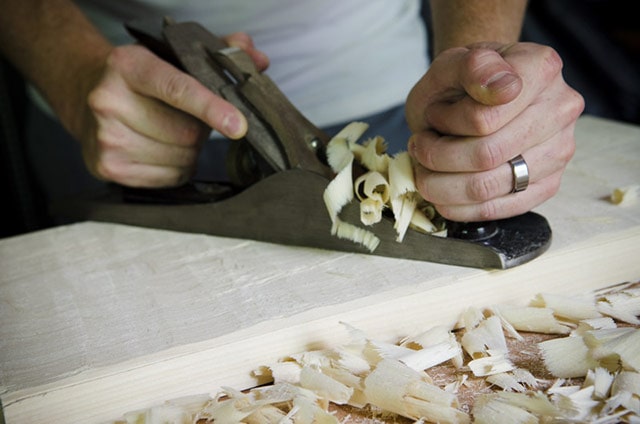
Woodworkers really can’t build furniture that fits together well if their boards aren’t properly squared up. The wood joints (e.g. “joinery”), like dovetails or mortise and tenon joints, won’t fit together unless the wood is properly dimensioned.
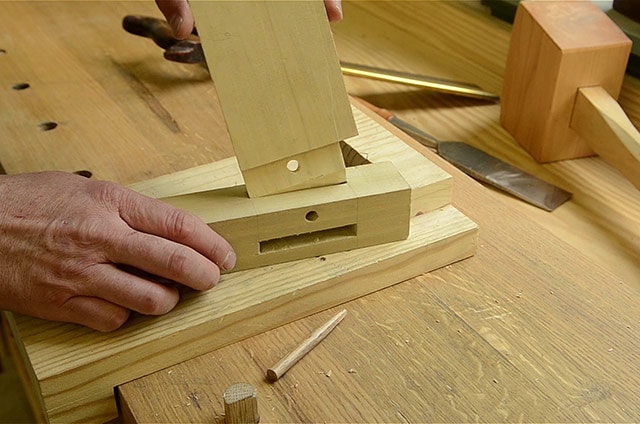
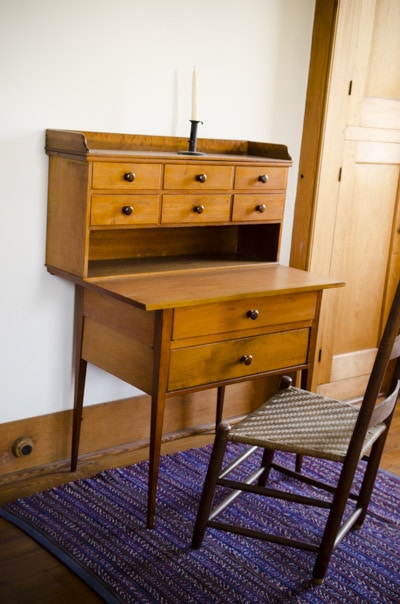
But if your lumber is flat and square, you can make lovely and functional furniture that will last for many generations. To flatten board lumber is an essential woodworking skill.
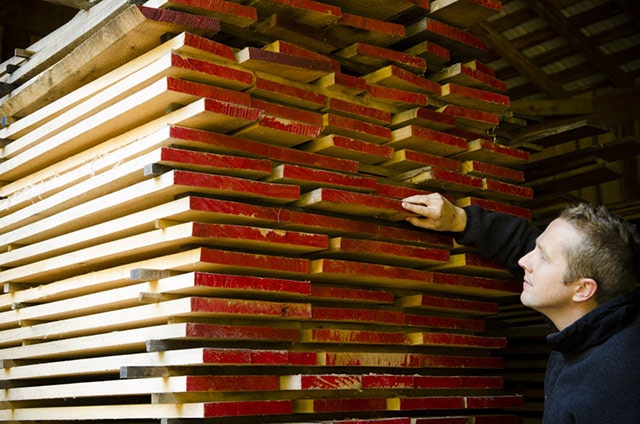
So below I’ll talk a little bit about the two different options for dimensioning your rough lumber, and reference you to my two videos and articles for those methods. In case you missed it, my last article (Step 6) talked about how to choose the best lumber for your woodworking project (see it here).

Square Boards with Hand Tools
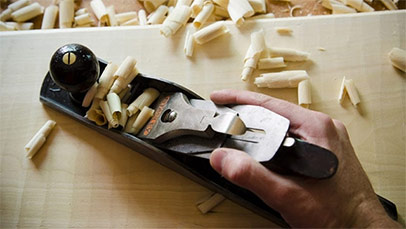
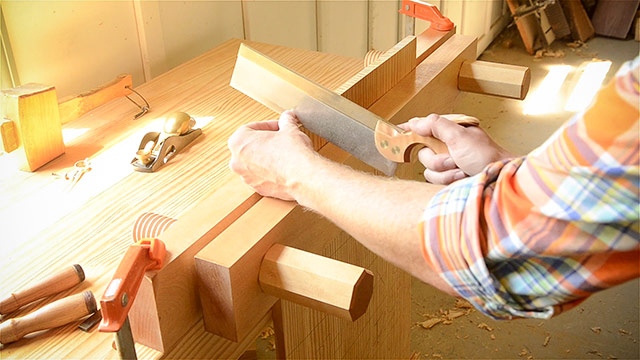
The first option for squaring or flattening boards for woodworking is the most historical option: using traditional woodworking hand tools. The process starts with rough cutting your lumber to an approximate width and length using hand saws, followed by rough flattening of the first face with a jack plane. Winding sticks and a straight edge are used to gauge the flatness of the first board face, and when it’s relatively flat, a jointer plane makes the board totally flat, and a smoothing plane gives a glass-like finish.
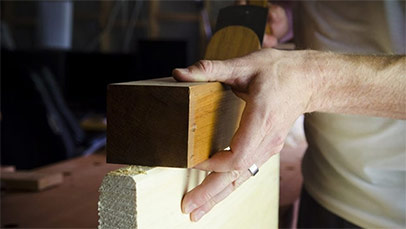
Next the first edge is squared to the freshly flattened face using a jointer plane. Then a second edge is made parallel to the first with a panel gauge, hand saw, and hand planes. A marking gauge is used to mark a uniform board thickness, and then the second face is flattened using hand planes, similar to the first. And finally the two ends are cut off with a crosscut hand saw, and trued up using a block plane or shooting board.
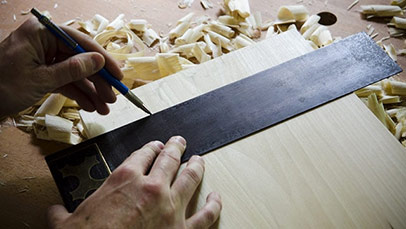
This traditional hand tool woodworking method is safer, quieter, and offers more exercise. That’s a great option for woodworkers who have a sedentary desk job. However, if you’ve got a large furniture project, squaring boards by hand can take a very long time, and may delay the more enjoyable parts of furniture making: the joinery. To see my in-depth 10 step article and video on squaring boards with hand tools, click the button below:
Square Boards with Power Tools
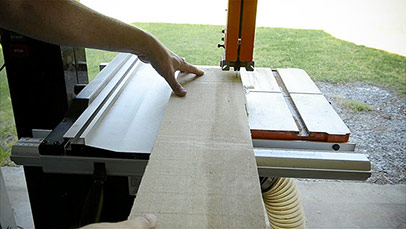
The second option for squaring boards is a more modern approach: using modern woodworking power tools and machinery. The process starts with ripping the board to rough width on a band saw, and then running the first board face over a power jointer until it is completely flattened.
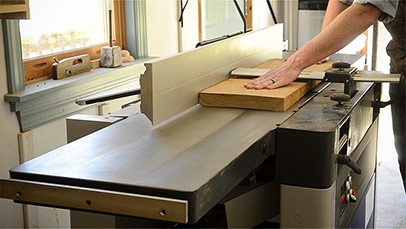
Then the board is flipped on it’s first edge and run on it’s edge until the first edge is completely square to the first face. Next the board is run through a thickness planer (with the first flattened face downward) until the second board face is a uniform thickness. Then the board is run through a table saw, which rips the board to a uniform width. The last step is to cut the ends off the board, using a table saw (on a crosscut sled or a miter gauge) or on a power sliding miter saw.
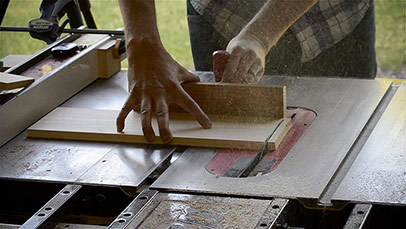
Using woodworking machinery is certainly faster than using hand tools. And it’s usually more accurate and not as tiring (for someone that isn’t in great health). Power tools are almost essential for anyone looking to make a lot of furniture, and especially anyone looking to make a living selling furniture. However, the initial cost to buy woodworking machinery can be quite high, and the risk of injury and lung cancer is increased when using power tools. To see if using power tools is right for you, click the button below to check out my in-depth 6 step article and video on squaring boards with power tools:
Conclusion: Which method do I prefer?
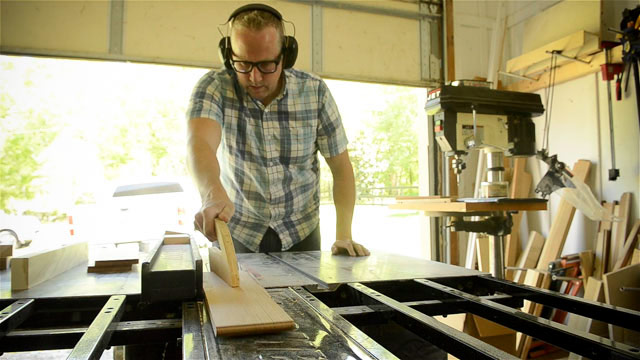
So what is my personal preference? My preference actually changes depending on what’s going on in my life, and also what I’m building. If life is stressful and I need more time just quietly thinking in my workshop, then the hand tools come out for milling my boards.
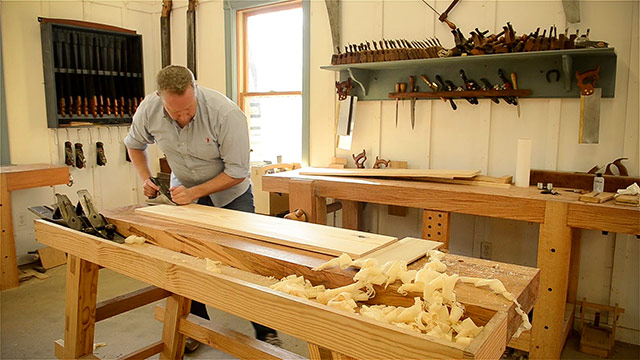
But if I’ve got a big furniture piece to build, with a lot of wood parts, or I have a deadline to meet, then I’ll usually opt for more power tools. But really, I usually use a mix of hand tool woodworking and power tool woodworking.
Lately, this has been my work flow: If my boards are a reasonable width, I’ll do most of the milling with power tools, and then move onto woodworking hand tools for making the joinery (like dovetail joints, mortise and tenon joints, or rabbet joints). And I’ll finish the furniture with hand planes. But if I have extra wide boards that are too big for my machines, then I’ll do the whole thing with hand tools.
Shortcut to 10 steps:
- Step 1: Buy the Right Woodworking Hand Tools
- Step 2: Setup Your Workshop & Tool Storage
- Step 3: Learn how to Tune, Refurbish, & Sharpen Tools
- Step 4: Learn how to Use Woodworking Hand Tools
- Step 5: Learn how to Design Woodworking Projects
- Step 6: Learn how to Choose Stable, Strong, & Beautiful Wood
- Step 7: Learn how to Square & Flatten Rough Boards
- Step 8: Joinery: Learn how to Layout & Cut Joints
- Step 9: Learn how to Assemble, Fasten, & Glue-up
- Step 10: Learn how to Traditionally Finish the Wood

Thank you!!! Your videos are amazing. Keep them coming.
Excellent post. Always thought best way is machinery… now I see there are other options…
Video to win – Joinery Handplans
T-shirt – “Wood and Shop” Blue Logo Unisex, Large, Dark Chocolate.
I live in Texas, USA.