By Joshua Farnsworth
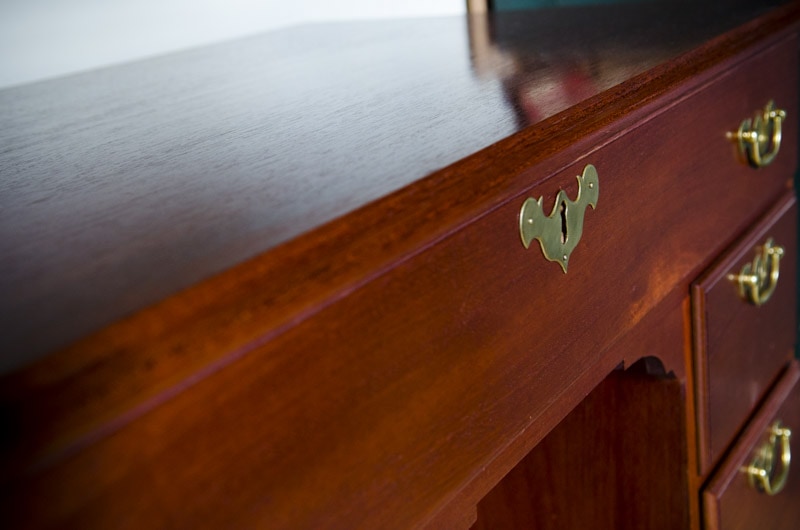
Step 10 is one of my favorite steps, because you get to see the true beauty reveal itself in the wood, and the grain patterns shine forth! I’ll admit it, I’m not one of those woodworkers who love complex finish recipes, but I love making it as simple as possible.
In the above video I introduced quite a few of the well-known finishes used by woodworkers (there’s probably a lot more) but I encourage everyone to experiment and find out which finishes they like the best.
ONE OF MY FAVORITE EASY & FAST WOOD FINISHES
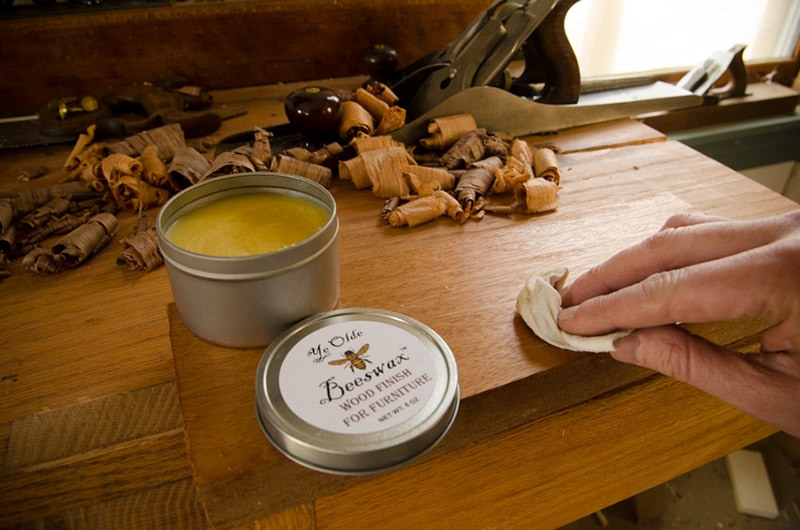
I personally love the ease, safety, historical significance, and beauty of a simple boiled linseed oil finish, with a buffed topcoat of furniture wax. This video quickly summarizes how I do it:
TRADITIONAL MILK PAINT FINISH
More to come soon! What are some of your favorite finishes or finish recipes? Please share them in the comment box below!
Shortcut to 10 steps:
- Step 1: Buy the Right Woodworking Hand Tools
- Step 2: Setup Your Workshop & Tool Storage
- Step 3: Learn how to Tune, Refurbish, & Sharpen Tools
- Step 4: Learn how to Use Woodworking Hand Tools
- Step 5: Learn how to Design Woodworking Projects
- Step 6: Learn how to Choose Stable, Strong, & Beautiful Wood
- Step 7: Learn how to Square & Flatten Rough Boards
- Step 8: Joinery: Learn how to Layout & Cut Joints
- Step 9: Learn how to Assemble, Fasten, & Glue-up
- Step 10: Learn how to Traditionally Finish the Wood


I welcome your comments!