A bench hook is one of the most used appliances in a traditional woodworking workshop and fortunately one of the easiest to build. It’s ridiculously easy to build!
What is a Bench Hook used for?
A bench hook is a simple wooden appliance that hooks against a workbench’s edge and is used to hold pieces of wood while you cut them with a cross cut back saw.
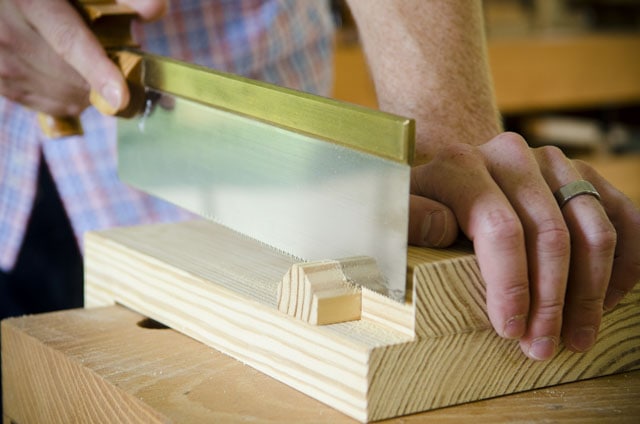
How to Build a Bench Hook
1. Dimension & Square up a Piece of Scrap Lumber
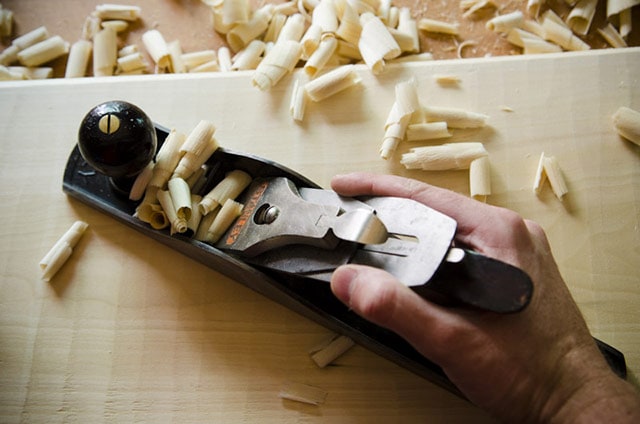
Because a bench hook is a woodworking appliance that is built to take abuse, there is no need to use a nice piece of lumber. Definitely use a piece of scrap wood. The size of your bench hook can vary depending on the scrap wood that you have available. The thickness can be anywhere from 1/2-inch to 1-1/2-inches. 3/4-inch is nice. I like the bench hook to be between 6 and 7-inches wide. And I like the final length to be between 10 and 12-inches long. I like the two cutoff hook pieces to be 1-1/2-inches long. So in my above video I started with a dimensioned 14-inch long board, which would give me an 11-inch final length after cutting off the hooks.
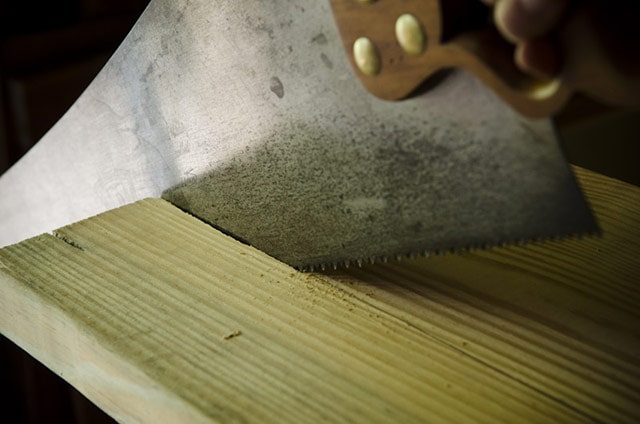
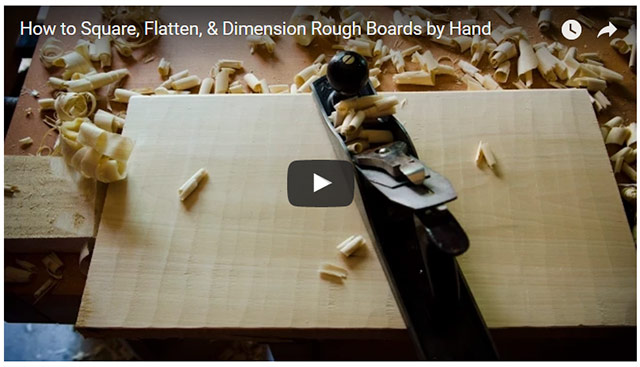
This is a perfect project to use along with my tutorial called “How to Square, Flatten, and Dimension Rough Boards with Hand Tools“. It would be a great practice to dimension your board using hand tools, then build a bench hook with the squared up piece of lumber.
2. Cut off the Bench Hook “Hooks”
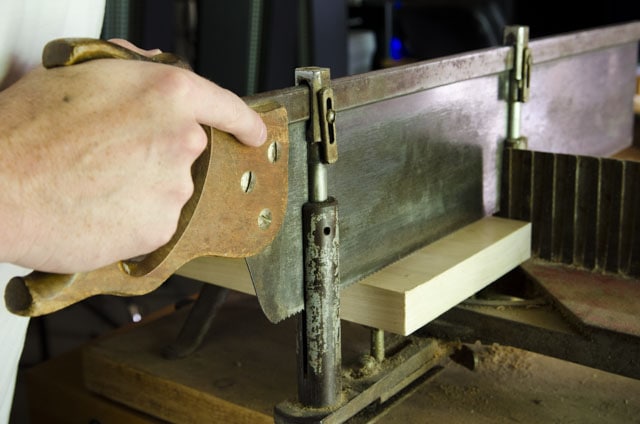
Measure 1.5-inches from each end and cut the “hook” pieces off of the board. Then cut 3/4-inch length off one of the hook pieces. The shorter piece will go on the top of the bench hook, as a place for your saw to work. If you’re right-handed, then leave the open space on the right side, and if you’re left-handed, do the opposite.
3. Glue the Bench Hook Together
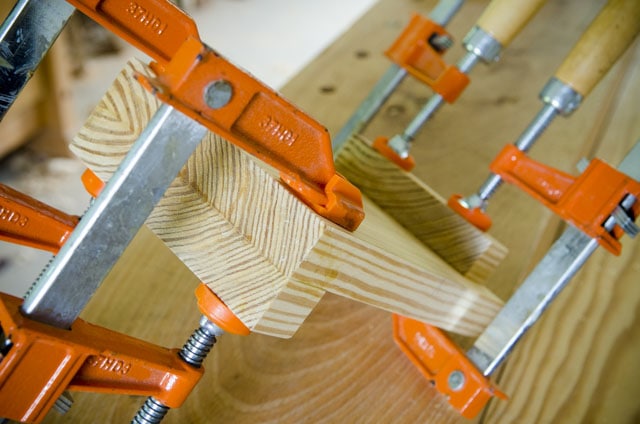
Now glue and clamp the two hook pieces onto the top and bottom of the board. This isn’t a piece of furniture, so exact precision isn’t necessary, but try to keep the hook pieces square to the main board. You can use most any type of wood glue, as longevity isn’t a concern with a shop appliance like this. You’ll destroy this with your saw before it will fall apart. There’s no need for screws or nails as the wood glue is stronger than the wood grain (i.e. the grain would break before the glue would give way). Just wipe the glue with a damp cloth before it starts to dry, or scrape it off with a sharp putty knife after the glue has started to dry for about 30 minutes.
4. Finishing up the Bench Hook
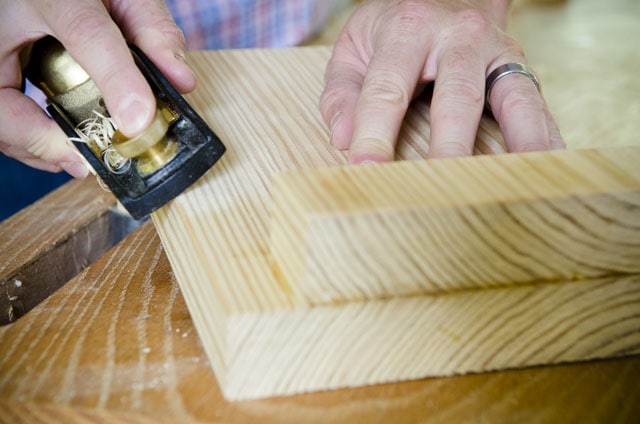
You can certainly sand the bench hook a little, but it’s not necessary. There’s also no need to apply a finish. The only thing I do is take a sharp block plane and relieve the sharp edges so that the bench hook will last a little longer, and so that it will be more comfortable on your hands.



Thanks for this clip Josh!
Nice and simple!
Well done!
Tassos from Cyprus
Glad you liked it Tassos!
Thanks for your help
You’re welcome. Thanks for testing this. Did you receive the reply?
test to check the comment
Here is the another test comment
Confirmation of this comment. Do you see this reply in your email inbox?
Here is the testing comment. After the comment reply issue fixed.
I am responding. Did you see this in your email inbox?
G’day. Sprinkling tiny bit of fine sawdust on your glue will stop your parts sliding around uncontrollably whilst clamping. Cheers