How to Make a Curved Mortise and Tenon Joint
Add some attractive curves to your mortise and tenon joint
![]() By Joshua Farnsworth | Published 03 July, 2023
By Joshua Farnsworth | Published 03 July, 2023
How to Make a Curved Mortise and Tenon Joint
![]() By Joshua Farnsworth | Published 03 July, 2023
By Joshua Farnsworth | Published 03 July, 2023
Intro: How to Make a Curved Mortise and Tenon Joint
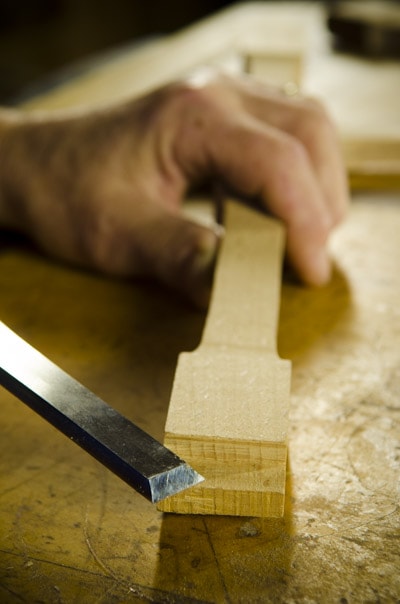
In traditional woodworking, the mortise and tenon joint is a widely used technique for joining two pieces of wood. However, in some cases, a curved mortise and tenon joint may be required to create unique and visually appealing designs.

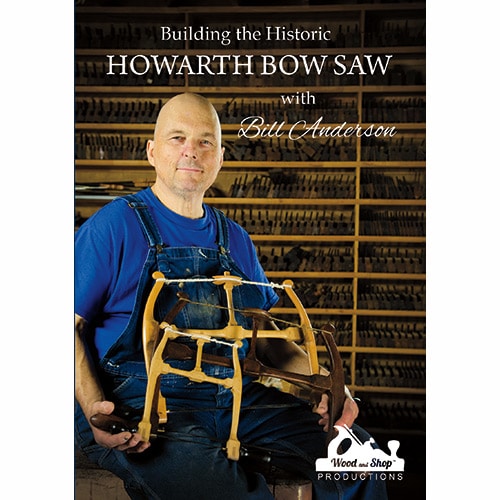
In this article (and the above video) Bill Anderson and I share a tutorial on how to make a curved mortise and tenon joint. This tutorial is based on the historical Howarth bow saw, which features this type of curved mortise and tenon joint. Bill and I filmed a video class called “Building the Historic Howarth Bow Saw with Bill Anderson”, which you can purchase here.
By following these steps, traditional hand tool woodworkers can learn how to create curved mortise and tenon joints and incorporate them into their woodworking projects. The above video will give you in-depth instruction, and this article will summarize the steps of making a curved mortise and tenon joint.
Step 1: Layout of the Mortise
To begin, the mortise needs to be laid out on the workpiece. In this tutorial, a 5/16-inch mortising chisel is used, along with a mortise gauge. But you’ll obviously need to use the size mortise chisel that works best for your project. You can refer to our woodworking hand tool guide for more information on these hand tools.
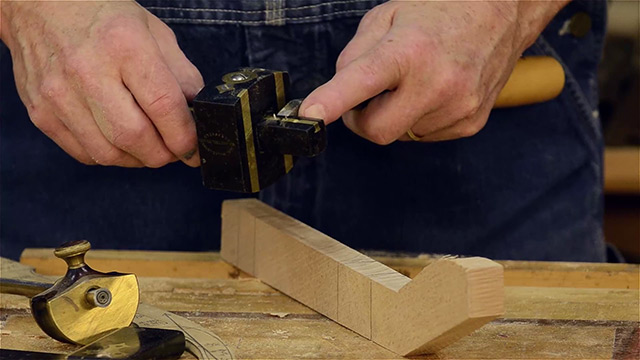
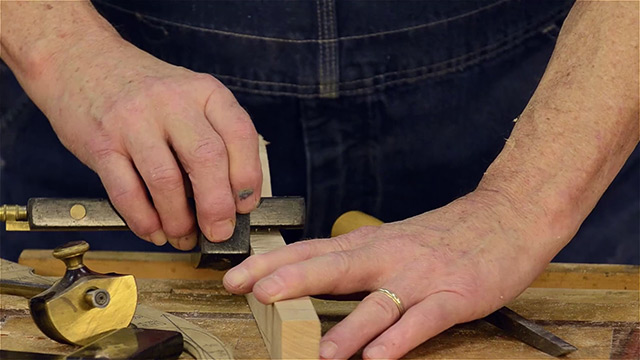
The mortise gauge’s pins are set to match the width of the chisel (see above). By referencing the reference face, the two shoulders of the mortise are scribed.
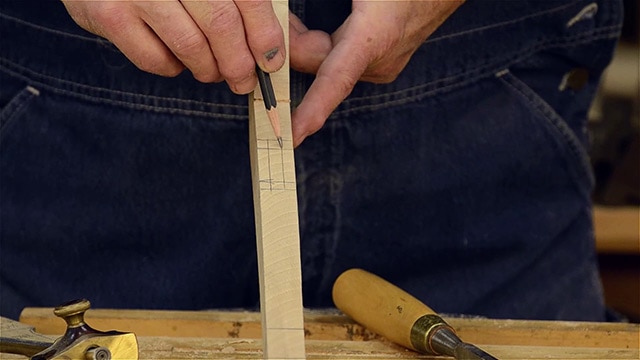
Once marked, the mortise can be penciled-in for better visibility, as seen below:
Step 2: Chop the Mortise
To ensure stability, clamp the work down so that it is positioned directly over the bench. Begin chiseling the mortise with a mortise chisel, following the same principles as with a standard, straight-walled mortise mortise. You can read my article here for a tutorial on making a traditional mortise and tenon joint.
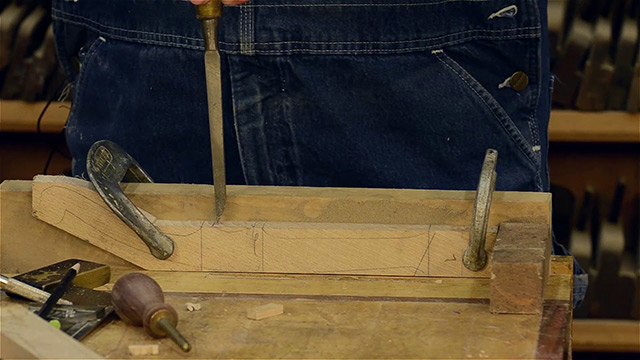
Work back and forth chopping the mortise, until a the desired depth is reached. Using a combination square set to your desired depth (in this case, three-quarters of an inch), the chopping continues with the mortise chisel until the final depth of the mortise is achieved.
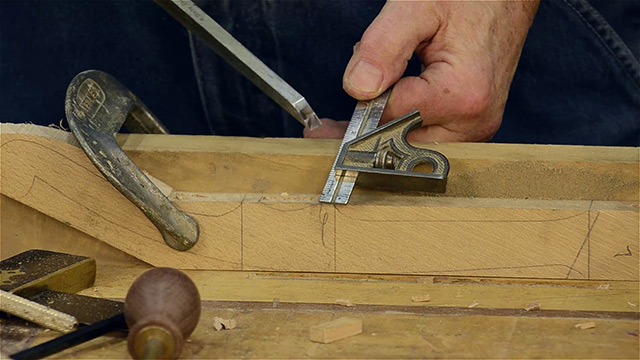
Note that at this stage, the focus is on creating the rough shape of the mortise, and the curved shoulder is not considered.
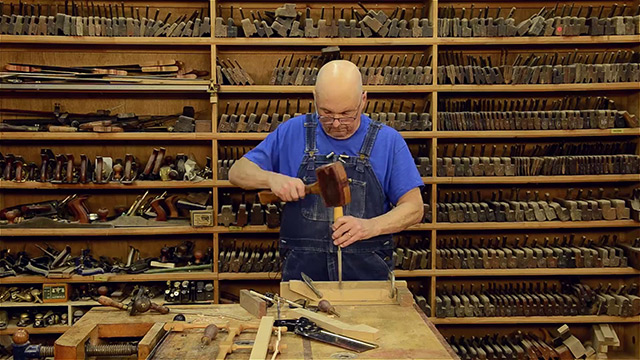
Step 3: Tenon Layout
Next, the tenon needs to be laid out. The mortise gauge setting used for the mortise is used on the tenons, to ensure consistency. The face side rule is also applied to make the tenons flush with the surface.
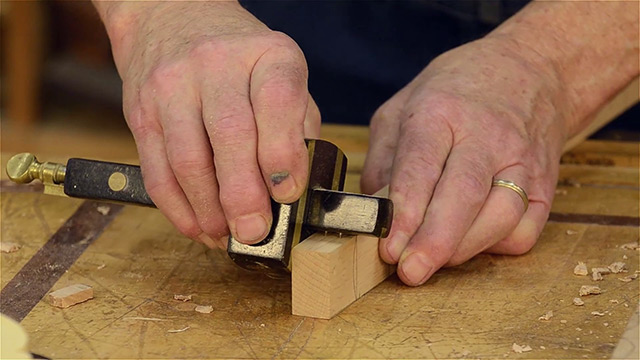
The tenon is marked by scribing from shoulder line to shoulder line, on the end of the board:
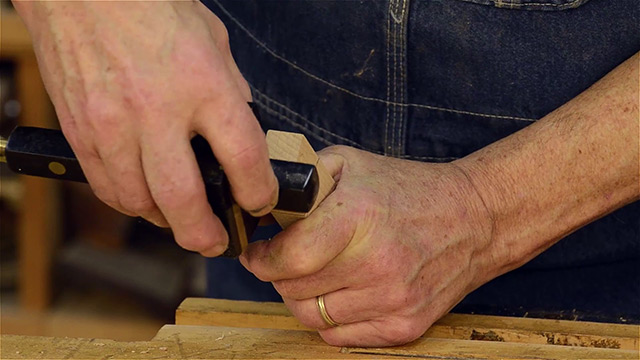
Once marked, the tenons can be sawn out using a rip cut technique. Care must be taken not to saw past the layout lines. The waste material is then knocked out, and the shoulders are cut off to form a starting point for shaping the curved shoulder.
Step 4: Sawing the Curved Tenon
To make the sawing of the tenon easier, use a chisel to make little notches, with the flat face of the chisel against the waste side, that will be removed with the dovetail saw:
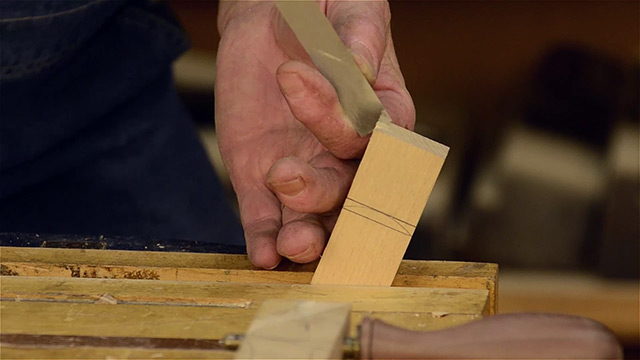
Then saw the cheeks of the tenon, being careful to keep your dovetail saw just outside the line, into the waste area:
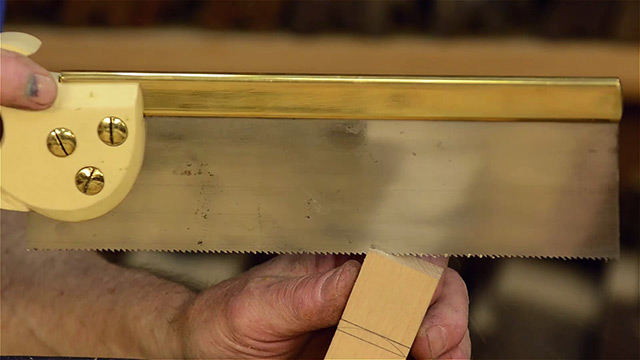
Be careful to cut down to the straight layout line, but not to the curved layout line:
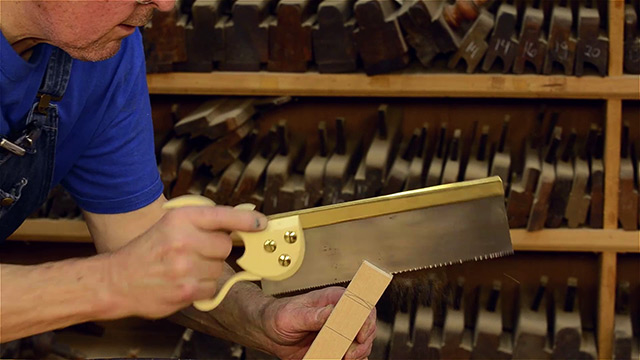
After cutting down to the straight line, tilt your tenon board, and saw carefully at an angle, using the curved line as a guide:
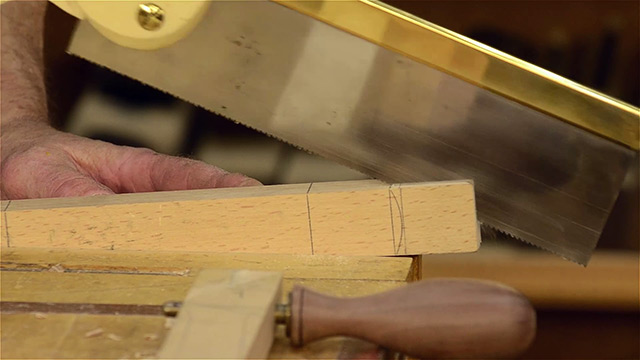
Then using a crosscut backsaw, cut on the upper layout line, which is above the curved layout line:
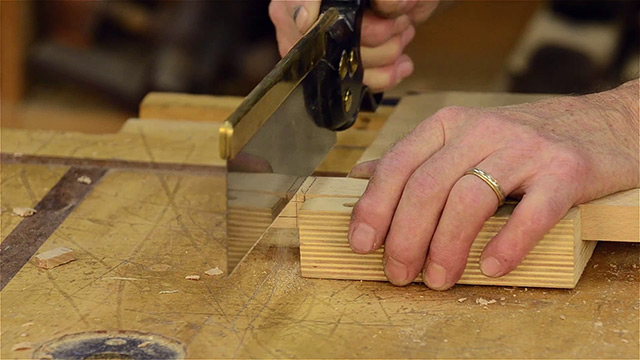
Once the cheeks are removed, use a chisel to carefully pare down to the curved layout line:
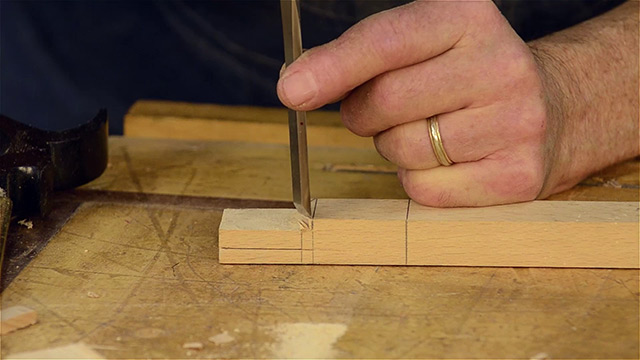
Then use pencil to draw a curve on your tenon face, and use a bench chisel to carefully pare down to that line to get your curved tenon:
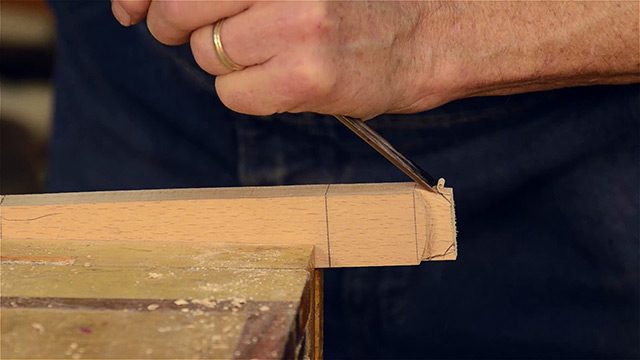
Do a visual check to ensure that your shoulders are at the same height. To ensure a proper fit, it is essential that the shoulder heights of both tenons match. This ensures the strength and stability of the mortise and tenon joint.
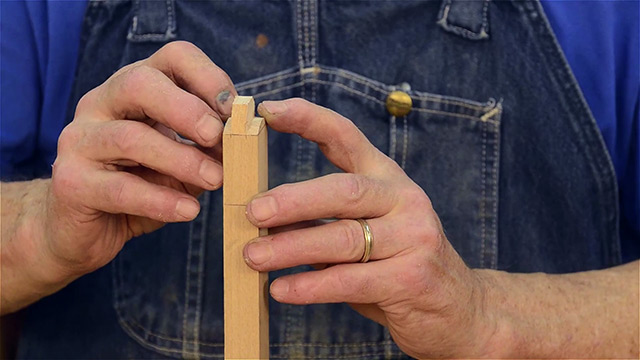
By holding the pieces up to the eye and inspecting the curve, adjustments can be made using a chisel and/or a rasp, to bring the shoulder heights to the same level.
Step 5: Shaping the Curved Mortise Shoulder
Now that the tenon shoulder is cut, it is time to shape the mortise shoulder’s curve. As you can see below, the curve is drawn on the board, but not yet shaped:
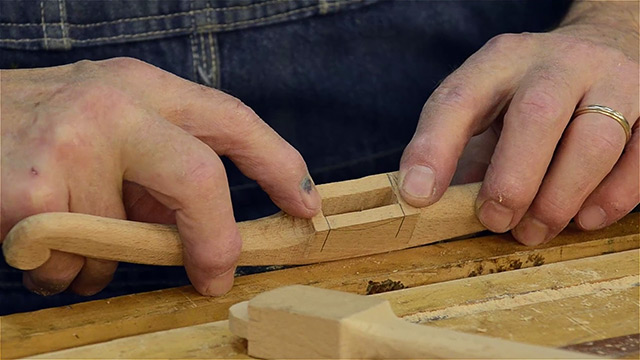
Layout lines are drawn based on the end walls of the mortise, and the shoulders are carefully rasped to achieve the desired curve. Different rasps can be used to refine the shape gradually. The curve should match the tenon’s curved shoulder, ensuring a proper fit. Using a cabinet maker’s rasp, shape the curve until the rasp comes just down to the penciled layout lines (but don’t remove the pencil lines):
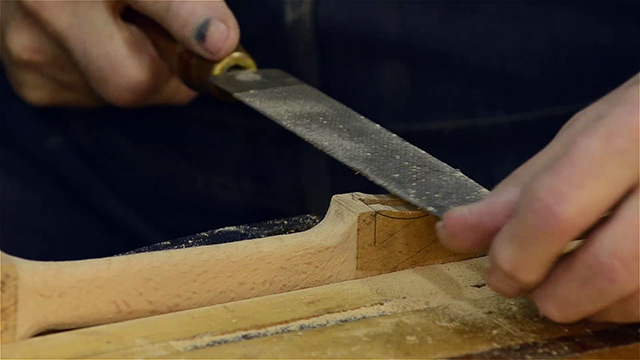
The mortise shoulder should be matched to the tenon shoulder. The final fitting is done using the actual tenon to ensure a precise match. Once the shaping is complete, the curved mortise and tenon joint can be assembled.
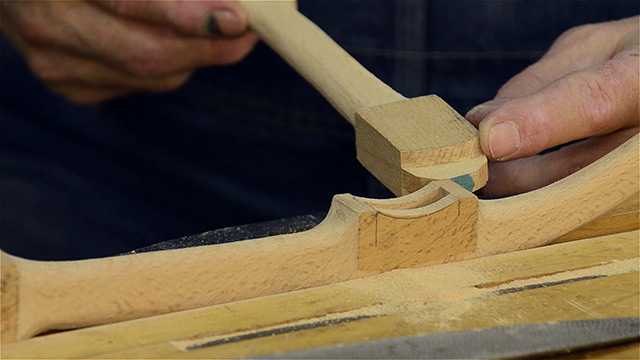
The joint should look like this when finished:
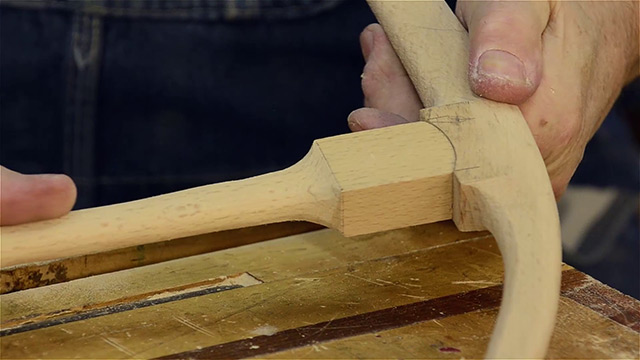
Conclusion
Creating a curved mortise and tenon joint adds a unique touch to special woodworking projects; especially to woodworking hand tools like this lovely Howarth Bow Saw!
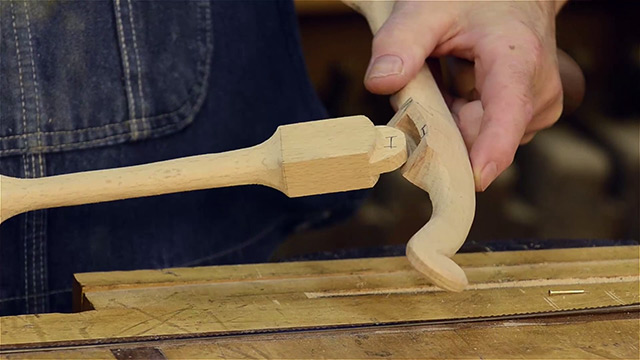
More about Bill Anderson
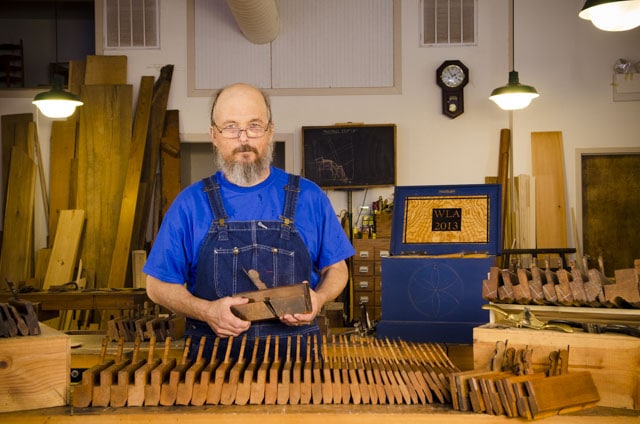
Bill Anderson is a craftsman who is skilled in the art of traditional joinery and hand too making. In addition to being a teacher at the Wood and Shop Traditional Woodworking School, Roy Underhill’s “The Woodwright’s School” and the “John C. Campbell Folk School” Bill has written numerous articles for magazines like Popular Woodworking Magazine and has three DVD’s on making, refurbishing, and using traditional hand tools (purchase here).
Bill is an active member and published contributor of the Society of American Period Furniture Makers and the Mid-West Tool Collectors Association. Bill has become a well-known expert on traditional hand planes and making hand planes. He is currently working on a book about restoring handplanes, which will be published by Lost Art Press in the near future.
Bill is a retired environmental scientist for the EPA and a lover of wilderness. In addition to his backpacking trips with his wife Dee Dee to wild places like Norway, he enjoys the quiet solitude of his mountain workshop in Chapel Hill, North Carolina. See the Wood and Shop tour of Bill’s workshop here. You can also visit Bill’s website here.


Enjoyed the video. Thank you for taking the time to create it.
Thanks for watching Bob!
I’ve watched a number of videos teaching this mortice and tenon and I’m not sure they work. In fact I’m pretty sure they can’t. The only movement they allow, to my mind, is due to the slop in the joint. I’ve drawn no end of diagrams and checked the geometry. I’d say all you need is a standard mortice and tenon with a slightly narrowed tenon. I’d be interested to hear what others think. But I have to say, it… Read more »