By Joshua Farnsworth
Figured maple is a gorgeous wood, and is perfect for bringing attention to your furniture because of the way the translucent waves reflect the light. But with a quick & easy process using aniline dyes and boiled linseed oil, you can create amazing contrast and make the figure really stand out, or “pop”.
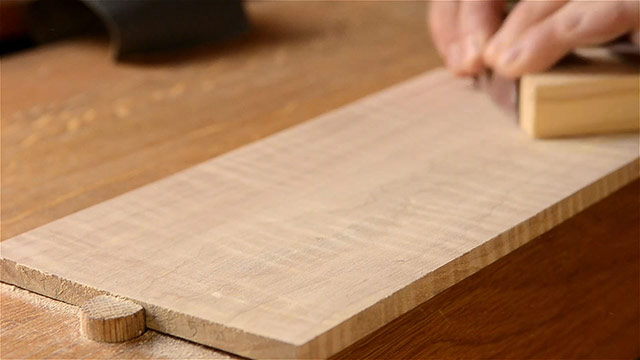
I start with a sample board, cut from the same figured maple board as the furniture I’ll be building, and sand it through the grits to 220 grit.
Get three packets of water soluble aniline dye ready:
-
- A dark brown dye or black.
- An reddish dye
- A yellow Dye
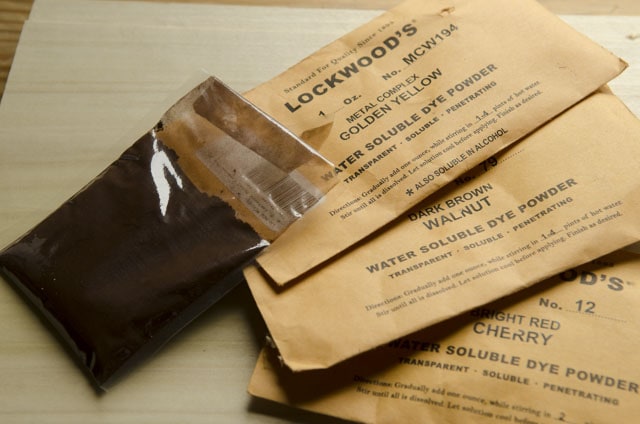
You can either buy powdered dye, or pre-mixed concentrated dye. Here are a couple brands that I’d recommend, along with other items needed below:
* Lockwood Dye Colors I used: “Golden Yellow”, “Dark Brown Walnut”, and “Bright Red Cherry”
* TransFast dyes (by Jeff Jewitt) are excellent powder dyes
* TransTint dyes (by Jeff Jewitt) are excellent concerntrate dyes
* J.E. Moser’s dyes are also excellent
* Antique Oil Finish
* Boiled Linseed Oil
Pour a little bit of hot water into three containers (distilled water if you have it). You don’t need much because of how concentrated this powder is.
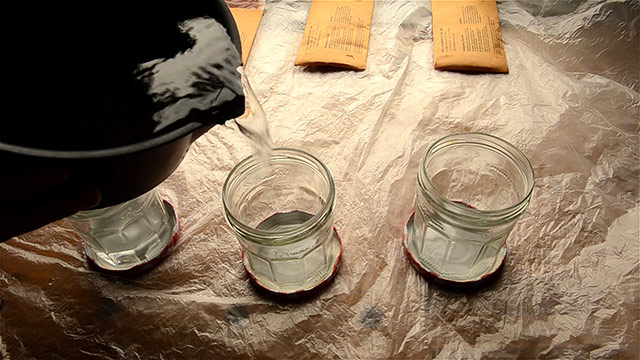
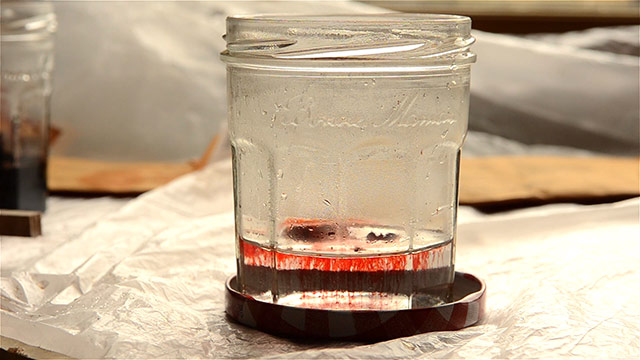
Stir each solution with a small stick from your board so you can see if the dye is strong enough. Let the dyes dissolve for 10 minutes.
Using a pad made from an old cotton t-shirt, dampen the wood with a little water, then apply the dark brown dye. The water keeps the dye from going on too strong.
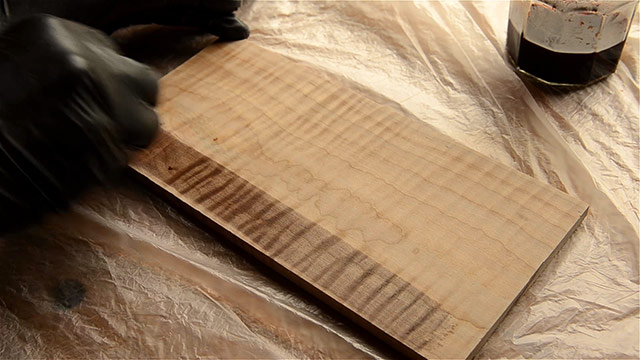
Let the dark dye dry for 15-20 minutes. It should look like this:
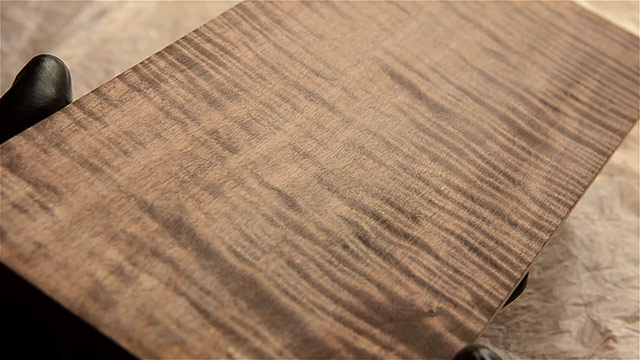
Then after it’s dry, sand the surface with 220 grit sandpaper until you can only see the dark dye in the figure:
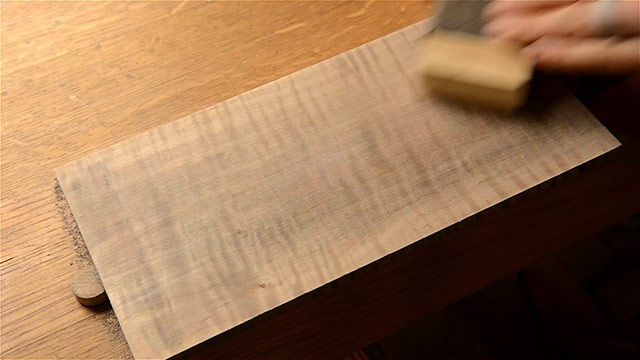
Repeat the whole process with the reddish dye (apply, dry, sand)…
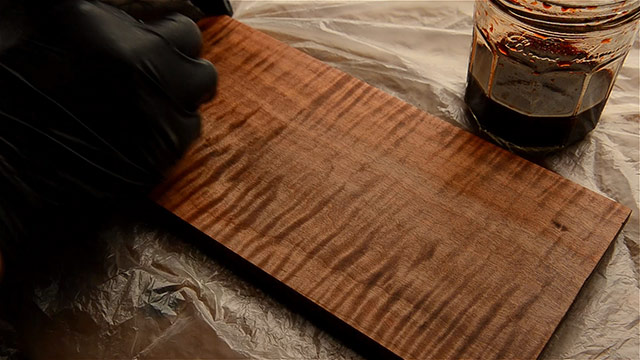
…and then again with the yellow dye. But I don’t sand again after the yellow dye.
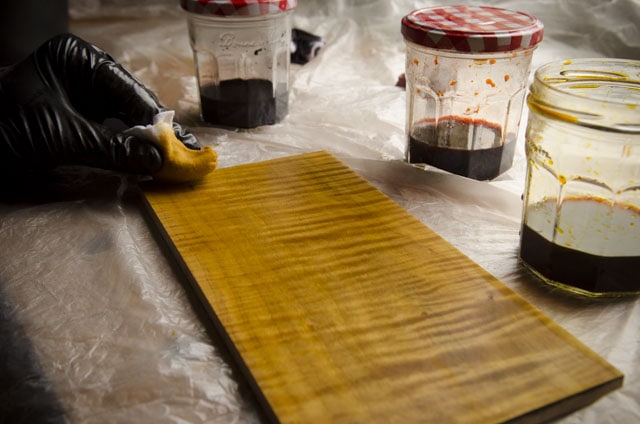
I leave the board to dry until the next day, and then use another cotton pad to rub in a small amount of boiled linseed oil. The linseed oil will add some depth to the figure.
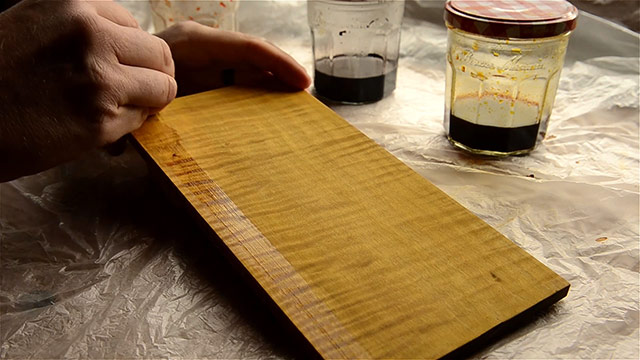
The wood looks lovely at this point, and you can see that adding the oil removes the bright yellow look:
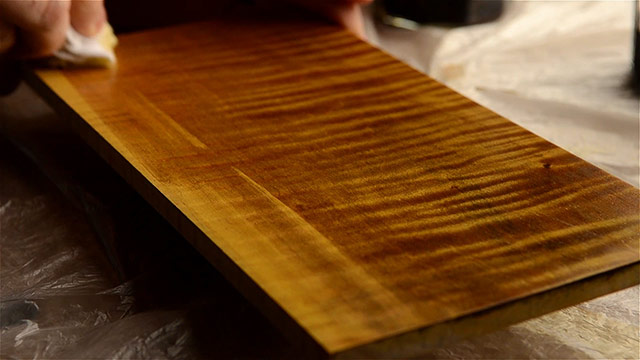
After just a couple minutes, I wipe the linseed oil off the board with a clean cotton cloth.
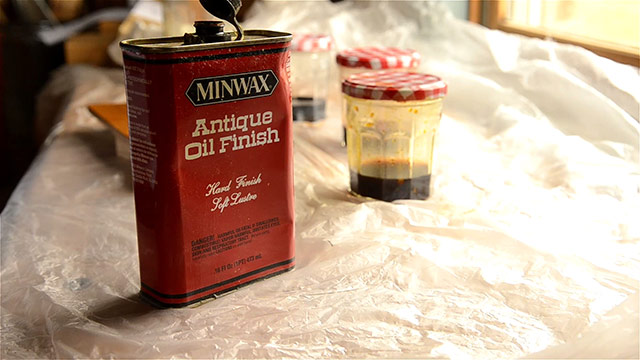
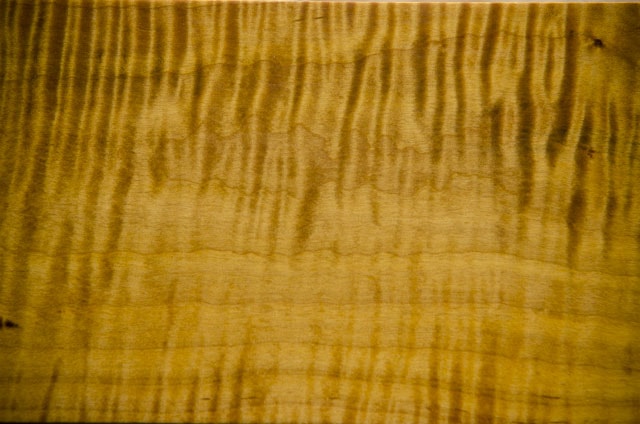
Then I apply a clear top coat. In my opinion, if you plan on applying a water-based clear top coat, then you should probably wait a couple days for the oil to dry. But if you’re using an oil-based top coat, then there’s no need to wait. As you can see here, adding a finish brings a nice wet contrast to the wood, and makes the figure pop!
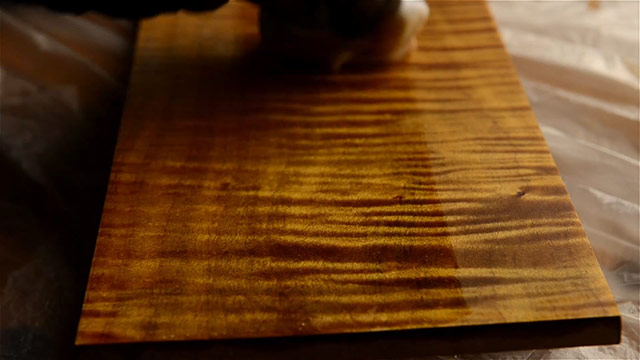
That’s all there is to it! Here are the before & after photos of my above sample board, so you can see the difference:
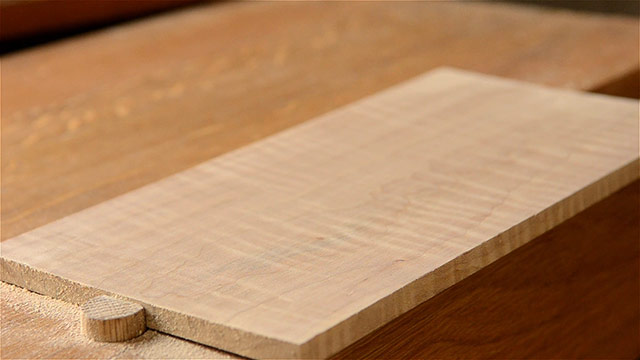
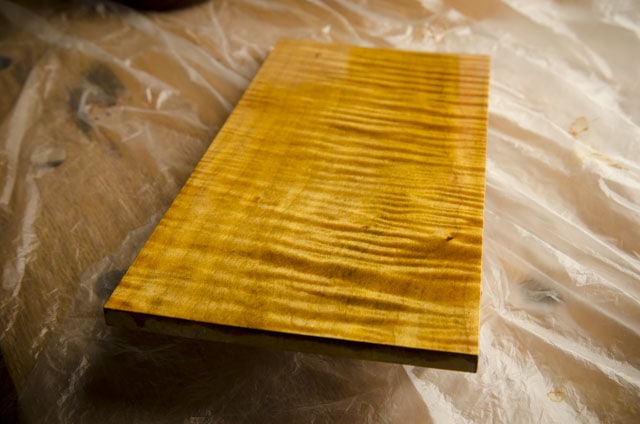
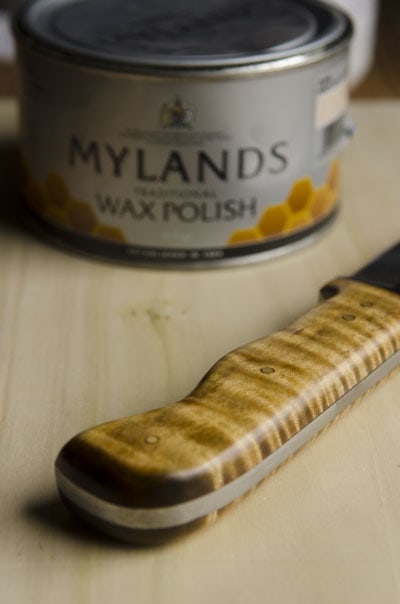
Here you can see a knife handle that I recently made with this exact process (and also polished with wax after the finish had dried):
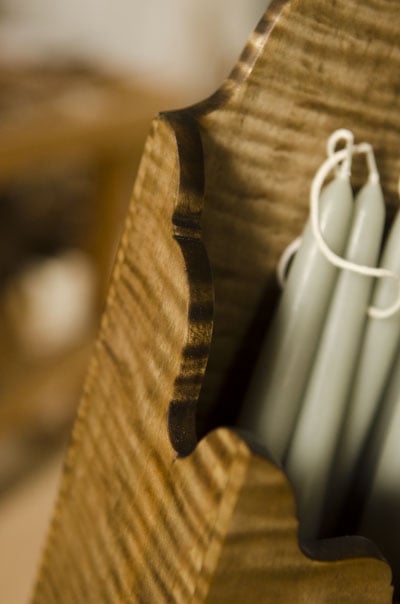
I’ve also done variations of this process, where I only used the dark brown dye, which gave me a nice figured & aged walnut look, like on this colonial pipe box I made for a client:
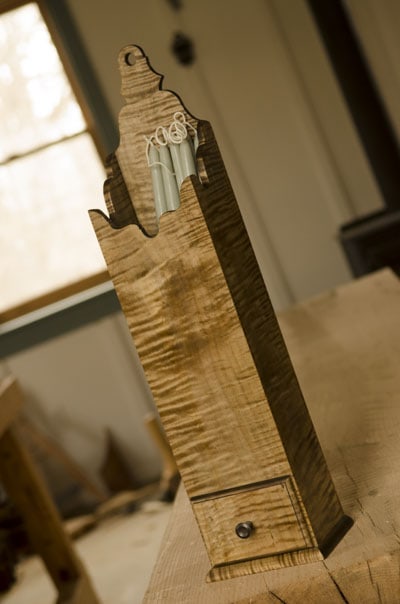
But I didn’t sand this pipe box down as much as I did in the above steps.
Please comment at the bottom of this page and let me know what you’ve tried to make the figure in your maple pop.


I’ll definitely be trying this technique and I’ll show you my results when I do. I have an instrument project in mind.
I’m wondering if the same process works equally on other woods, such as quartersawn white oak?
Yes, please post photos on the forum Ben! There are similar processes to this for quartersawn oak, but not exactly the same. You can find a few good tutorials online for qs oak finish.
Hi Joshua, Thanks for this tutorial! I’m fairly new to woodworking and just finished an edge-laminated tabletop that I’ve made for my wife for working from home. The tabletop is hard maple. Gotta say, I love the result! I went with just brown aniline dye (3 coats, with sanding), then boiled linseed oil, and finally I just added the Minwax Antique Oil Finish this evening. This will basically be used as a desktop. Do you recommend that I also add… Read more »
Nice Ron…love that figure! Yes, I always add some wax as a top coat. It helps protect it a little more and also allows me to buff the surface to a higher sheen. You can learn more here: https://woodandshop.com/woodworking-buying-guide-wood-finishes-sandpaper-card-scrapers/. I like Mylands wax polish a lot, but you’ve got to be fast with it (don’t let it sit too long before buffing), because it’s more of a professional wax that required speed.
The results look great but at what expense ? Too rich for my needs.
Then you can certainly just go with a natural look.
Hey Josh, I like what you ended up with on this and am thinking I might do something similar on a stock of curly maple. Will Tung Oil give a similar “de-yellowing” of the yellow dye as the BLO did? I’m thinking of going with a “golden oak” rather than explicit “yellow” final dye but using a nut brown walnut (dark brown, 1st pass), maybe a mahogany (reddish, 2nd pass) and then the golden oak finish pass as my dyes.
Hi Michael, I’m not too sure. As I’m not a wood finishing expert, I just have to rely on experimenting, and this isn’t something I’ve tried. Perhaps you can try and let me know back here?