By Joshua Farnsworth
In this video I show how to make wooden bench dogs for your workbench. I also show my fast & accurate method for boring benchdog holes and holdfast holes in your workbench.
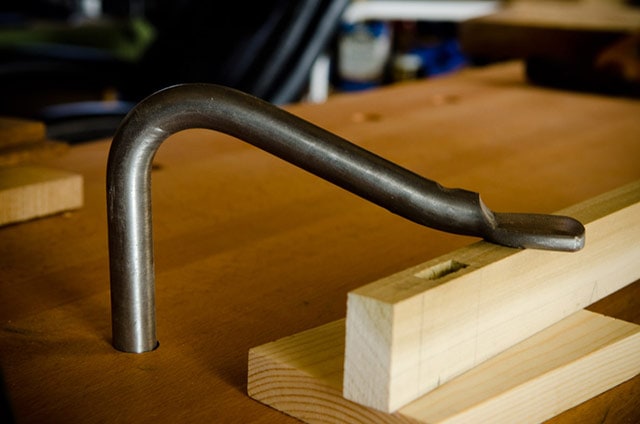
This article goes along with my popular Workbench Guide, which you can read here.
The last two videos that I published were about choosing a workbench design and choosing important workbench accessories. If you missed them, you can watch them here:
In the workbench accessories video I showed a sped up process of how I make bench dogs and bore bench dog holes, and holdfast holes, in my school’s workbenches. But I’ve been asked to give more details on my process, so here you go!
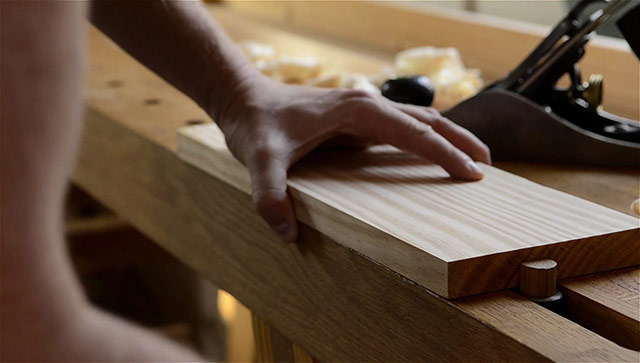
As I mentioned in the previous workbench videos, bench dogs allow you to wedge your work piece between the tail vise and the bench dogs, that sit in your bench dog holes. This is so you can stabilize the wood for handplaning and joinery.
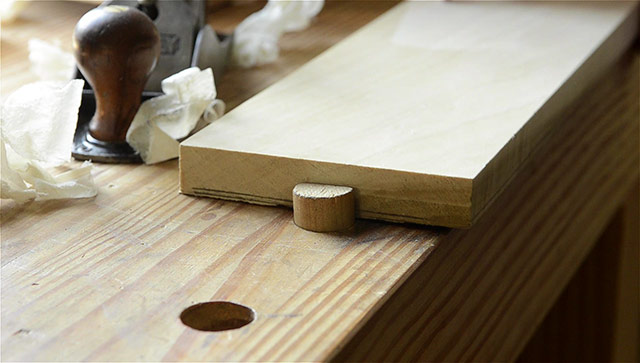
I prefer to make my own round, wooden bench dogs. Why?
- Because wooden bench dogs won’t hurt your handplane iron if you accidently forget to move the bench dog down below the board’s surface.
- Wooden bench dogs are cheaper to make than buying metal bench dogs. You just need to buy wooden dowels.
- Boring round bench dog holes in your workbench is much easier and faster than adding square bench dog holes.
So let’s talk about how I make bench dogs:
Tools Used in this Article
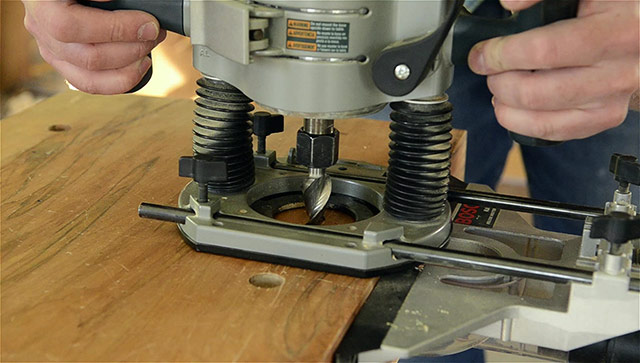
Here is a list of tools or parts that I used in this article & video:
* Lie-Nielsen Dovetail Saw: http://bit.ly/2AJSfXI
* Lie-Nielsen Carcass Saw: http://bit.ly/338abb6
* Chisels: https://woodandshop.com/woodworking-hand-tool-buying-guide-chisels/
* My Plunge router: https://amzn.to/2Wwhnfh
* My router fence: https://amzn.to/3b66zK5
* 3/4-inch Onsrud spiral upcut bit: https://amzn.to/3dytJuj
* 3/4-inch Whiteside spiral upcut bit: https://amzn.to/2WwtiJY
* My corded hammer drill: https://amzn.to/2L9gJ1G
* Spade bits: https://amzn.to/3cbz7mL
* Bullet Catches: https://www.dlawlesshardware.com/bullet-catch-no-strike.html
(Some of the above links may earn us a commission if you make a purchase. However, this does not impact our recommendations, nor does it cost you anything).
Making Wooden Bench Dogs for Your Workbench
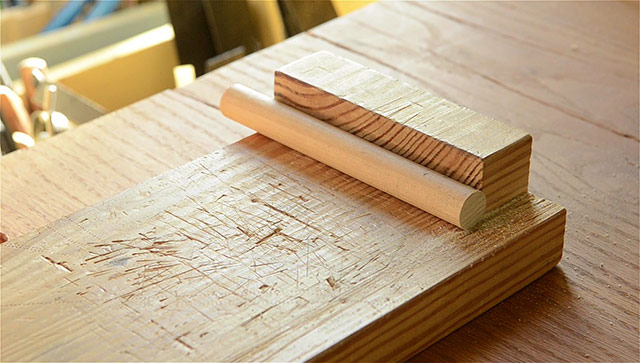
To make bench dogs I buy wooden dowels from the hardware store. I’ve used both ¾-inch oak dowels and 1-inch poplar dowels, and both wood species have worked fine. You can use anything.
First I cut the dowels to length. I’ve found that I like mine a little longer than the thickness of the workbench, so it’s easy to push the bench dog up through the hole.
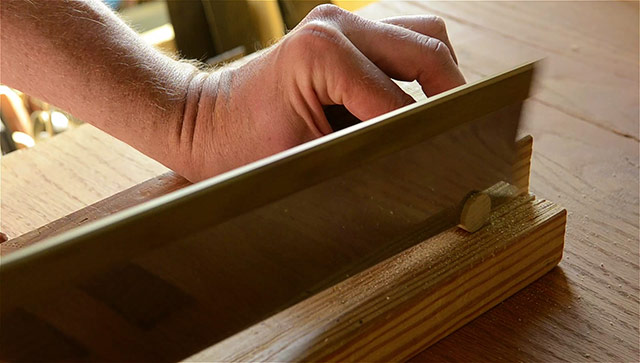
Then I use a pencil to layout the basic shape of the notch that I’ll cut out. I come down about an inch from the top. But you can make it whatever depth you want.
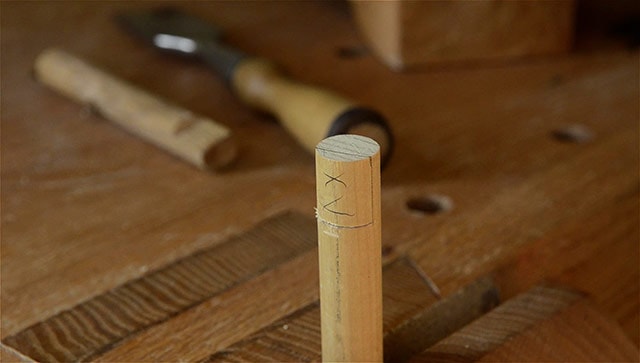
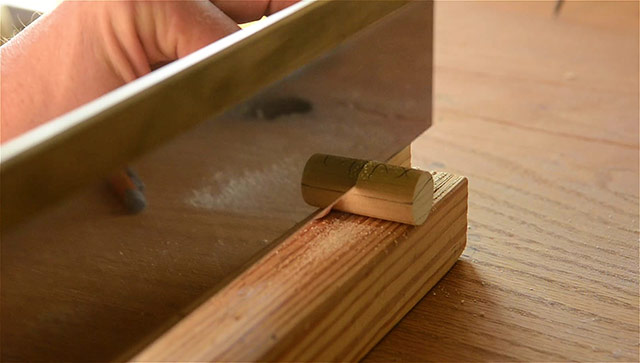
I then use a crosscut backsaw to cut across the grain down to my layout lines. A fine-toothed dovetail saw will also work.
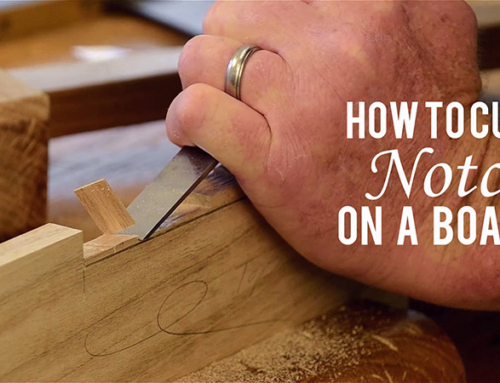
I next use a wide chisel to cut the face of the notch. I nibble off about half the wood at first, with a very light tap of the mallet on the chisel.
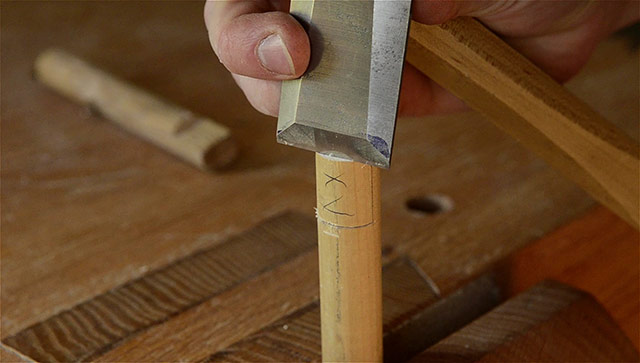
But be careful here because too much force will split the dowel very easily. I speak from experience!
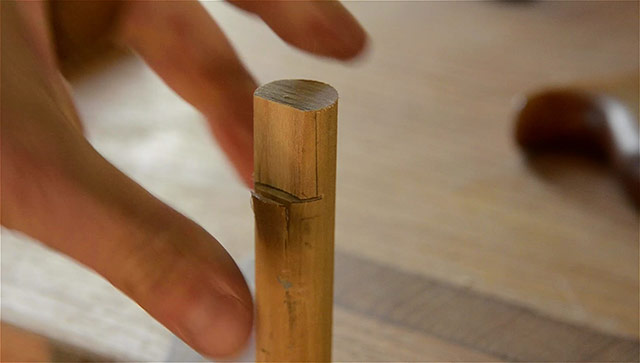
Then I work back carefully to the line that I drew. If your grain is straight, it should split nicely.
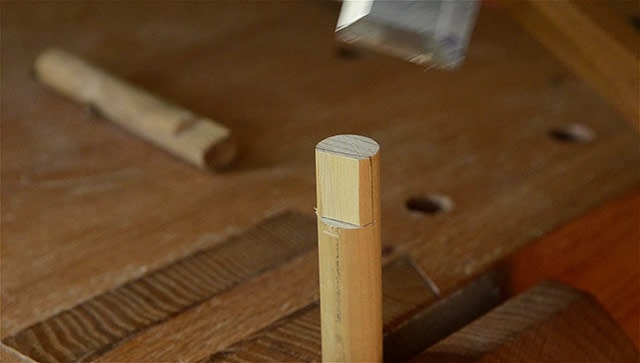
Then I just use the chisel to pare back to the line, and create a flat & smooth surface.
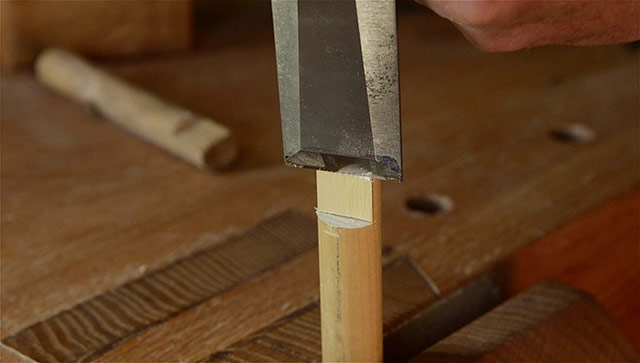
Of course, there’s no reason to spend too much time on this, as it’s just a bench dog, not a piece of furniture.
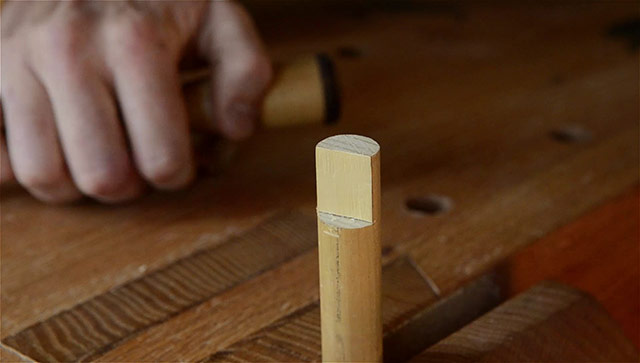
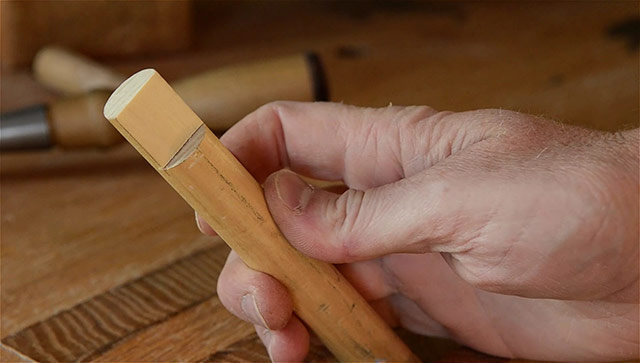
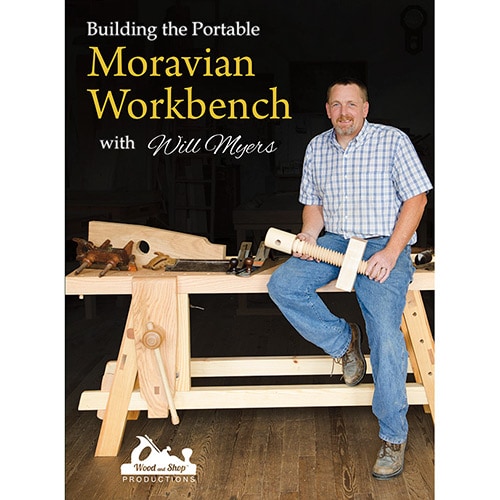
And I’ve got a couple of couple custom bench dog tricks that I learned from my friend Will Myers, when we made the video on building the Moravian workbench (buy the video here):
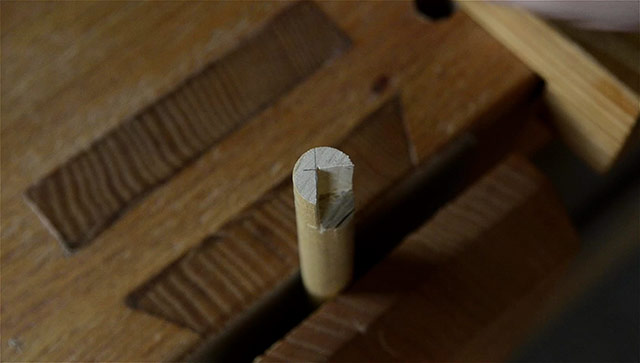
The first trick is to add a triangular notch on the other end of a bench dog, for the times when I have an odd shaped piece of wood that I need to hold on the workbench.
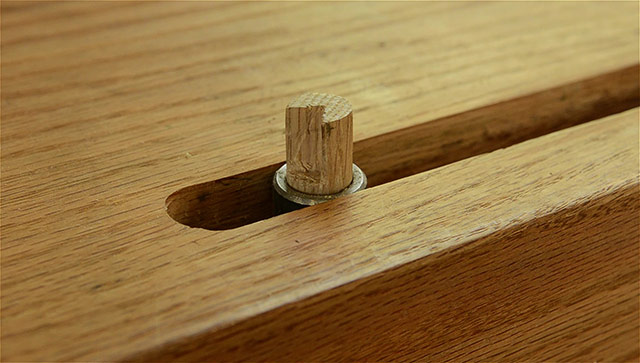
To do this I do the same thing as above, but then layout a triangle. I then use a dovetail saw to cut at an angle along the top lines and the sides of the dowel at the same time.
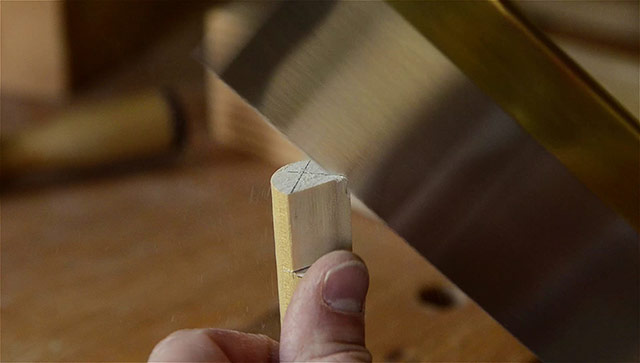
Then I use a small chisel to remove the waste and clean up the dowel.
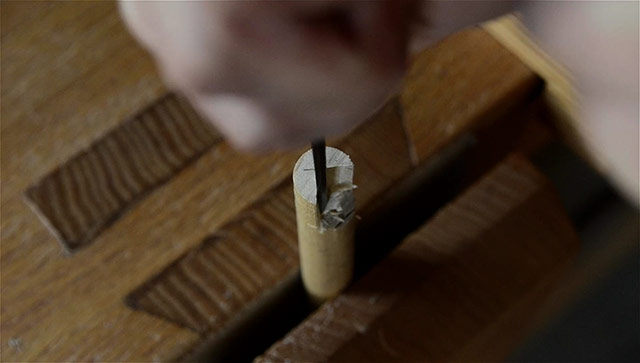
You may be able to get yours a little more geometric than mine!
The second trick is used to prevent the bench dog from falling through the dog hole.
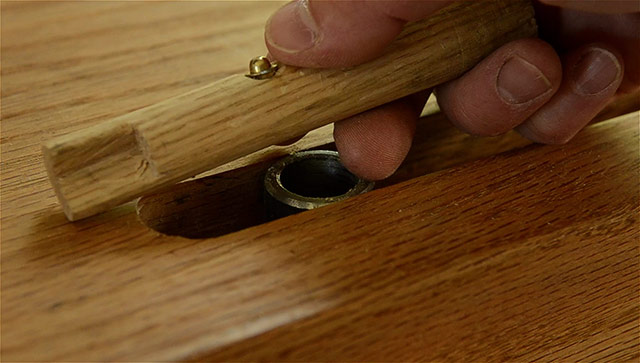
I bore a little hole in the side of the bench dog, and epoxy a small bullet cabinet door catch inside the hole. I use a carving gouge to put a little valley so the bullet catch doesn’t sit too proud. I couldn’t find these brass bullet catches in any stores where I live, but I eventually tracked them down online, here.
Making Bench Dog Holes & Holdfast Holes in your Workbench Top
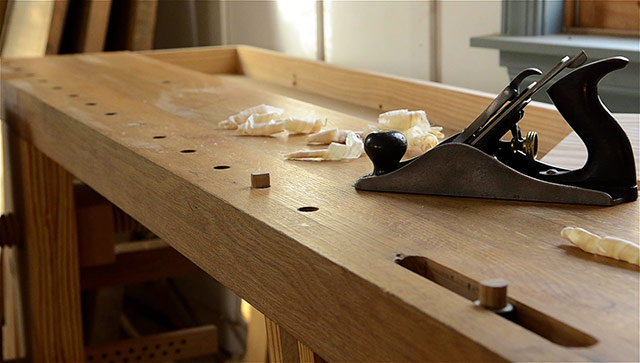
Now I’ll move onto making bench dog holes and holdfast holes. I have a pretty quick and easy method, so let’s get started!
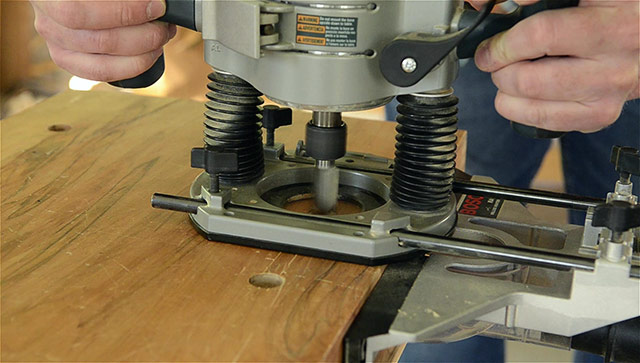
To make a lot of consistently-sized bench dog holes, I setup a plunge router with an adjustable fence. The fence allows me to add the bench dog holes at a perfectly consistent distance from the edge of the workbench. It also stabilizes the plunge router.

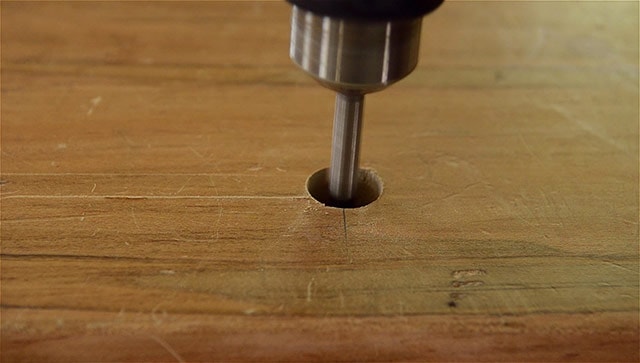
I plunge as deep as I can with a ¾-inch or a1-inch spiral up-cut bit. This setup makes it super easy to just move down the bench as I plunge. The only marks I have to make are the spacing between the bench dog holes.
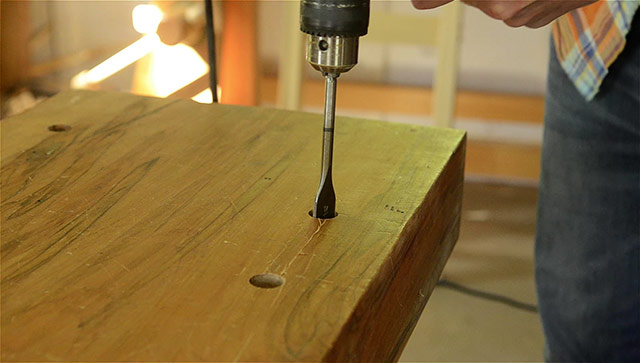
Then I finish boring the hole with a spade bit. I prefer to use a powerful chorded drill, so I don’t burn up the motor on my battery-powered drill.
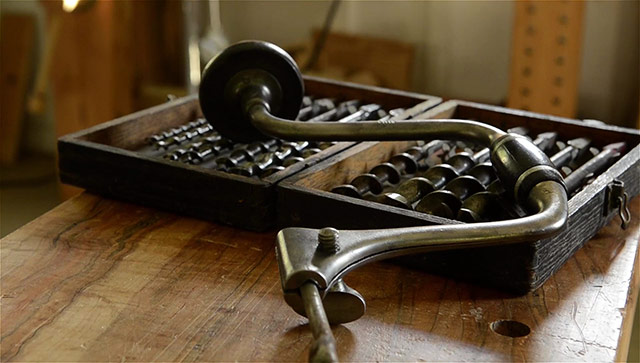
Also, you can certainly do this with a brace and bit, but just be prepared for it to take a lot longer, and maybe have holes that aren’t as tight due to movement while you’re boring the holes.
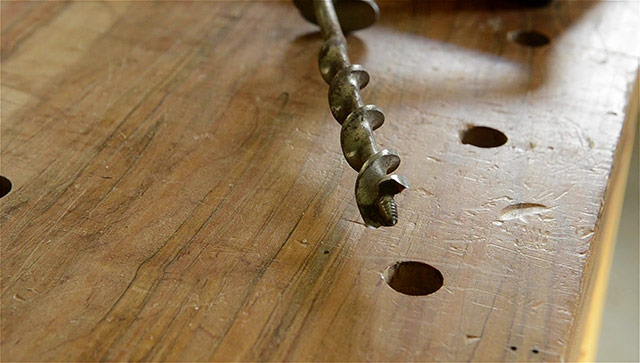
As I’m boring the holes with my drill, I watch or feel carefully for the tip of the spade bit (or the lead screw of the auger bit) to come through the bottom of the workbench. Having a friend watch for you is an even better idea.
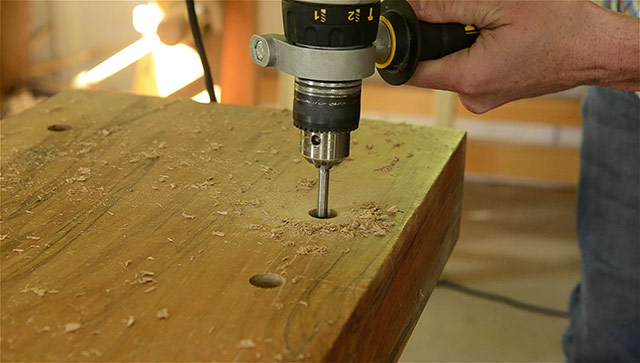
I just stop every once in awhile to look, or to feel with my hand to see if the tip of the bit has emerged from the bottom of the workbench top.

As soon as the tip starts coming through the workbench top I stop boring the hole. Then after I’ve gotten all the bench dog holes to this point I flip the workbench top over, and I start boring back through the little hole.
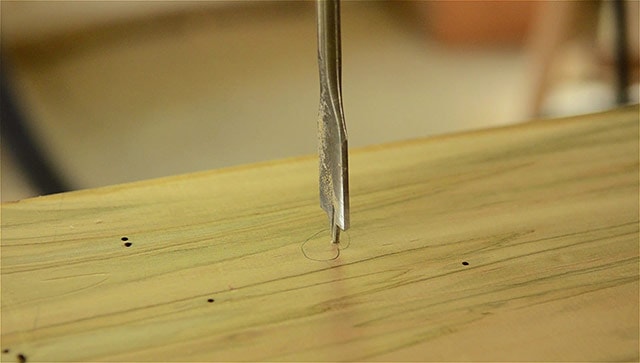
This prevents ugly blow-out, and gives a nice, clean bench dog hole:
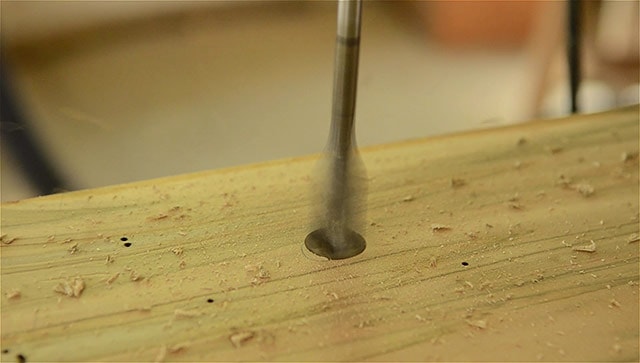
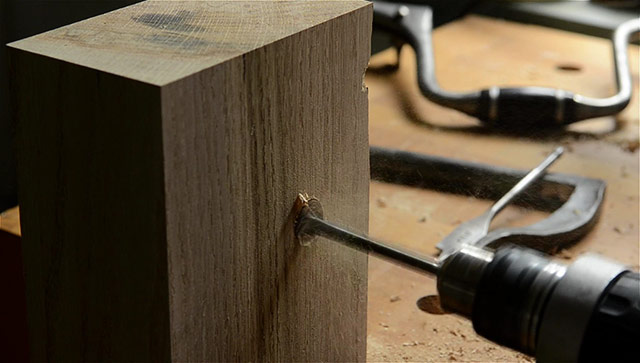
And holdfast holes are made in just about the same way (as you can see on the demo piece below), except I usually use a slightly larger spade bit when coming back through the bottom.
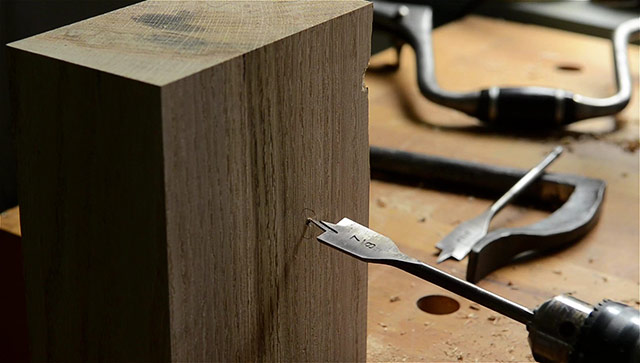
And I bore up an inch or two through the bottom of the workbench top.
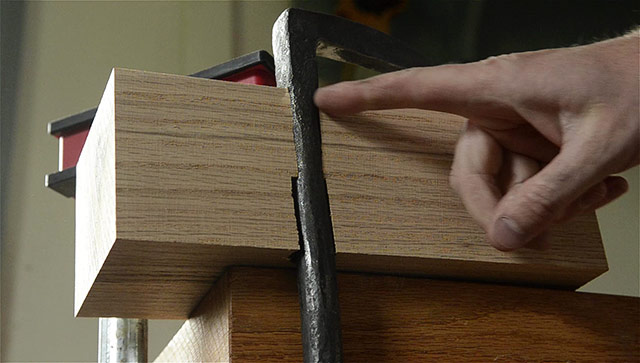
As you can see from the photo below, the larger hole (bottom half of the wood) helps the holdfast have more room to wedge itself. Also, you can bore a holdfast hole just about anywhere in the workbench top. I bore multiple holes on my workbench tops.
Also, just a side note. I don’t like to use my holdfasts in the benchdog holes. I’ve found that it tends to stretch the dog holes out over time, so the bench dogs won’t fit very well.
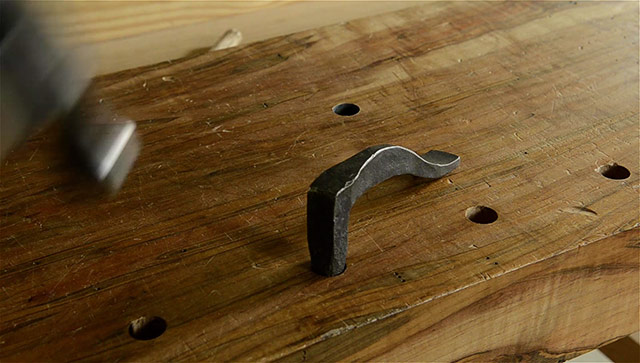
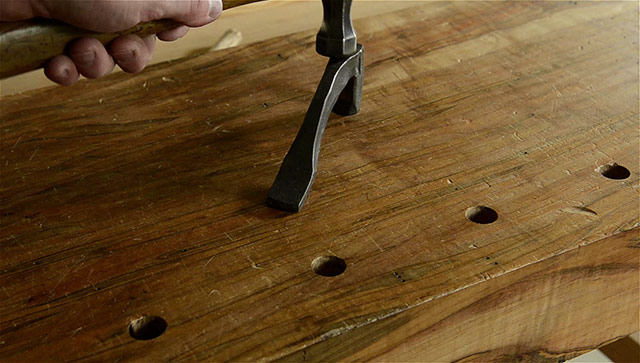
I bore holes especially for the holdfasts, as you can see below:
Conclusion
I hope this video and article has been helpful to you, and saves you some time and money. And as always, if you have any questions, be sure to ask below in the comments section. And make sure to subscribe to my free newsletter (subscribe here), because I’ll send you an email when I release my videos & articles. In my next video I’ll be talking about the different marking & measuring tools you need for traditional woodworking, like Try squares, marking gauges, dividers, and much more.
And below you can find links to all my tool buyer’s guides:
TOOL GUIDE SHORTCUTS:

HAND TOOL BUYER’S GUIDES
- Intro to Buying Woodworking Hand Tools
- Workbench & Tool Storage
- Layout, Marking, & Measuring Tools
- Handplanes
- Handsaws
- Chisels
- Sharpening & Honing Supplies
- Mallets & Hammers
- Hand Drills, Braces, & Bits
- Tools for Curved Work
- Tools for Green Woodworking
- Woodworking Clamps, Gluing & Fasteners
- Tools for Wood Carving
- Products for Wood Finishing, Sanding & Scraping
- Wood Turning Tools & Lathes





Thanks simple and to the point. new to woodworking this will help
Glad it helped Erich!
I’m building the Moravian bench and I shortened the length by 6 inches. I should shorten the long rails and shoulders by that 6 inch’s
Correct?
Hmmm, not sure if the math works like that. You should find someone who is really good at geometry to answer that question.