How to Split a Log for Amazing Lumber
Split a Log This Way To Get The Best Lumber
![]() By Joshua Farnsworth | Published 14 June, 2023
By Joshua Farnsworth | Published 14 June, 2023
How to Split a Log for Amazing Lumber
![]() By Joshua Farnsworth | Published 14 June, 2023
By Joshua Farnsworth | Published 14 June, 2023
Intro: How to Split a Log
In the above video with Elia Bizzari, and in this following article, you’ll learn how to split a log to get the best possible lumber. Here you can watch another video where Elia shows how to select the best log from a log yard. Lumber extracted from a log with a wood splitting wedge is called “riven” wood. The main reason to split a log to get riven wood is to get lumber that is stable and beautiful. Splitting wood for lumber is also fun and great exercise.
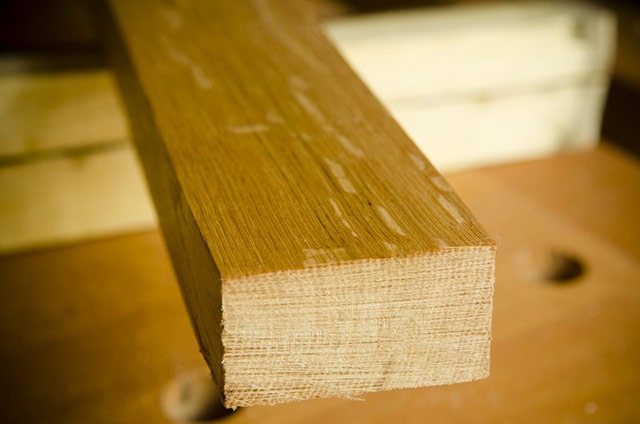
As you can see in the photo above, riven lumber has vertical end grain, which means the board will be as stable as possible. The oak board above also has lovely ray flecks, which are strongest in riven lumber. Similar lumber can be extracted through quarter sawing a log, but riven boards tend to have more stability and figure than quarter sawn boards.
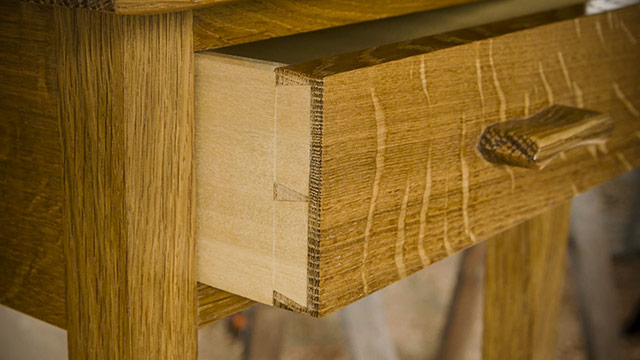
You can learn more in my article: “How To Buy Wood Lumber For Woodworking“. But below you’ll learn how to split a log into quarters so you can then rive lumber for your high-quality furniture projects.
Tools required to split a log
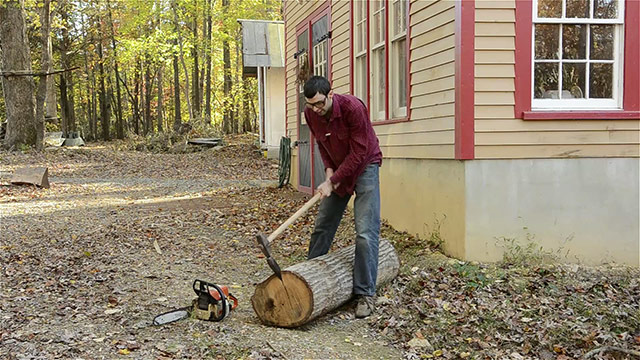
Not a lot of tools are required to split a log, so you don’t have to spend a lot of money to get great riven lumber. Here are the tools that I use:
- 2-3 wood splitting wedges: It’s good to have at least one good metal wood splitting wedge. For splitting logs, I (Joshua) personally use one metal wedge and homemade dogwood wedges as my other wedges. I like the thickness of the hard, wood wedges for expanding the cracks. Here are some good metal wood splitting wedges to compare.
- Sledge hammer: Pretty much any 8+ pound sledge hammer with a long handle will work. Here are some to consider.
- Cant hook (optional): A cant hook is a lever with an adjustable hook that helps move logs easily. I move a lot of logs in the woods behind my shop, so a cant hook is a necessary tool for me. But if you’re just doing one log, then you may not need a cant hook. You can find antique cant hooks, but I use this high-quality 60-inch aluminum cant hook. I’ve easily moved a lot of logs with it, as have my teenage sons.
- Chainsaw or Axe: An axe is more than suitable for clearing the cross fibers when you split a log. Although an axe will require more sweat than a chainsaw. Most any chainsaw will work, though this is the chainsaw that I’ve been using for years. I prefer my Echo chainsaw because it runs strong, and it seems to have fewer plastic parts than other brands I’ve used (Stihl and Husqvarna). The Echo CS-590 is Echo’s top consumer model, but they include the same engines as their professional chainsaws. That’s what sold me.
- Safety glasses: Never split a log without safety glasses, as metal flakes can fly up from your wood splitting wedge or sledge hammer, and hit your eyes. Most any impact resistant safety glasses will work, but I use these safety glasses (my favorite) and these safety glasses (in our school).
- Hearing protection: Although not as vital as safety glasses, hearing protection is still quite important, as the piercing sound of the metal sledge hammer hitting the metal wedges is very loud. Most ear plugs or ear muffs should work fine. But these orange Howard Leight shooting earplugs are my favorite, because I keep them around my neck for splitting a log, woodworking, carpentry, shooting, and even drumming!
- Large wooden mallet (optional): If you use wooden splitting wedges (like my dogwood wedges) it’s a good idea to make a large wooden mallet to strike the wedges with, as a metal sledge hammer would destroy the wedges pretty quickly.
8 Steps to Split a Log
Below are the eight steps to split a log to get amazing lumber:
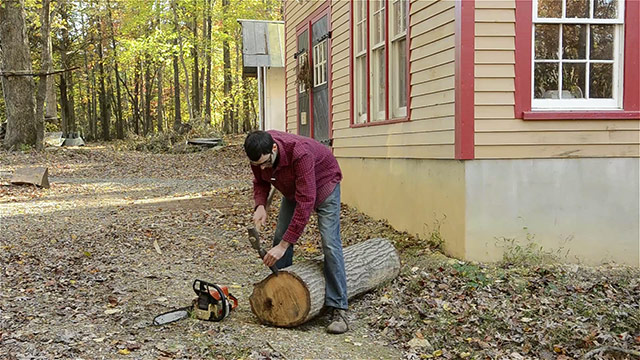
1. Start to split a log
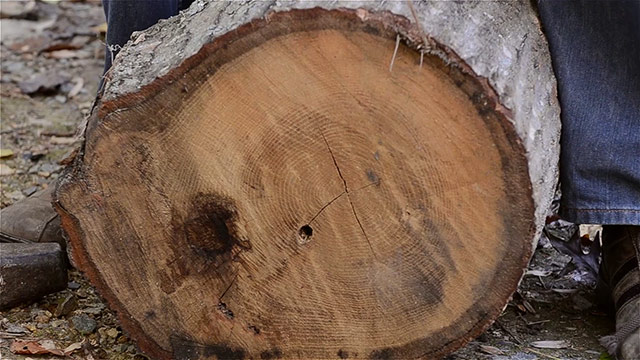
Look for an existing crack to start a split. If there are no cracks, then just pick a spot on the log. If there is a crack (as in the photo above), then just follow the crack up the ray plane to the edge of the log.
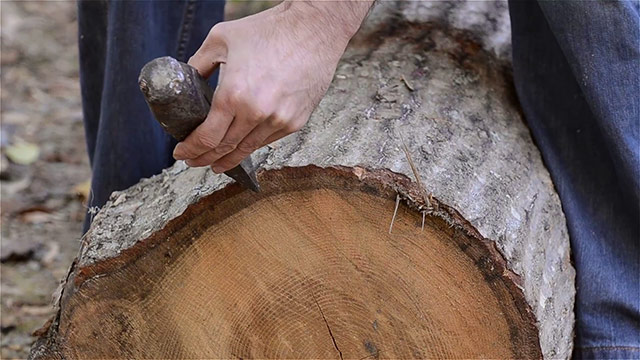
It’s easier to start to split a log by placing the metal wood splitting wedge at an angle, on the edge of the bark, than it is to place the wood splitting wedge flat on the face of the log. The starting splits should always be done with a metal wedge, not a wooden wedge.
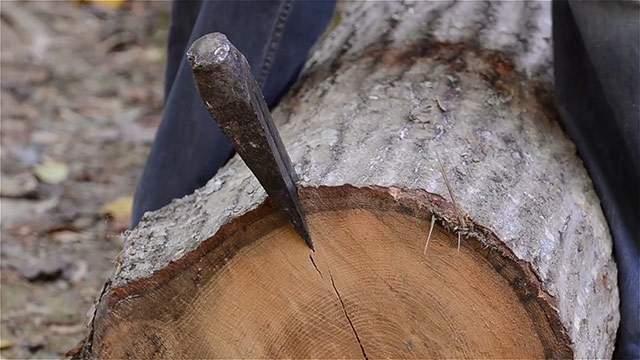
Straddle the log with your feet, hold onto the wood splitting wedge with one hand and tap it with the sledge hammer until the wedge stays in place.

Once the wood splitting wedge is holding into the log on it’s own, use both hands to take full swings with the sledge hammer. If the wedge won’t drive into the log, then try rubbing it in the dirt to get some grit on the metal. Sometimes this helps to get the wood splitting wedge to hold in the log. If that doesn’t help, then you may need to consider a different metal wood splitting wedge, that has a better bevel angle. I’ve tried some wedges that work better than others.
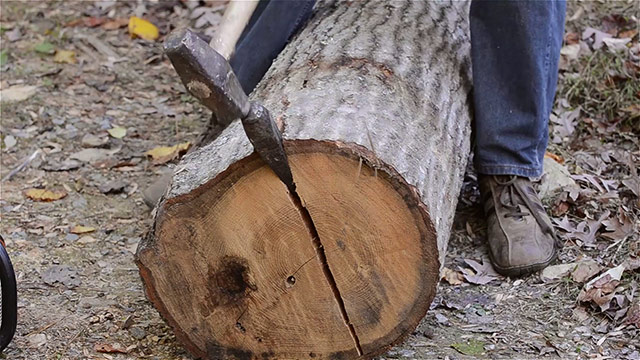
If your wedge is holding, then keep driving the sledge hammer above your head and bring it down with force on the wood splitting wedge until the crack spans the whole face of the log. Be very careful to not hit your legs.
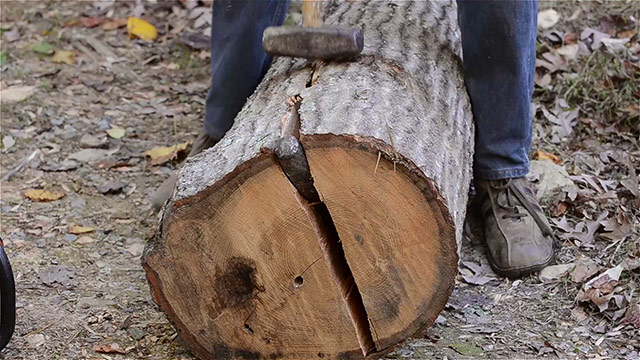
Keep striking the metal wedge until it gets buried in the log. At this point the face crack should be well-established, and cracks should also be forming along the length of the bark. If you’re lucky, the crack may extend the whole length of the log at this stage.
2. Split the length of the log
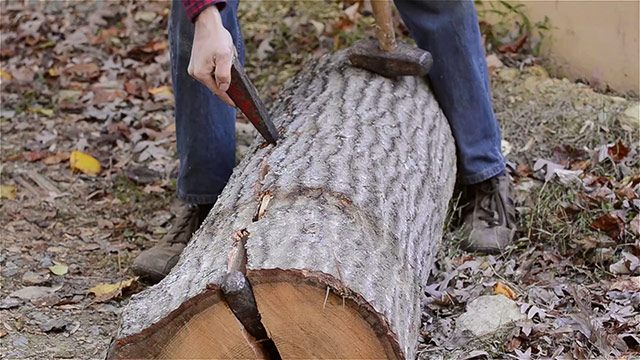
At this point place another metal wood splitting wedge into the crack on the bark face, and repeat the same process to further open the crack.
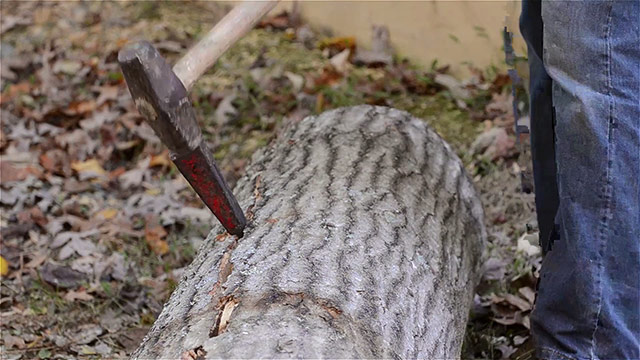
Again, stop striking the wedge when it has gone below the surface of the bark.
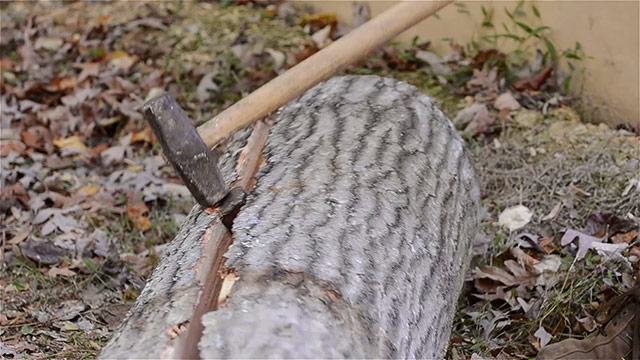
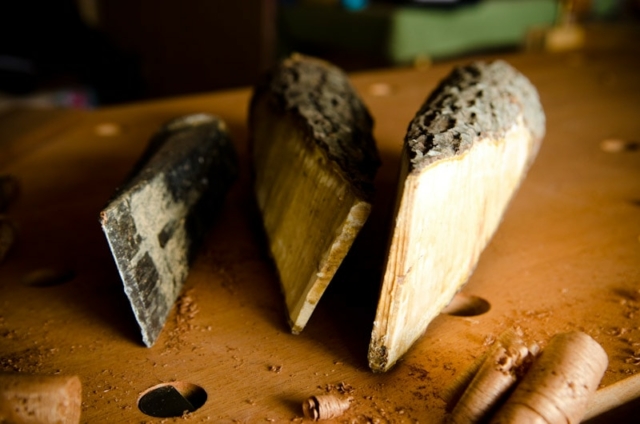
The split should be quite wide at this point. If not, you can use a third wedge. I (Joshua) personally like to use homemade wooden wedges for widening the split on the side of the log. They are free, they won’t hurt your chainsaw or axe, and they are usually thicker than a metal wedge, which makes the log split open faster.
3. Break up the log cross fibers
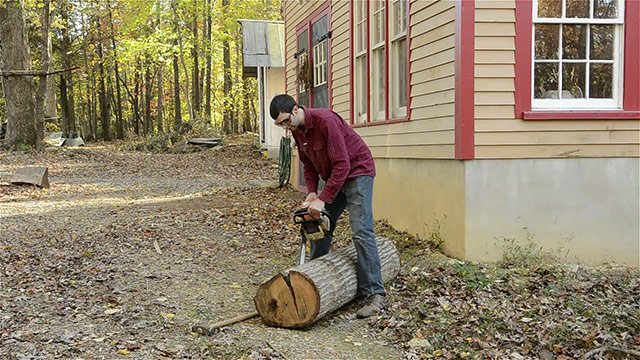
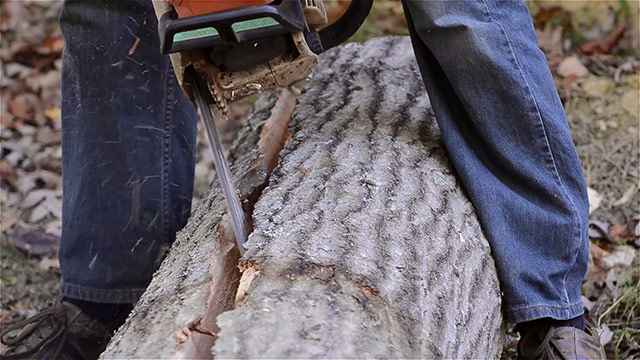
After you’ve split a log with wedges, you’ll notice cross fibers preventing the split from opening up fully, so this is where you can use a chainsaw or axe to break up those wood fibers. Be extremely cautious to not hit the metal wedges with the chainsaw or axe. Also be sure you know how to safely use a chainsaw or axe before attempting this step. My dad split open his shin with an axe when he was a teenager working in Yellowstone in 1950. He’s now 88 years old, and he still has an ugly scar.
4. Remove the wedges
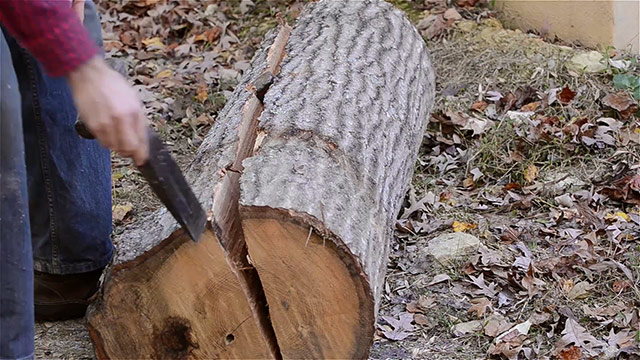
Before rolling the log over to work on the other side split, remove all wedges except for one (preferably in the middle of the log). If the wedges don’t come out easily, then hit them at an angle with the sledge hammer to try and dislodge them.
5. Roll the log over
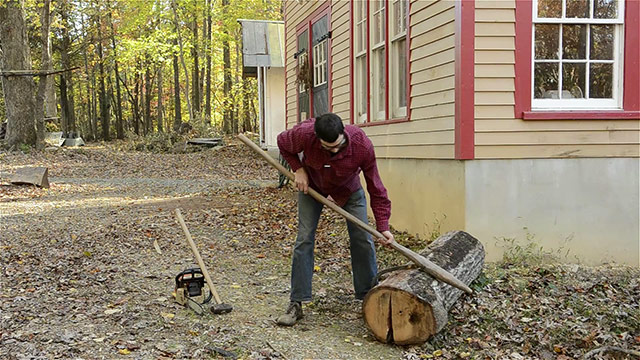
Using a cant hook, roll the log over so that the first split faces the ground. If you don’t have a cant hook, then use your foot or hands to roll the log over. Keep in mind that a cant hook can help prevent injuring your back.
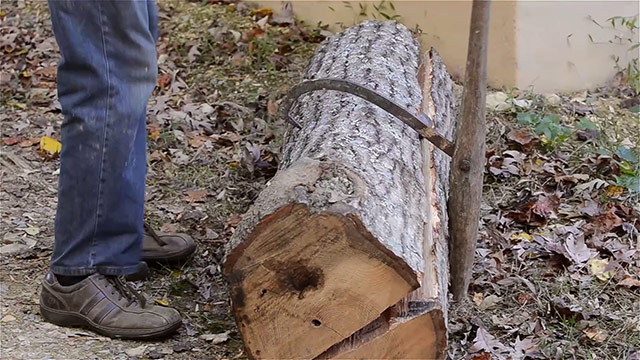
Elia uses an antique wood-handled cant hook. These can be hard to find. This is the new aluminum cant hook that I (and my sons) use to move logs in my forest.
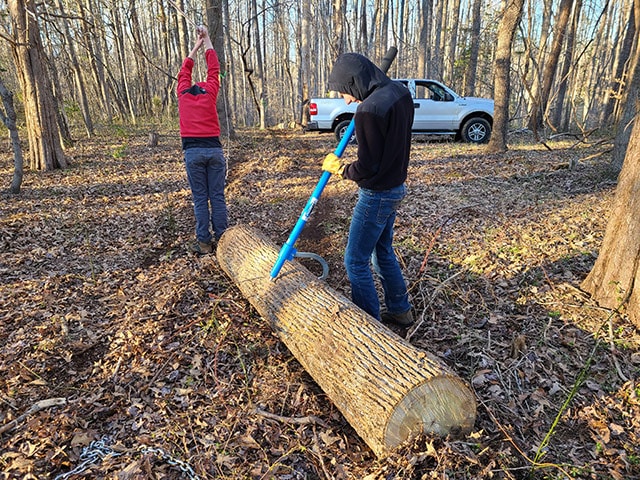
My 12 year old son is always amazed at how he can easily roll a 1,000 pound log by himself using a cant hook!
6. Split the opposite side of the log
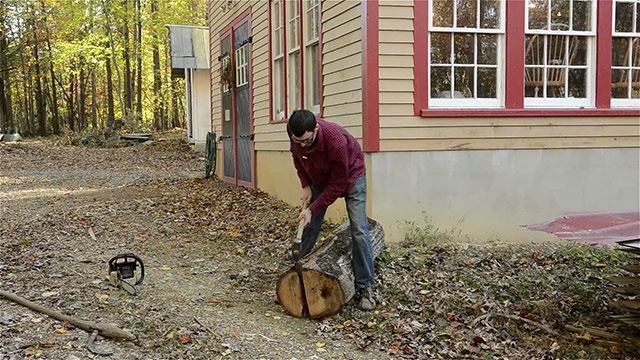
On this second side of the log, you will repeat the previous steps, by starting the metal wood splitting wedge into the edge of the log, hitting it with the sledge hammer until the wedge is buried into the log, and opening the center of the log crack with another log splitter wedge.
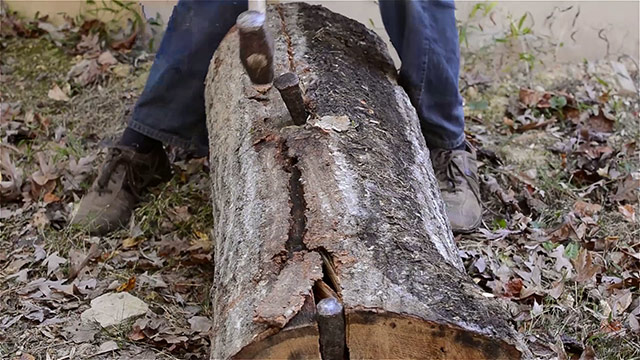
The log will pretty much be split at this point, so remove the wedge that’s in the face of the log, and like before, use a chainsaw or axe to sever the clinging wood cross fibers.
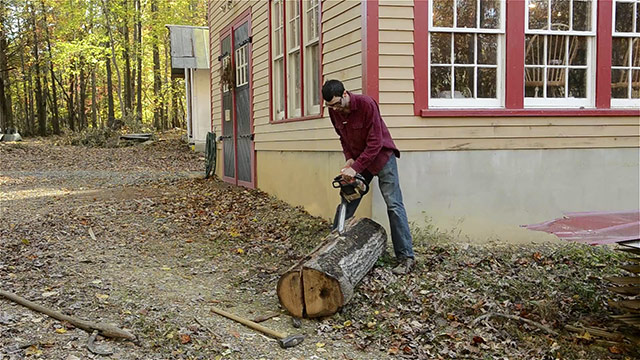
Again, before using the chainsaw or axe, make note of where all the wedges are buried in the log, on both sides of the log.
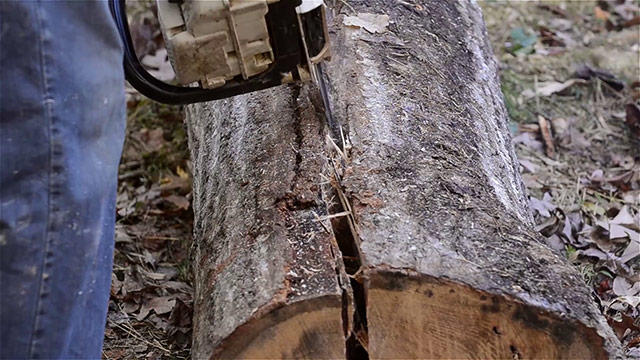
After severing the wood cross fibers, the two halves of the log should fall apart. You have now successfully split a log!
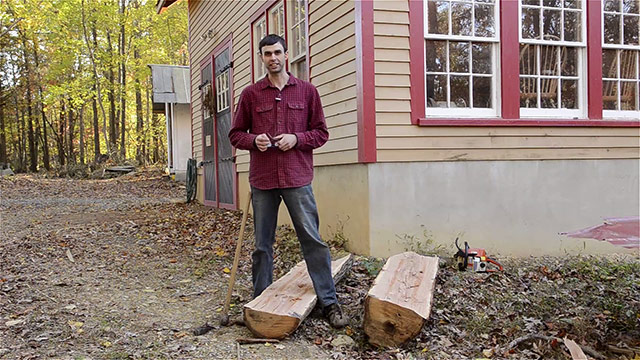
This is the time to inspect the freshly exposed wood, and look for knots and other defects that you may want to work around.
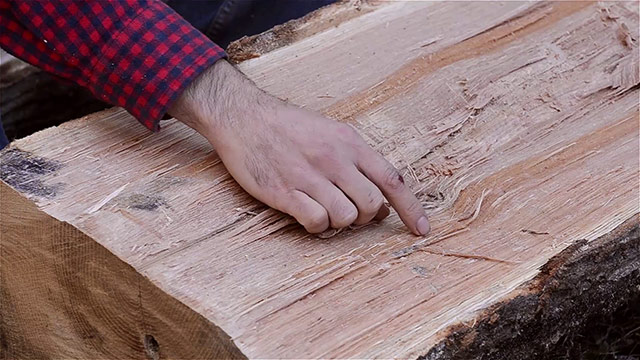
7. Quarter the Log
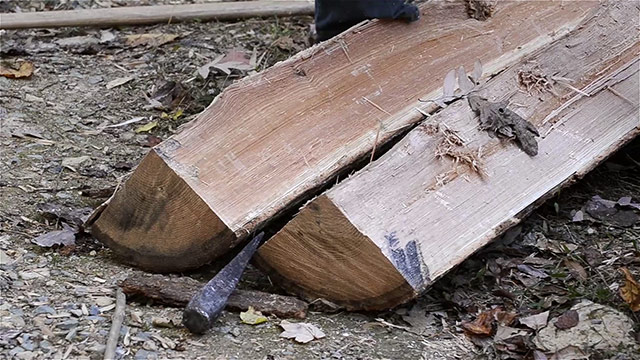
After you have split a log in half, it’s time to split both halves into quarters. To increase the likelihood of getting the log half to split into equal quarters, turn the log so that the bark side is facing upward, and proceed to split the same way you have split before.
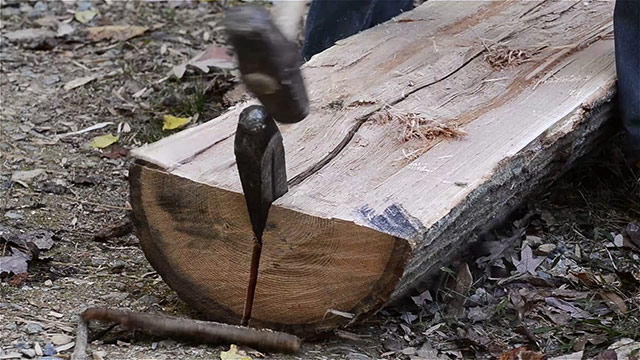
In the video, Elia elected to split from the pith of the log (rather than from the bark side), because he already had a small split running down from the pith.
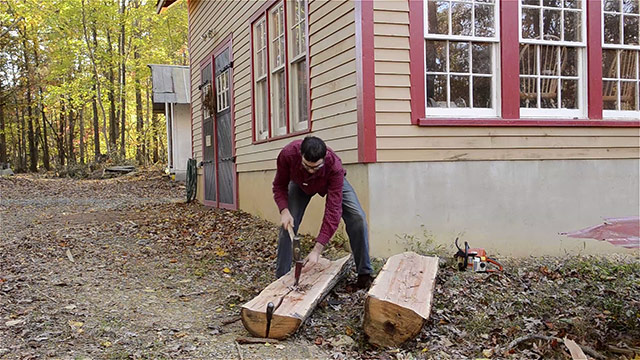
And again, after driving your first metal wedge in at the edge, move to the middle of the log and widen the split there.
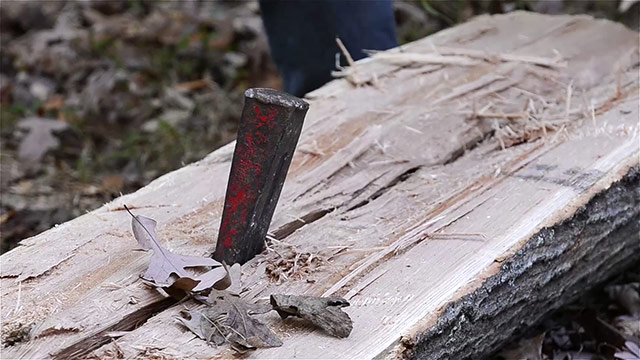
If you’re lucky, the log will easily split open, into quarters. But you’ll likely have to again sever the fibers again with a chainsaw or an axe.
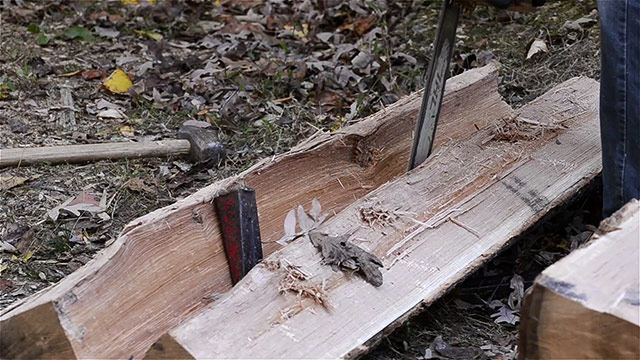
Here are the quartered logs sections:
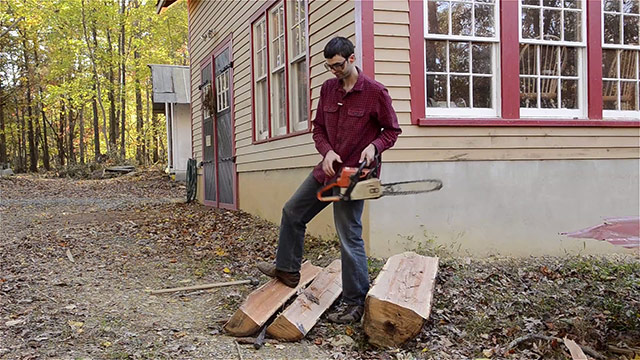
8. Further split or saw the log
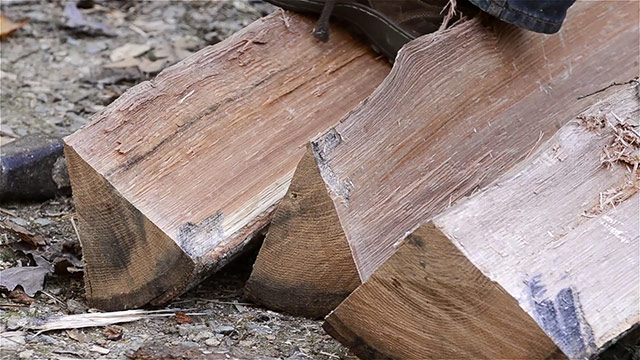
For most furniture making applications, quartered logs are where you may want to stop splitting, and then extract wood that is considered “riven”, which is similar to “quartersawn” lumber. I would either split boards from these quartered logs, or move the quartered log to a bandsaw and cut out boards with stable, vertical grain.
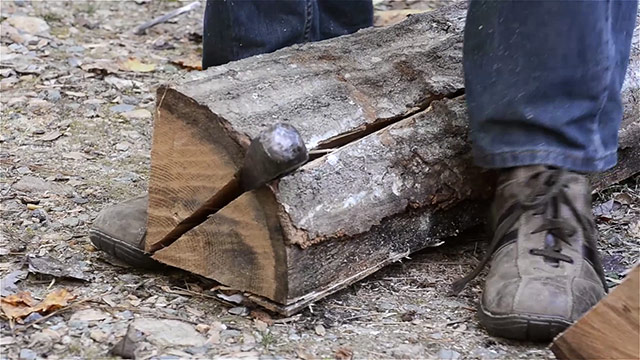
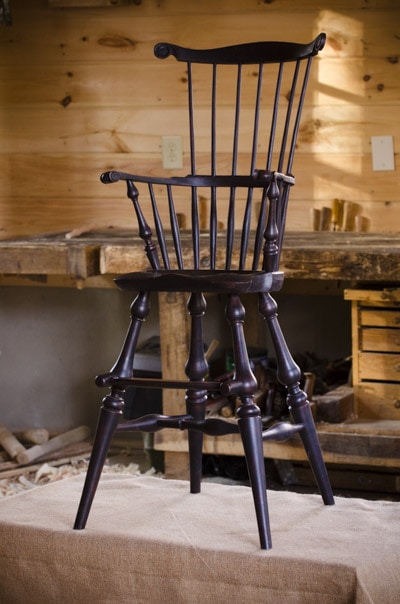
Elia splits the quarters into eighths for his Windsor chair parts, like the chair backs.
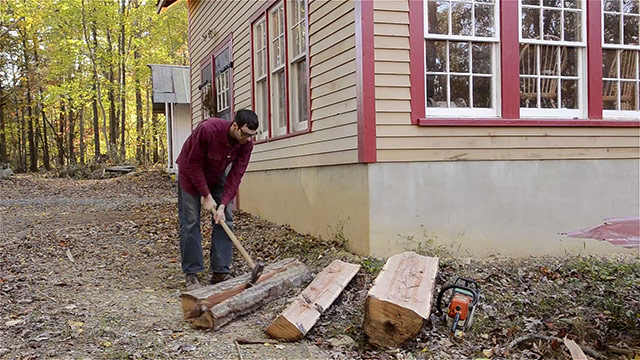
Your furniture needs will dictate how far you continue to split the log. Again, follow the same steps above. Although the splitting becomes easier as you progress to smaller divisions.
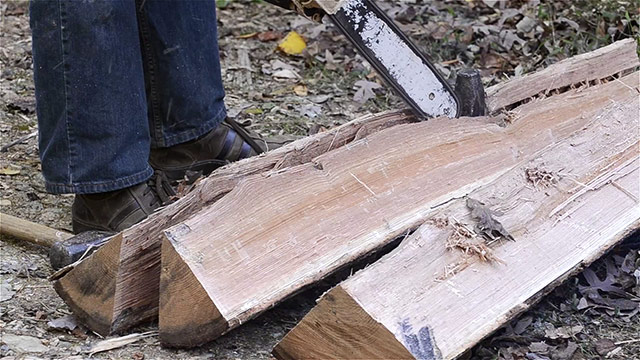
In another video (watch it here), Elia shows the next step where he uses a riving brake and a froe to further split the pie shaped log pieces into pieces that he uses for chairmaking.
More about Elia Bizzarri

Elia Bizzarri is a world-renowned Windsor Chair maker who is featured in our video: “Build a Traditional Windsor Rocker with Elia Bizzarri”, which you can buy here.
Elia’s chair making workshop is in rural North Carolina. You can watch our video tour of Elia’s shop here. You can also visit Elia’s Windsor Chair website here.






Thank you Joshua and Elia. Great article (and beautiful chairs). I’ve also harvested a lot of nice grains for small work and tool handles from pieces of firewood (I can’t bring myself to throw a piece of tiger maple into the fire)! Two tips from me: – I have rounded one of my wedges and given it a long, sharp bevel to help gain purchase for the first split. – When it comes to cutting or splitting, I almost always… Read more »
Thanks for the tips John!
This was a fascinating video. I would really like to see a video of him using his riving break. Thanks!
You’re in luck. We did that video, and you can find it here: https://woodandshop.com/how-to-use-a-froe-to-split-green-wood-elia-bizzari/