Several years ago I was surprised to learn how much money a popular online screw retailer was selling historical-style slotted screws for. The shipping cost was terrible too. But nevertheless, my friends were buying wood screws from this company because the slotted screws looked so good on historical-style furniture and hardware. So after a little research I discovered that I could find regular zinc slotted screws at a small hardware store in my town (surprisingly big box stores like Lowes don’t sell them) and strip the zinc coating off to get inexpensive historical screws for my furniture.
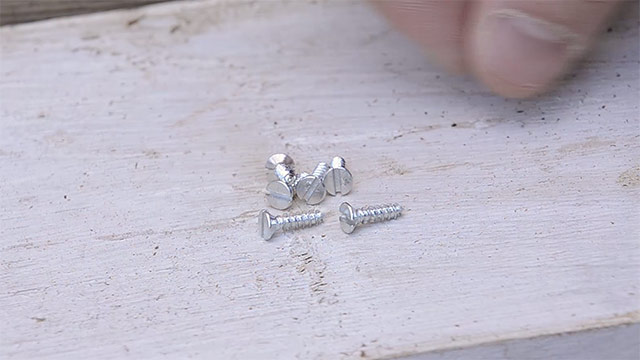
I first experimented with stripping the shiny zinc coating off the screws with my blow torch and also in a fire. Both methods mostly stripped the zinc coating, but hard residue remained and the color was strange and inconsistent. It also took an extremely long time to strip just one wood screw of the zinc coating. Finally I tried “The Works” toilet bowl cleaner that was recommended to me. I was shocked at how much better this last method worked. The zinc was stripped in just a few minutes and I was left with very clean and consistently colored wood screws.
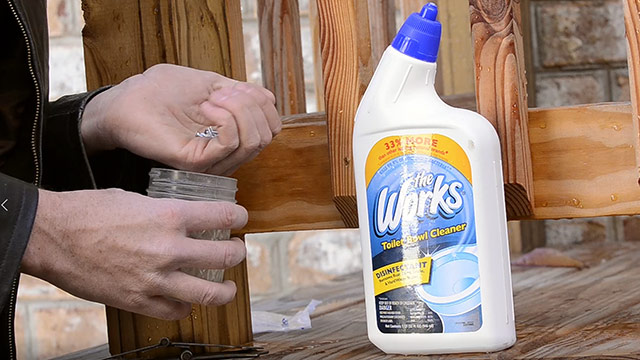
I found a two pack of this toilet bowl cleaner at my local grocery store for just a couple dollars, so the cost really is negligible. I think it’s sold nationally, but if you can’t find it in your local store, Amazon also carries it (here). So over the past several years I’ve bought a bunch of different sizes of slotted wood screws (so I can have them on hand) and I just strip the zinc coating in bulk. It’s best to not mix similar sizes, as it may be difficult to tell them apart. You can easily recycle old (but clean) glass jam jars or pasta jars and use multiple jars for different sizes. Here’s my quick three step process:
1. COVER ZINC-COATED WOOD SCREWS WITH TOILET BOWL CLEANER
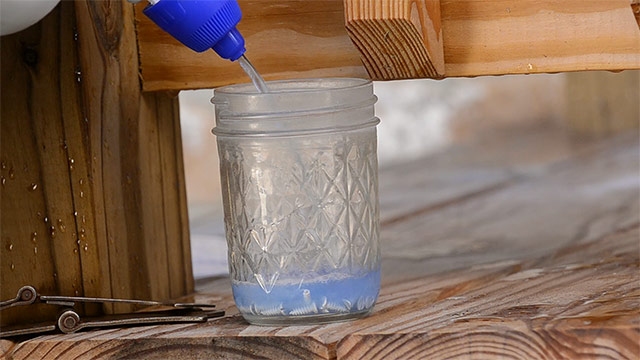
I drop the screws into a glass jar and pour enough of the toilet bowl cleaner to cover the screws. Make sure you use protective gloves to prevent a chemical burn on your skin. Use protective glasses if you think you might make a splash.
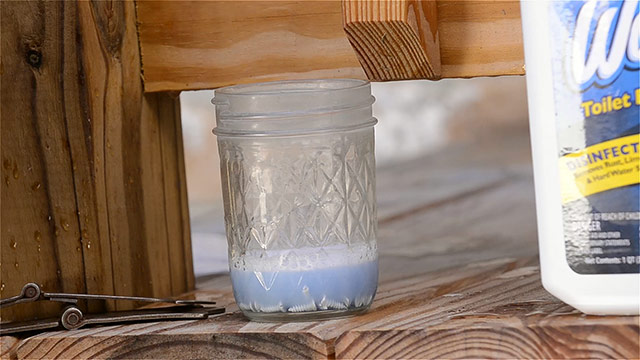
You’ll immediately see the screws bubbling, which means the toilet cleaner is going to work dissolving the zinc coating.
2. RINSE THE STRIPPED WOOD SCREWS
It’s easier to rinse the screws in a ceramic sink (toilet bowl cleaner doesn’t hurt ceramic toilets, so it should be fine on ceramic sinks), but I’m not sure what toilet bowl cleaner does to a stainless steel sink, so try this outside. After about 5 minutes you can use a garden hose to flood the glass jar until the chemical is gone and only water and the screws remain in the jar. Don’t use high water pressure or the chemical may get sprayed all over you.
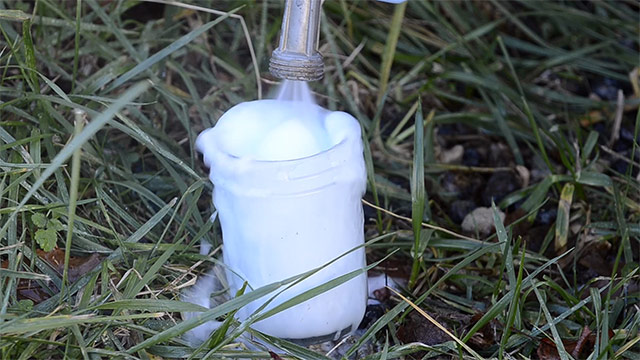
You can see how nicely all the shiny zinc coating was stripped off of the wood screws:
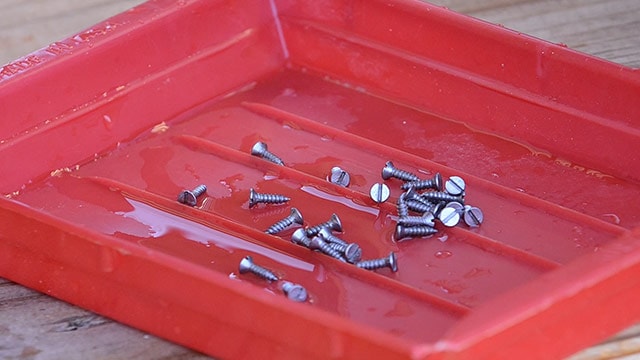
3. DRY AND OIL THE HISTORICAL WOOD SCREWS
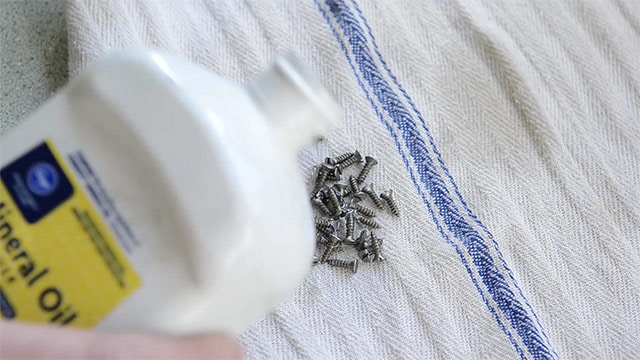
The one minor downside of using wood screws without zinc plating is that they will now be susceptible to rust. So quickly dry the screws and pour a little mineral oil on them. Then you can drop them into a little plastic or paper bag, and they’ll be ready for you when you want to add hardware to your pieces of furniture! Just make sure you label the bag with the size of screws.
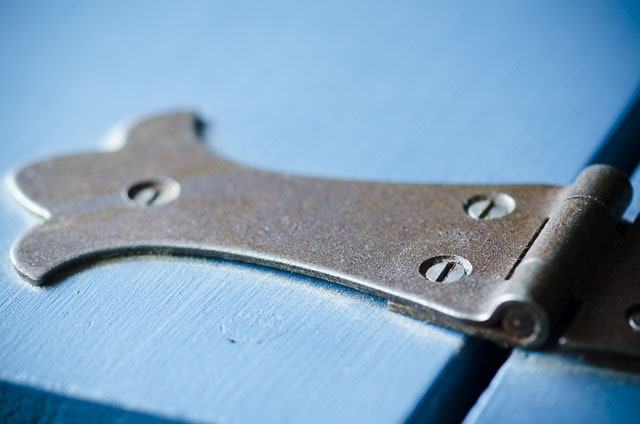
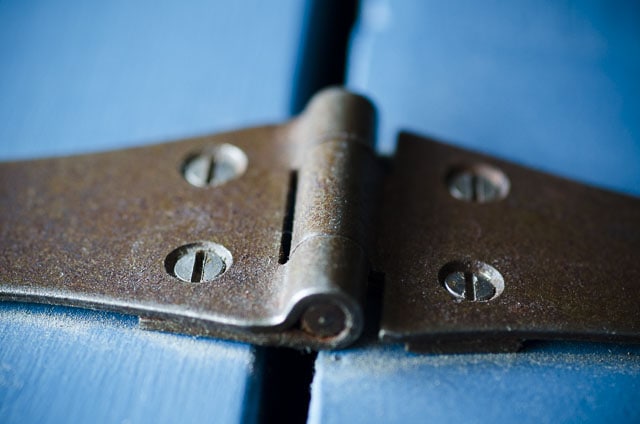
Here’s what they look like on some nice hinges that I ordered from Lee Valley:


I use ‘gun black’ to age my slot screws. Got the idea from Glen Huey.
Sounds good. How do they look afterwards?
Great solution Josh,
I look forward to your e-mails nd videos. KEEP IT UP!
I like and use the product “The Works” for removing rust too. It works on rust just as well os on the zink screws.
But – pretty please – don’t dispose of the toilet cleaner in the grass. This is really nasty stuff and should go in a drain connected to wastewater disposal ;-)
Hey Anton,
I live in the county, so there’s no wasterwater disposal out here. I use just a few ounces, and as you saw I greatly dilute it with the hose, so as far as PPM goes, there should be no affect on the grass or water table.
You may want to consider using the more traditionally shaped “wood screw”; they are readily available and their tapered, non-threaded upper shank matches the older style better. And they are available in sizes such as 8/10/12 in various lengths; theses different sized heads can be selected to match the hardware holes more perfectly. Early 20th century (and older) screws can also be found in country junk shops, or salvaged from hopelessly trashed old furniture; I keep a couple of sorted… Read more »
I’ve successfully striped off the zinc from screws with just household white vinegar. Just soak the screws over night and all the inc is gone. It’s cheap and it works.
Thanks for the tip Bill!
Just a thought, but maybe you could take a Q-tip and apply a very small dab of Rub ‘n Buff to the head of the screw to get the look you want. Just don’t buff. They have several colors that might work alone or blended like Pewter, Spanish Copper, or European Gold. If it worked you could keep the corrosion protection.
Thanks for the tip Melanie!
for iron screws that rust, do what the longrifle builders did… blue them with a torch or put them in heat till cherry red and quench. never rust again and the look authentic
Hey Dan, thanks for the suggestion! How do you blue the screws? And for option #2, would I quench in oil or water?
joshua you quench in water is good. the screw turns blue and that’t all you have to do. sometimes i use a little wax to getr it in place.
you can see Gary Brumfield’s rifle with blued screws at address below.