Recently I taught a private two-day class to a nice lady named Michelle, from New York City, and her father Brian, who lives here in Earlysville, Virginia.
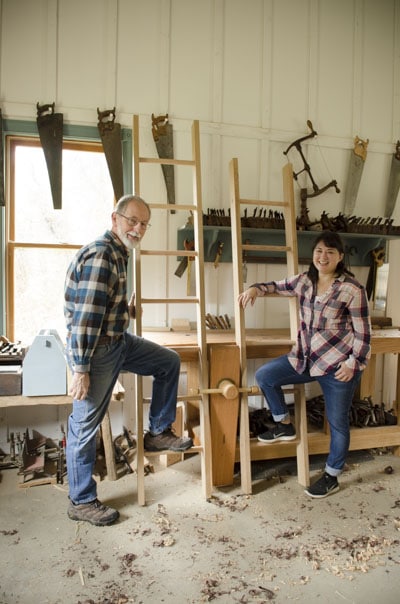
Michelle was eager to learn how to build ladders and step stools, so I came up with an antique-style ladder, patterned after photographs that I found, and a super cool Shaker wall-hanging step stool.
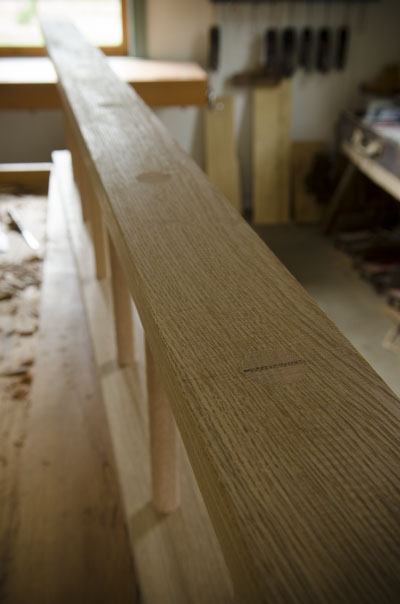
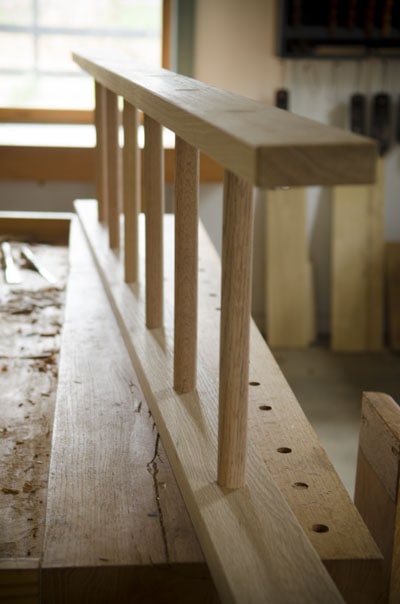
I wanted the ladders to be very strong, so we used 6/4 white oak (1.5-inches thick when rough), with 1.25-inch oak dowels for the rungs. The oak dowels were purchased from a local hardware store. Make sure you check the dowels carefully, because a good number of dowels have defects (like nails that I found in one of the dowels…which I of course rejected).
The majority of the first day was spent on the machinery, milling up the lumber for the ladders and the cherry step stools. Neither student had experience milling lumber, so they had a fun experience learning that fundamental skill.
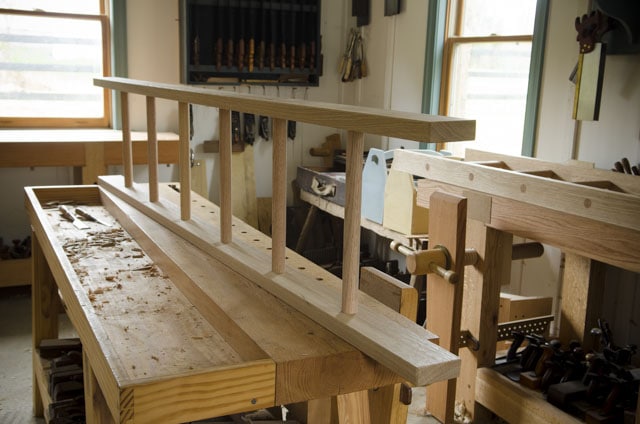
I checked the OSHA website for ladder rung spacing standards, then we used large dividers to step off the center of each hole at about 11-inches apart on the rails. Per OSHA, the rungs need to be spaced between 10 and 14-inches. You can check here for OSHA ladder standards to make sure your ladder dimensions would be safe in a work place. If you are going to make a ladder, please make it to OSHA’s standards, and use very strong hardwood lumber. You don’t want to get someone hurt.
Michelle’s ladder was about 7-feet long (so it would fit in her Mini Cooper and in her small apartment), and Brian’s ladder was about 8-feet long. Once the rung centers were marked on one side of each ladder rail, we used a try square to transfer that center line onto the other ladder rails. We used a marking gauge to find the center of each ladder rail, then marked the center where each rung would intersect.
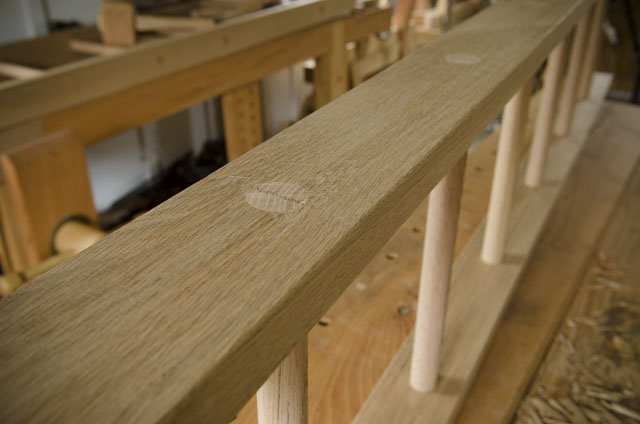
We then took the ladder side rails to the drill press, and used a 1.25-inch Forstner bit to bore very precise holes. I set the stop on the drill press to only let the tip of the lead screw exit, so the bit wouldn’t blow out the back side. We flipped the oak, and bored through the small hole on the other side. This produced a very clean hole. Having precise, and properly aligned holes is really important, because you have to get 6 or 7 rungs to line up in their holes. The thick rungs can’t flex too much. I think it would be a little hard with a brace and bit to get these holes super square (ha, ha, square round holes…are you confused?). We cut the rungs long enough to fit two work boots, side-by-side (about 14-inches I think). I believe OSHA specified the exposed rung (between the two side rails) to be at least 11 1/2-inches wide. So take 11 1/2-inches, and add the two side rail’s thicknesses. The dowels are 36-inches long when you buy them at the store, so you can only get two rungs per dowel. Don’t try to get 3 rungs per dowel, because your ladder will be too narrow to be useful.
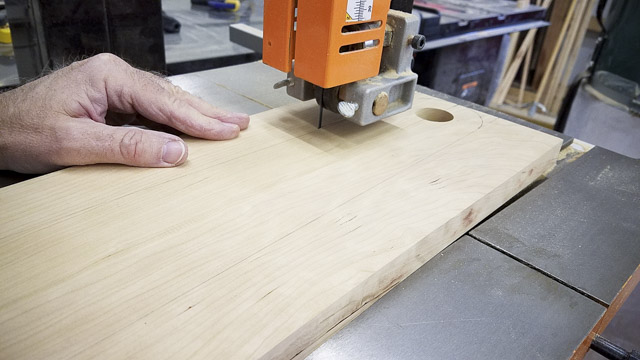
We Then cut slots for the wedges on the band saw. The slots were cut shallower than the thickness of the rails. This is so the dowel band saw kerfs will stay buried in the side rails.
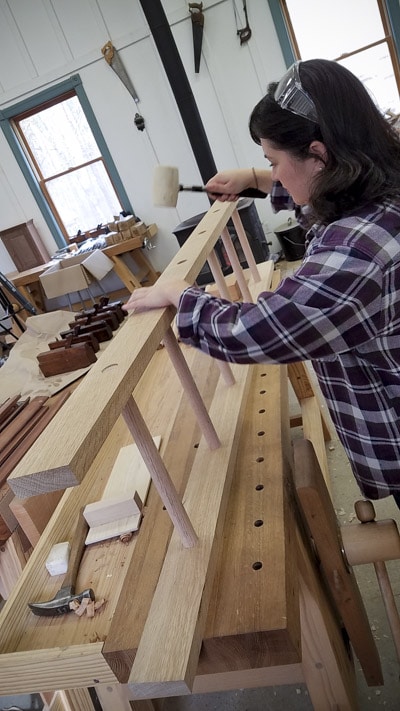
We spent some time making wedges from the leftover white oak, then assembled the ladders, leaving the dowels about 1/32-inch proud. The dowels fit quite tight, so we didn’t add glue to the mortise. We just added glue to the wedges and tapped them until they stopped moving.
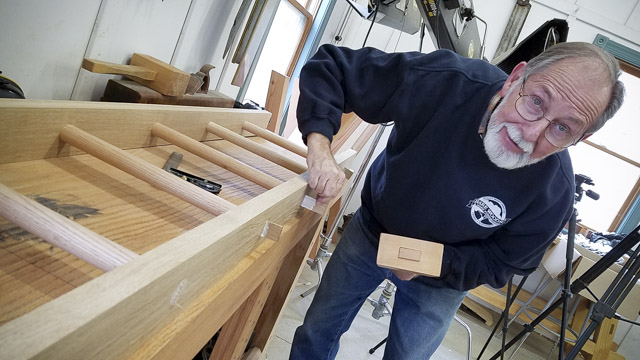
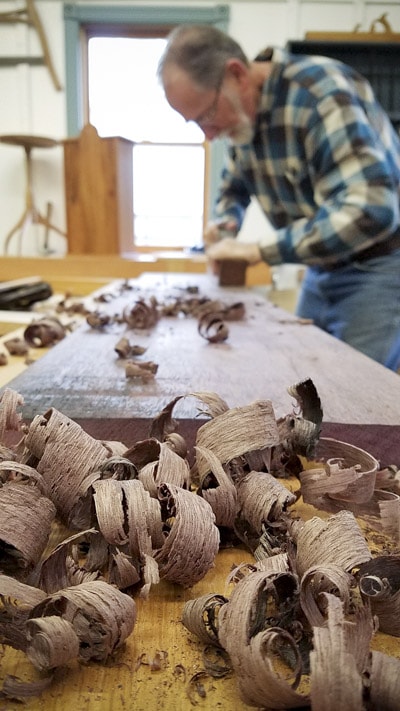
We sawed the wedges off, and used a handplane to flush the dowels and wedges to the surface of the ladder side.
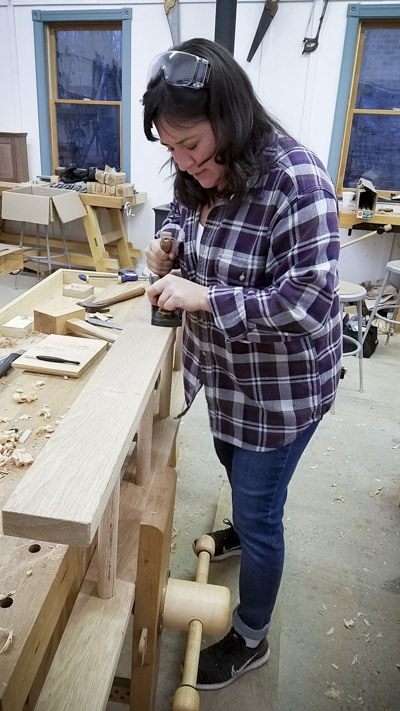
The next day Brian and Michelle spent some time cleaning the ladders, and using a block plane and rasp to put bevels on all the sharp edges.
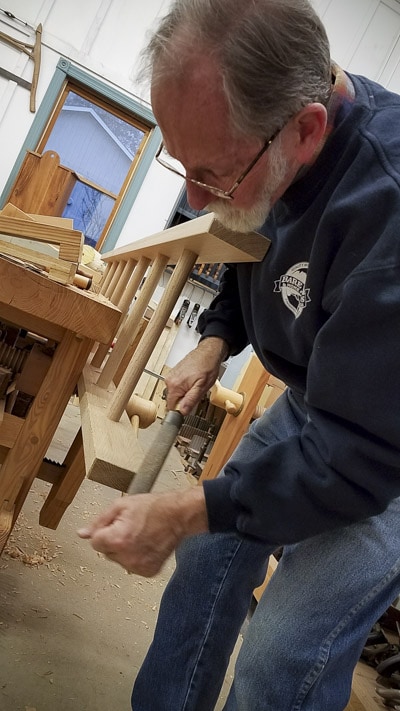
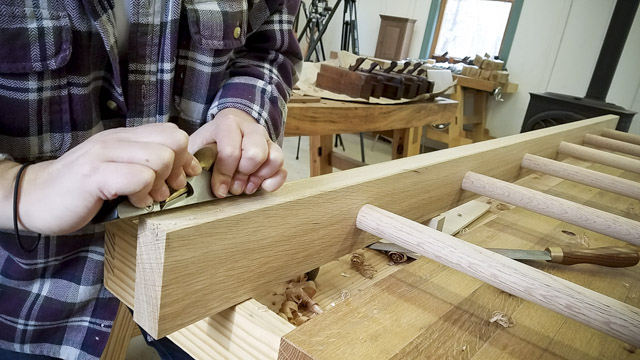
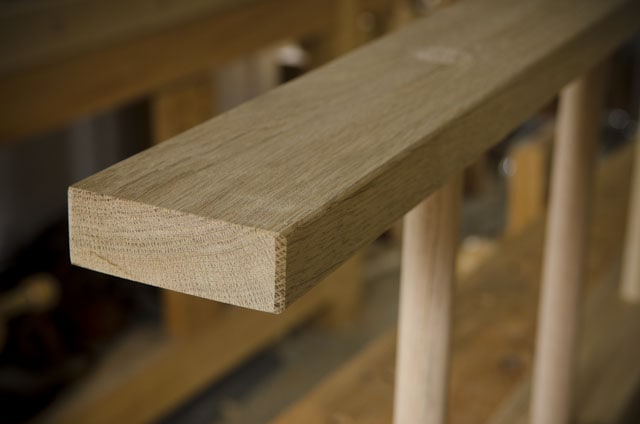
I thought the ladders turned out to be quite attractive and very sturdy. Because we used flat sawn lumber, the lovely quartersawn figure shows on the front of the ladder. If you’d be interested in seeing this ladder offered as a normal class on our schedule, please leave a comment below or shoot me an email (here). I’m just finishing the 2019 schedule up, so let me know soon!
As I mentioned, we spent some time on some other projects, including a charming shaker step stool. But I’ll save that for another article.




This looks great Joshua.
Thanks Brad!
I am curious about the bottom of the ladder rails, were they angled so when the ladder is leaned up against a wall there could be more flat surface against the floor?
Hi Thomas,
I thought this through, and decided to make it square across (like the antique ladders I saw), because If you angled the cut, then you’d have to stick with that angle each time. The ladder is at a different angle depending on what you lean it against. Not sure if all this matters, but maybe an experiment should be done!
Very nice, Joshua! What a great idea for a family activity. And you end up with a ladder!
This wood ladder looks great! Just a thought – maybe it would be better to make the steps rectangular? It can be non-slip.
Thank you for this overview of making wooden ladders. I’m curious about making a strong ladder but also cutting down on weight. Did you make specific calculations for the side rails? I wonder if the side rails could be made with paulownia.
Great tutorial! I’ve been wanting to make a ladder for my home for a while now and this is definitely helpful. Thank you for sharing!
I got this wooden I think it’s bamboo and I think it’s a decorative ladder and I’m wondering what the one inch pegs are for they are about an inch and a half above each step on both sides of step and stick out about one inch. The same for every step.