6 Step Ultimate Mortise and Tenon Joint Tutorial
Use Woodworking Hand Tools to Make a Mortise and Tenon Joint
![]() By Joshua Farnsworth | Published 16 October, 2023
By Joshua Farnsworth | Published 16 October, 2023
6 Step Ultimate Mortise and Tenon Joint Tutorial
![]() By Joshua Farnsworth | Published 16 October, 2023
By Joshua Farnsworth | Published 16 October, 2023
Introduction: Ultimate Mortise and Tenon Joint Lesson
In the above videos, Will Myers shares our Ultimate Mortise and Tenon joint lesson while building a beautiful trestle table. And below are the 6 steps to creating a strong drawbore mortise and tenon joint:
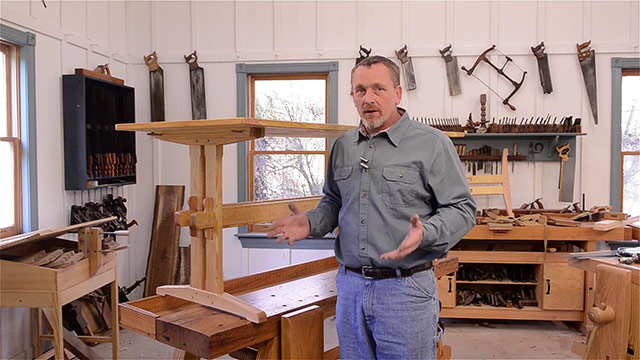
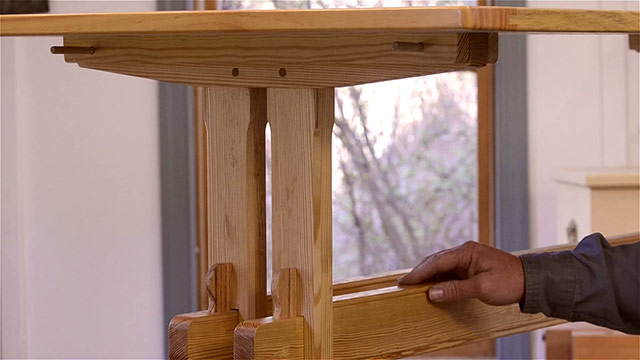
A mortise and tenon joint is used to strongly hold together tables, chairs, and many other types of furniture.
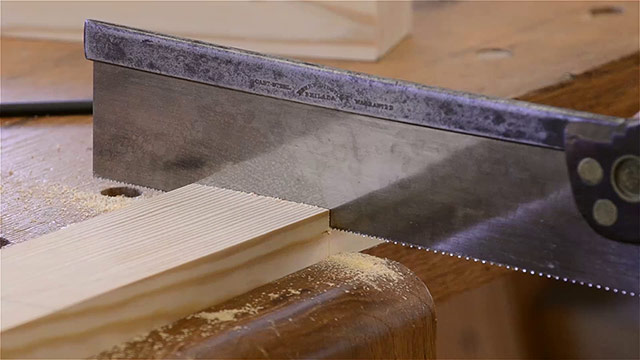
In this mortise and tenon joint tutorial, Will first starts off showing how to layout and cut a tenon using layout tools, hand saws and a chisel:
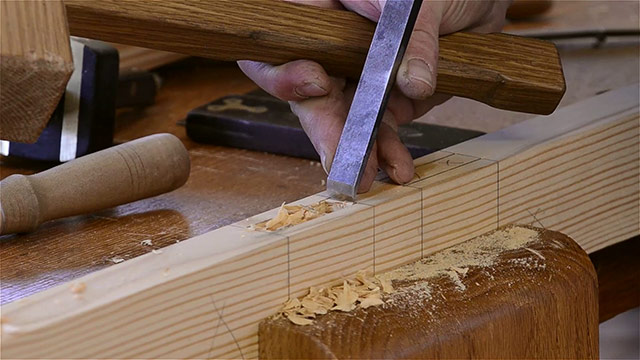
Next Will shows how to layout and chop the mortise to match the tenon, using layout tools, a chisel, and a joiner’s mallet:
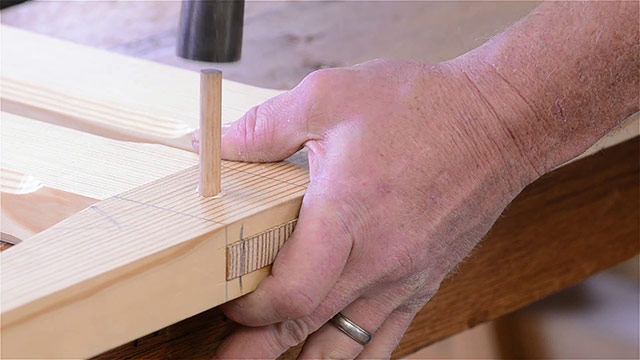
And lastly, Will shows how to draw the mortise and tenon joint tight using a historical pegging technique called drawboring:
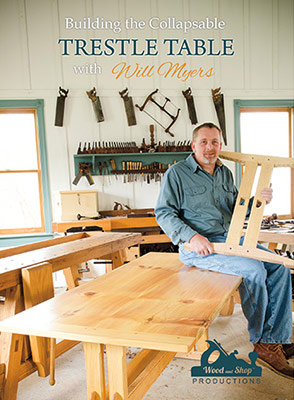
These videos are free excerpts from our video class: “Building a Collapsable Trestle Table with Will Myers” which you can buy here.
Step 1: Layout the Tenon
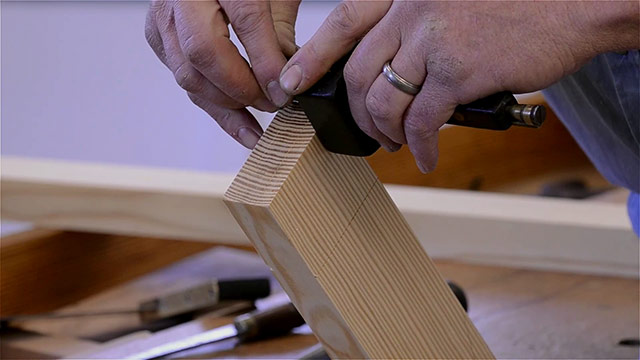
The first step in making a mortise and tenon joint is to layout the tenon. Of course, some people also layout the mortise first, so this is a matter of preference.
A. Scribe the Tenon Shoulders
To layout the tenon first lay the mortise board on the tenon boards, and make a tick mark with a pencil:
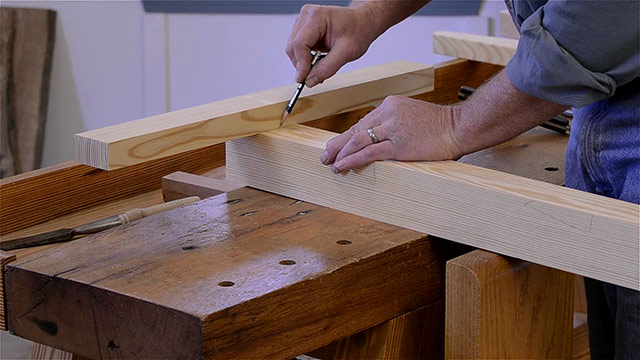
Laying the tenon board on the mortise board is more accurate than using a ruler or tape measure, because the precise measurement is transferred over, rather than trying to remember a measurement.
Next hold a try square on the tenon boards, and use a marking knife to scribe the tenon shoulders:
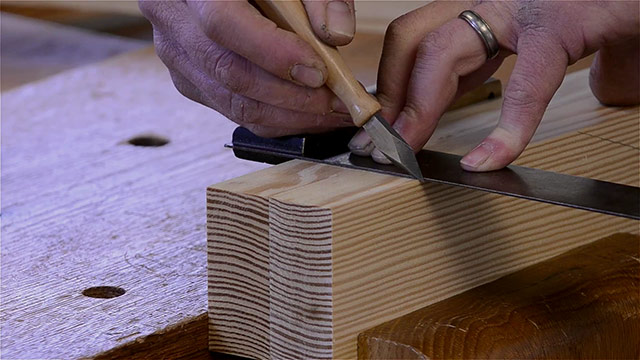
Now use a marking knife and try square to transfer that knife line all the way around the tenon boards. It’s important to place the marking knife in the line that was already marked, and slide the try square up against the marking knife. And be careful to keep the try square flat against the tenon board.
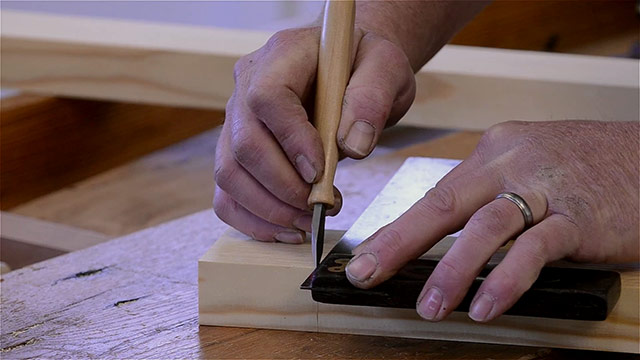
Now you can see the crisp knife line run all the way around the tenon board. A knife line is used, rather than a pencil line, because a chisel will eventually be sitting in this knife line to give a very accurate shoulder.
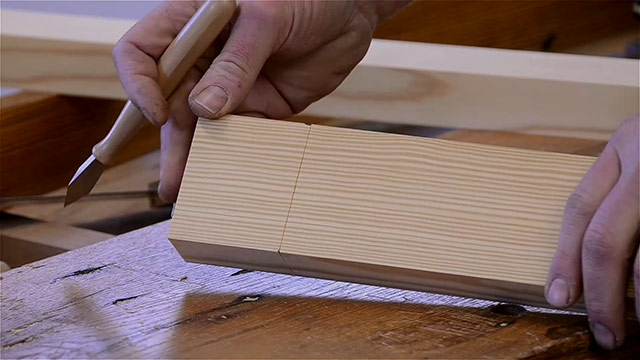
B. Mark the Tenon Cheeks
Next prepare to layout the tenon cheeks by placing a woodworking chisel on the tenon board. This woodworking chisel is the size that you want your tenon and corresponding mortise to be:
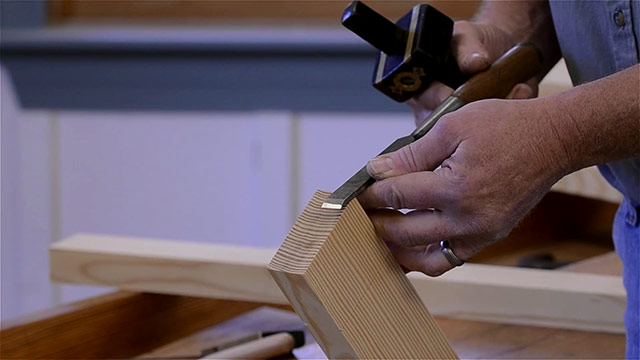
Next set the cutters on the mortise gauge to the exact width of the chisel blade:
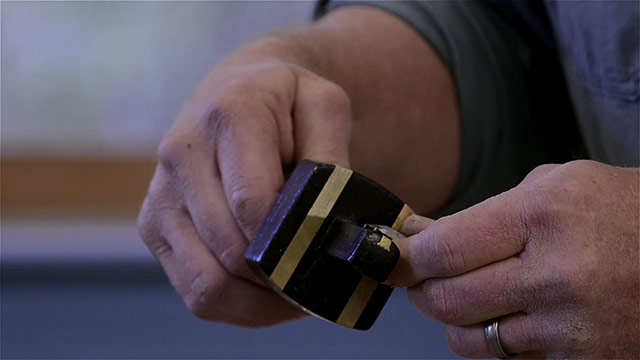
Now adjust the mortise gauge so that the cutters are centered on the tenon board.
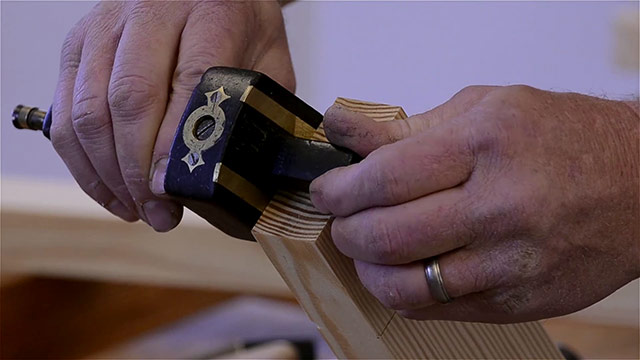
Do this by moving the marking gauge fence a little bit until the teeth touch the same spots, regardless of which side of the tenon board he places the marking gauge:
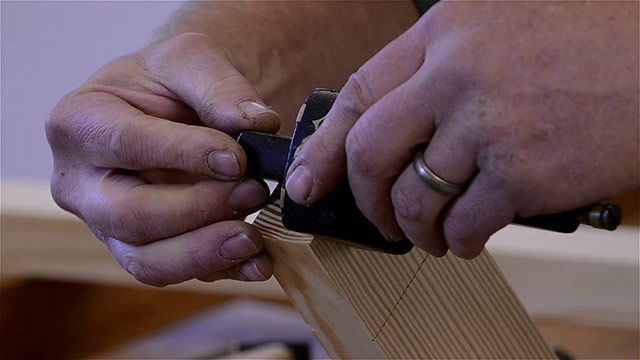
Don’t worry if your cutters are off by a hair. Just make sure you make all of your mortise and tenon joint markings from the same side of each board to ensure consistency.
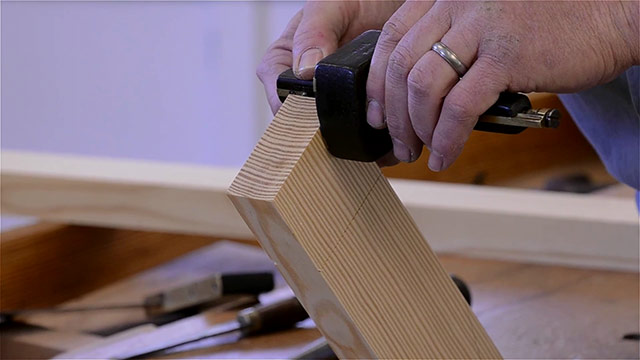
Be careful to hold your mortise gauge steady so your lines won’t wander. This will lead to inaccuracy in your mortise and tenon joint.
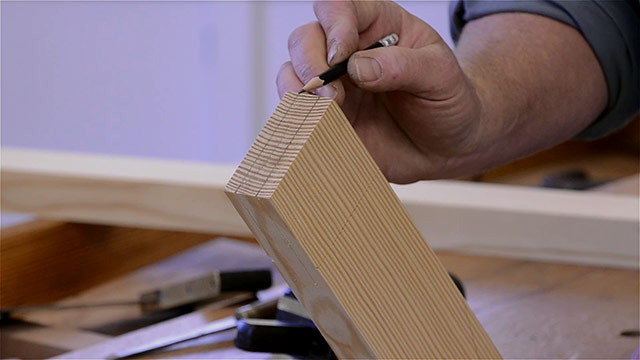
It’s also a good idea to use a pencil to darken your layout lines so you can see them better when cutting the tenon:
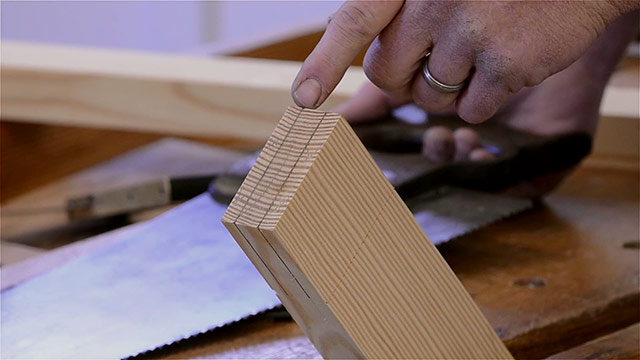
Step 2: Cut the Tenon
Now it’s time to cut the tenon. On a larger tenon like this, you can use a larger hand saw (sometimes called a panel saw). You can read our hand saw buyer’s guide here.
A. Cut the Tenon Cheeks
It’s a little easier to cut the tenon cheeks first, because this saw cut is a bit less critical than cutting the shoulders. After using the hand saw, the cheeks can be trimmed with a chisel, and the cheeks will be hidden inside the mortise.
Ideally you’d want to leave half of your layout lines after cutting the tenon with a saw. This doesn’t always happen, but it’s something to shoot for.
Clamp the tenon board up on a workbench vise to make it easier to saw the tenon:
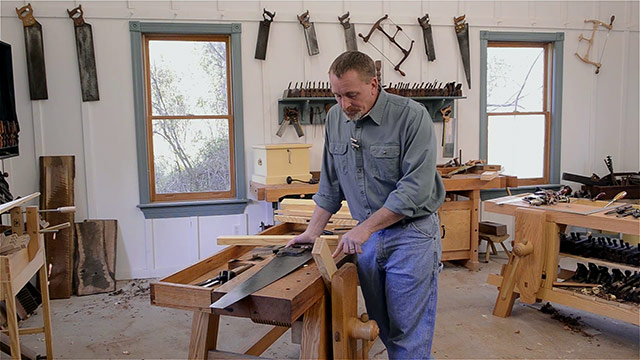
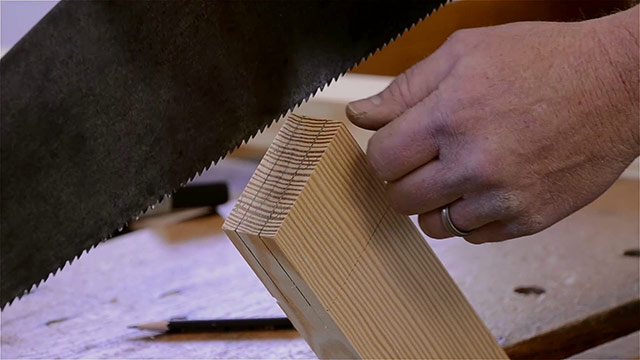
First start cutting next to the cheek lines closest to you. Remember, cut close to the layout line, but don’t the line. Or at least don’t remove the line.
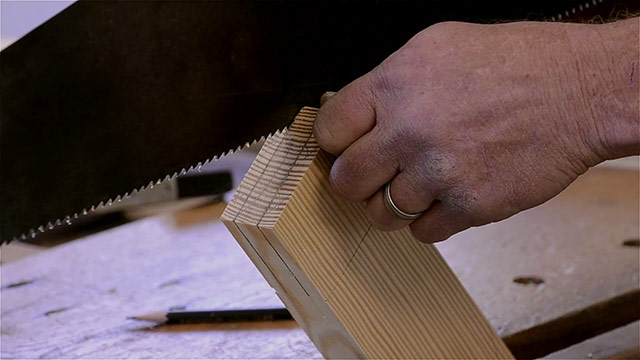
The goal is to have your hand saw teeth reach the edge of your tenon board at the same time your same time the teeth reach the shoulder line facing you:
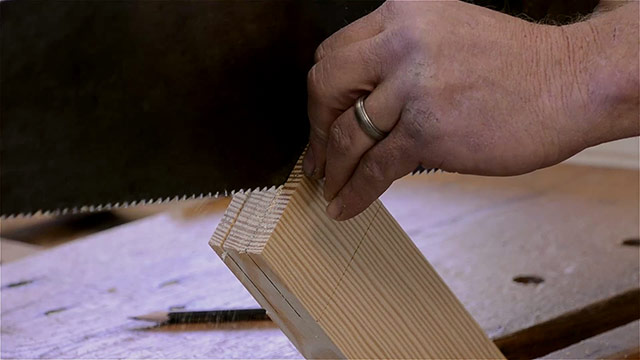
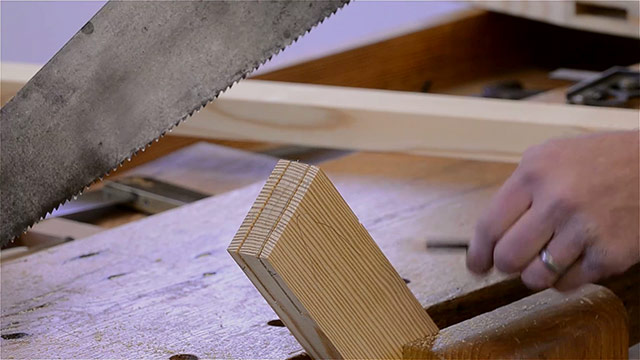
Next, flip the tenon board in the vise, and cut the kerfs on the other side. This will be easier because your saw teeth can follow the kerfs facing away from you (which you already cut):
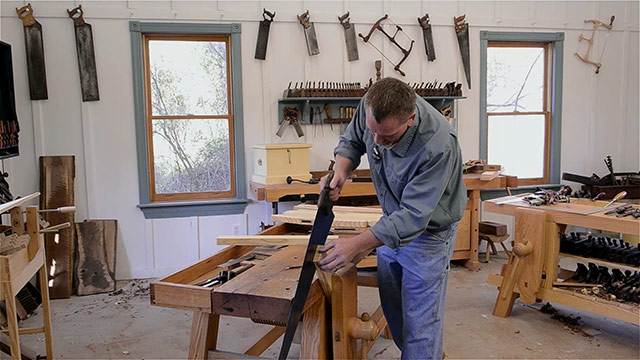
Once those kerfs are cut, there are essentially pyramid shapes of wood down in your tenon kerf. You can go ahead and cut straight down at this point, until you reach your shoulder lines:
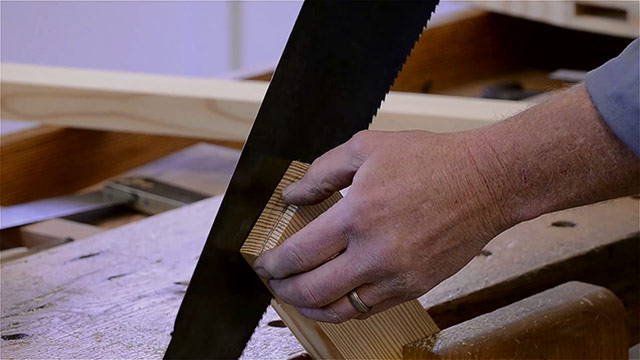
Really watch your shoulder lines to make sure you don’t cut past them:

B. Cut the Tenon Shoulders
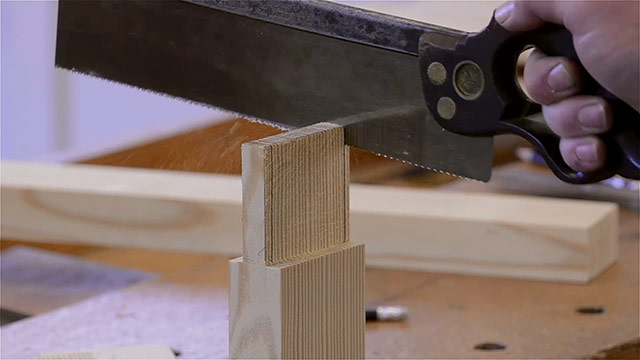
Cutting the tenon shoulders is more critical than cutting the tenon cheeks, because the shoulders will be visible after the mortise and tenon joint is assembled. Also, the squareness of the shoulders determines how square the overall joint is. So for this reason, it’s a good idea to use a fine-toothed crosscut backsaw to cut the tenon shoulders:
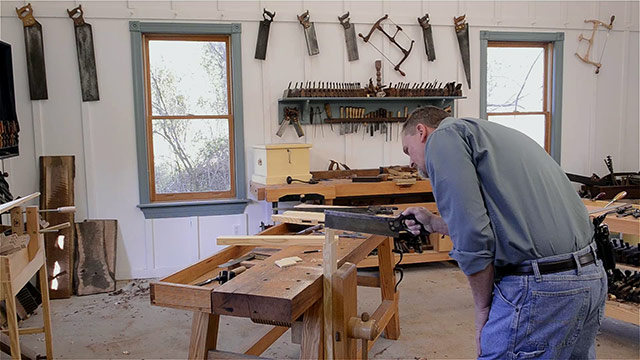
On the waste side of the shoulder line, you can use a chisel to create a little groove to help track your backsaw:
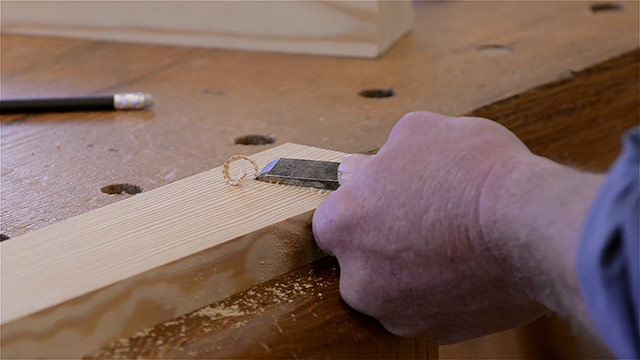
If this operation is hard for you, then you can just skip using the chisel, and instead use your backsaw to cut away from the shoulder line a bit (in the waste wood) and then use a chisel to trim up to the shoulder line in a next step. But if you’re following Will’s method, then place the backsaw teeth into the little groove that was just cut:
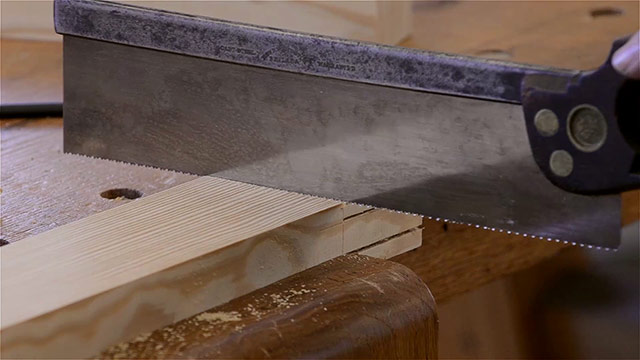
Cut downward, watching to make sure that you don’t cut over your layout lines:
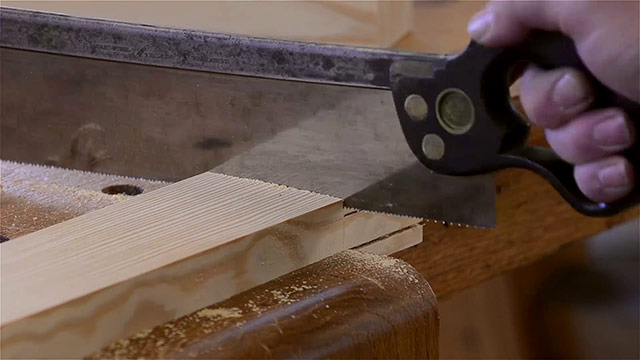
Once you reach the bottom, the “cheeklets” should fall off, revealing one of the tenon’s cheeks:
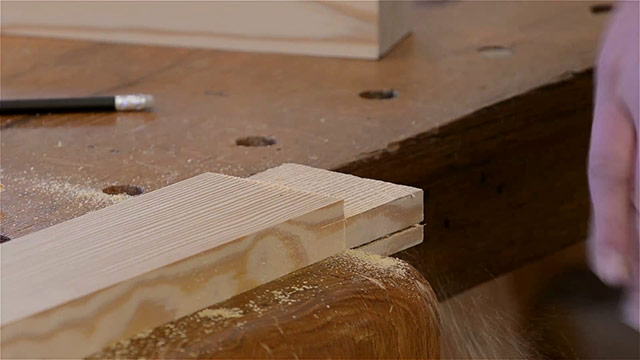
Flip the tenon board over and repeat the same process to reveal the other tenon cheek, until it looks like this:
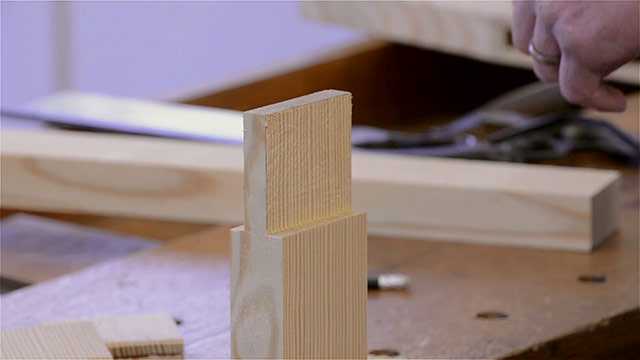
C. Cut the Side Shoulders of the Tenon
Next you’ll cut two more little shoulders on the side of the tenon. This is a fast process. The easiest way to layout these cuts is to use a combination square. The distance from the edge of the tenon doesn’t matter too much, but 1/4-inch is good:
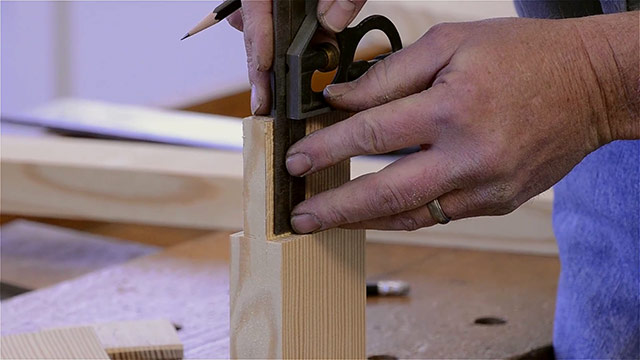
Use a pencil to draw this line up over the top, and down the backside of the tenon cheeks. Do this on both ends of the tenon:
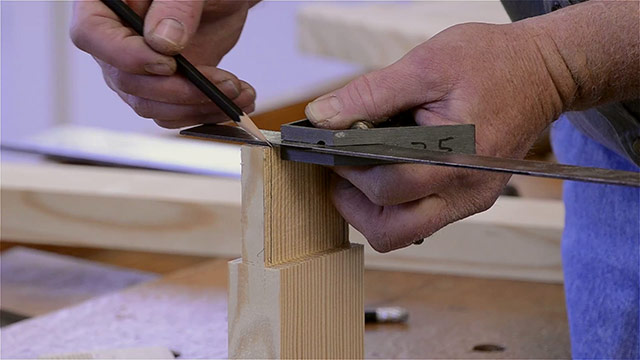
Then use your backsaw or hand saw to cut straight down. just leaving the pencil line:
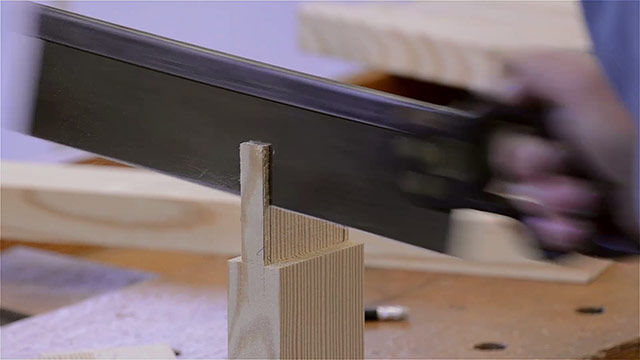
Next, use a crosscut backsaw to cut a little way from the shoulder line, but not on the line. The little “cheeklet” will fall off.
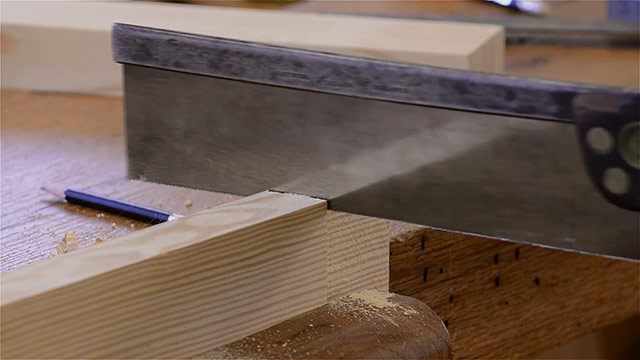
Now place a sharp chisel in the shoulder knife line, and uses a little pressure to push downward. This will give a nice, crisp shoulder.
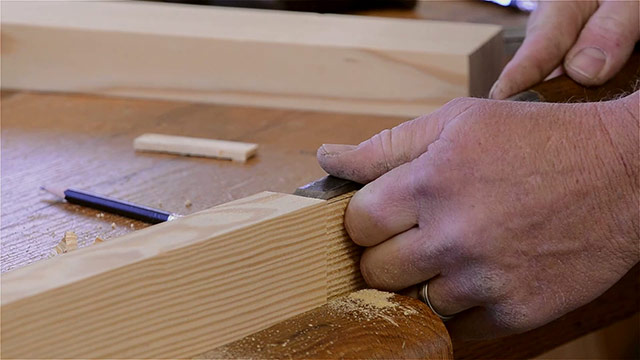
Repeat these steps again on the other small cheek and shoulder of the tenon until you get a tenon that looks like this:
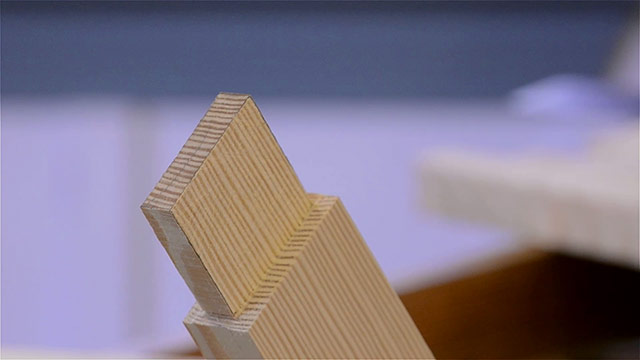
Step 3: Layout the Mortise
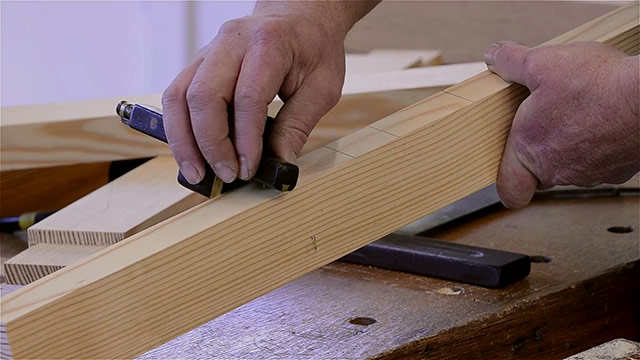
After you have determined how you want to orient your mortise board, in relation to the tenon board it’s time to layout the mortise, or mortises in this case. Set the tenons on the mortise board to determine the desired spacing:
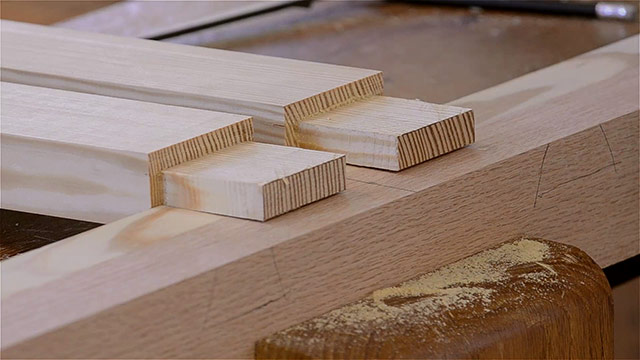
After marking the mortise spacing, set the tenon shoulder up against the mortise board, and use a pencil to scribe the actual tenon width on the mortise board:
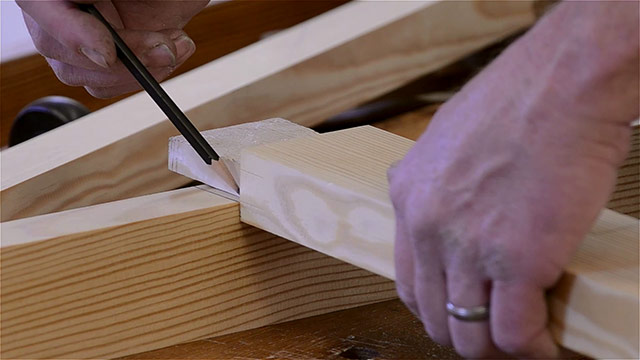
If needed, make slash pencil marks to remove confusion. The lines without marks are the actual mortise markings:
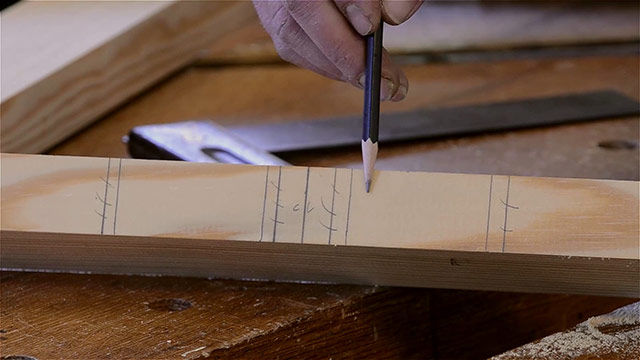
Then use a try square and a pencil to transfer the mortise marks up the face of the board:
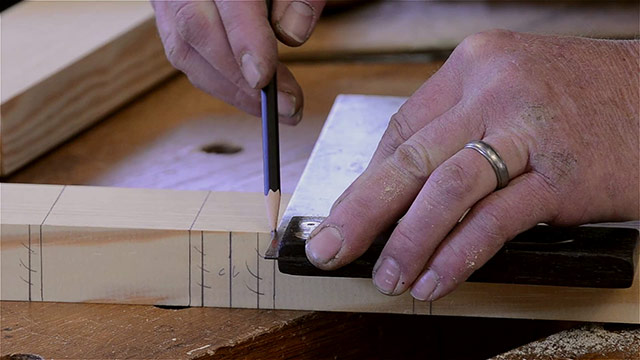
And then onto the other side of the mortise board:
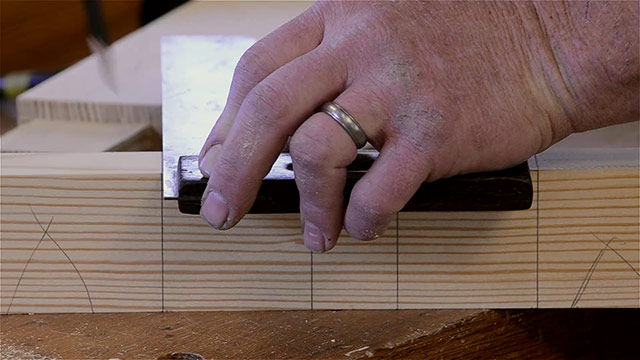
Next, take the mortise gauge and, without changing the settings from when you scribed the tenons, run the cutters between the mortise layout lines. Be careful to mark from the appropriate side of the mortise board face.
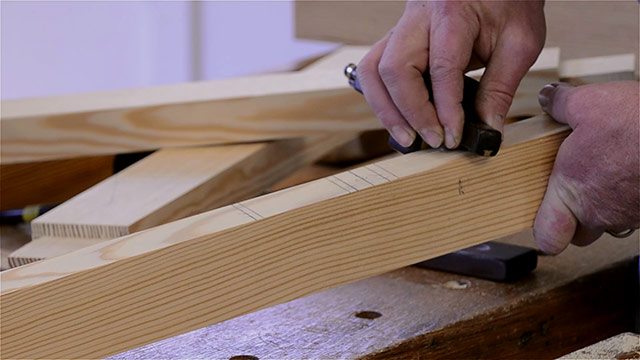
Flip the board over, and marking from the same face, scribe the other side of the mortise.

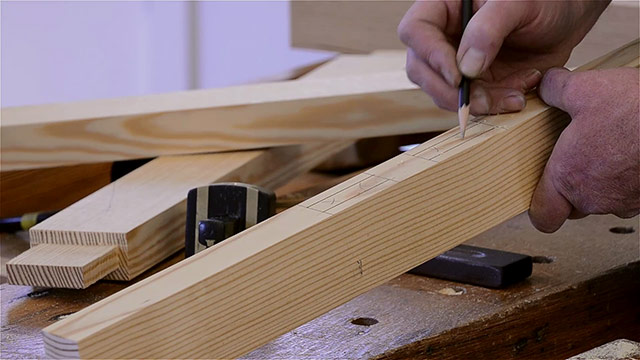
If needed, you can darken the mortise layout lines using a sharp pencil, like this:
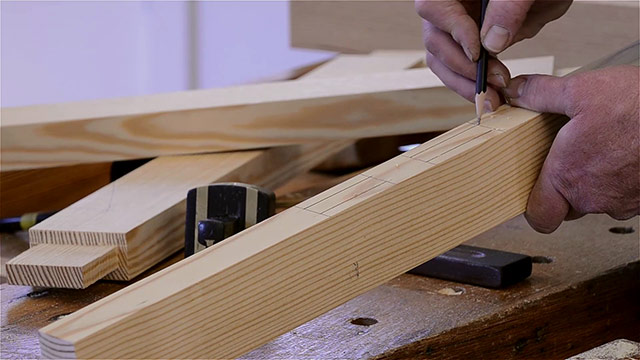
You can also mark the waste, where the mortise will be chopped out:
Step 4: Make the Mortise
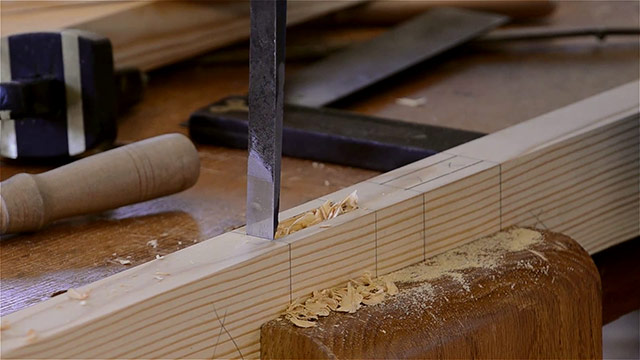
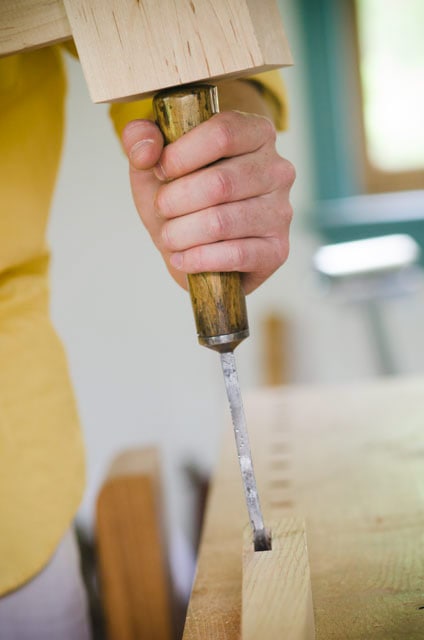
On a smaller mortise, you would use a mortise chisel and just chop down into the mortise to obliterate the wood fibers.
But for a larger mortise, like on this larger mortise and tenon joint, a mortise chisel would be too small. So the waste is removed using a brace and auger bit.
A. Bore out the mortise waste using a Brace and Auger Bit
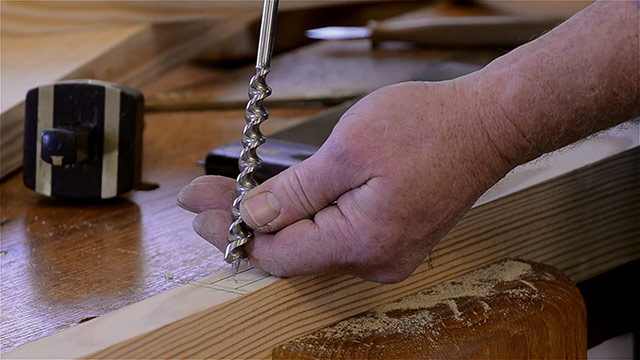
This bit’s diameter is just a bit smaller than the size of the mortise. Removing the waste with an auger bit is nice, because all that remains after boring the waste out, is just a little trimming with a chisel.
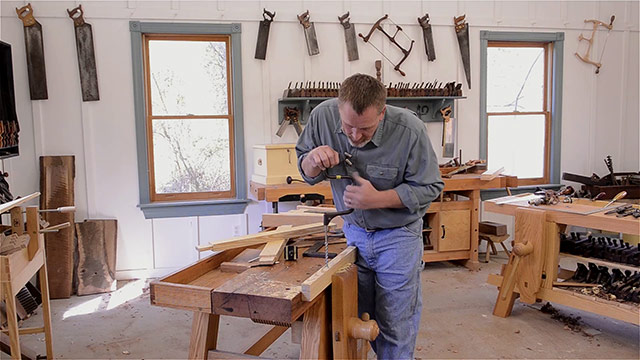
This joint is a through mortise and tenon joint, which means the tenon goes all the way through the tenon. So make sure to just bore about half way from either side, or else you could risk blowing out the other side, or exiting over your layout lines on the other side.
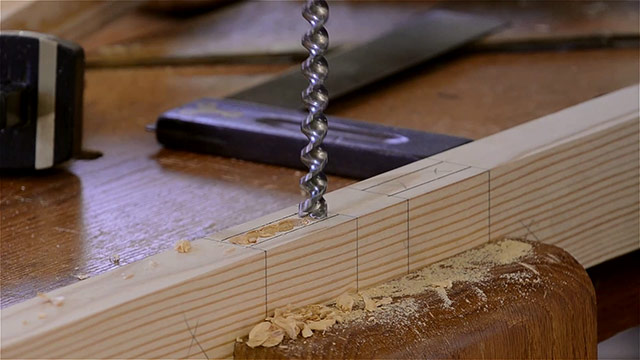
B. Clean out the Mortise with a Bench Chisel
Use a sharp bench chisel to remove the remaining waste from the mortise. It’s easier to remove the triangular pieces, left by the auger bit, a bit at a time.
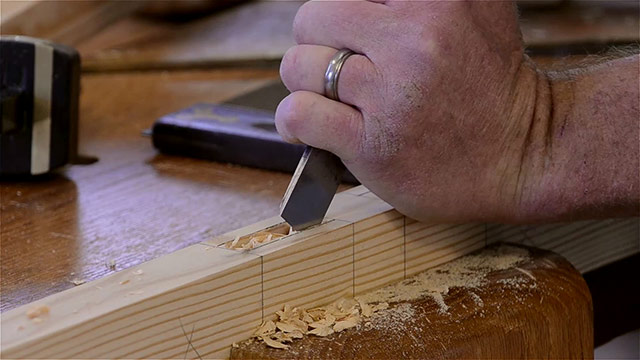
When you get close to the layout lines, move the chisel to the back and front of the mortise, and chop the waste until you can chop into the layout lines. Starting with the cross grain lines will help prevent the wood from splitting when you move on to cutting the side walls of the mortise.
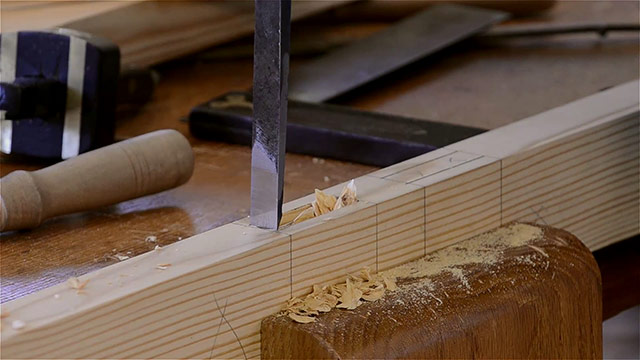
Then you can move to clean-up work by paring the sides of the mortise wall using just the chisel (not the mallet).
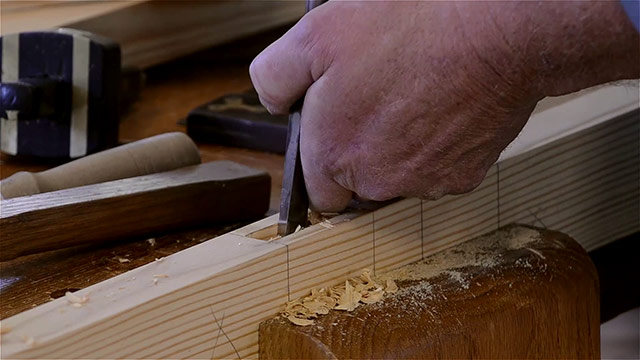
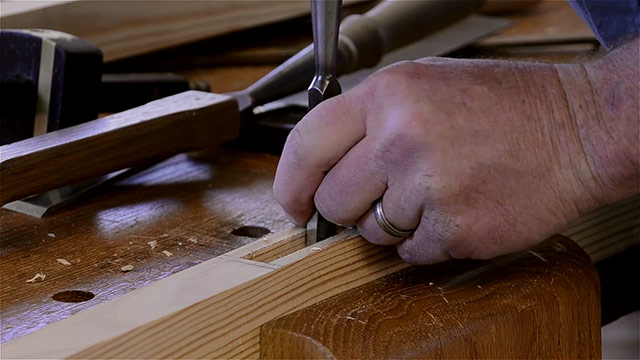
Flip the mortise over, and do the same on the other side until the whole mortise is clean and the walls are square and flat.
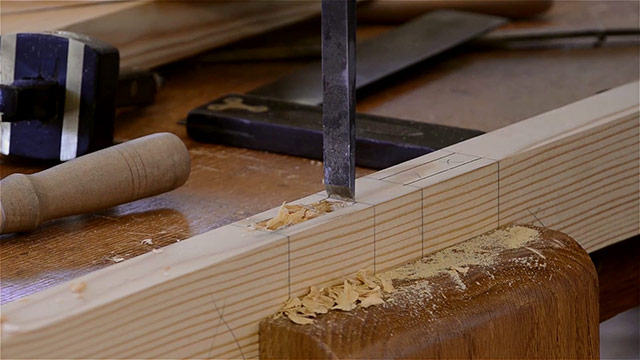
The mortise should look clean, like this:
Step 5: Test Fit and Assemble the Mortise and Tenon Joint
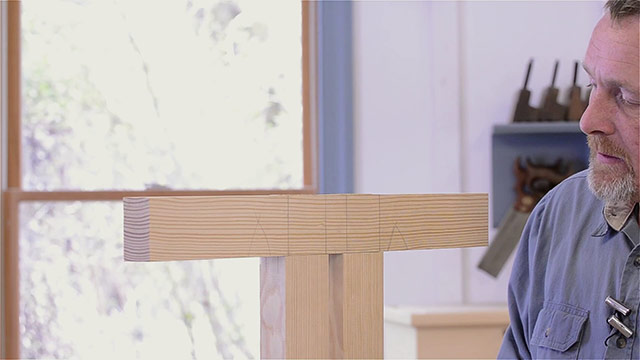
At this point you can test fit the mortise and tenon joint, and make adjustments to get a nice fit.
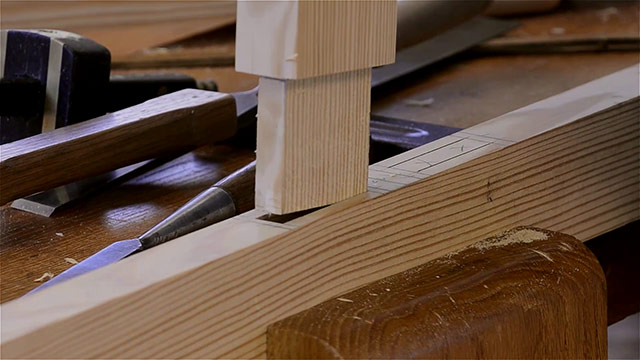
If the joint is too tight, then go back to looking for spots in the mortise that need to be trimmed. You shouldn’t have to use a mallet to drive the tenon in.
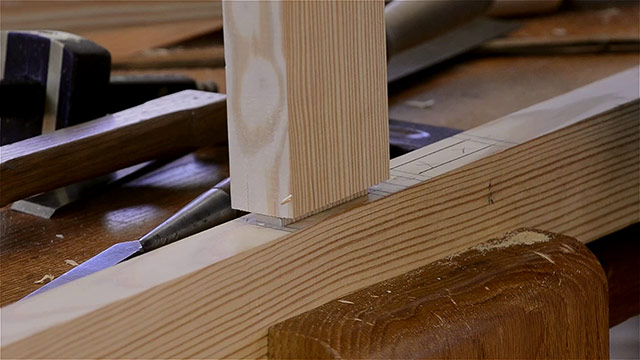
That could cause the mortise and tenon joint to split. The joint should eventually fit snugly, in a way that the shoulders sit flush with the mortise board:
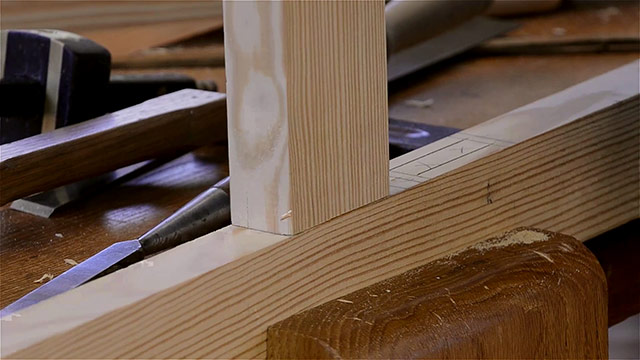
This is what this “through Mortise and Tenon joint” looks like with the tenon exiting the bottom of the mortise:
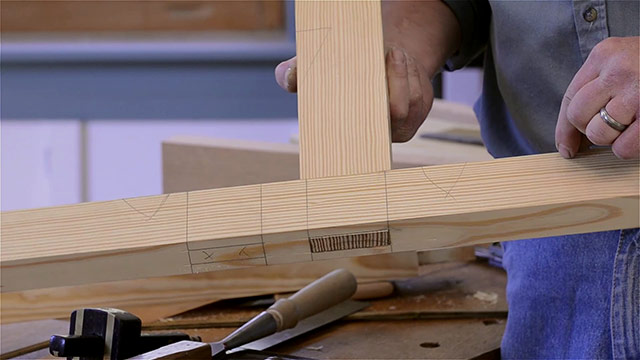
And this is what the mortise and tenon joint looks like with both tenons and mortises complete:
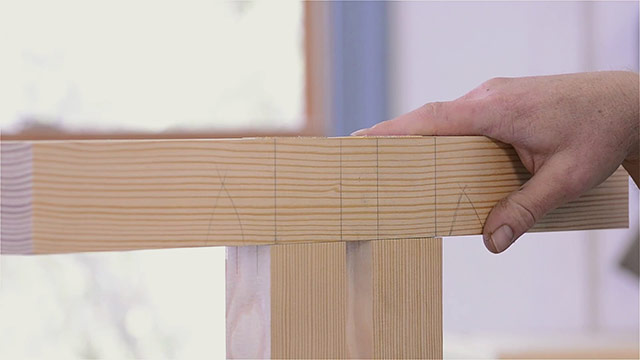
Step 6: Drawbore the Mortise and Tenon Joint
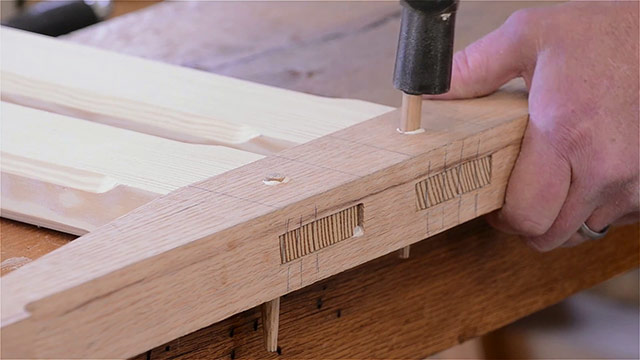
In this last step, you’ll learn an amazing historical method for tightening a mortise and tenon joint using drawboring. Drawboring is the process of driving a wooden dowel through slightly offset holes in the mortise and the tenon.
First, find the center of the joint, where the drawbore hole will be bored with an auger bit:
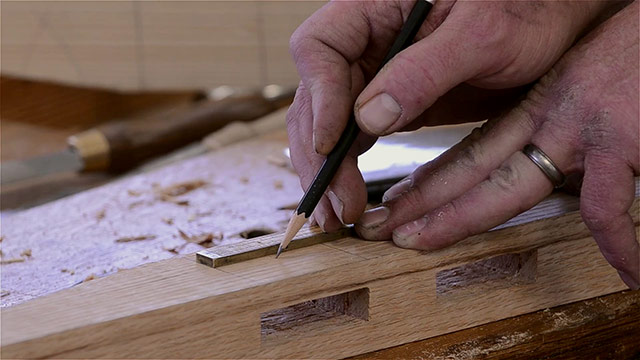
Then start boring a hole through the wall of the mortise, using an auger bit that is the exact same diameter of the wooden dowl you’ll be driving in.
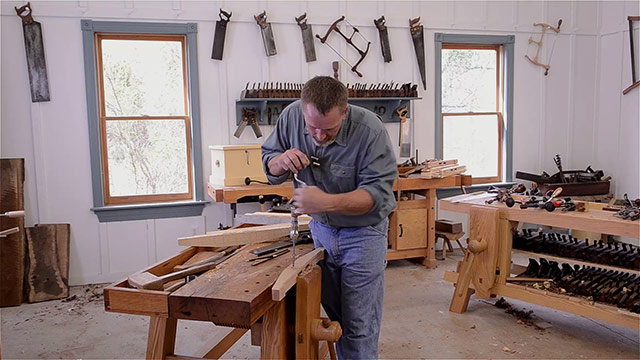
It’s a good idea to test the auger on a scrap piece of wood beforehand to make sure your dowel fits perfectly in the hole. Make sure the auger bit is square and perpendicular to the face of the board:
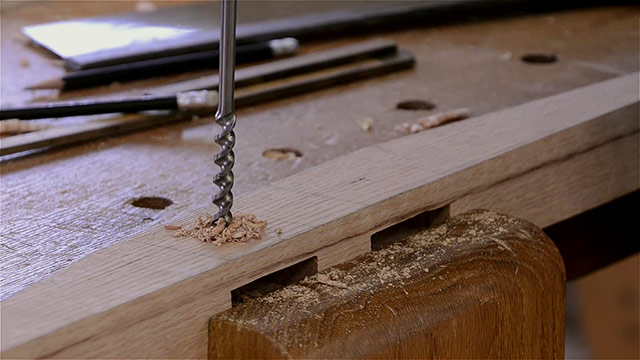
Bore until the auger bit breaks through into the mortise. Then you should slow down so you can stop just as the tiny lead screw point starts to exit the other side. If you don’t, then the auger bit will blow out the back side. Every few rotations, use your hand to feel if the point is exiting the back side.
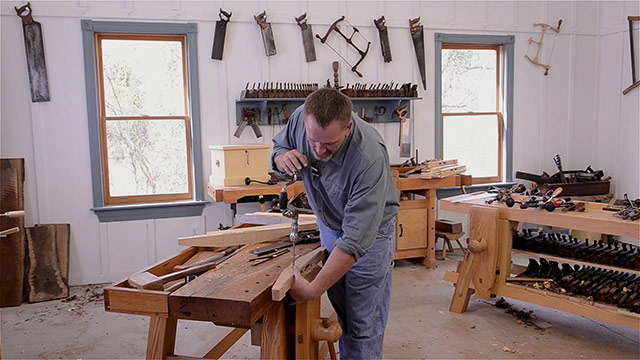
Here you can see the tiny holes where the auger bit lead screws safely exited the back side:
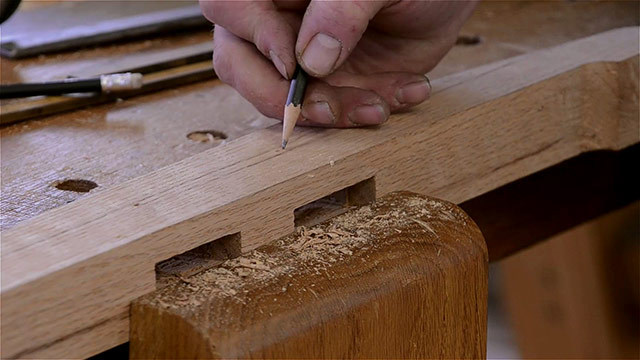
Next, place the auger bit lead screw into the tiny holes, and start boring carefully back into the hole. It will quickly produce a clean hole:
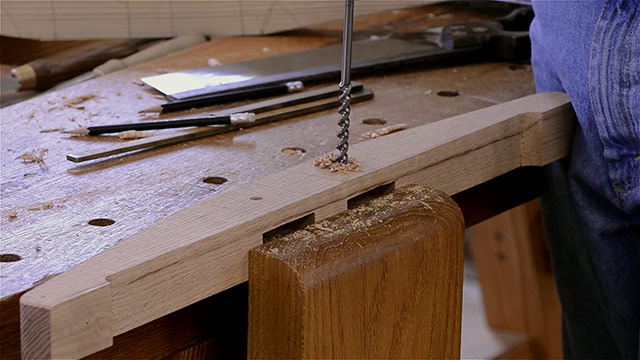
Now place the tenon inside the mortise, and make sure it’s snugged down tightly:
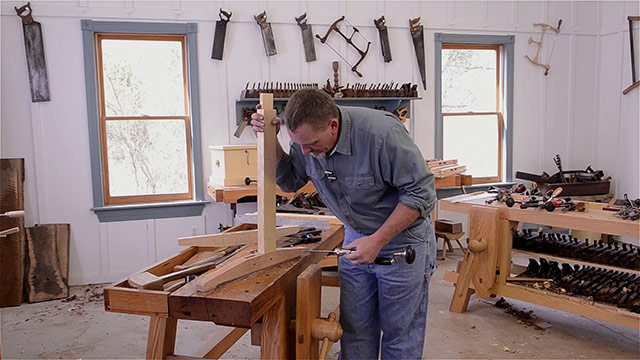
Take the same auger bit that you used to bore the hole, put it back in the hole, and push straight in through the hole until the lead screw makes a mark on the tenon. This will mark the center of the hole on the tenon.
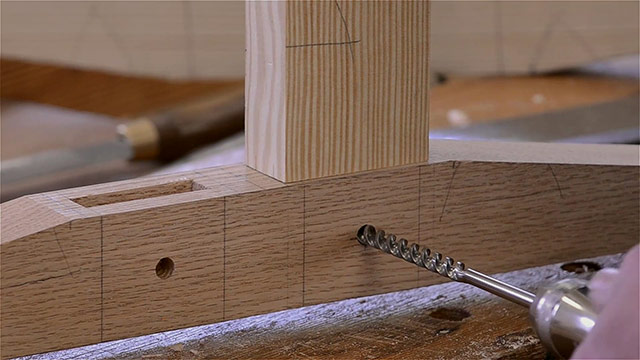
Pull the tenon out, and use a pencil to darken your little mark if you need help to see it better:
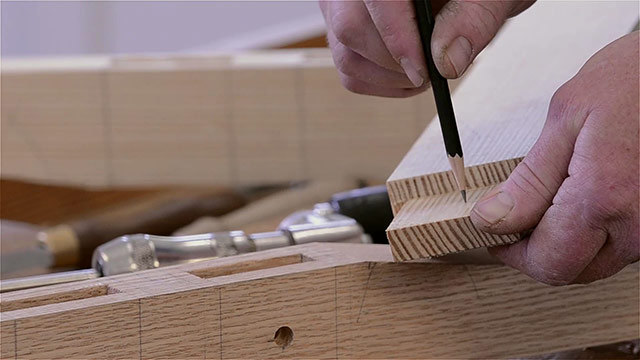
Next you’ll bore a hole in the tenon. But NOT on the little mark you made with the auger’s lead screw. Move the auger bit toward the tenon shoulder just slightly. 1/16th of an inch or less:
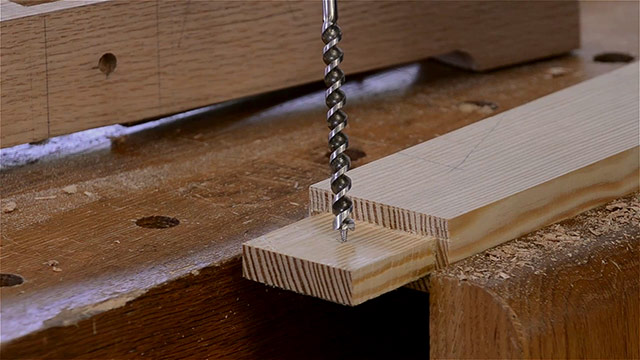
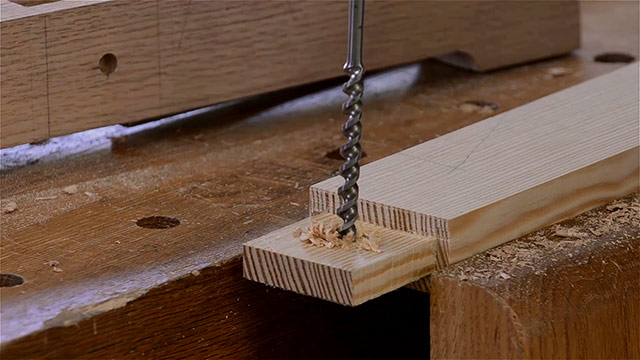
This will allow the hole going through the mortise to be slightly offset from the hole in the tenon, which will tighten the tenon against the mortise after driving the wooden peg through both holes. Go ahead and bore down through the tenon on this new mark. There’s no need to bore from both sides of the tenon, as blowing out the other side won’t matter since the tenon will never be visible after it’s assembled.
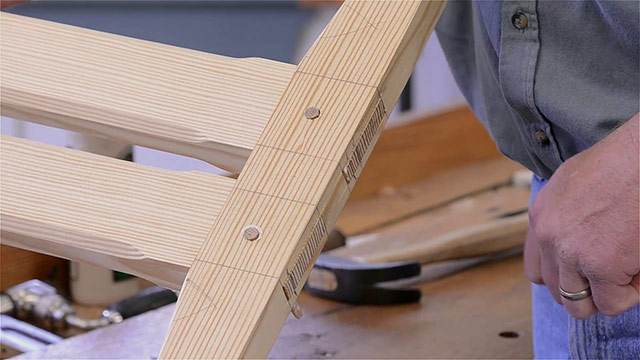
Here you can see the offset of the two drawbore holes once the mortise and tenon joint is assembled:
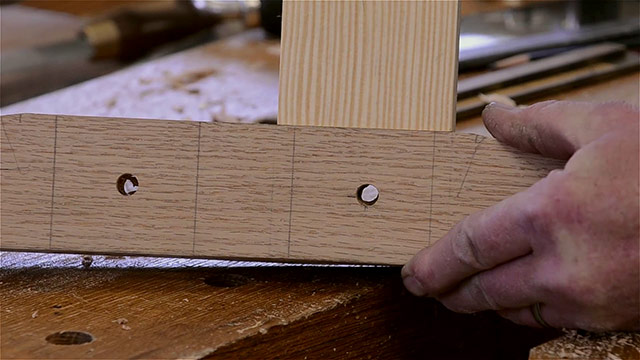
If you want, you can use a pencil to trace the offset, so you can see it on the tenon.
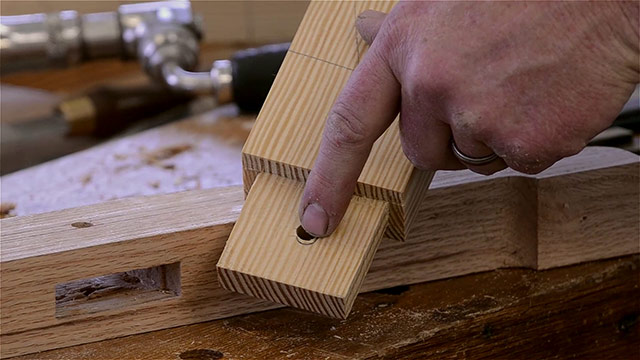
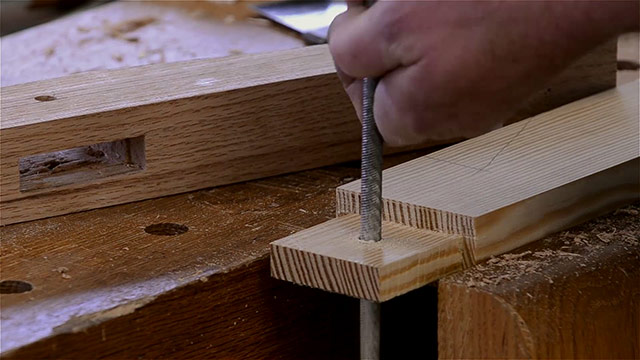
If the offset looks too extreme, you can use a rat tail rasp or file to move the hole toward the pencil mark a little more. Just don’t get rid of the offset.
Once you feel comfortable with the dry fit of your mortise and tenon joint you can add some glue inside the mortise if you want to.
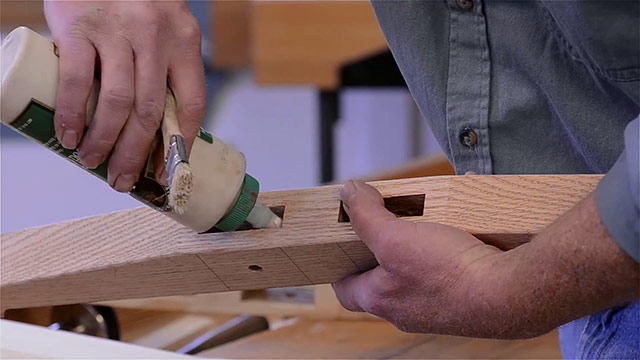
I (Joshua) don’t always add glue to my drawbored mortise and tenon joints, because the peg holds the joint so tightly. And I figure one day someone may want to take the joint apart to make a repair to the furniture. You can also put a bit of glue on the tenons if you want, like Will does.
I recommend that you use a hardwood dowel, like these oak dowels, so the peg doesn’t break when driving it into the holes:
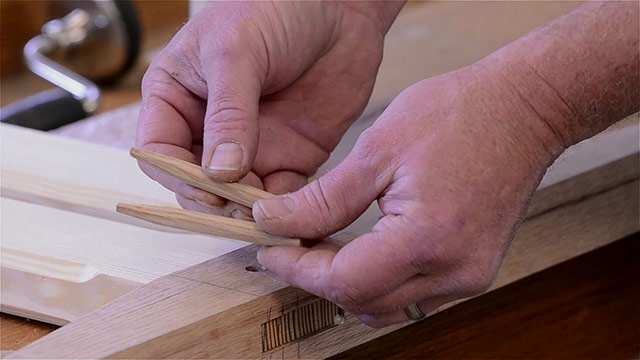
Also notice the tapered ends. You can use a chisel to shape the tip, or you can use a pencil sharpener, like I do! The tapered ends helps the peg move through the holes as it snakes around the offset.
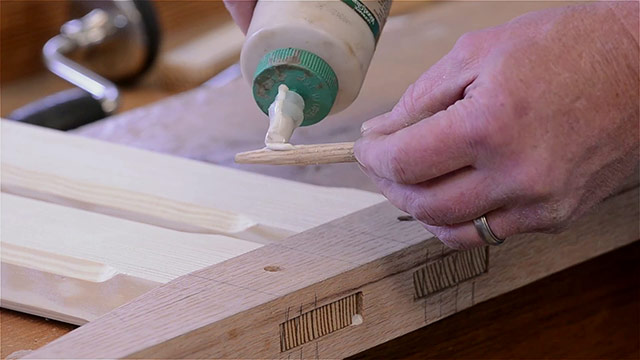
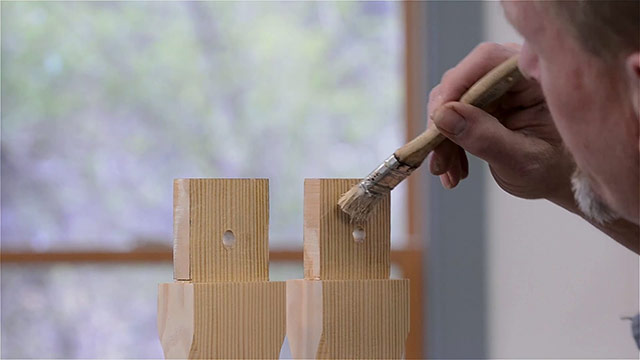
If you want, you can also apply glue to your drawbore pegs. I use wax on mine, since I don’t usually glue up my mortise and tenon joint, as I mentioned earlier. Wax helps the peg move through the holes a bit easier.
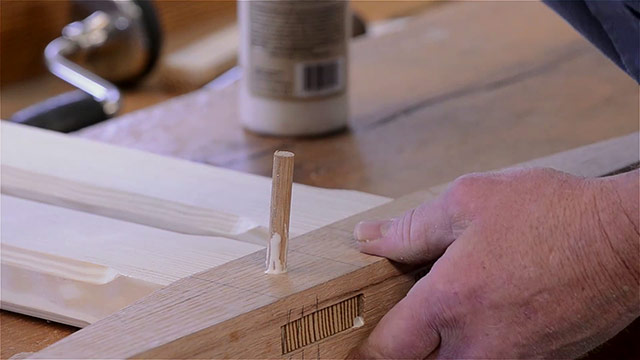
Place the drawbore peg inside the hole, and then go ahead and use a wooden mallet or hammer to drive the drawbore peg down through the mortise and tenon joint:
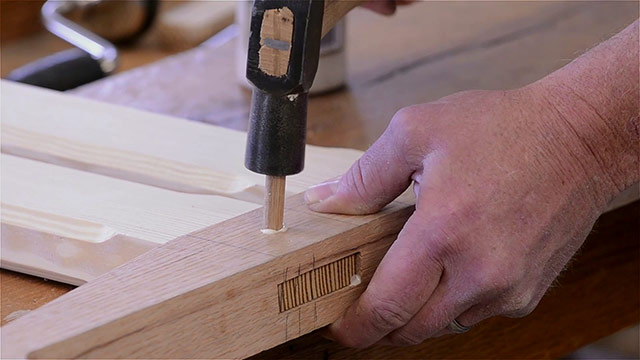
I prefer to stop hitting the mallet before the peg is driven flush with the board, so I don’t accidently go too far and put a big dent in the wood. I can come back later and use a flush-cut saw or a backsaw to trim the peg flush:
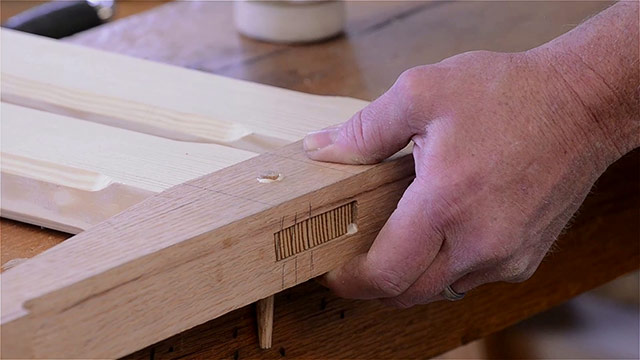
And you can also flush cut the tapered part of the drawbore peg if you like. On some furniture, I actually leave the tapered drawbore peg protruding out the back side so people in the future can know that the joint is drawbored.
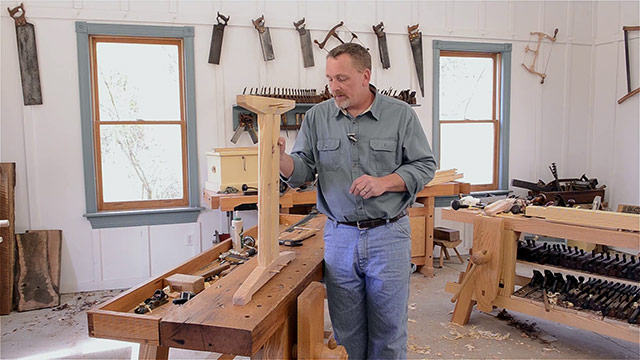
You can see that the joint has drawn itself “as tight as a tick” as Will likes to say!
Conclusion
And that’s it! There’s no need to clamp up this mortise and tenon joint, as it’s super tight from the drawboring. If you have any additional tips, or if you have any questions, feel free to leave a comment below. And if you enjoyed this article & videos, make sure you add your email address here so you can be notified when we release our future videos & articles.


Nicely done! Thanks
I built a version of this table a few years ago and it has proven to be a versatile design that continues to be useful. Thanks for this!
You’re most welcome Rick!
Nice! With his combination of brace and bit boring and efficient chisel work, Will makes mortise and tenon work by hand look easier and maybe even quicker than if you had a power mortiser (and surely cheaper and quieter). I can see where a power mortiser might be more efficient if you were doing production work, making multiple tables at the same time. But for one piece this I think it might be faster by hand. On the other hand… Read more »
Well done. I know there is an art to knowing how far to offset. I like the rat-tail cleanup