In this video I show a historical method for darkening white oak furniture with industrial strength Ammonia, inside a makeshift plastic fuming tent, and I do it on a pair of Shaker style quartersawn white oak end tables. My most recent video & article showed how these end tables fit together (here) and I previously shared a video & article on experimenting with lower-strength home center ammonia to fume an oak Moravian footstool (here).
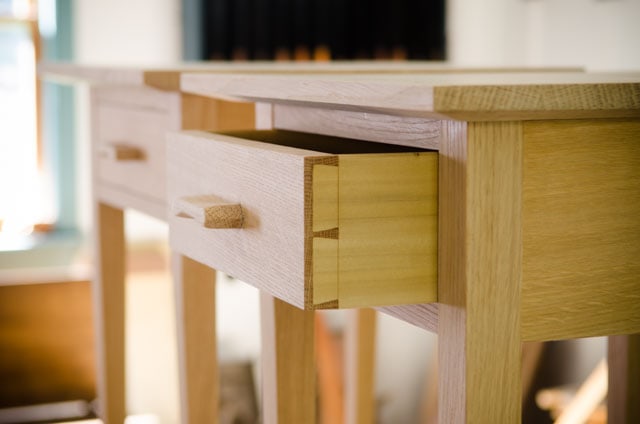
So what is Ammonia Fuming?
For those who aren’t familiar with what ammonia fuming is, it is a chemical method that furniture makers use to deeply darken and bring out the nice figure in certain woods, typically prior to adding a finish.
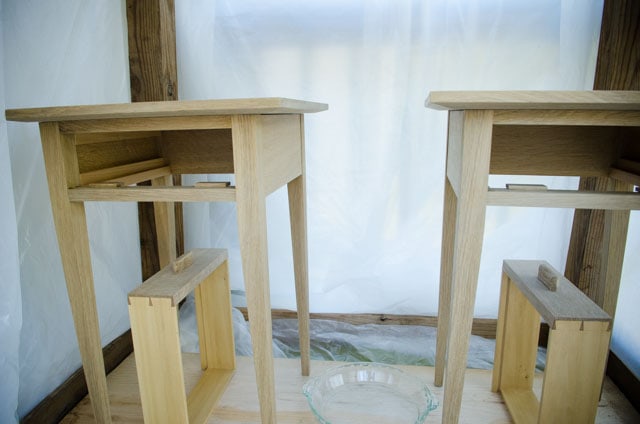
The furniture is placed in a confined space, and Ammonia, or Ammonium Hydroxide, is left in a little container for a period of time. The ammonia isn’t applied directly to the wood. The ammonia fumes react with the tannins in the wood, and darkens the wood. White oak is the wood of choice for ammonia fuming because this wood has a particularly high tannin content. Quartersawn white oak in particular works nice because ammonia fuming brings out the figure and “ray flecks”. Several other woods also react to ammonia fuming, including cherry, birch, maple, and butternut.
Many woodworkers (including myself) prefer ammonia fuming over staining because stain generally sits on the surface of the wood, and a ding or scratch can expose the unstained wood below. But ammonia gasses penetrate deeper into the wood, which allows a repair without having to darken the wood around the ding or scratch. Stain can also be absorbed unevenly in different parts of the furniture. You can read more about the benefits of Ammonia Fuming over staining here.
History of Ammonia Fuming
Ammonia fuming was apparently discovered by accident in England when oak boards stored in horse stables were found to darken considerably when being stored near the fumes from horse urine. Eureka! (Or I guess you could say “Uric-A”…sorry if you don’t get my joke).
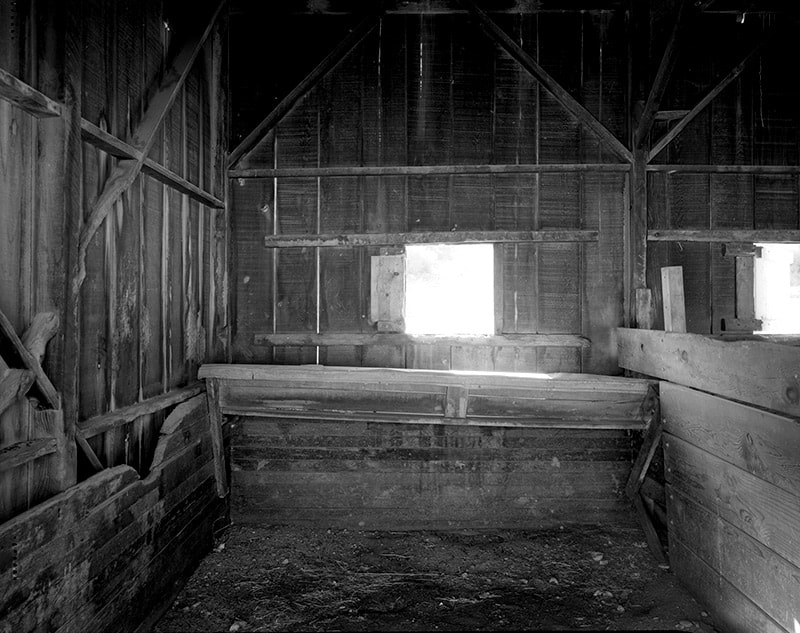
The process became especially popular during the late 1800’s Arts & Crafts movement in Britain and the United States. Furniture buyers loved the effect of the ammonia causing the ray flecks in the quartersawn wood to “pop” with contrast.
Ammonia Fuming Safety:
Even though ammonia is a common and readily-available cleaning product, it can be dangerous and very unpleasant to inhale. Because of this hazard, ammonia fuming was discontinued by most large furniture manufactures and replaced with less dangerous methods that mimicked the results. But a lot of modern-day woodworkers have found that they can safely incorporate ammonia fuming if they follow a few safety precautions. So only try this if you accept the risk and use proper safety practices.
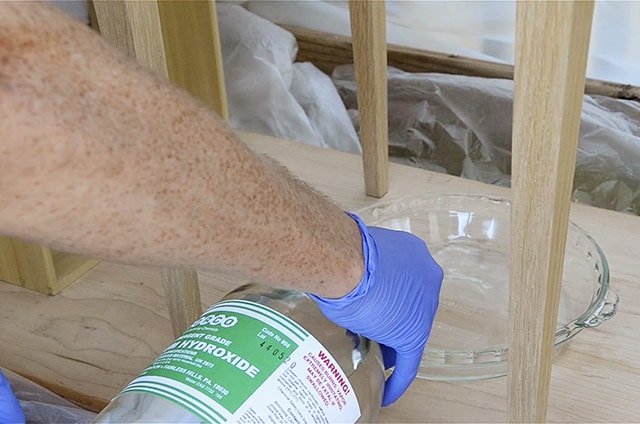
You must wear rubber gloves and safety glasses or a face shield, and from personal experience I recommend a mask or respirator mask. And don’t try to open your containers while indoors, as the fumes will make any interior room unbearable within just a few seconds.
How to Fume Oak Wood with Ammonia: 5 Steps
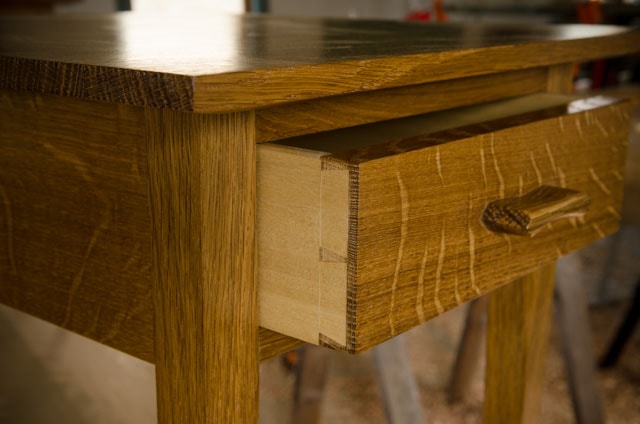
Below you’ll find my five steps to darkening furniture with the Ammonia fuming process:
Step 1: Make an Ammonia Fuming Tent or Container
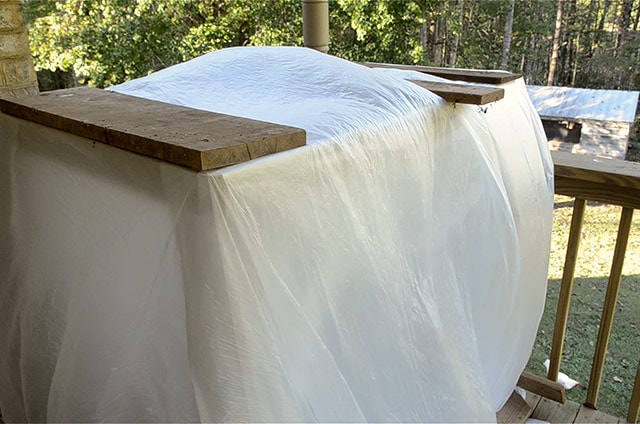
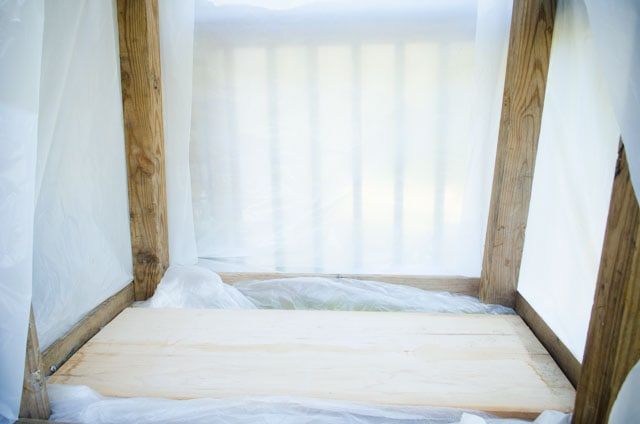
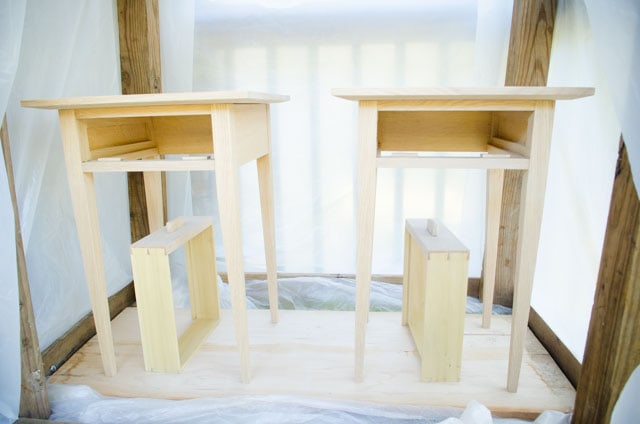
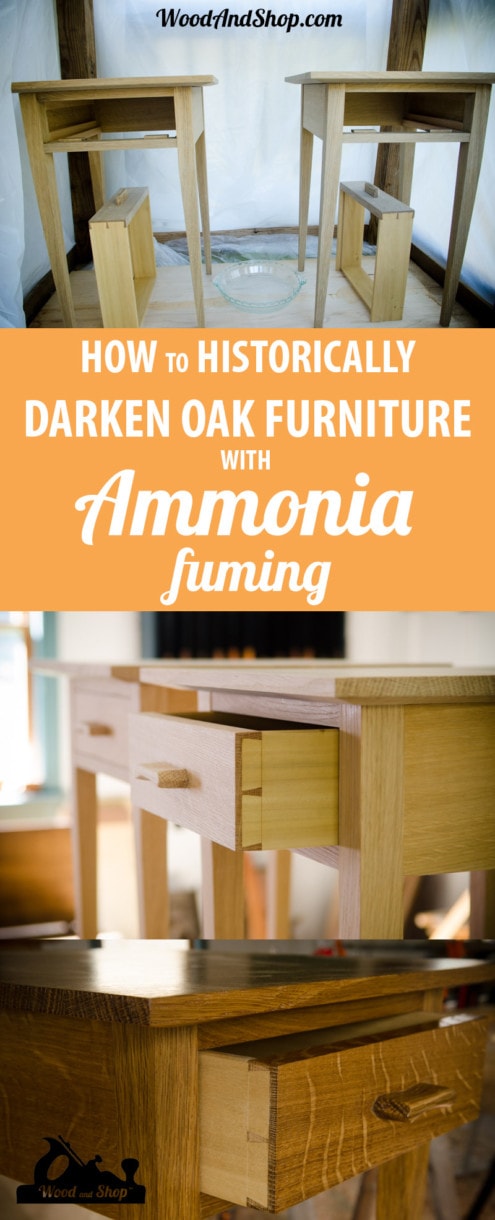
The first consideration that you need to take care of is making an air-tight, or mostly air-tight container, to hold your furniture piece. In this case I used leftover posts from when I built paddock fencing around some of my property. I definitely employed low-quality construction techniques, as this fuming tent was a temporary structure…and my wife didn’t like having such an ugly homeless shelter sitting on our front porch. Next time I need to fume something large, I’ll just screw this tent back together. But definitely don’t use huge 4×4 posts unless that’s all that you’ve got. Simple 1×2 or 2×4 construction lumber is plenty rigid. 1×2’s would be nice because you could actually lift the tent, and lower it onto the furniture rather than using a flap/door. And drywall screws are great for holding your fuming tent together. I stapled thicker plastic sheeting around the tent, and left a flap at the front. I also draped some thinner painter’s plastic over the top to give an extra barrier and to hold the ammonia gasses in better. I placed some scrap wood around the base and on top of the tent to keep the plastic weighed down.
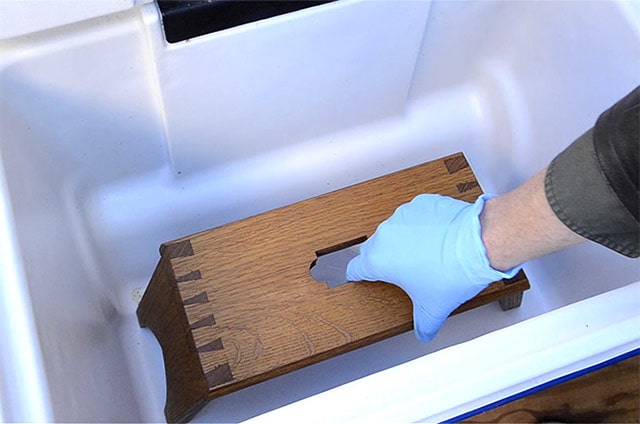
So what if you have a small piece of furniture to fume? In my last article on fuming, I showed how I use a simple cooler. They’re portable, mostly air-tight, and easy to keep outdoors. Just keep it in a covered, dry place outdoors or rain will get in.
Step 2: Pour Ammonia into a Shallow Container
I pour somewhere between 1/2 cup and 1 cup of 28% Ammonium Hydroxide (Ammonia) into a shallow glass container, like a Pyrex pie dish (shallow so it doesn’t get tipped over). Make sure to cover your eyes and mouth, because the gasses are a bit overpowering (see safety section). The gasses get more overpowering as the fuming process progresses, so be aware when you open the tent flap.
So where do you find industrial strength Ammonia? Industrial ammonia (25%-28% Ammonium Hydroxide) is a bit difficult to find locally these days. Back in the mid 90’s when I took architecture classes in high school (down the hall from my woodworking class), ammonia was quite common. The school stored ammonia because we had a blueprint machine for printing our blueprint plans. Local architects and engineers also used ammonia. So a lot more companies supplied it. But now days, with the advent of computer printers, there is less demand for ammonia and fewer local suppliers. I eventually tracked down a laboratory supply company that carried it in Richmond, Virginia (about an hour drive from me…here it is for anyone living in Virginia). And then, after buying it from Richmond I discovered that you can purchase it on Amazon (here) for about what I paid, including shipping. Oh well.
Step 3: Check the Furniture Periodically
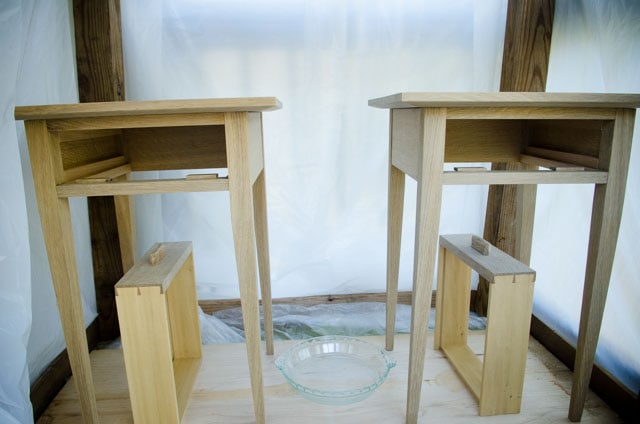
Some people use test sticks, or small scraps of wood from the same lumber that they’re fuming (tucked just inside the tent) to gauge the progress of their furniture in the fuming tent. I personally like to see the whole piece of furniture, so I open the tent flap very briefly every few hours. These end tables were left in the fuming tent for a little over two days. But some people leave theirs in for shorter periods of time. Just go according to your preference. I do, however, do some sample test sticks prior to fuming the furniture, to get a rough idea of how long the fuming will take. But this is optional. If you can find clear plastic sheeting, that’s an even better option. I had opaque plastic sheeting in my garage, so that’s what I used.
The furniture pieces will have a dull gray appearance for the duration of the fuming, so don’t leave them in until they look stunning…because they won’t look stunning until you apply your finish. Just use your judgement.
Step 4: Remove Your Furniture from the Fuming Tent
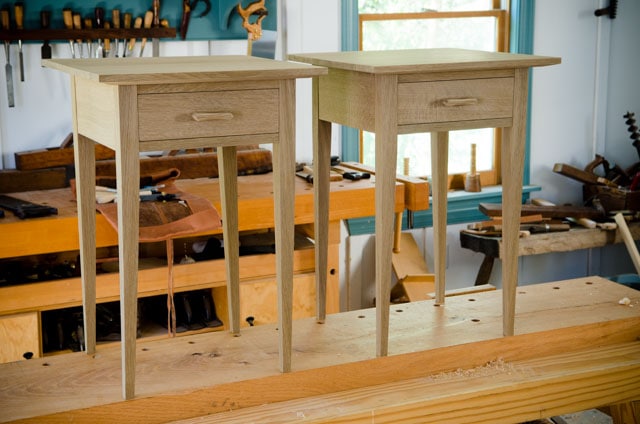
When you feel that your fuming process has reached it’s desired results, open the plastic tent flap door, carefully remove the ammonia. Dilute it really well and dispose of it…or just pour it into the toilet. Ammonia is a cleaner, so just scrub your toilet with it. And urine contains ammonia, so there’s no problem here. Plus, this ammonia has lost much of it’s strength after fuming. Just be careful to never mix ammonia with bleach. The combination will create a deadly gas!!
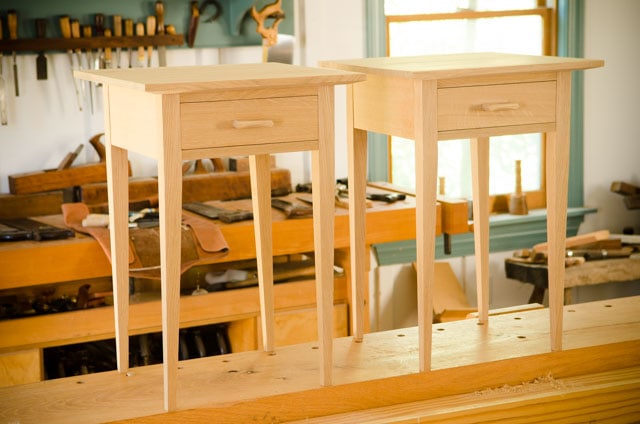
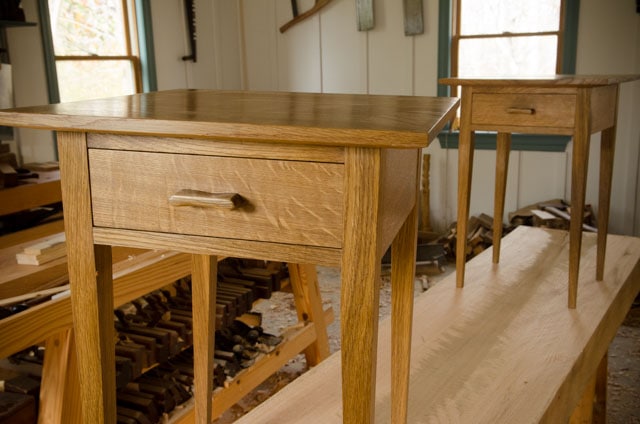
After you’ve safely disposed of the ammonia, just leave the tent flap open for a couple hours, and let the furniture piece “gas off”. Take the furniture piece back to your workshop, and let it re-acclimate to the humidity level of your workshop for a couple days before applying a finish. Here’s a photo of the end tables before the fuming so that you can contrast it with the fumed tables above.
Step 5: Apply a Finish
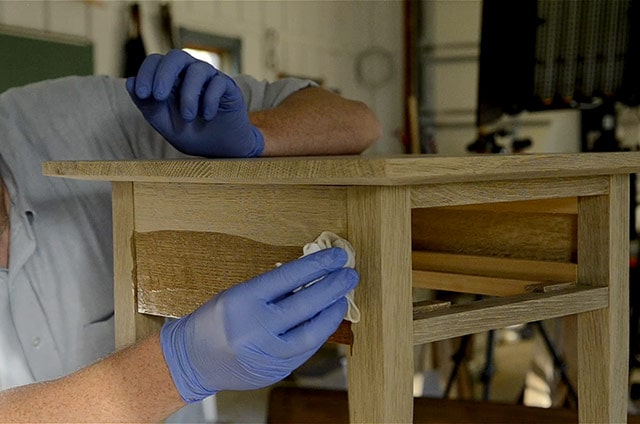
The most gratifying moment comes when you apply the first coat of finish on the newly fumed oak furniture. You can use virtually any finish over the top of ammonia fumed furniture. Two of my favorite methods are blow.
OIL / SHELLAC / WAX FINISH INSTRUCTIONS:
For furniture pieces that won’t get much abuse, I really like using boiled linseed oil with dewaxed shellac, and a wax top coat. Apply the boiled linseed oil liberally until the wood won’t absorb anymore, then wipe the oil off with a clean cotton cloth after letting it sit for 10-15 minutes. Then, after at least one day, apply several coats of thinned dewaxed shellac with a cotton cloth. If the shellac isn’t mostly dry within 30 seconds (after blowing on it), then thin it with more denatured alcohol. This will prevent running and will allow a nice build up of the shellac. This is why it’s a good idea to use a test board that you’ve fumed with your furniture. Lightly sand after the first coat of shellac, then apply a couple more coats of shellac. You really only need to wait for less than a minute between coats of shellac, if it’s been properly thinned. After the final shellac coat has dried for at least an hour, you can then apply a paste wax with 0000 steel wool. Buff it out with a clean cloth within 10 minutes or less. A top coat can be applied over the shellac, before the wax, as long as you use dewaxed shellac, and not normal shellac. A protective top coat won’t stick to waxy shellac very well. Below is a great protective finish.
WIPING VARNISH FINISH RECIPE & INSTRUCTIONS:
This is an easy, lovely, and protective wood finish recipe that is based on a recipe that my friend Will Myers shared with me. I like it because it brings out the figure and gives depth with some oil, but offers protection that a table needs, without getting a plastic look. It’s also pretty easy.
- Mix Natural Danish Oil and Satin Polyurethane in a 50/50 mixture. I like to use a small jam-sized canning jar (8 oz – 12 oz. size).
- Use a lint-free cloth, or old t-shirt scraps to wipe on a first coat. Wait 10-15 minutes, and then wipe off the excess with a clean cloth. Let the first coat dry for three days.
- Lightly sand or scuff between coats with 0000 steel wool, an ultra fine Scotch-Brite pad, or very fine sandpaper. This finish really doesn’t build enough film to need wet sanding, so just lightly dry scuff between coats.
- Repeat the above steps two more times.
- After the last (third) coat has dried for three days, lightly scuff the surface again, and buff with a nice furniture wax. Waiting a week before applying a wax finish is even better so that the finish gets a nice long time to harden. Be sure to follow the can’s instructions because leaving wax on too long before buffing it out can cause you problems. I think 10 minutes is a typical max wait time for buffing.
- Bonus Tip: This finish will thicken up and be unusable after a few weeks, so if you have leftovers, I spray a bit of Bloxygen to preserve it and then close the lid. I also spray this into my danish oil can and polyurethane can (and all my varnishes). Bloxygen is argon gas that displaces the oxygen, which preserves your wood finishes. It has saved me a lot of money in wasted wood finish. It’s especially good to spray in Waterlox, which tends to coagulate more quickly than other finishes I’ve used.
Please leave your comments or questions below!




Very interesting post, Joshua. And beautiful tables, BTW. You said, “I pour somewhere between 1/2 cup and 1 cup of 28% Ammonium Hydroxide (Ammonia) into a shallow glass container, like a Pyrex pie dish (shallow so it doesn’t get tipped over)”. The other major benefit of the shallow, wide container is it gives FAR more surface area for the fumes to release from the ammonia.
Matt, thanks for your input!
Out of curiosity, do you have a scrap piece you could cut on a 45 to see how deep it penetrates? I’m just curious. Many thanks.
Sure Joe, if you could email me and remind me, I’ll go check: https://woodandshop.com/contact/
I’ve done some ammonia fuming, with both hardware store ammonia and 26% stuff. I even experimented with wiping on liquid ammonia (the low concentration stuff); you can get good results with that but of course it raises the grain. I was wondering, why do you specify dewaxed shellac if you are then going to apply wax as a topcoat? Is it just for those cases where someone may want to put on a protective film like polyurethane? FWIW, I’ve never… Read more »
Great question Michael. The wax is not really a top coat, per say. It goes on top of the top coat (like on top of a poly finish) to add an extra layer of shine and a little protection. Yes, I’ve also heard mixed results with people using finishes over the top of normal shellac. I guess I’ve just always used dewaxed shellac just to make sure the finish adheres to the shellac.
Interesting article. Keep up the good work!
Incredibly useful technique and even better guide, great work Joshua. Thorough while also being straightforward.
You’re most welcome James!
Do you recommend anything in particular for storing 28% ammonia? After reading about all the safety concerns I’m super nervous about just leaving that bottle out in the garage, like it will heat up and boil at 99° and explode, or that somehow it will leak and I will gas myself walking out there.
Hi Michael, I don’t think it’ll explode in your garage. Mine has been fine stored in the bottle, inside the cardboard box it came in. Read more safety info here.
Joshua I am a bower and started to use Hickory as a wood for my bows It is a very good wood for bows ever since Keith Shannon started to per fire harden the wood first it changes the performance of the bow dramatically when finished The only problem I feel is the color of the wood is still very light in color And when I go and finish it with true-oil varnish it does not look so good Staning… Read more »