Disclosure: WoodAndShop.com is supported by its audience. When you purchase through certain links on our site, we may earn a small affiliate commission, at no cost to you. Learn more.
By Joshua Farnsworth
In this article, and the above video, I show my simple 4 step method to install hinges onto a dovetail box or chest using woodworking hand tools.

Table of Contents
Want to skip to a specific section? Click a link below:
Introduction
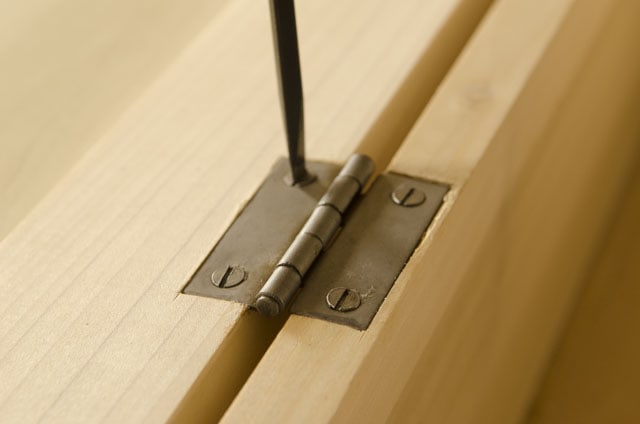
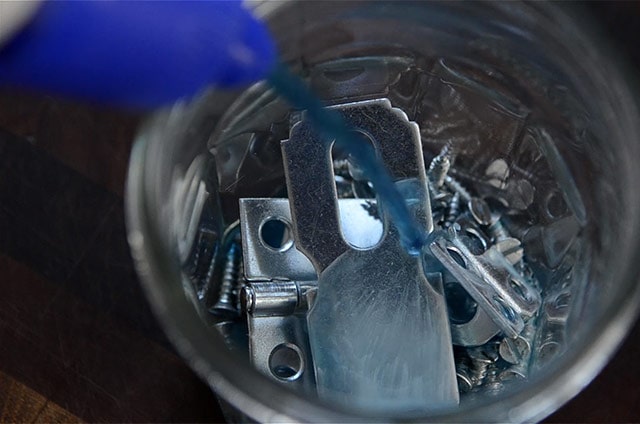
In my last video & article I showed how to use toilet bowl cleaner to turn these inexpensive, zinc-coated hinges and screws from a hardware store, into lovely historical hardware (see the video & article here). But you can use any hinges or screws for your project.
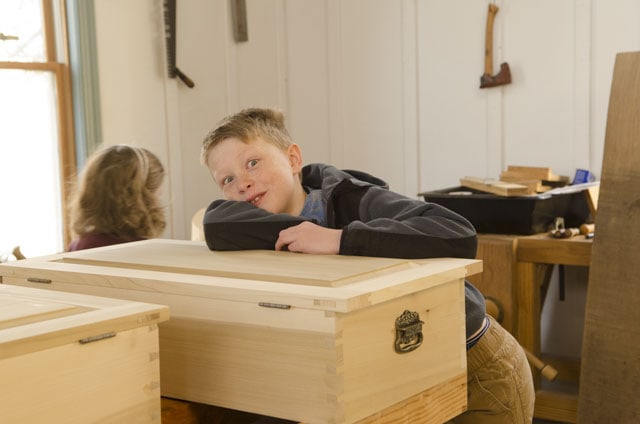
I recently made these four dovetail chests for my kids for Christmas. I wanted these chests to have a very timeless and traditional look, which includes hardware that looks like antique hardware.
Woodworking Hand Tools Used To Install Hinges
Click the links below to find the woodworking hand tools and other items I used to install hinges in the video and article.
- Vintage Router planes: https://ebay.to/35my9Ak
- New router plane (shown in the video): http://bit.ly/3iUXwRC
- 1-inch chisel (see my favorites): https://lddy.no/qlj8
- Marking knife: https://lddy.no/uatv
- Combination square: https://amzn.to/2WBzvnr
- Wheel marking gauge: https://amzn.to/39tivbf
- Quick clamps: https://amzn.to/2Rh29cG
- Awl: https://lddy.no/uaty
- Egg beater hand drill: http://ebay.to/36kUh0W
- 50-Piece Mini HSS Drill Bit Set (my favorite): http://bit.ly/2YpGCRQ
- Slotted wood screws: http://bit.ly/3cg7dc5
- Butt hinges: https://amzn.to/39HhrPO
- Slotted screw drivers: http://bit.ly/3prVriz
- See all my hand tool recommendations here
(Some of the above links may earn us a commission if you make a purchase. However, this does not impact our recommendations, nor does it cost you anything).
4 Steps How to Install Hinges on a Box or Chest
In this article (and the video above) I show you my easy method for how to install hinges on a dovetail box. This tutorial will also work for installing door hinges and can help you install hinges on cabinet doors. It’s a very similar method. This simple 4 step method can be used for various sized chests, boxes, or cupboards. Before we start, I’ve listed the tools and hardware used in this woodworking lesson.
1. Mark the Hinge Mortises
Now that I’ve got the hardware looking like antique hardware, we’ll start to install hinges on the box. I’ll use a pencil to mark the distance in from the edge of the chest where I want the hinge to go.
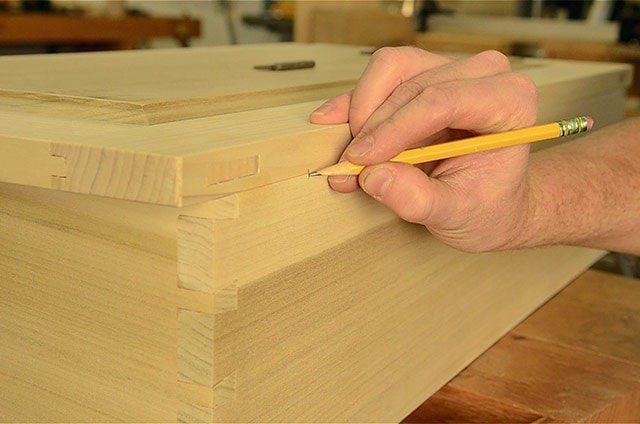
In this case it’s about 3-inches from the edge. But do what looks good on your piece of furniture.
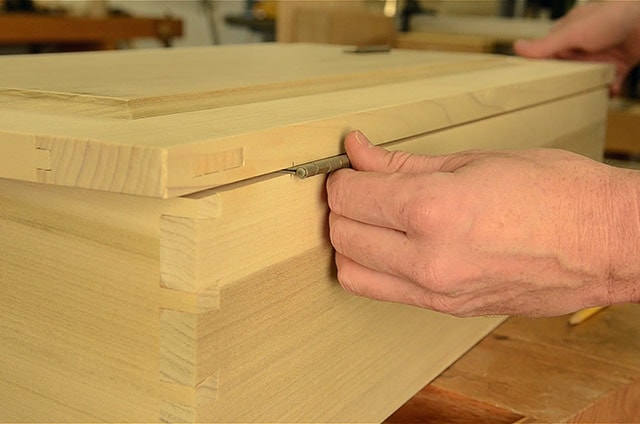
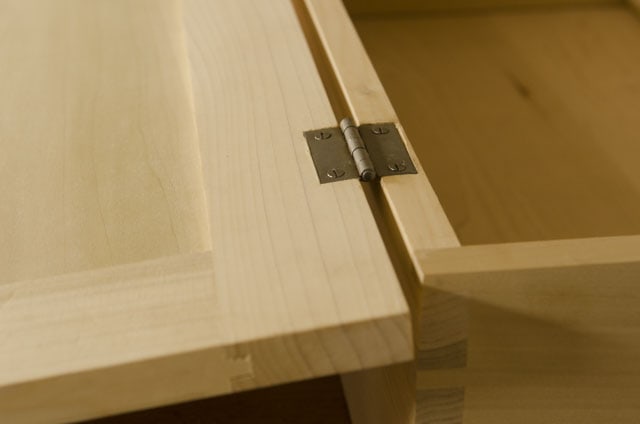
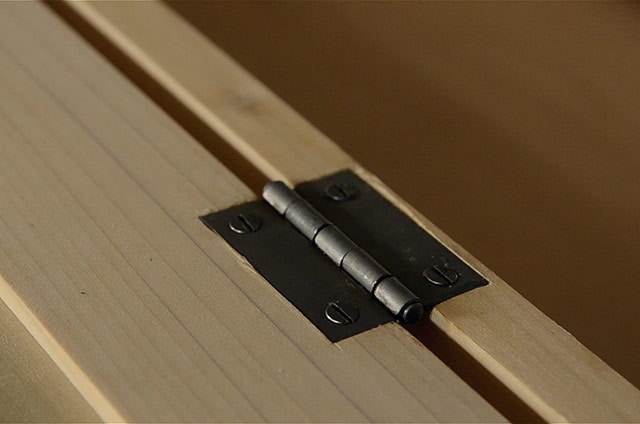
Next I take the two hinges, oriented like in the photo above, and I lay them in place on the line that I just drew. Then I take a sharp marking knife and make two tick marks: first on the pencil mark, and then on the other side of the hinge. For greater accuracy I use the flat face of the knife against the hinge.
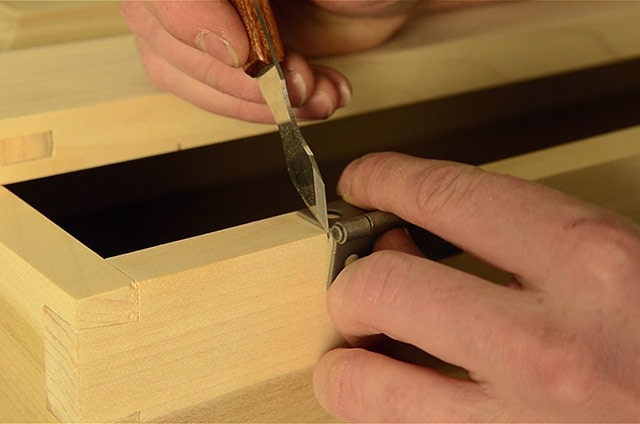
In the case of this chest, I want to leave a little bit of wood behind it, so I pull it toward me and leave about an eighth of an inch behind.
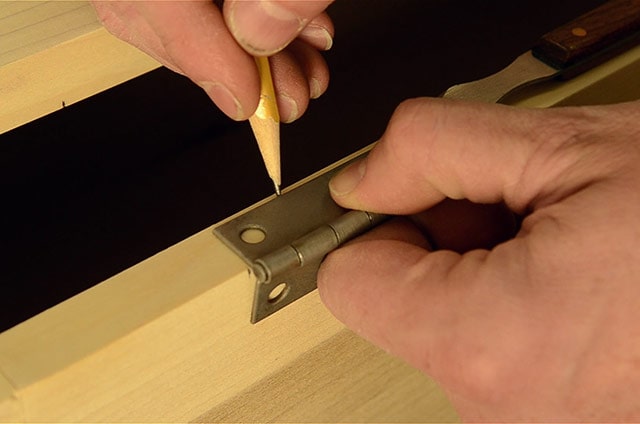
I make a little tick mark with my pencil, and then I set my marking gauge to that distance. Then I strike the line with the marking gauge.
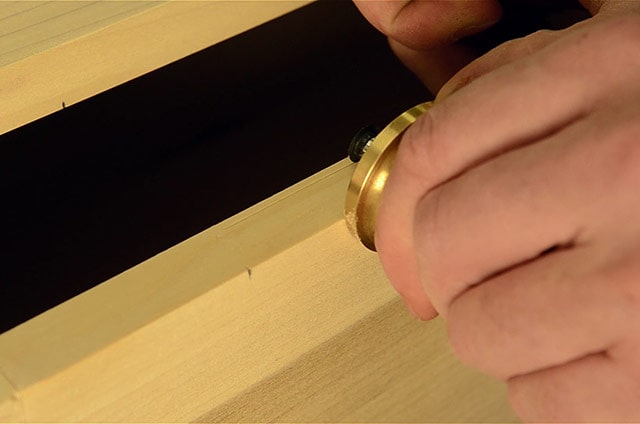
Keep this setting, because it will be the same for all the other hinges that you’re installing. Don’t worry if the mark goes beyond where your hinge will be. That’s just a maker mark that will show how you made the chest. Then I extend the first tick marks with the marking knife, using the combination square as a guide.
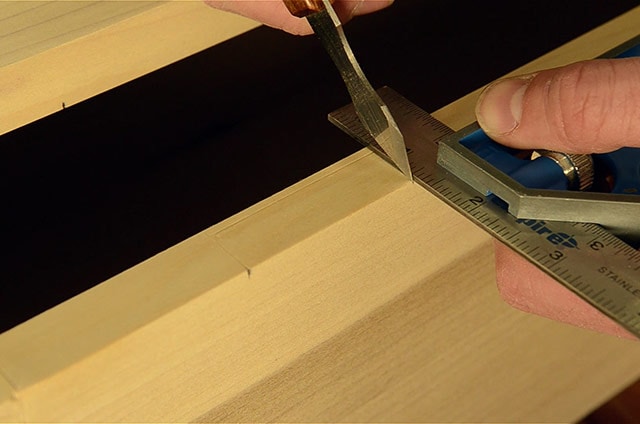
Again, I position the flat face of the knife against the square. Then I set another marking gauge for the thickness of the hinge.
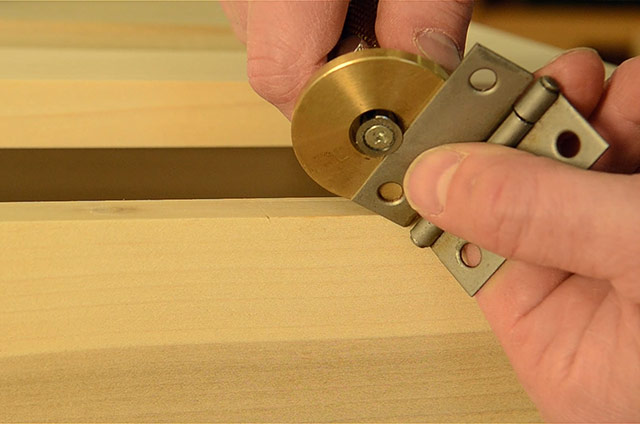
You can also just do this step later if you only have one marking gauge. But I make sure that I set my gauge to extend just over the edge of the hinge. Having that extra depth will help the lid close with a smaller gap. Then I strike the line.
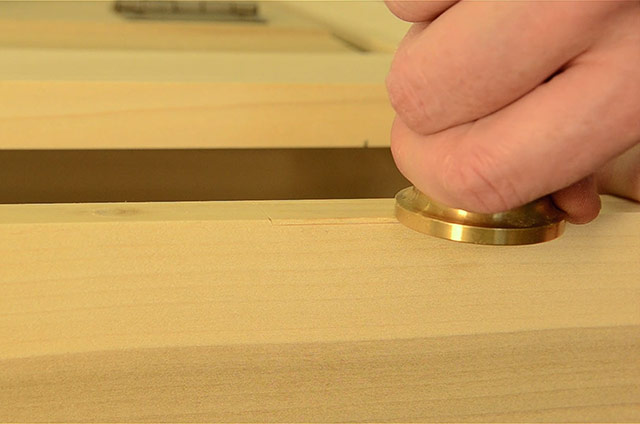
2. Cutting the Hinge Mortises
Now we’ll move onto the second step to install hinges on a box. You can see the mortise that I’ll remove for the hinge to sit in. I like to clamp a scrap board to the top of the chest to help prevent me from blowing out the fragile back side of the mortise.
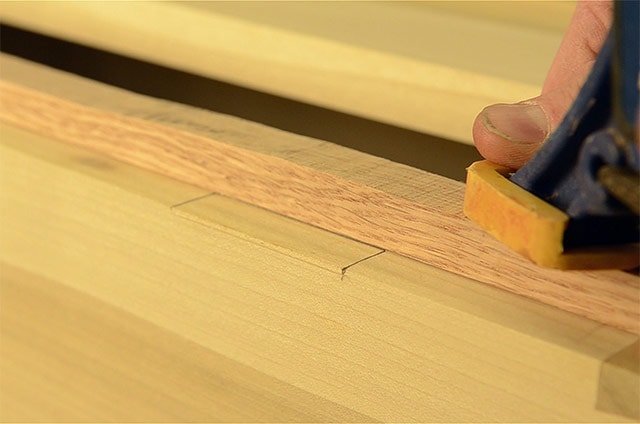
I just use some quick clamps on each end of the chest, and just cover up the rear line to give myself a little more protection. Then I take a sharp chisel and deepen the two cross grain marks.
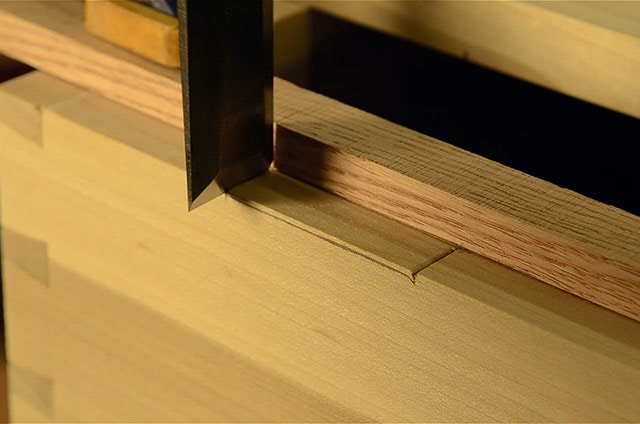
Next I take a chisel and remove some of the wood from the mortise. I try to not go down to the baseline yet.
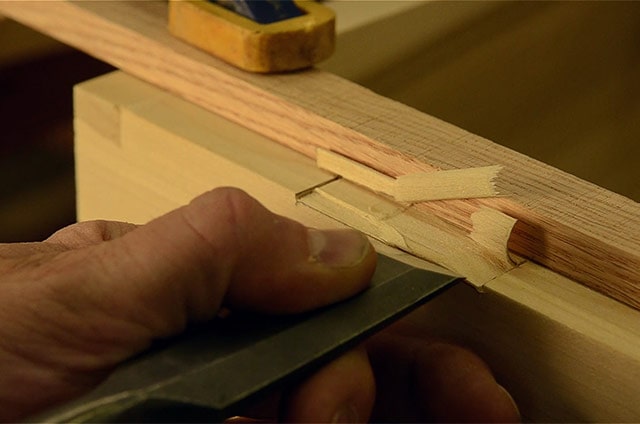
And you can see how the scrap wood helps to stop my chisel from going too far. I’m also using my hands to control the cut. My right hand is pushing, and my left hand is putting the brakes on. Occasionally I’ll take a very light cut on top. Be very careful with this or else you’ll split the back right off. I’m just lightly severing the fibers. And then on the next cuts, I can go down closer to the line.
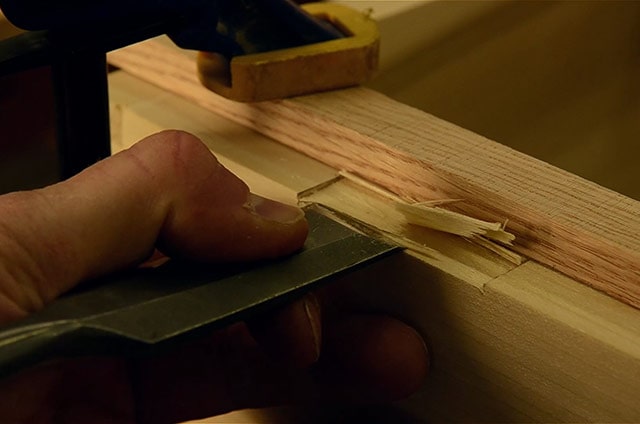
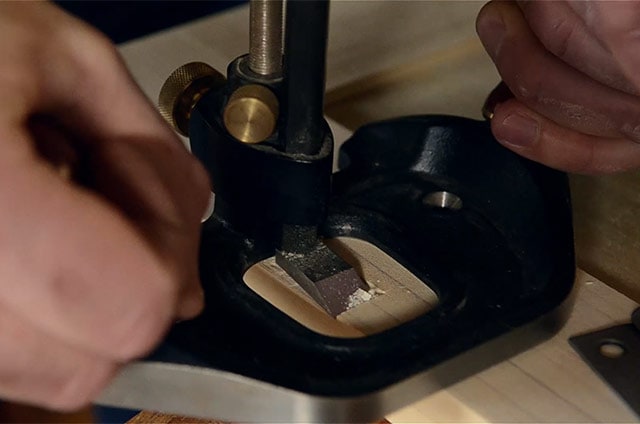
I do a bit of cleanup work to clear out the remaining wild fibers. Now I use a router plane to go down to the final depth, and flatten the bottom of the mortise.
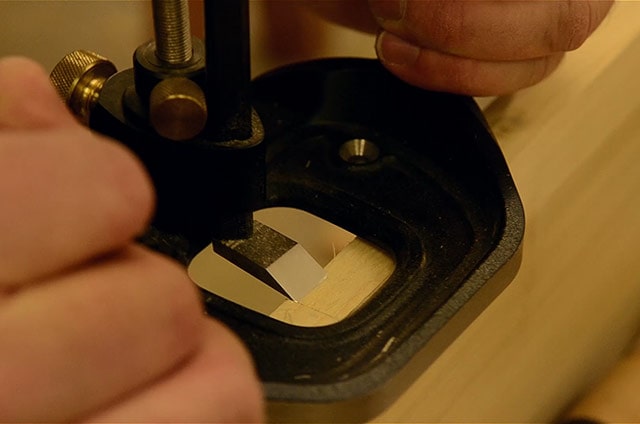
If you don’t have a router plane, you can just eyeball the flatness of the mortise, and you can get it pretty close. But a router plane really makes this more reliable and faster. Be very gentile with the router plane, because you can easily break out that small piece of wood. And I continue to sever the stray wood fibers with a chisel. Now you can see how nicely the hinge fits into the mortise. It is just a hair lower than the top of the wood.
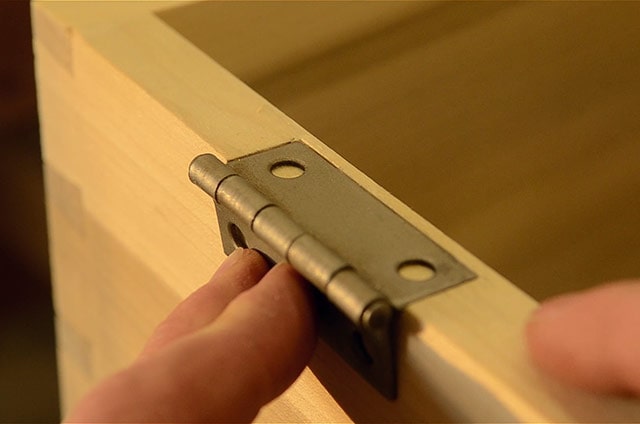
3. Installing the Hinges on the Chest
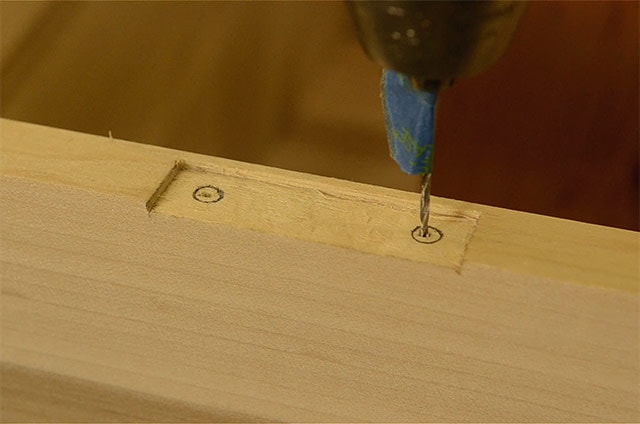
Now that the hinge mortises are cut, I move onto installing them. I lay them in place and use a sharp pencil to outline the screw holes.
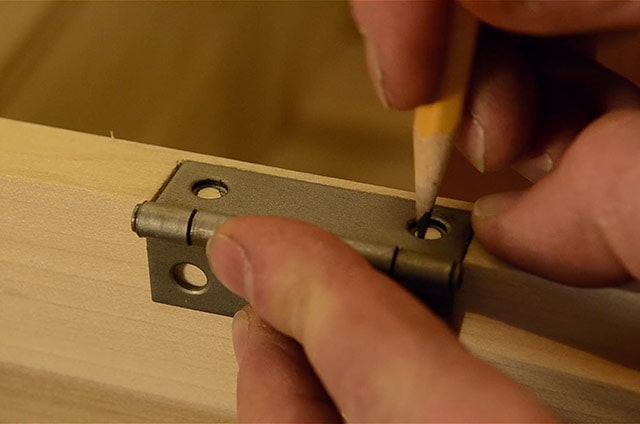
Next I use an awl to mark the center of each hole. Push hard, because this will help center your drill bit.
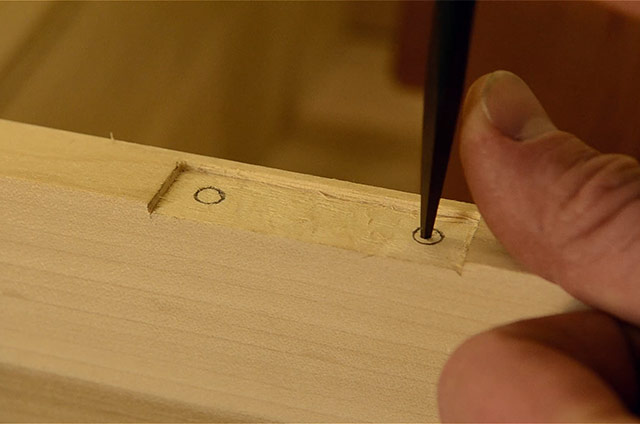
I’m using an egg beater and a drill bit that is a bit narrower than the screw shaft. You can also use a power drill.
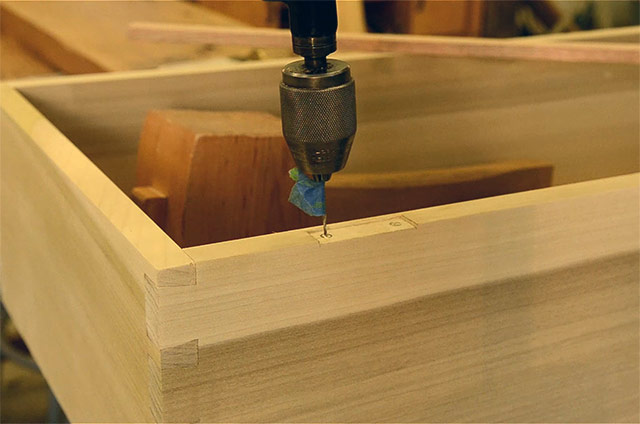
Just bore the hole until you get to the depth of the screw.
Before I insert a screw I dip it in some wax, like this beeswax furniture wax that I made in a previous video and article (see it here).
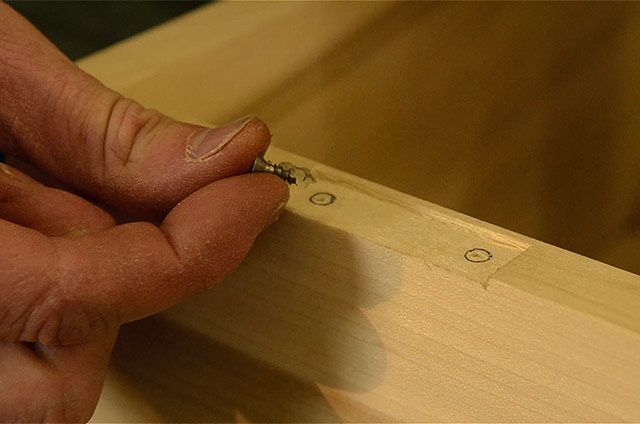
This will help the screw in way easier. And then I drive each screw down most of the way.
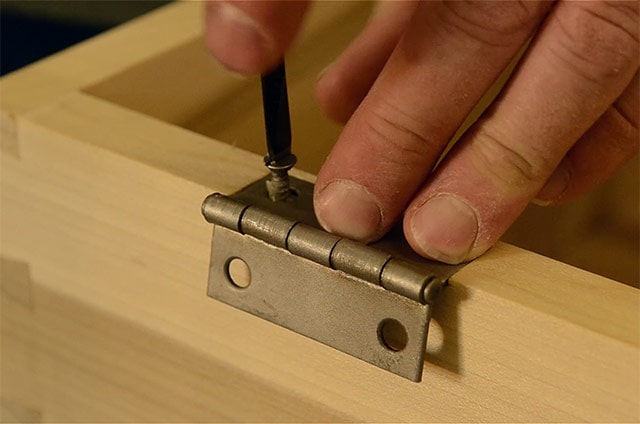
I don’t drive the screw all the way down yet, because I like to make sure both screws are centered in their holes.
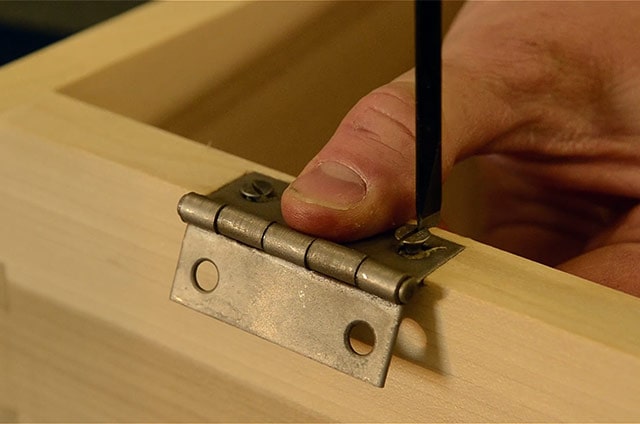
You can see how the hinge can shift, so I go back and forth tightening them a bit at a time. And I try to “clock” the screws, by aligning the slots. It’s just aesthetics.
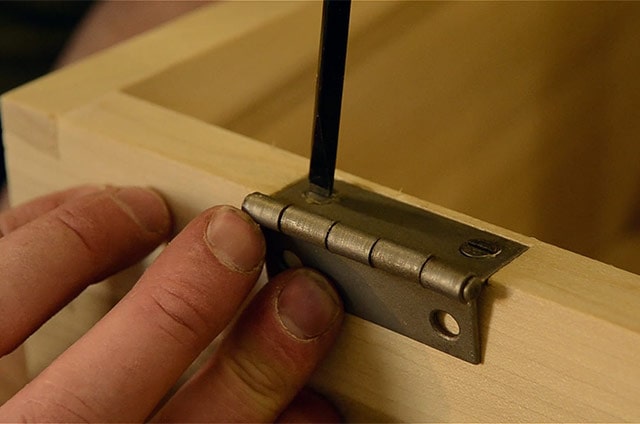
4. Install the Hinges on the Lid
Now I set the lid back on the chest, and align the pencil marks with the hinges. I then use a marking knife to transfer the size of the hinge to the lid, with a small tick mark.
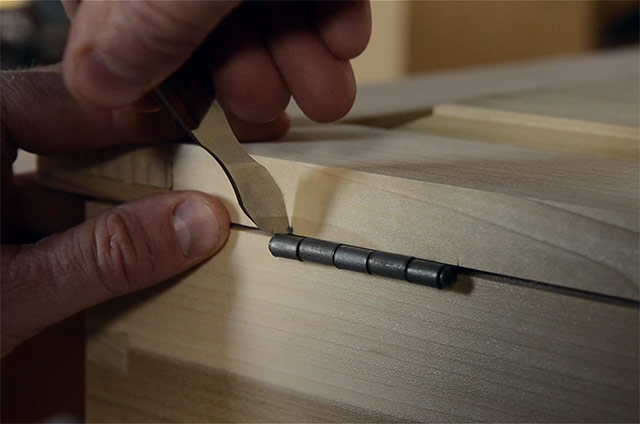
I put the knife right up against the hinge. I move the lid to my workbench vise to layout the hinge mortises. This step is pretty fast and easy because I still have my settings on my marking gauges.
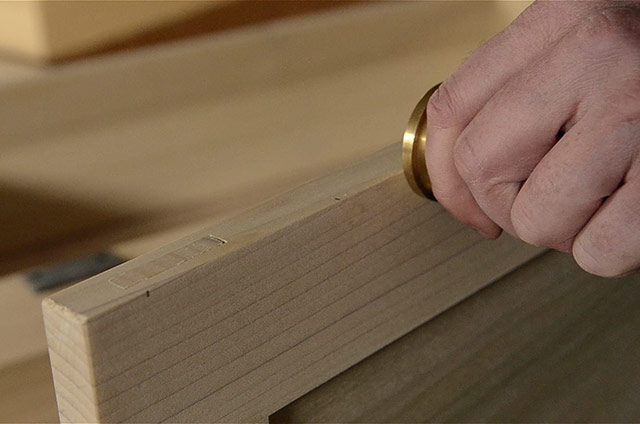
I first mark the depth with the cutting gauge (see above), and then the width (see below):
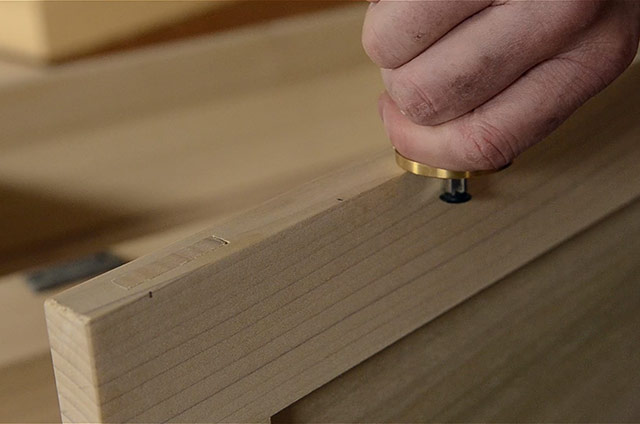
Then I use a combination square and marking knife to connect the lines.
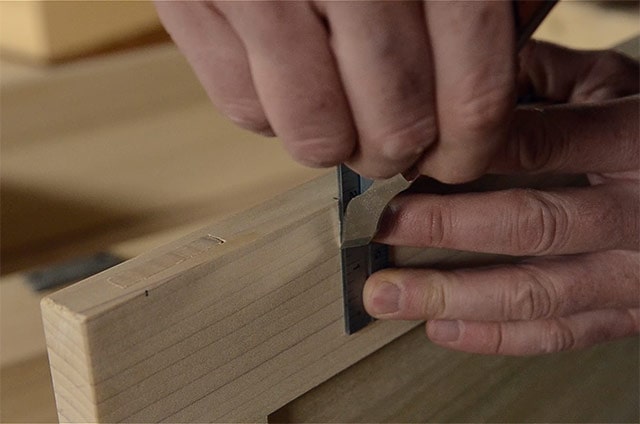
It’s as easy as that. And the marking lines are hard to see, so I use a sharp pencil to darken them.
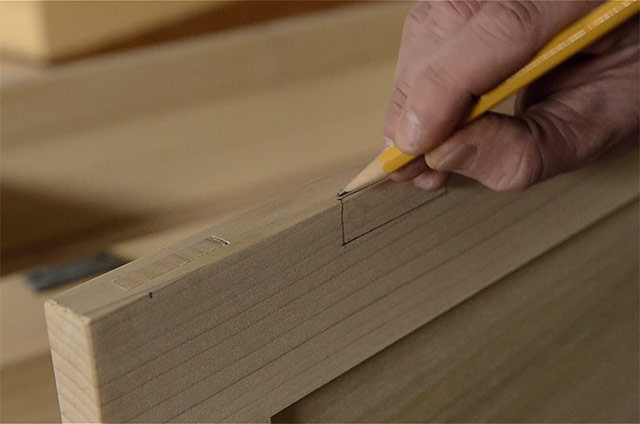
Cutting out the mortise on the lid is just about the same process as on the box, so I’ won’t repeat it.
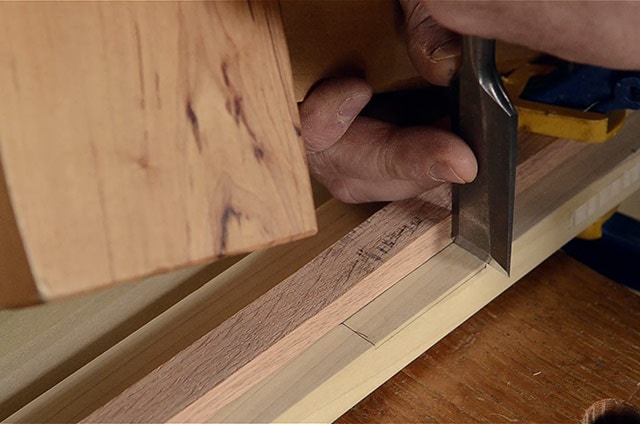
Just layout and chop out the mortise and use the router plane (if you have one) to flatten the mortise bottom.
Now for boring the screw holes on the lid. This is where the tape on the drill bit is really important, because I really want to make sure I stop well before I go through the top of the lid.
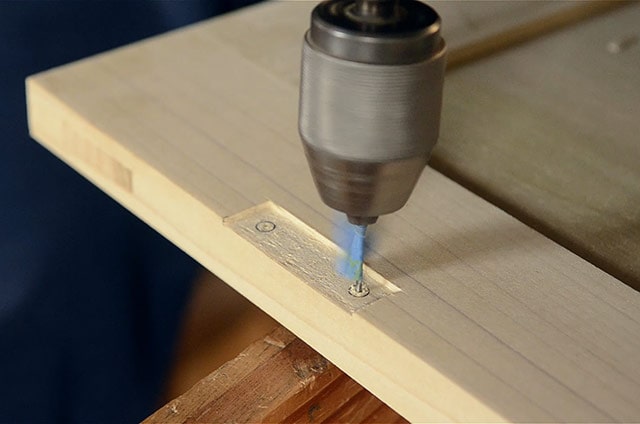
For the lid I like to start the screws before I install the hinge, because it’s harder to start a screw hole when I’m trying to balance the lid next to the box.
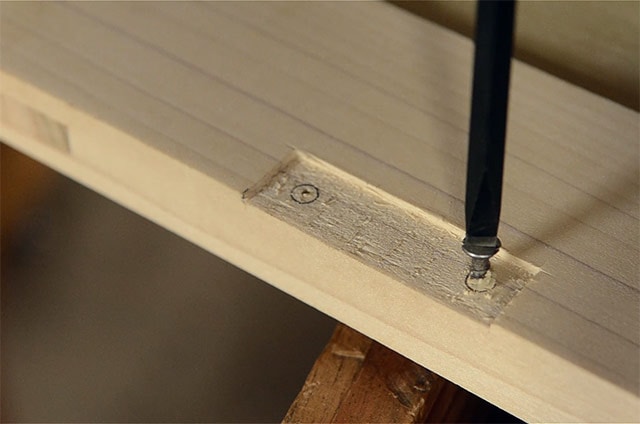
I don’t need to go all the way down. Just enough to make it easy when the hinges are on.
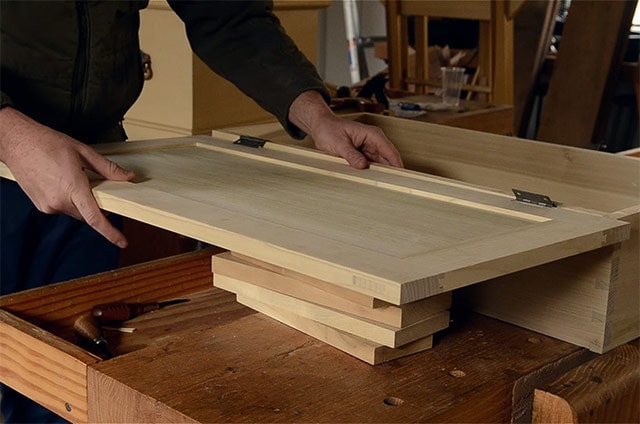
Now I stack some wood to make it easier to balance my lid upside down while I attach the hinges.
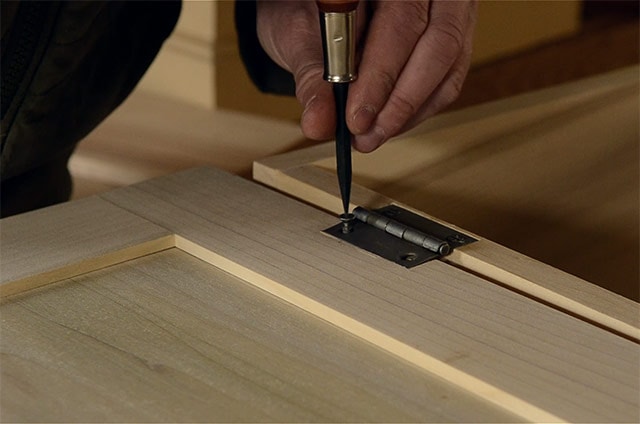
And I just add the waxed screws in just like before, except I don’t tighten down any of the lid screws until they’re all in place.
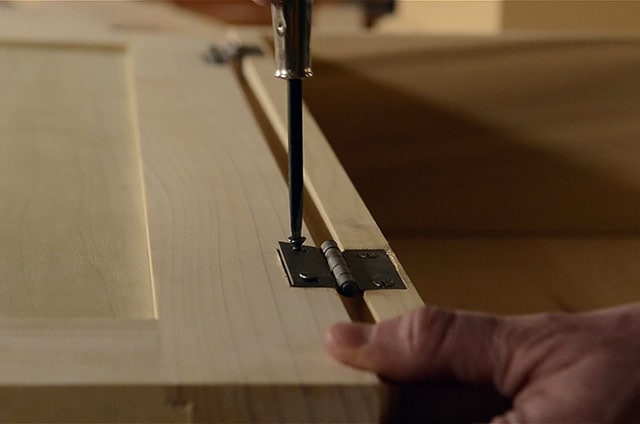
Then just like before I go back & forth, and rotate tightening each screw a bit until they’re all tight. And again, I like to clock the screws to make them look a little nicer.
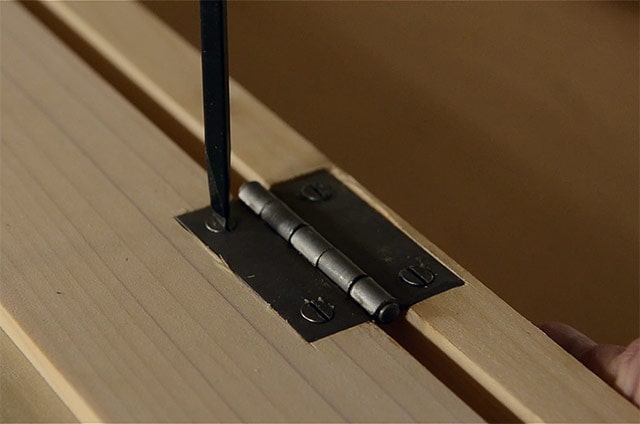
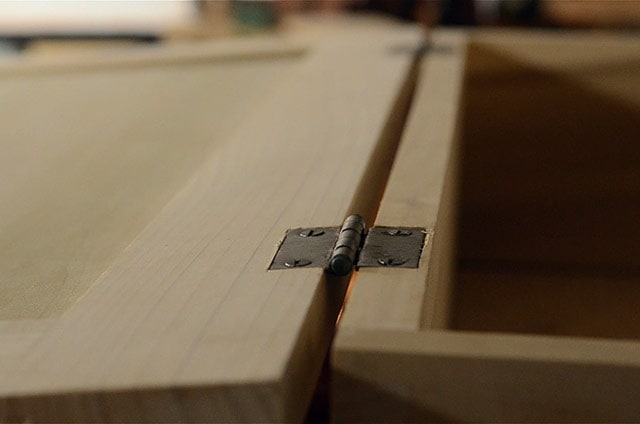
So here you can see how amazingly historical these inexpensive hinges and screws look, and even more importantly, they work great and will last for many years.
Conclusion
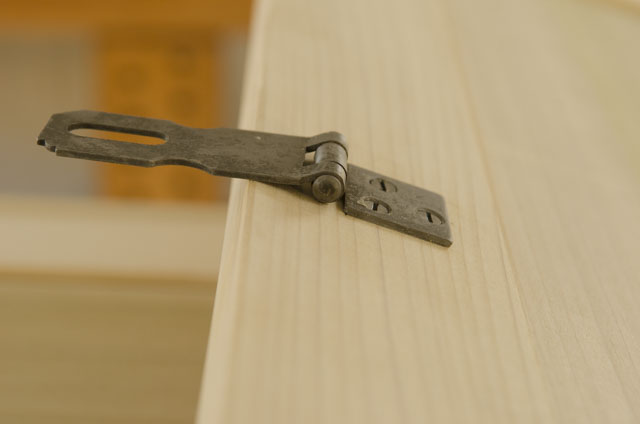
In the next video I’ll show how I add traditional-looking hasps so I can lock the chest.
So make sure you subscribe to my newsletter below so you won’t miss that video. If you have questions or want to share some of your own tips, please leave a comment at the bottom of this page.
TOOL GUIDE SHORTCUTS:

HAND TOOL BUYER’S GUIDES
- Intro to Buying Woodworking Hand Tools
- Workbench & Tool Storage
- Layout, Marking, & Measuring Tools
- Handplanes
- Handsaws
- Chisels
- Sharpening & Honing Supplies
- Mallets & Hammers
- Hand Drills, Braces, & Bits
- Tools for Curved Work
- Tools for Green Woodworking
- Woodworking Clamps, Gluing & Fasteners
- Tools for Wood Carving
- Products for Wood Finishing, Sanding & Scraping
- Wood Turning Tools & Lathes





Hi, I appreciate the way in which you approach your craft. Simple and straightforward. Toilet bowl cleaner? I would have never thought of that. In regards to the chest you made your kids. I have 4 grandkids that could use one each. Do you have plans for purchase?
Once again, thank you as you have helped me greatly as I continue to evolve my shop.
Thanks for the comment Joe! I have mostly drawn up the plans, and should be releasing them in the near future. Cheers!