How to Make Historic Beeswax Furniture Polish
5 Steps to Make Historic Beeswax Furniture Polish Finish with Beeswax, Oil & Turpentine
![]() By Joshua Farnsworth | Updated Mar 14, 2022
By Joshua Farnsworth | Updated Mar 14, 2022
How to Make Historic Beeswax Furniture Polish
5 Steps to Make Historic Beeswax Furniture Polish Finish with Beeswax, Oil & Turpentine
![]() By Joshua Farnsworth | Updated Mar 14, 2022
By Joshua Farnsworth | Updated Mar 14, 2022
Disclosure: WoodAndShop.com is supported by its audience. When you purchase through certain links on our site, we may earn a small affiliate commission, at no cost to you. Learn more.
In this article (and the video above) I teach how to mix melted wood seasoning beeswax, boiled linseed oil, and turpentine to create a lovely historic wood finish and beeswax furniture polish.
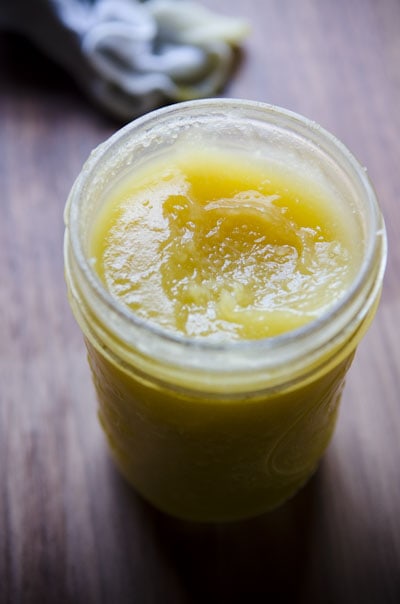
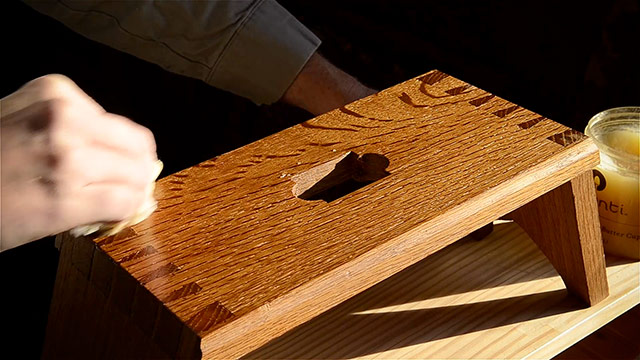
This beeswax polish leaves your furniture looking and feeling silky smooth. This beeswax furniture polish recipe was taught to me by the woodworking furniture makers at Colonial Williamsburg and also the Frontier Culture Museum.
Step 1: Melt the Refined Beeswax
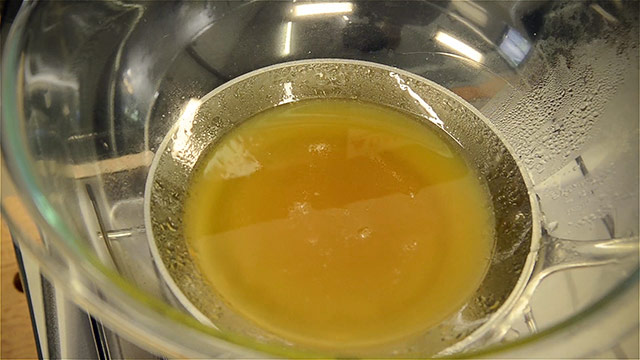
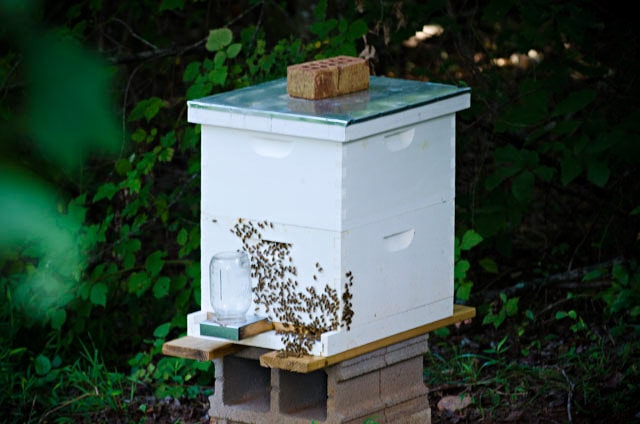
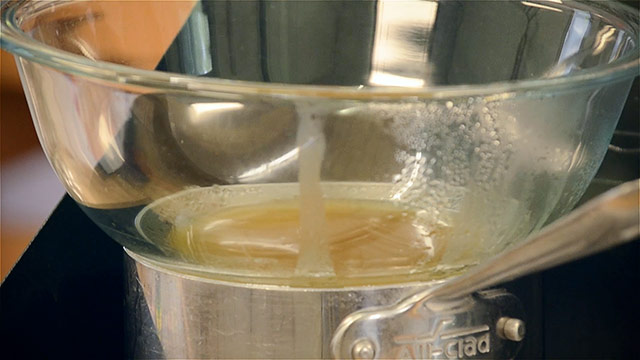
The first step to make this historical beeswax furniture polish is to start melting some refined pure beeswax in a double boiler setup. There’s no special beeswax for wood, just normal refined beeswax. And this is the most affordable beeswax I have purchased, though it comes in a 10 pound package. You can also find refined beeswax here at Ebay. And you can alternatively buy raw beeswax from local beekeepers and refine it yourself.
Simply break up pieces of the pure refined beeswax and place them in a clear glass bowl (like a Pyrex bowl). There’s no need to use a cheese grater as some people suggest. That’s messy. Then place the glass bowl on top of a pot of boiling water and let the beeswax melt.
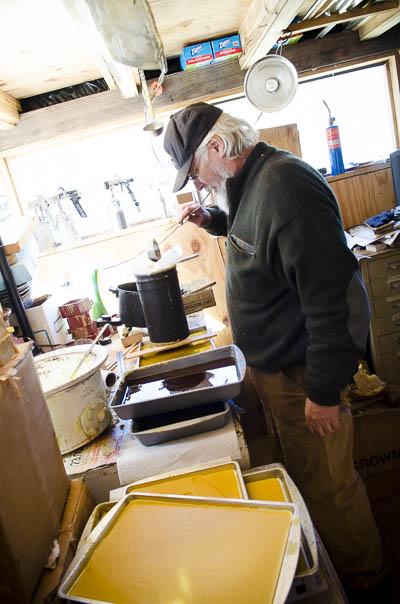
It is important that you use refined beeswax so particles of debris won’t scratch your furniture. In one of my recent videos, Don Williams (retired Senior Furniture Conservator at the Smithsonian Institution) shared a tutorial on his simple method for refining raw beeswax (watch it here). This is more-or-less the method that I now use.
Step 2: Mix Turpentine and Boiled Linseed Oil in a Jar
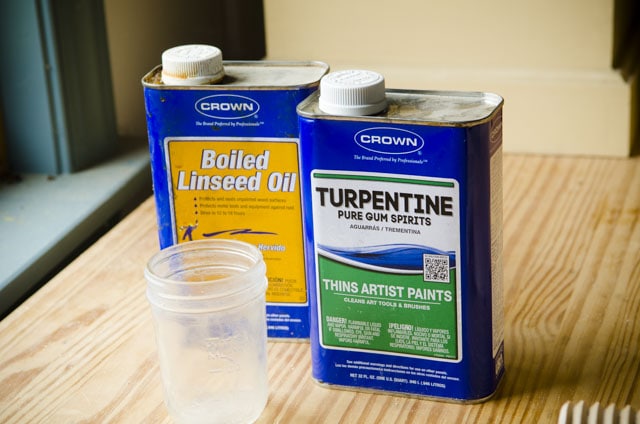
While the beeswax is melting you can mix the turpentine and boiled linseed oil. You will not be heating the boiled linseed oil or turpentine in my method, as I prefer to keep my face intact. Please don’t try methods that recommend heating the entire mixture. There is no need. Get a small canning jar, and mix equal amounts of turpentine and boiled linseed oil.
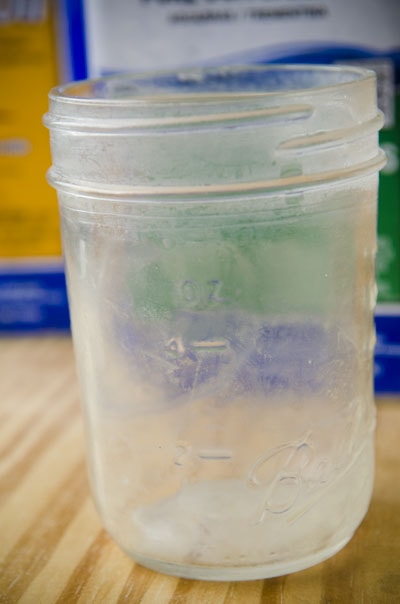
I like the small 6 ounce canning jars because the jars have a 2 ounce mark, 4 ounce mark, and 6 ounce mark. This is perfect for adding an equal mixture of all three ingredients (1/3 of each).
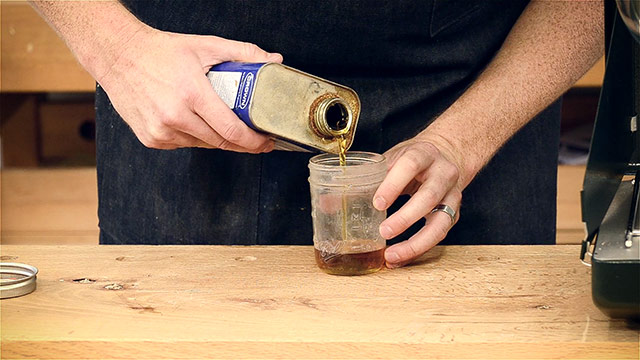
The boil linseed oil acts as a penetrating agent to bring out depth and enhance the figure of the wood. That’s the secret ingredient that makes this a wood seasoning beeswax finish. But oil is optional. Some historical recipes use just beeswax and turpentine. Turpentine is a solvent derived from pine tree sap, and is used to keep the beeswax from hardening too much.
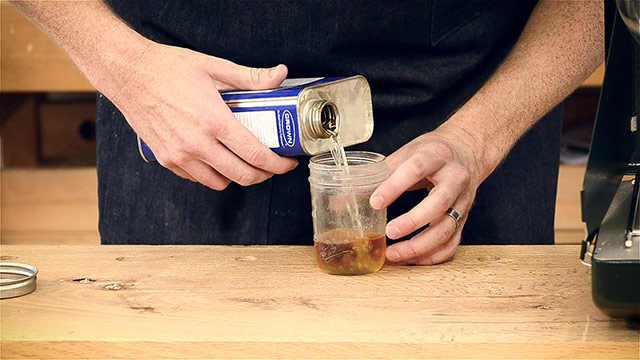
As I just mentioned, some of the historic beeswax furniture polish recipes use just beeswax and turpentine, when surface penetration is not desired. But I like the addition of boiled linseed oil because I use this as more of a wood finish than just a furniture polish. I like how the oil darkens the wood over time.
But don’t use raw linseed oil, because your finish will take weeks to dry. Modern boiled linseed oil isn’t actually boiled, but uses chemical dryers to accelerate the drying process of the oil. Go ahead and use a clean stick or spoon to mix the boiled linseed oil and turpentine.
Step 3: Add the Melted Beeswax
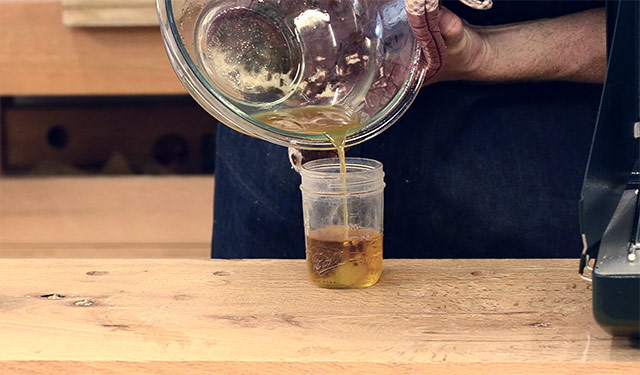
Next you will use hot pads to carefully pour the melted beeswax from the hot glass bowl into the jar that contains the turpentine and boiled linseed oil. You can add the same amount of beeswax as the other ingredients (1/3 oil, 1/3 turpentine, 1/3 beeswax) or you can add slightly less or more beeswax. This just depends on how you prefer your finish. There really are so many variations, so that’s why it’s good to just start off with this simple recipe of three equal parts.
I’ve found that adding 1/3 beeswax (or less) will give you a softer beeswax polish, which gives you more time before you have to buff the finish out. But it also gives you less sheen after buffing. If you add more than 1/3 beeswax you’ll get a higher sheen. But be sure to buff the finish out in about 10-15 minutes or else you’ll have a difficult time getting it buffed. It’ll be sticky instead of smooth. Just experiment. You can always add more beeswax later if you want the polish to be harder. You can also add more turpentine later, if the polish is too hard.
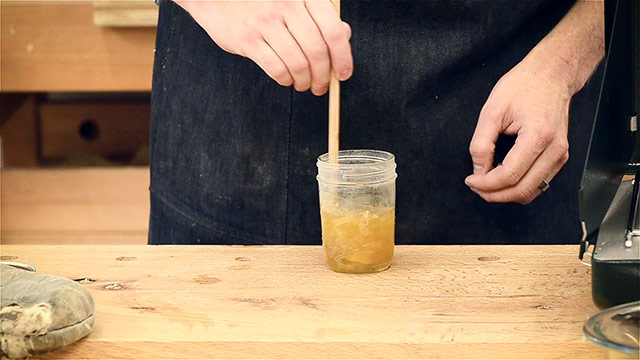
Stir the beeswax wood polish mixture together immediately after pouring in the hot wax, and then put the jar lid on. The beeswax will clump up a bit and look cloudy, which is normal for wax hitting cool liquid. The turpentine will eventually dissolve the beeswax clumps.
Step 4: Set the Beeswax Furniture Polish Near a Window
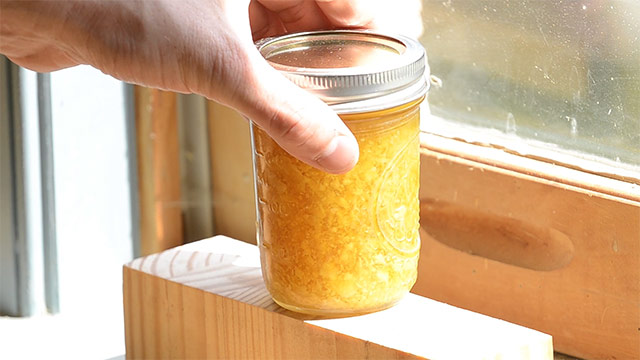
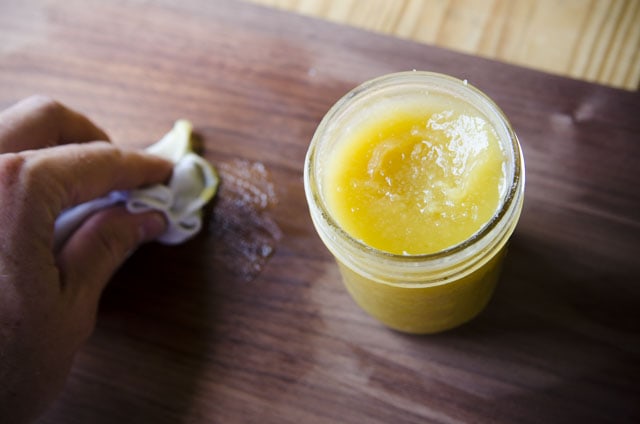
Place the jar of freshly mixed beeswax furniture polish near a warm sunny window and let it sit for at least a day to dissolve the beeswax and thicken the polish. This is what the equal parts mixture looks like when it’s dissolved and ready to use:
RELATED
Refining Beeswax with Don Williams (Workshop Tour Part 2)
How to Make Milk Paint from Scratch
How to Make Figured Maple Pop!
How to Darken Oak Furniture with Ammonia Fuming
18th Century Beeswax Wood Finishing with a French Polissoir
How to Beautifully Fume Furniture with Cheap Ammonia
Making Wood Figure “Pop” using Ferric Nitrate with Mark Thomas
Step 5: Apply and Buff the Beeswax Furniture Polish
Of course, the beeswax furniture polish finish will be thin and creamy at first because it has been sitting near a warm window, but it gets more solid when it’s stored out of the warm sunlight. In the winter months it will be hard and you’ll have to soften it up in a heated room before using it.
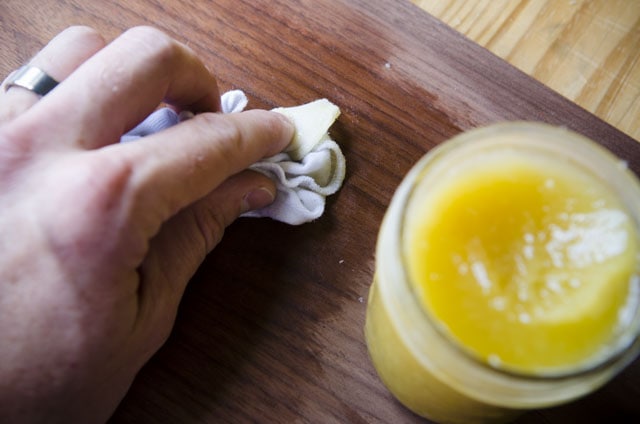
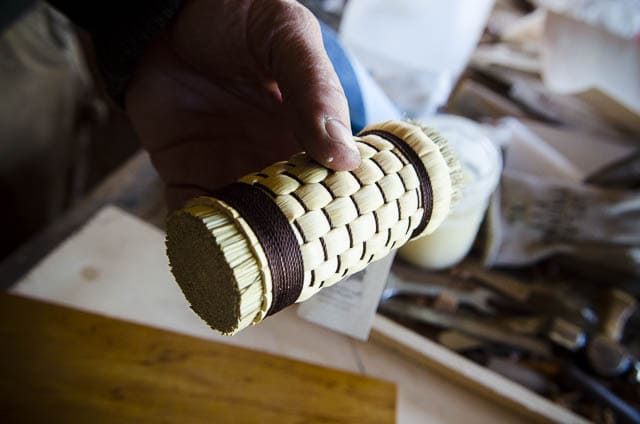
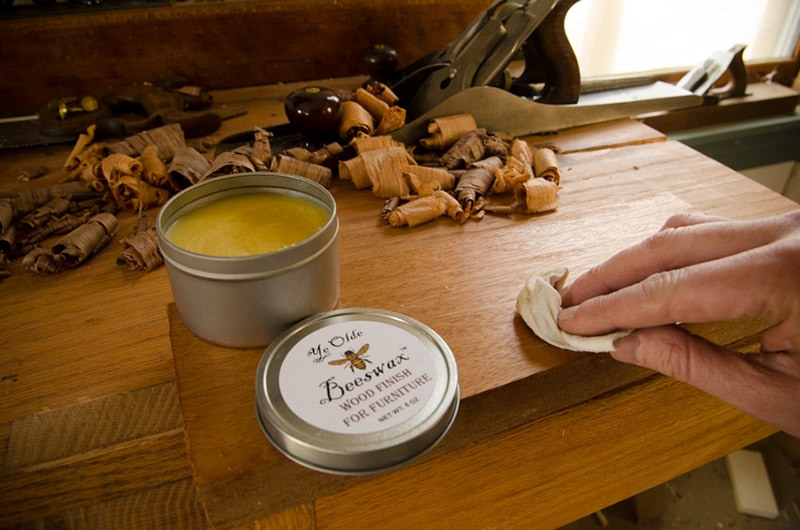
Apply the beeswax wood polish with a clean cloth (like an old T-shirt), and then buff it out with a clean cloth after 10-15 minutes, or else the wax may become too hard. This will be even more important if you use more beeswax in your mixture. Another application method is to use a French Polissoir. I created another video of Don Williams teaching how to use a French Polissoir to burnish a beeswax finish (watch it here).
Conclusion
I hope you’ve enjoyed this tutorial on making historical beeswax furniture polish! At the bottom of this page you can ask questions or tell me how you like this polish. You can also subscribe to receive more free woodworking articles and videos like this:






Thankyou for this advice. One of my great frustrations with beeswax is fingerprints even when buffed out. How does this mixture fare? Thanks Paul
this is so cool! do you just apply one coat of this? also how durable is this? is it any good for something that might take a beating?
I just apply one coat, and then additional coats if needed. It’s not known for it’s durability, so I wouldn’t use it on furniture that you expect to come in contact with moisture.
I just stumbled on this. I want to give it a shot..just need turpentine.
Turentine is super easy to find. It’ll be at your hardware store and likely at your grocery store.
Great information! Thanks!
Glad it was helpful Max!
I followed your ammonia fuming story here for the beeswax formula since I really liked the richness and color that came from the beeswax application pre-fuming. I will be trying to fume an old Reprodux piece to repurpose as a bathroom vanity. Being a wet environment I was going to use shellac. Can I put shellac over the beeswax mixture? Is it redundant? Many thx,
Leslie
Hello Leslie, I’m glad you enjoyed the article! Have you finished your vanity yet? Shellac would really go before the beeswax mixture, as the beeswax (especially in a wet environment) would just be a top extra coat. Also, I wouldn’t use shellac on a bathroom vanity, as it isn’t water resistant enough. Satin Polyurethane would probably be your best bet, or a mix of Satin Poly with Danish Oil.
Can this be used for wood which may contact food?
How about chairs? Does the finish rub off onto clothes, especially at body temperature?
Mineral oil and beeswax is what I use for wood that may contact food: https://www.finewoodworking.com/2006/08/01/food-safe-finishes
This is a wax, not a finish, so it just conditions/oils the wood, and offers a bit of protection. The finish doesn’t rub off after it has dried.
Nice link on food safety, thank you!
Would you use the wax/linseed/turpentine mixture for the sitting surface of a chair? Or is it basically only for purely decorative wooden items?
I’m sure it could be used on a chair, but not as the main finish.
I found that if you chop the beeswax into small pieces and add it to the turpentine without the BLO the wax dissolves after about a day, *then* I add the BLO and it’s all good without having to use any heat.
Hey Tony, I tried your suggestion and had some issues getting all of the wax to dissolve. An afternoon out in the sun seems to have done the trick but my resulting solution does not look like the photos in the article, it has a more liquid consistency.
Could be the temperature of your shop or the ratio of the ingredients. My finish is more liquid in the summer.
Would this work on oily tropical hardwoods (i.e. canarywood)?
Boy, I’m not sure Dan. But I’d love to know what you find out, if you decide to test it.
So… i forgot the part about “buff it out within 10 minutes”, and now the surface is sticky. I was thinking to heat it w/ a hairdryer, then buff it out. Or, is there a better way?
Hi Scotty, you can set the work piece out in the sun for a few minutes, and hopefully that’ll soften it up. Just make sure it’s not in intense humid heat or your furniture could “dance”. I think a hairdryer would also work, as long as you don’t get it too hot, and too close.
I’ve been looking for an old fashioned recipe for Beeswax polish. This looks nice and creamy, no essential oils or JoJoba, just pure history I can’t wait to try it.
Just discovered your website and find it fantastic
Nope, no essential oils! :)
Since forever, I have been using linseed oil and turpentine or more modern paint thinner. I will certainly try with added beeswax. Thanks.
Cool, hope it works out for you!
I made a batch of this, but have not tried it yet. FYI, I heated the linseed oil in the microwave a little before adding the beeswax. I added the turpentine last. It seemed to mix very easily. In the comments, you mentioned a few times that this is not a durable finish, which makes sense. What would you use to finish a piece before using the wax? I keep thinking that something like a gloss poly would not allow… Read more »
Hi Kurt, I like Minwax Antique Oil, Danish Oil, etc. I’m a fan of penetrating oil finishes. I do actually really like this wax on it’s own, for furniture pieces that don’t need water protection, like wall cupboards, boxes, etc. I just buff it a lot to get a nice sheen.
Thanks so much! I just finished a flag case made of walnut. I’m going to try the beeswax on it!
Nice Kurt!
Hi Joshua! I’m based in Melbourne, Australia where it’s currently the winter months and the weather has been less than 17ºC during the warmest parts of the days. I attempted to make your polish, but had to use parboiled linseed oil as that was all my local hardware store had, and just hoped that it would still work, or that the manufacturors were using parboiled in the traditional sense. The mixture has been sitting on a north-facing windowsill for a… Read more »
Hello Amelia, glad to hear that you’ve tried this recipe! I haven’t ever heard of “parboiled” linseed oil, so I’m not sure. But I would take it into your heated house and keep it there.
Love your site Josh. Which blog were you referring to in your ammonia fuming utube that mentioned a homemade finish that included polyurethane? I’d like to use it on a table top. Thanks, Barry
Here you go Barry: https://woodandshop.com/how-to-darken-oak-furniture-with-ammonia-fuming/
It’s at the bottom of that page. Cheers!
Hi – I love this finish and will definitely be trying it soon (I’ve just ordered some beeswax). Is there any variant of this finish that would work outdoors or if not, do you have a recommendation to get the same look for oak used outdoors?
Hi Andrew, this is definitely not an outdoor finish. It’s for items that won’t likely come into contact with water. Not sure what would give you a similar look outdoors.
This is a great, historical way to finish wood and even leather! I learned about this finish from a great leatherworker. They preferred to use a specific type of Terpintine made from or containing citrus. I was pleasantly surprised to find it at a local artists store. The one I used was called “Orange turpentine” by Eco-House.
Thanks for your input Seth!
This is similar to a recipe I found for cleaning and rejuvenating wooden hand planes. That only included equal parts of turpentine and boiled linseed oil. Would your mixture be something our progenitors put on their hand planes? Would you consider doing it on yours? If not, what do you put on hand planes to keep them in good condition?
Great question Gordon. I wouldn’t have a problem putting this on hand planes. And I have done that. I believe many woodworkers used to simply wipe their wooden planes down with linseed oil, which led to the extremely dark brown planes.
We are using this finish for a headboard. Can you tell me how long it takes for the turpentine smell to go away?
Hi Peggy, it should probably go away in a few days. Lucky for me, I love the smell of the beeswax, oil, and pine resin!
Hey can’t to try this. Can I use other oils besides blo, like Tung or danish?
Great Brian! Tung Oil and Danish oil aren’t just oil. They’re actually wiping varnishes. You can try other pure oils, but BLO is the cheapest (although it has chemical dryers in it, so it’s not technically “pure”).
Hi Joshua, Can you recommend a product for an outdoor pine rocker? Also, when, and how is shellac powder used? Thank you for these excellent educational resources!
Hi Joshua, I’m very excited my first batch is in the window! Is this a formula you would add your shellac powder to result in a harder finish? I have an old pine rocker that stays on a covered porch. I’m new at this and I’m trying to figure out how best to finish it. Thank you for sharing your expertise.
Hi Sharon,
I have never tried adding shellac powder. But for an outdoor rocker, you may want a more robust finish that prevents mildew growth (at least here in humid Virginia).
Cheers,
Joshua
Hi, how if I add the turpentine which is not odourless, what can I do if I don’t want the turpentine smells on my wood furniture, or is it any solution for that? Can I add essential oil or just forget it , throw away ?thanks
Hi there, this particular finish cannot be odorless, unless you just go for a mostly odorless food safe finish, with beeswax and mineral oil.
Hi joshua, thank you for sharing your experience, may I know if my turpentine is not ordourless, it comes out with smells , how to do if I don’t want the smells, any solutions ? Or may I add essential oil to it? Thanks
pure citrus oil is a natural sub for turps, not the cleaner solutions that say something about citrus but The Milk Paint Company has some or ebay/amazon as lemonene
Can this product be used on leather sheaths as well as timber
I have used it on leather, and it worked nicely. But I have not tested it over the long run.
I did make this. I used miniral spirits and tung oil. I even used a candle warmer to warm the beeswax while I worked on other things. It took it a bit but once melted I measured the other ingredients and then added. After I had added them all in the jar I left it on the warmer to keep combining and stirring once in a while. After a bit I took it off and put the lid on to… Read more »
My friend follows almost this exact recipe, just uses a fraction more beeswax for a harder finish, and also uses BLO cut 50:50 but with mineral spirits instead of turpentine. Do you think using mineral spirits as a substitute for turpentine will give the same results? Thanks!
I’m not sure, and I wouldn’t prefer to use a chemical like mineral spirits. I like pure turpentine.
Would it make it termite proof and water proof?
Thanks!
Not waterproof, and I’m not sure about termites.
I’m trying to subscribe, but each time I press the button I get the message ‘Missing value Name’, or similar. What’s going wrong?
Thanks for alerting us Graham! Can you try this form? https://woodandshop.com/welcome/