How to Name Stamp a Wood Plane
Bill Anderson shows the method for stamping a maker’s mark on a traditional wooden handplane
![]() By Joshua Farnsworth | Published 09 May, 2024
By Joshua Farnsworth | Published 09 May, 2024
How to Name Stamp a Wood Plane
![]() By Joshua Farnsworth | Published 09 May, 2024
By Joshua Farnsworth | Published 09 May, 2024
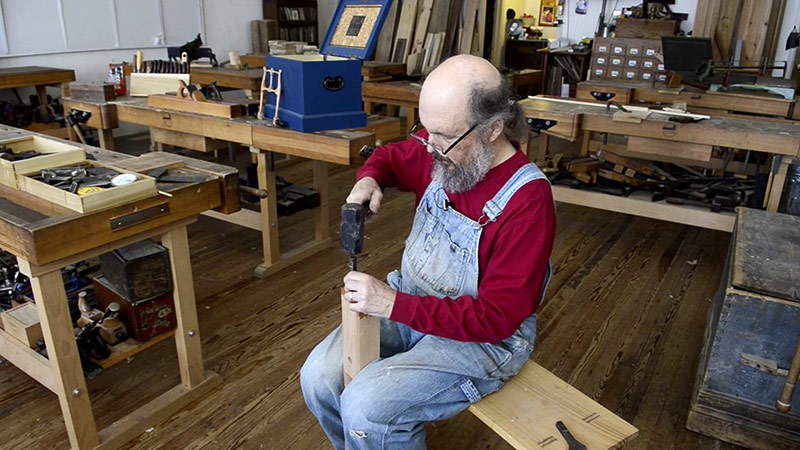
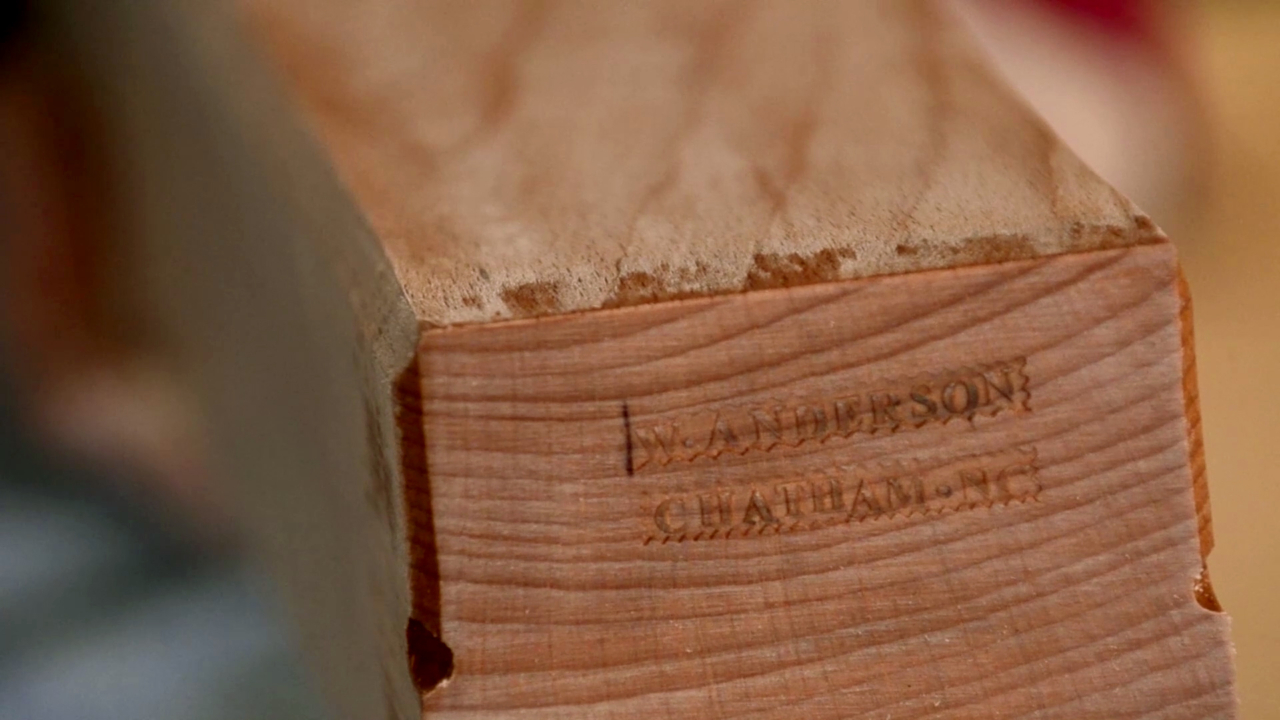
In the above video, Bill Anderson shows how he stamps his name and hometown into the end grain of a traditional 18th century wood plane that he made.
In the 18th and 19th century, traditional handplane makers would use metal name stamps to permanently place their “maker’s mark” into the heal (rear) and/or toe (front) of a wood plane.
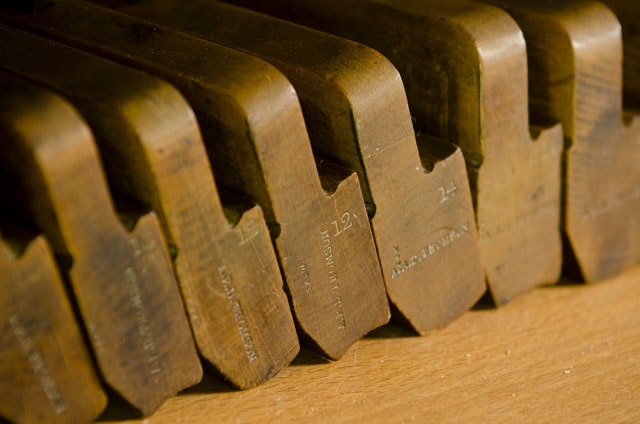
Other marks on the wooden bodied handplanes include handplane size stamps (as seen above), spring lines (on molding planes), and owner’s marks, which craftsmen would stamp onto the wood plane to prevent theft or tool mix-up with fellow woodworkers.
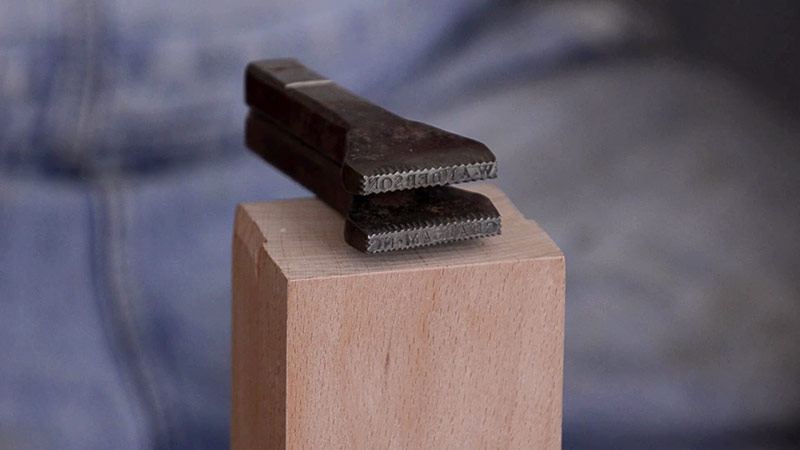
Bill Anderson commissioned his custom stamps from blacksmith Peter Ross (visit Peter’s website here). Peter engraved a stamp with Bill’s name and also his hometown (see above). You’ll notice that the lettering on the stamps are backwards, in order to transpose the names on the wood surface.
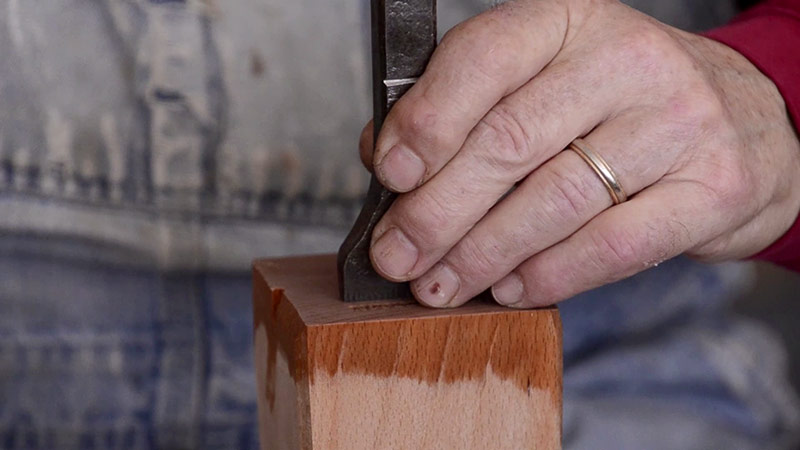
After soaking the wood’s end grain in denatured alcohol (to soften it), Bill uses a heavy handheld sledge hammer to imprint the name onto his wooden handplanes:
Below you can see the lovely maker’s marks made from these metal stamps:
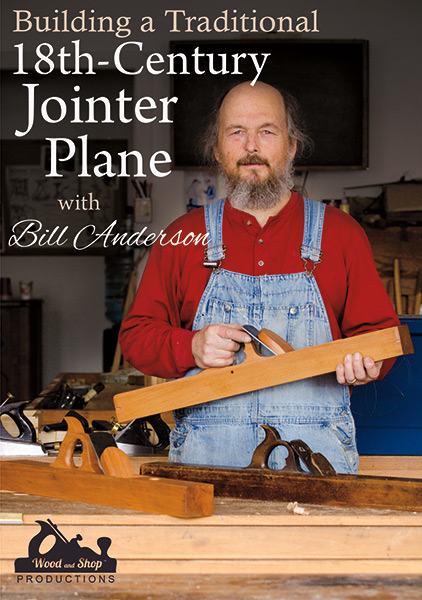
This video lesson is an excerpt from the popular video: “Building a Traditional 18th Century Jointer Plane with Bill Anderson” which you can buy here. You can also see all of our video titles here.
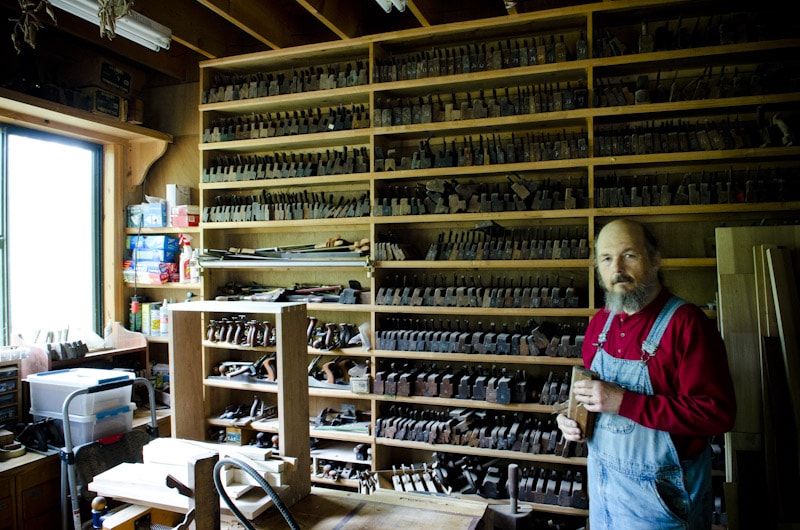
Bill is a handplane expert, and an accomplished maker and restorer of wooden hand planes. His workshop is full of both wood planes and metal planes, and he teaches classes on making, refurbishing, and sharpening hand planes. See Bill’s classes at our school here. Bill is also now (as of 2024) teaching small, private classes at his workshop outside of Chapel Hill, North Carolina. You can see his website here.
