How to Setup & Use a Bow Saw
Get the most out of your bow saw for woodworking
![]() By Joshua Farnsworth | Published 03 July, 2023
By Joshua Farnsworth | Published 03 July, 2023
How to Setup & Use a Bow Saw
![]() By Joshua Farnsworth | Published 12 July, 2023
By Joshua Farnsworth | Published 12 July, 2023
Intro: Properly Assembling & Using a Bow Saw
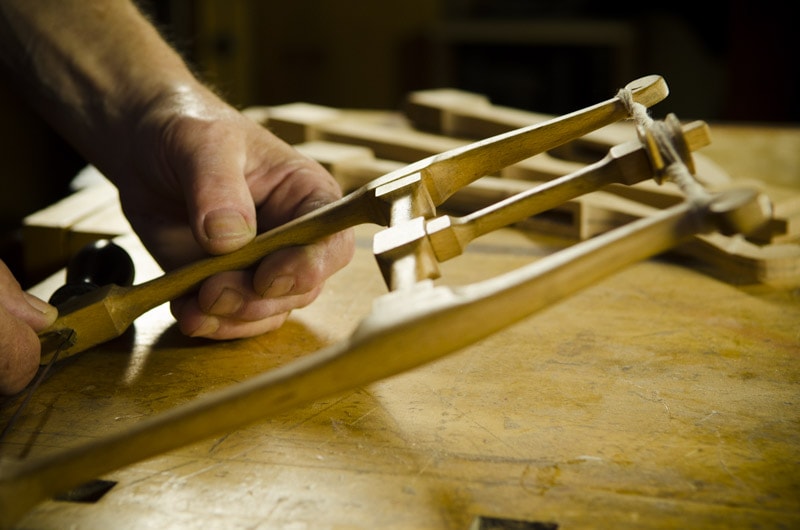
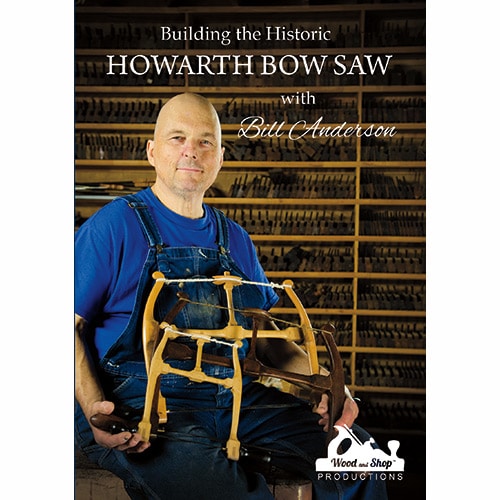
In this article (and the above video) Bill Anderson and I share a tutorial on how to properly setup and use a historical bow saw. This tutorial is based on the historical Howarth bow saw. that Bill and I filmed in a video class called “Building the Historic Howarth Bow Saw with Bill Anderson”, which you can purchase here.
Step 1: Insert the Bow Saw Handles
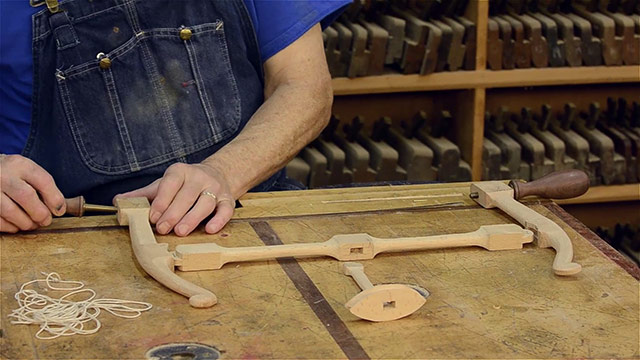
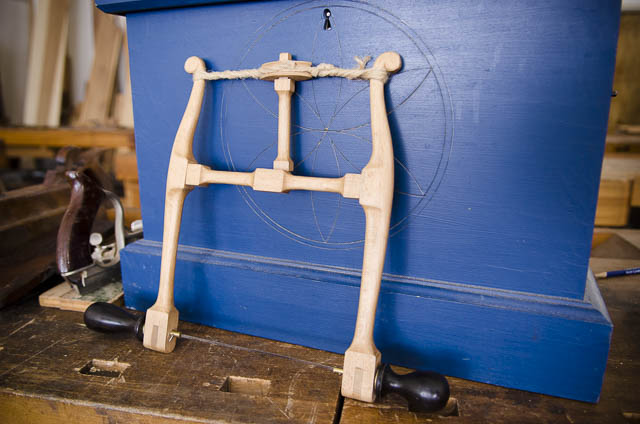
In this first step the bow saw handles will be inserted into the arms. A higher-quality bow saw will have tapered pins, which will allow a tighter fit, and reduce slipping of the handle. The longer handle will face you, and the smaller, more rounded handle will face away from you. Push the handles with pins until they are snug in the wood holes.
Step 2: Attach the stretcher tenons into the mortise arms
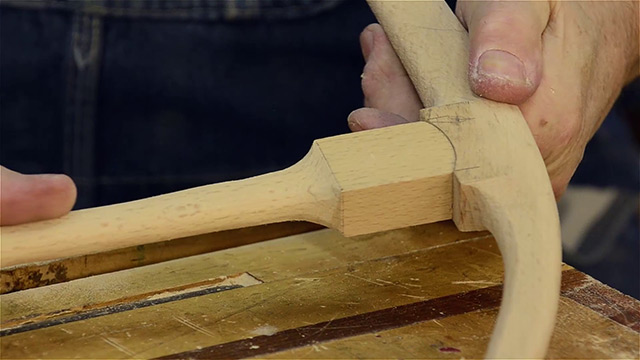
The bow saw stretcher tenons will be inserted into the mortises of the bow saw arms. You can see how this curved mortise and tenon joint was made in our last blog post and video, here.
Step 3: Attach the bow saw blade
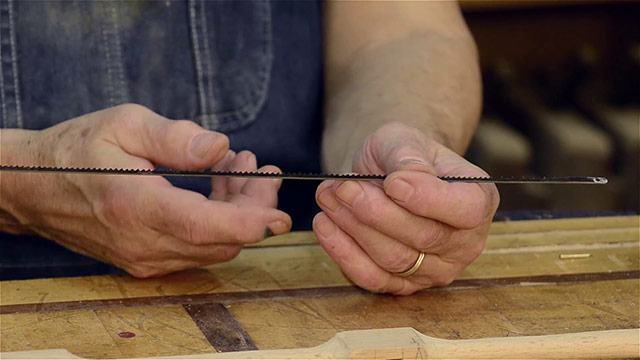
Arrange the blade teeth so that they are pointing toward the large handle, which will be closest to you when you are cutting. This will ensure that the bow saw will cut on the pulls stroke. This bow saw tooth orientation is usually preferable due to the narrowness of the blade.
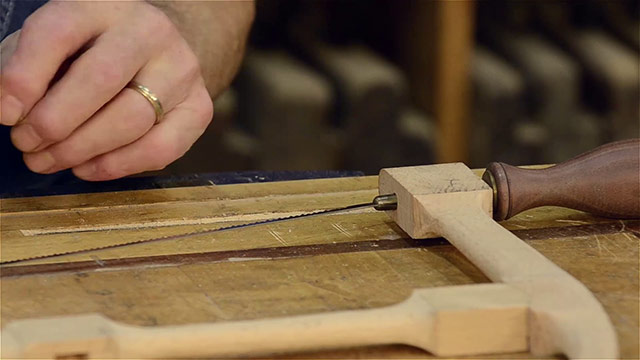
The bow saw blade (i.e. “bow saw web”) is placed in the slots of the metal part of the bow saw handles. Then a small nail (18 gauge or smaller) should be dropped into the hole of the bow saw pin. You can find small nails, called escutcheon pins, online or at a local hardware store (see them here at Amazon).
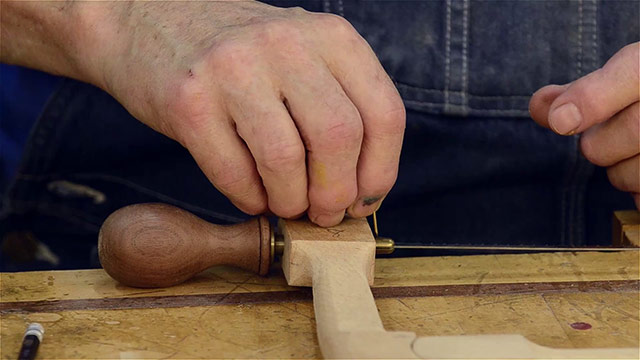
Step 4: Assemble the Windlass
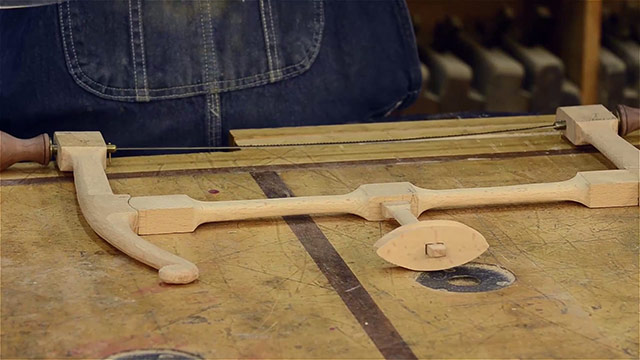
The windlass mortise and tenon joints can be attached to the stretcher, as seen in the above photo.
Step 5: Add the Bow Saw String
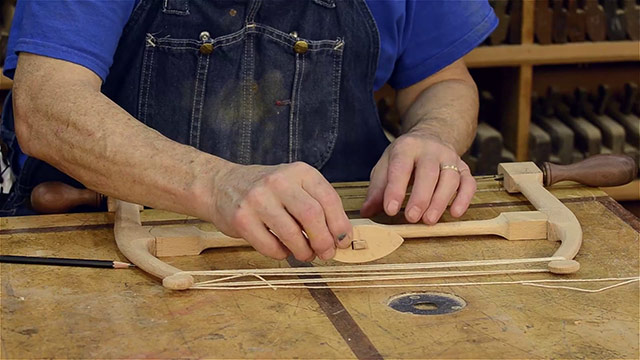
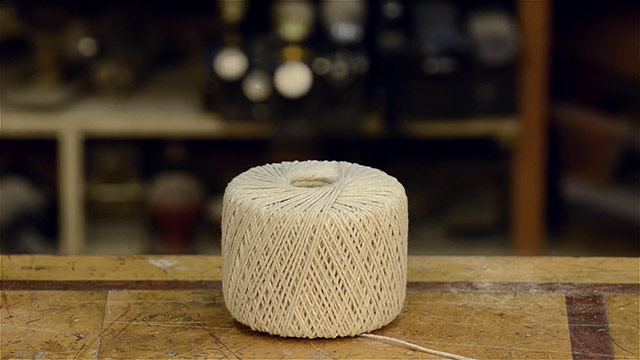
Historical bow saw string may have been waxed jute, which you can still find, but Bill prefers simple cotton twine (like this).
First tie a loop in the string, as seen below:
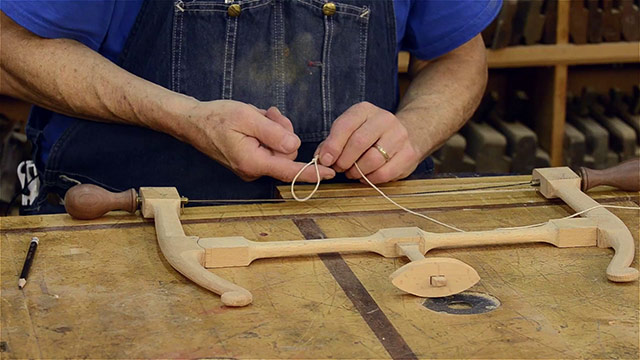
This loop will stretch over one of the bow saw arms, as an anchor. Then the string should be run around to the other bow saw arm.
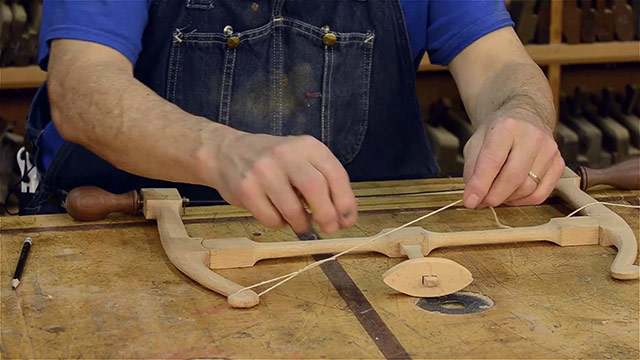
The bow saw string is wrapped around the grooves of windlass. Or if you find it easier, you can also remove the windlass, and just make the loops without it in the way.
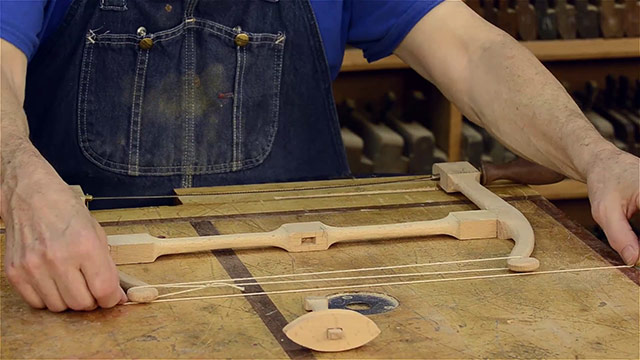
Bill prefers a total of 4 full loops around the bow saw arms, plus let out about another half length of cotton string.
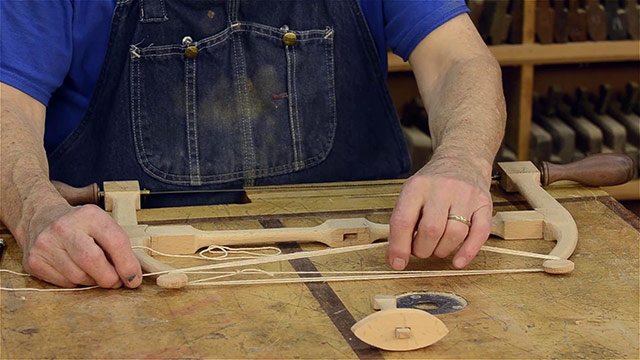
Now cut the string with scissors, a knife, or a chisel:
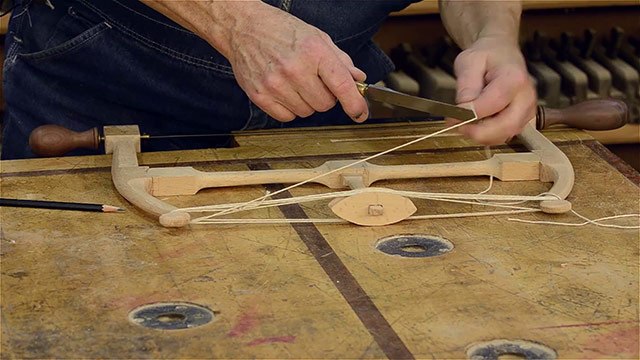
Re-attach the windlass (if you previously removed it), and situate the windlass between the two rows of strings:
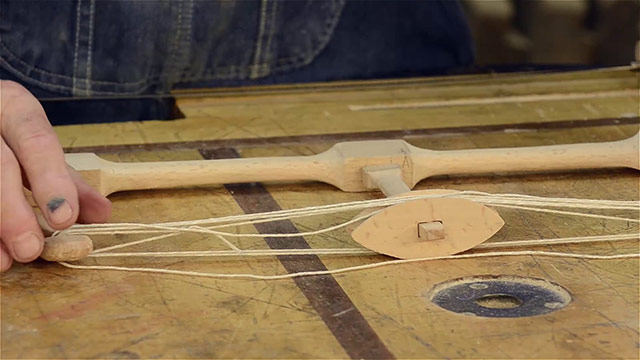
Then in a random way, weave the loose end of the cotton string back into the 4 loops of string. The friction of the weaving will hold the string in place, so there is no need to tie the string off.
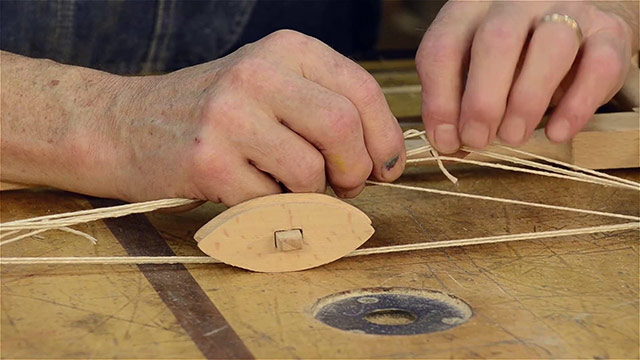
Just weaving the end of the string will make it easy to take the saw apart in the future.
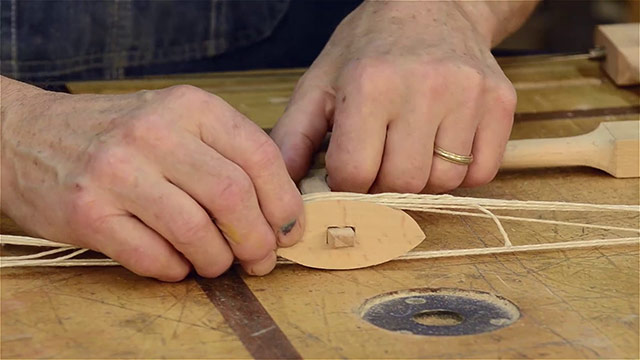
Step 6: Tension the String and Windlass
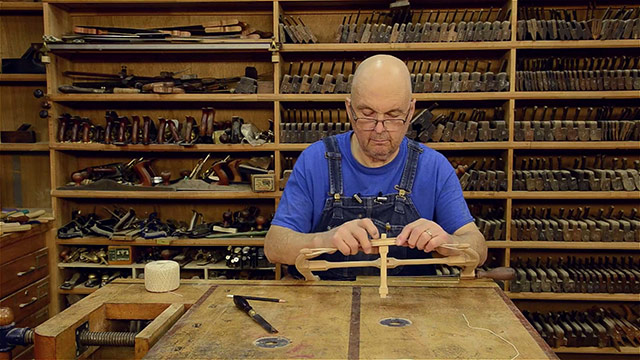
Now that the string is attached, proceed to turn the windlass around to add tension to the bow saw frame and blade.
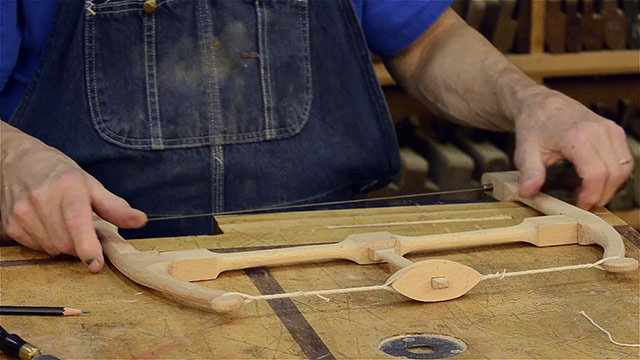
You can pluck the saw blade, like a stringed instrument, to see if the tension is sufficient. You should hear a musical ping. Watch the video to hear bill plucking his bow saw blade.
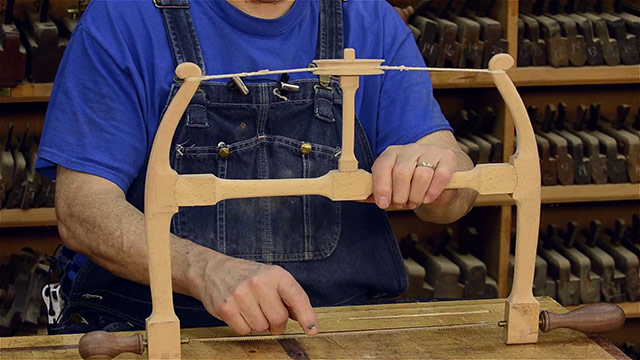
You’ll also know if the tension isn’t high enough when you make a test cut. If it doesn’t cut easily, and the saw blade bends , then add more tension. But be careful to not add too much tension, or the wooden arms could break off.
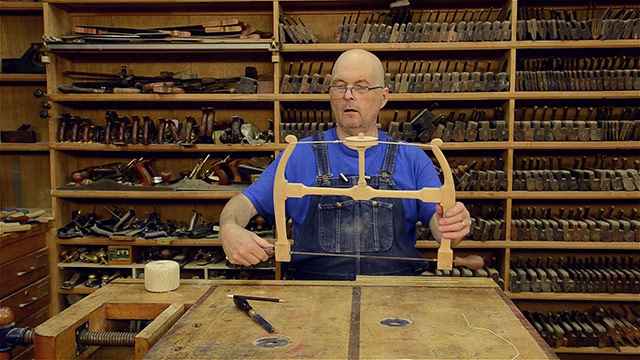
And always make sure that you release the bow saw tension when you’re finished using the bow saw each time, or you could cause too much stress in the blade or wood. It can be as little as a half a turn or two of the windlass. You don’t want the bow saw frame to fall apart. You just want to lessen the tension.
Conclusion
Not every bow saw is exactly like the Howarth Bow Saw, but most of them are similar enough for this lesson to be helpful. I hope this lesson helps you get your bow saw properly tensioned so that you can use it to make some lovely furniture!
More about Bill Anderson
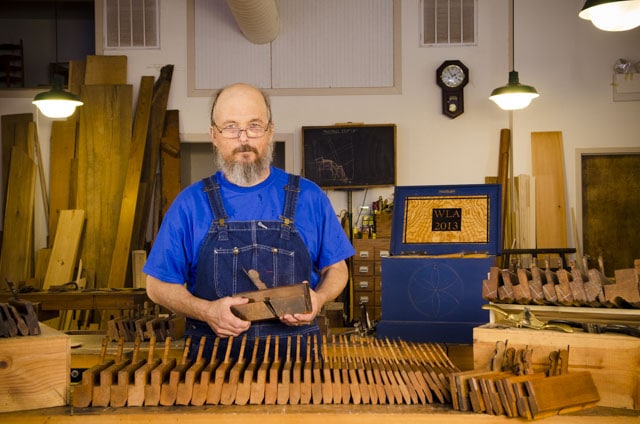
Bill Anderson is a craftsman who is skilled in the art of traditional joinery and hand too making. In addition to being a teacher at the Wood and Shop Traditional Woodworking School, Roy Underhill’s “The Woodwright’s School” and the “John C. Campbell Folk School” Bill has written numerous articles for magazines like Popular Woodworking Magazine and has three DVD’s on making, refurbishing, and using traditional hand tools (purchase here).
Bill is an active member and published contributor of the Society of American Period Furniture Makers and the Mid-West Tool Collectors Association. Bill has become a well-known expert on traditional hand planes and making hand planes. He is currently working on a book about restoring handplanes, which will be published by Lost Art Press in the near future.
Bill is a retired environmental scientist for the EPA and a lover of wilderness. In addition to his backpacking trips with his wife Dee Dee to wild places like Norway, he enjoys the quiet solitude of his mountain workshop in Chapel Hill, North Carolina. See the Wood and Shop tour of Bill’s workshop here. You can also visit Bill’s website here.

