By Joshua Farnsworth
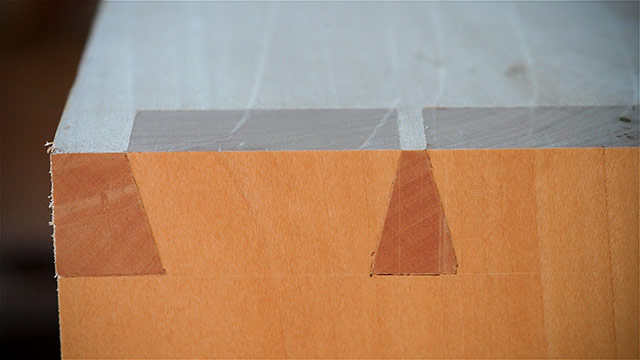
In this article, and the above video, I’ll share with you 9 tips on how to cut a clean and straight line with a dovetail saw so you can make tight fitting joinery like this:
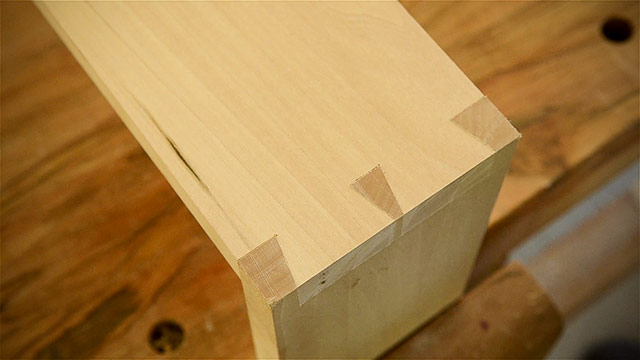
In my Introduction to Hand Tool Woodworking class, one of the first exercises we do is to draw straight lines on a scrap board and practice cutting straight lines.
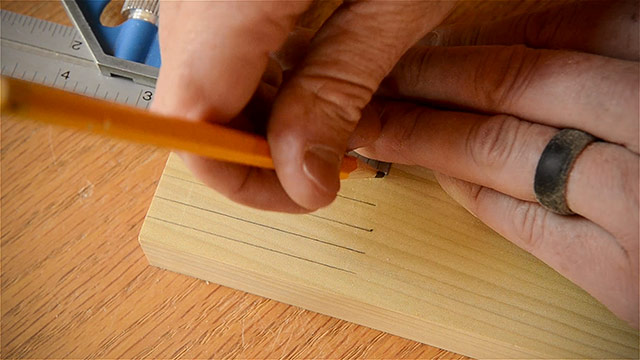
This is an essential skill to develop if you want your joinery to fit together nicely, without unsightly gaps.
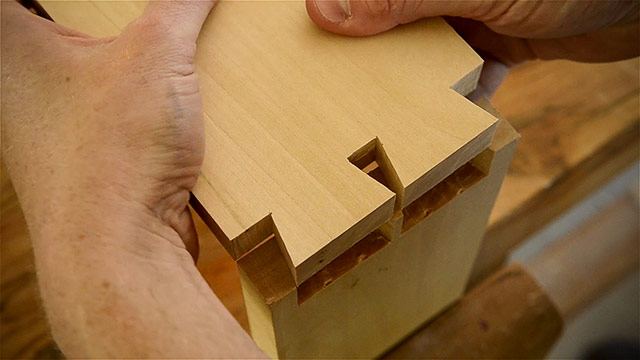
So I’m going to show you the things that I teach my students to ensure straight and efficient cutting.
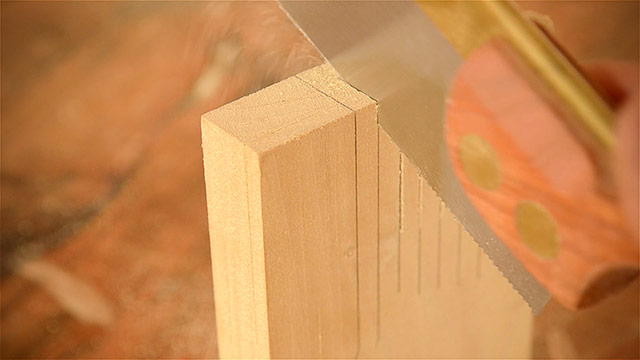
And at the end of my 3 day class I always ask the students which skill helped them the most.
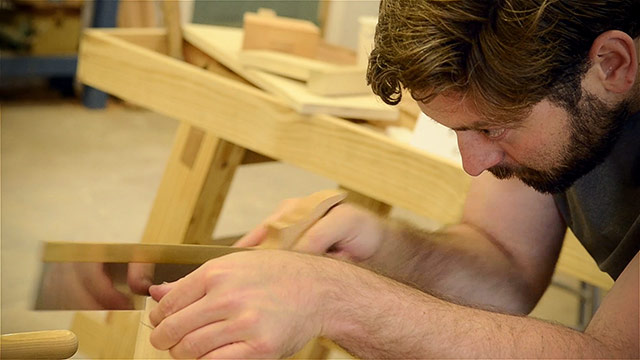
They almost all say that this short sawing exercise was the most helpful skill that they learned in the class.
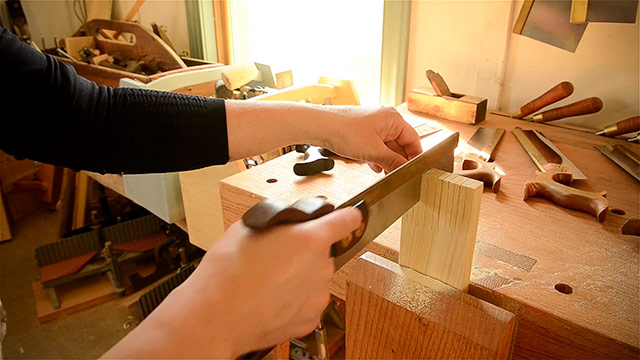
Tip #1: Use the Right Dovetail Saw
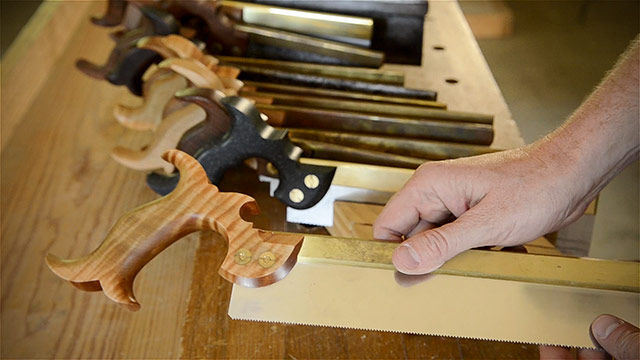
Before we jump into technique, I want to point out that having a sharp dovetail saw with a thin saw plate is really important to make sure you can learn these techniques properly. If you have a dull or poorly made dovetail saw, you won’t know if the saw is the problem or if you’re the problem.
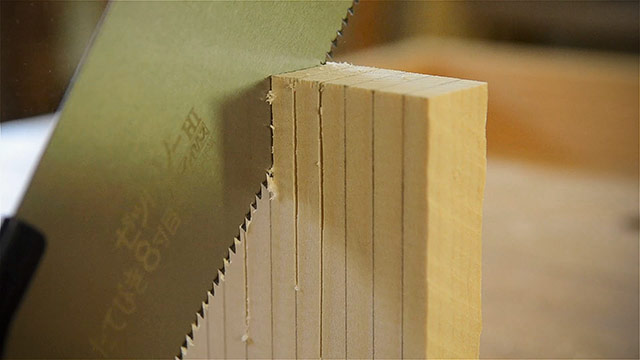
Below are some of the dovetail saws that I recommend to my students:
- Rob Cosman saws: https://bit.ly/3veMonH
- Florip dovetail saws: https://bit.ly/3gnFupU
- Lie-Nielsen saws: https://bit.ly/3sEzQUN
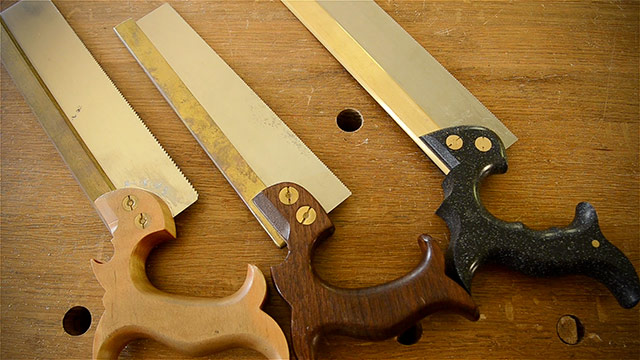
To be honest, learning to use a dovetail saw to cut a fine line is a bit like learning to play the drums, where you have to think about several things at first. So having a good, sharp saw gives you one less thing to think about.
Tip #2: Proper Body Position
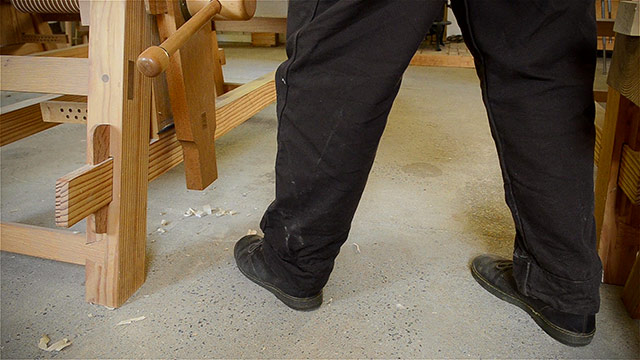
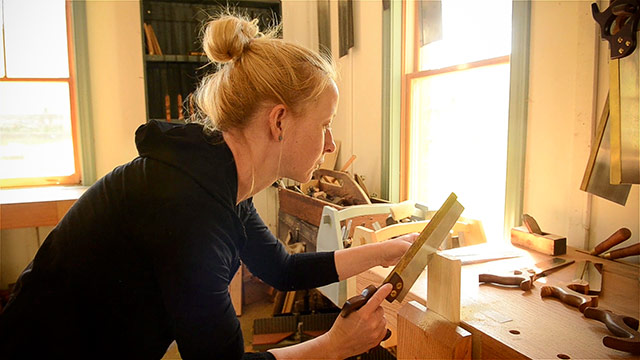
The second tip I share with my students on how to use a dovetail saw is to stand with your feet spread apart, like this, as if you’re shooting a bow and arrow.
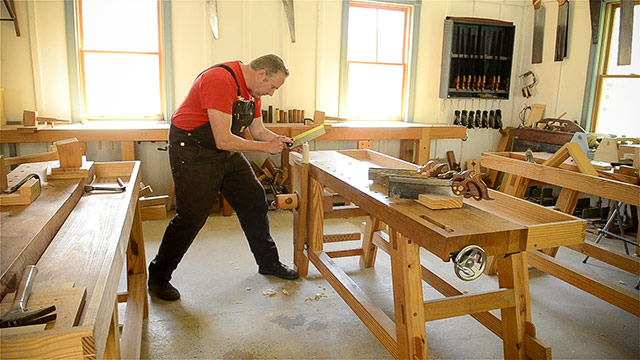
Get as low as you comfortably can so you can see your layout lines. And make sure that your arm is in a straight plane, from the saw all the way up to your shoulder.
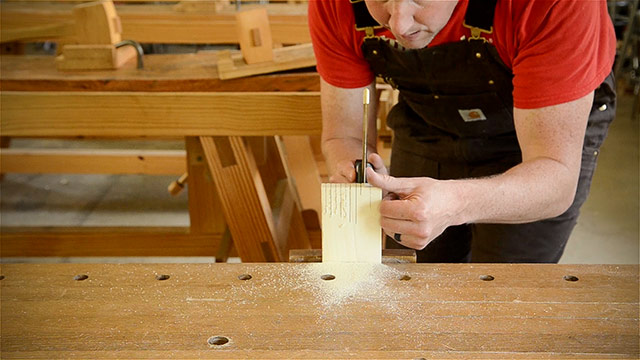
Students with bent wrists almost always have trouble cutting a straight line. Correcting this always makes a big difference.
Tip #3: Grip the Dovetail Saw Properly
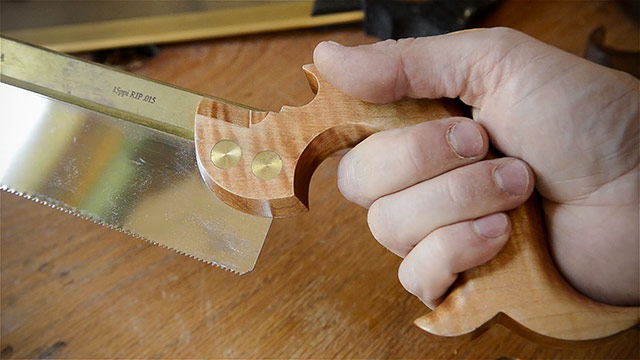
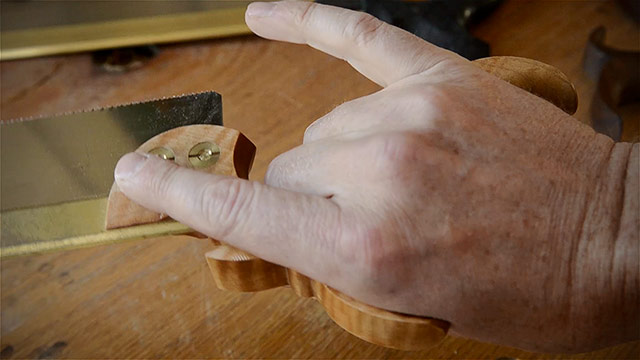
When I hold the dovetail saw, I grip it with my index finger to the side, like this:
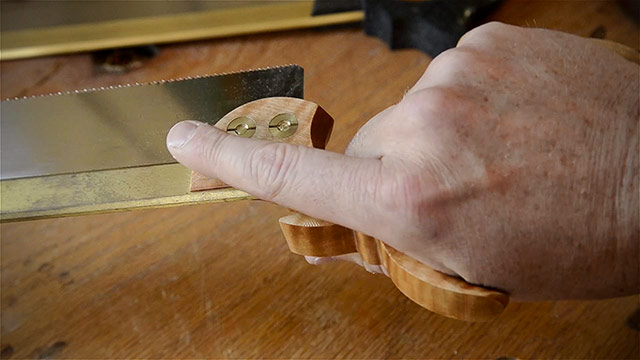
The finger helps me control the lateral movement of the dovetail saw. I also make sure I don’t squeeze the saw handle very much.

I tell my students to pretend they’re holding a baby chick: don’t squeeze hard, but also don’t let it fall out of your hand. I can tell if a student is squeezing their handle too hard, because the blood flows out of their knuckles and they have white knuckles.
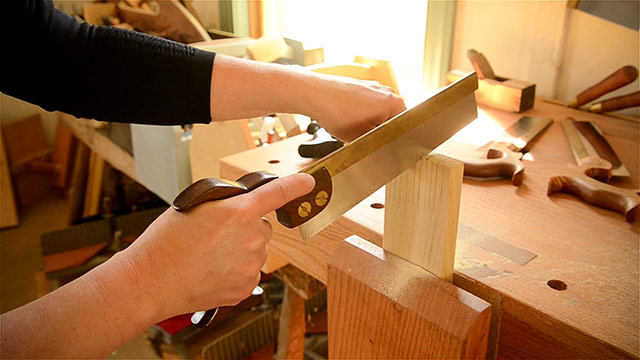
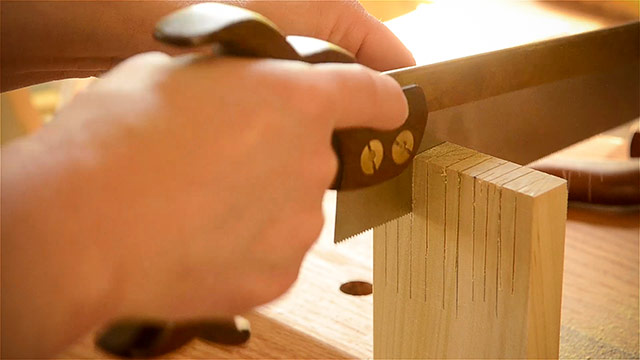
Also, their saw kerf is usually wandering:
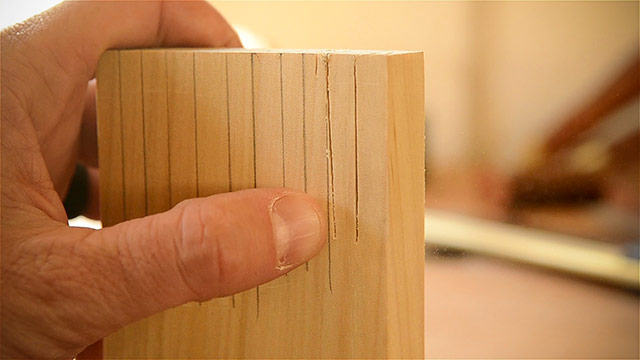
Just let the saw do the work. I still remember one student who was struggling to cut a straight line. She just couldn’t figure out how to loosen her grip while sawing.
So finally I suggested that she try to not cut the wood, but just try to move the saw back and forth, and actually lift up a bit. So finally she loosened her grip, and then to her surprise the saw did cut, and it cut straight!
She finally let the saw teeth do the cutting. You can even hold your handreally sloppily loose like this if it helps.
Tip #4: Start the Cut Properly
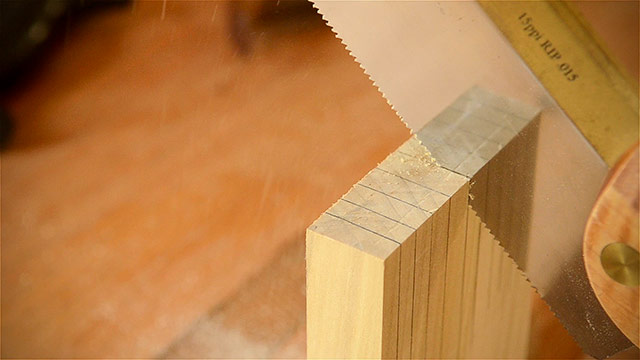
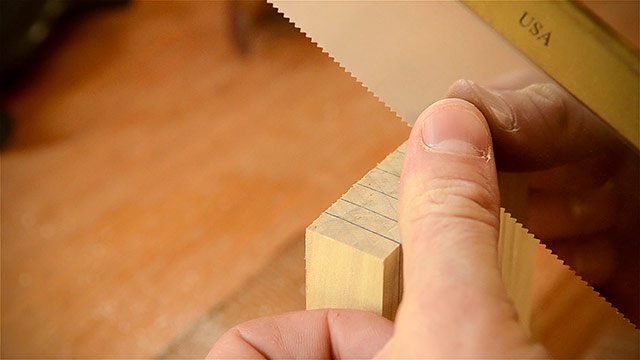
There are a couple of ways you can start your cut. For beginners it’s easier to just drag the saw teeth backward on the layout line to make a kerf on the arris. “Arris” is a fancy architectural term for the sharp edge at the intersection of two surfaces. Drag backward until there’s enough of a kerf to allow an easy forward push. When you become more experienced, rather than dragging backward, you can put a bit of upward lift on the saw, and push the saw forward to break the arris. But I’ve seen some really experienced woodworkers who still pull backward to break the arris. So just do what’s comfortable to you.
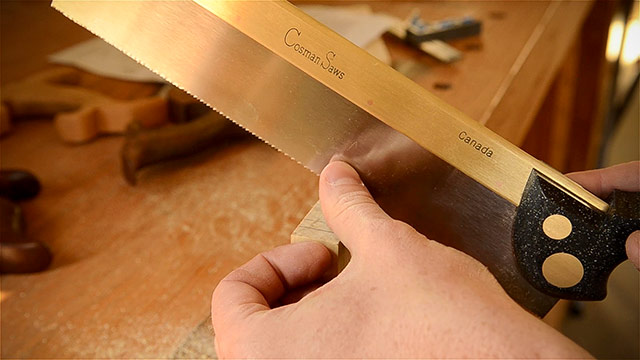
I also place my non-cutting hand on the top of the board, and lift up my thumb as a guide to keep the saw from jumping while I’m starting the cut. Between this thumb and the index finger on my cutting finger I get a lot of control over the dovetail saw.
Tip #5: Cut the Front and Top First
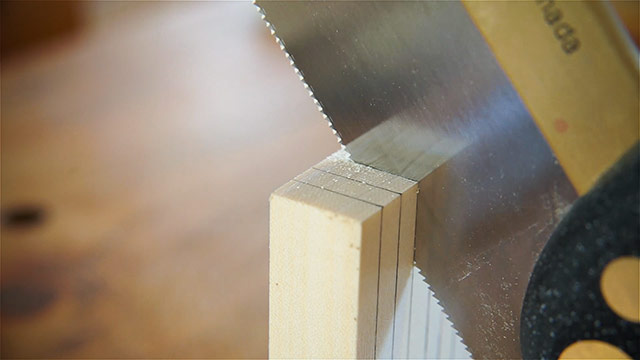
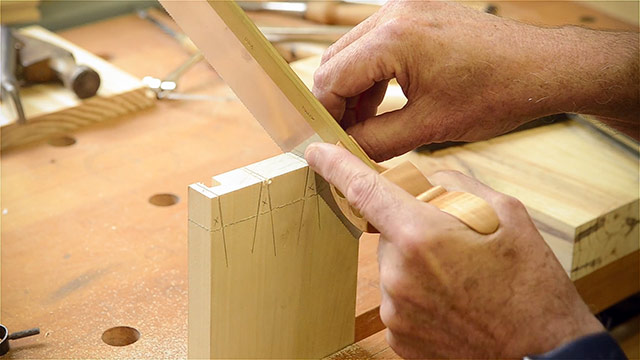
After I’ve cut through the arris and I can freely move the dovetail saw back and forth, I turn the saw at a steep angle while sawing.
I want the kerf to extend down the face of the board faster than along the top. And I don’t want to cut over the edge of the board until I’ve got a nice, established kerf to guide me down the front. Then once I can’t really cut any more on the front, I’ll finally allow the saw to go over the edge.
Now I’ve got a nice straight kerf on the front and on the top to guide my cut on the back of the board, where I’m cutting blindly. This will lead to a more perpendicular cut, rather than an angled cut.
Tip #6: Look at Both Layout Lines at the Same Time
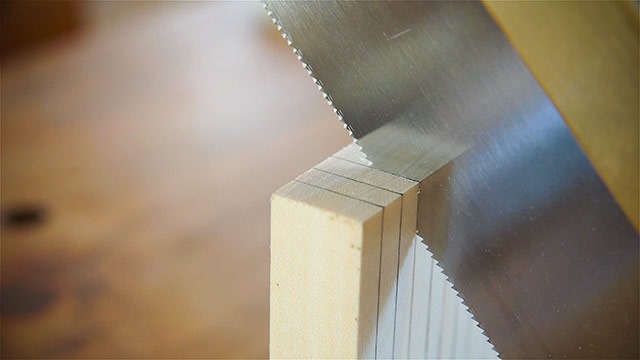
When I’m cutting the front and the top of the board, I make darn sure that I can always see the line. If you can’t see the line you can’t cut straight. So I blow the saw dust out of the way on about every other stroke.

I make my eyes quickly move back and forth from the front layout line to the top layout line. When students aren’t blowing off the sawdust, they almost always have crooked lines.
Tip #7: Slow Down!
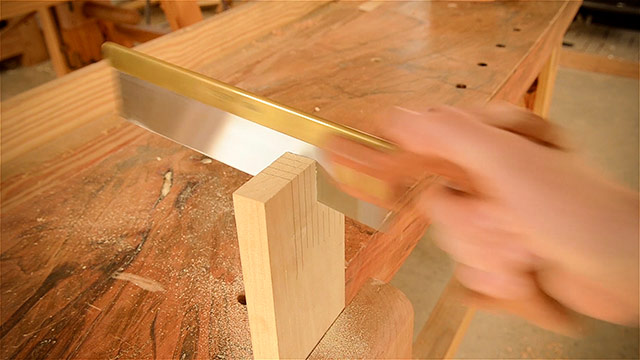
One of the reasons students aren’t looking at their layout lines or blowing off the sawdust is because they’re sawing way too fast. I always get at least one speed demon in each class, and even though they think they’re going faster, they are always the ones who take the longest to get straight cuts.
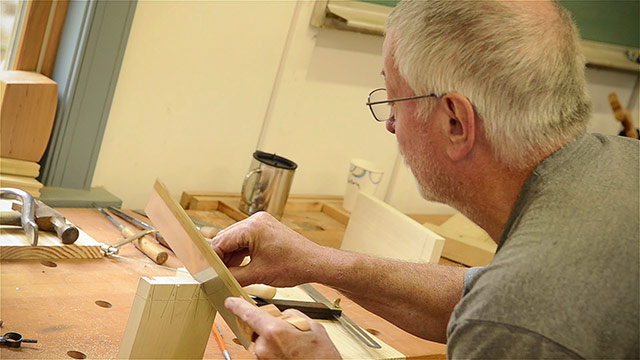
In addition to not being able to see your line at a fast speed, it’s really hard to correct a misaligned cut if you’re sawing too fast.
It’s just like driving a sports car too quickly around a curve in the road, and trying to correct when your heavy car wants to go straight over the cliff.
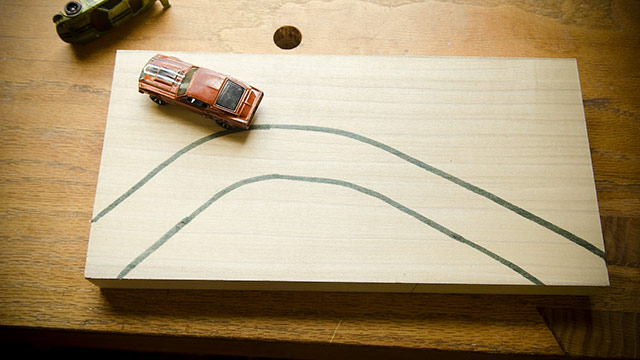
As you get more experienced, you can certainly speed up, and I do.
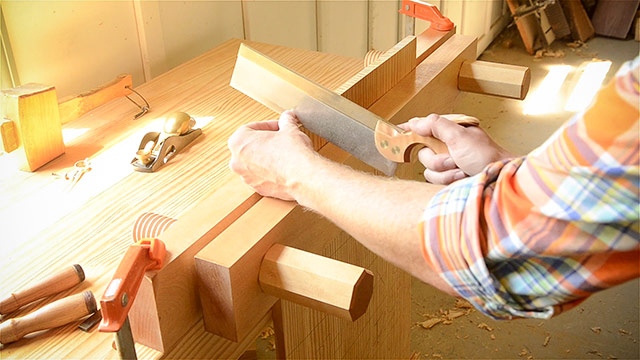
But when you’re first learning you should cut really, really slowly and watch your lines constantly.
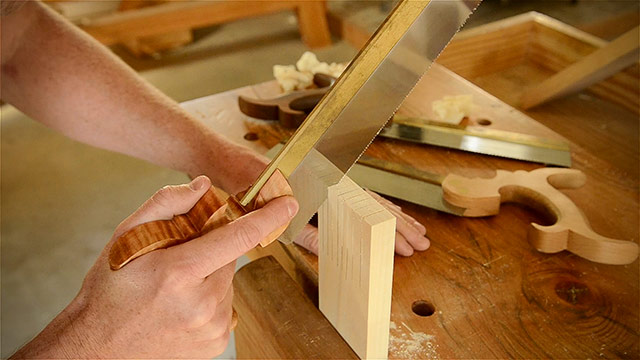
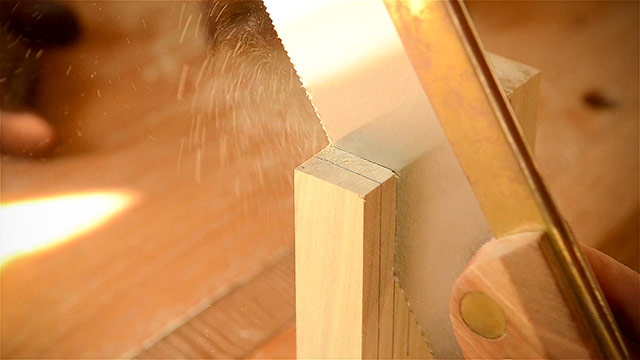
You can see here that if I cut slowly, and I get off the line, I have the time to react and readjust my next cut to get back on the line:
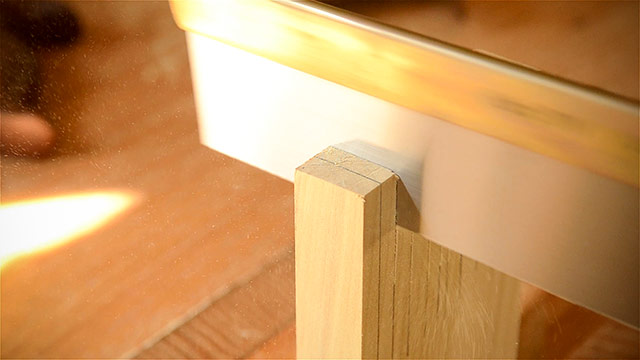
And here’s an illustration of getting off the line and going so fast that I can’t get back on the line:
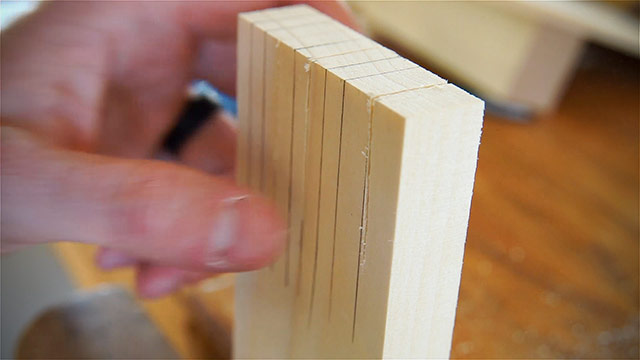
Just take it slow and during this exercise just cut until your saw bottoms out.
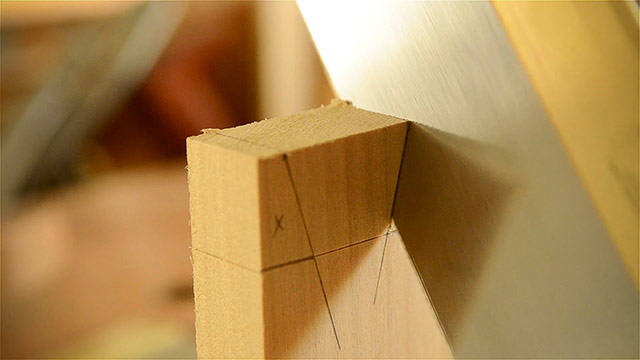
If you were cutting to a baseline on a dovetail joint, you would get extra slow as you approach the baseline so you don’t go over it.
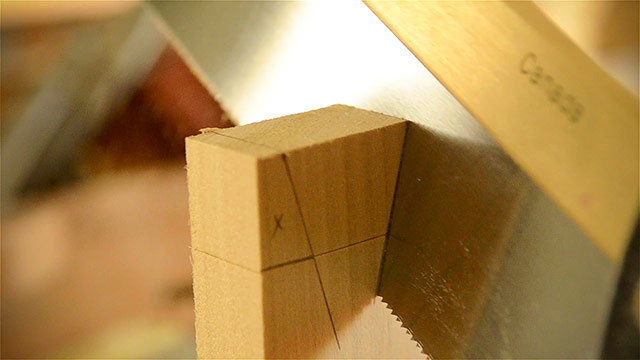
Your finished furniture will look sloppy if you cut over your baseline. So slow down!
Tip #8: Advance to Cutting Next to the Line
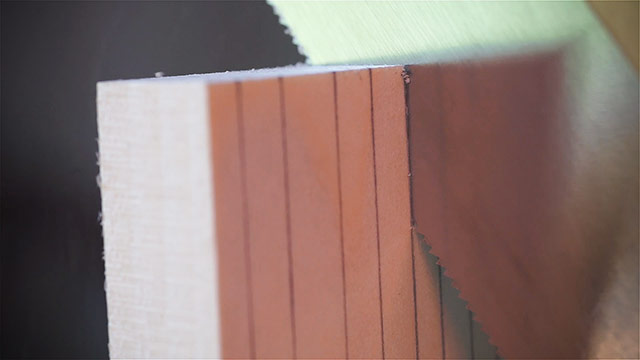
After mastering cutting straight on the pencil line, I ask my students to flip the board around, and kick it up a notch by trying to cut right next to the line. In this sawing exercise you would just leave the pencil line and nothing else. This is the key to tight fitting dovetail joints, where you’ll have very little chisel work to do to get the tail board and pin board to fit together nicely.
Tip #9: Repeat!
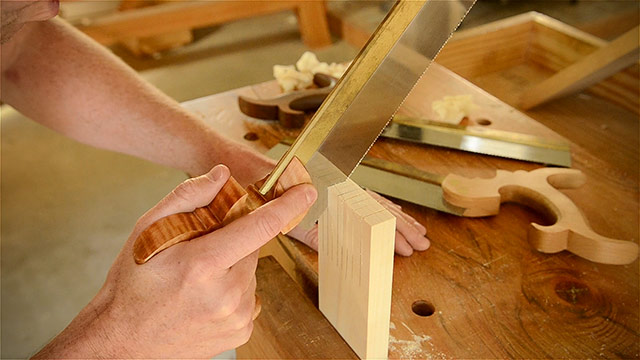
Repetition is the key to really learning how to use a dovetail saw effectively. Most of my students are really surprised at how much they improve after sawing on just one board. It’s fun seeing their first lines compared with their last lines.
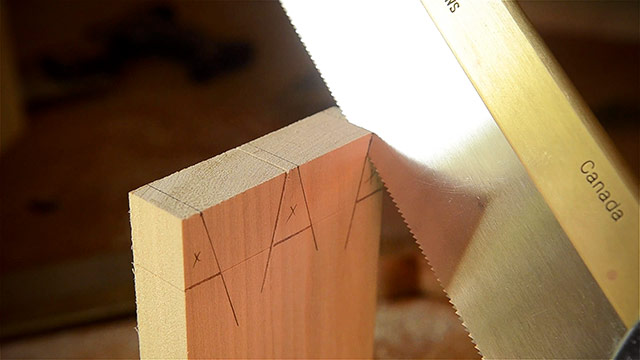
So imagine if you did one board every day for a week…you’d have amazing dovetails!
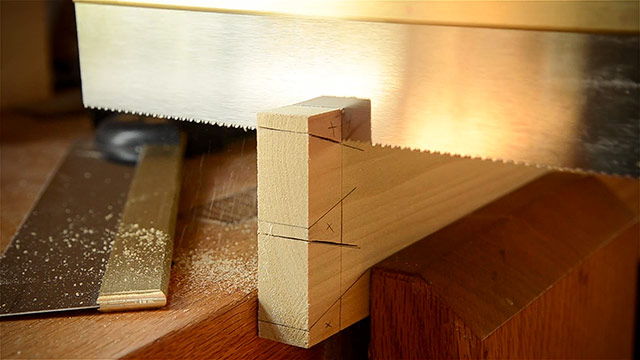
Conclusion
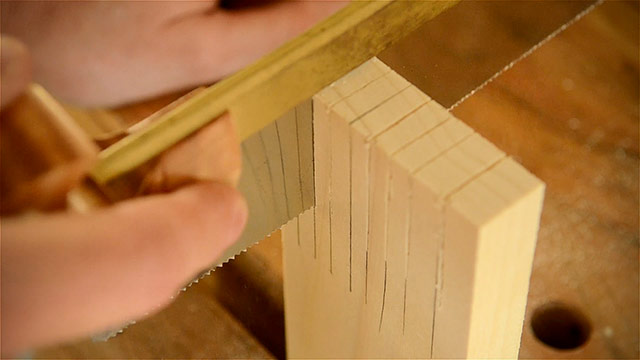
Thanks for reading and watching my lesson on how to use a dovetail saw! If you’ve got any sawing tips or questions, please share them in the comment section below. If this was helpful, please make sure you subscribe to my website below, so you won’t miss out on my other articles or videos. I’ll see you next time here in my shop!
TOOL GUIDE SHORTCUTS:
HAND TOOL BUYER’S GUIDES
- Intro to Buying Woodworking Hand Tools
- Workbench & Tool Storage
- Layout, Marking, & Measuring Tools
- Handplanes
- Handsaws
- Chisels
- Sharpening & Honing Supplies
- Mallets & Hammers
- Hand Drills, Braces, & Bits
- Tools for Curved Work
- Tools for Green Woodworking
- Woodworking Clamps, Gluing & Fasteners
- Tools for Wood Carving
- Products for Wood Finishing, Sanding & Scraping
- Wood Turning Tools & Lathes





Joshua, This was one of the most helpful videos I have seen anywhere. You really break the process down in to steps that is a great way to teach a manual skill. Providing exercises to create muscle memory is especially helpful. I have a dovetail saw, but have not had the courage to tackle a project yet, partly because of fear of failing. This video will surely help that. I have watched a lot of videos on dovetails, but not… Read more »
Joshua, thank you so much. You’ve included a number of small details that made the light go on in my head. I’m anxious to start practicing. I especially like the advice to do one board per day for a week.
Question: After having your students practice vertical cuts, do you then have them practice angled cuts on a board similar to the angles on dovetails as the next step for practice?
Glad it has helped Ken! After doing the vertical cuts, we move onto cutting dovetails. We don’t do practice angled cuts. But it couldn’t hurt!
This blog entry really helped me to turn the corner with my hand sawing, especially the bit about breaking the arris and dropping your hand to establish that vertical kerf first.
That simple concept instantly improved my dovetails exponentially. Thank you!
So glad it helped Doug!