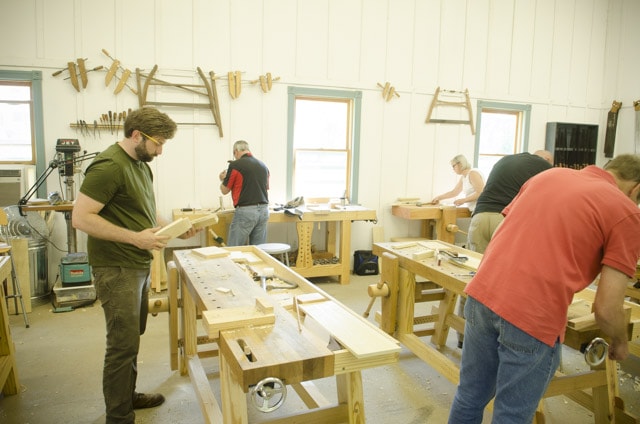
I recently taught a three day “Introduction to Hand Tool Woodworking” class here at my traditional woodworking school in Virginia, and want to share the experience to give you an idea of what the class is like.
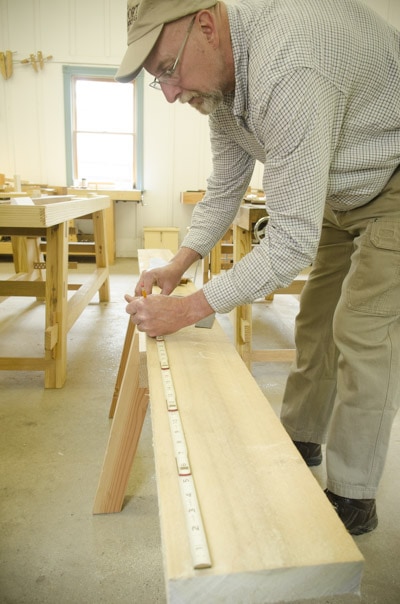
The first thing students do in this class is learn about & try out workbenches and all the different hand tools in the shop. Then they jump in and use a folding rule to measure out a length of a tulip poplar board, use a try square to mark their cut line, and use a traditional crosscut saw to cut their board to length on these heavy-duty saw horses.
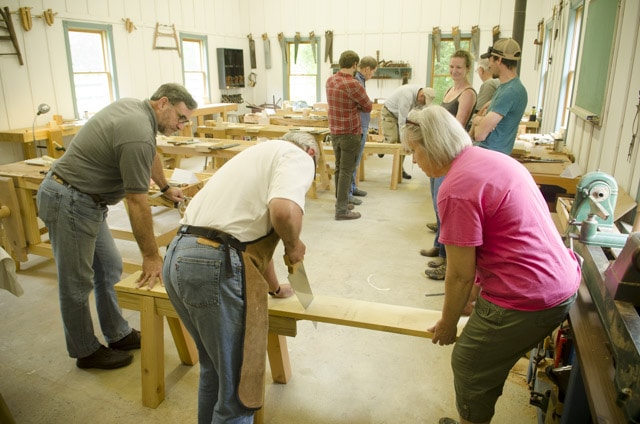

Then the students use the three bench planes (fore plane, try plane, and smoothing plane), along with marking gauges, winding sticks & a straight edge to dimension their lumber into a perfectly flat and square board ready for making furniture. I’ve built, purchased, and rehabbed a variety of antique and new hand tools and workbenches so that students can decide which types of hand tools and workbenches they want in their own workshop.
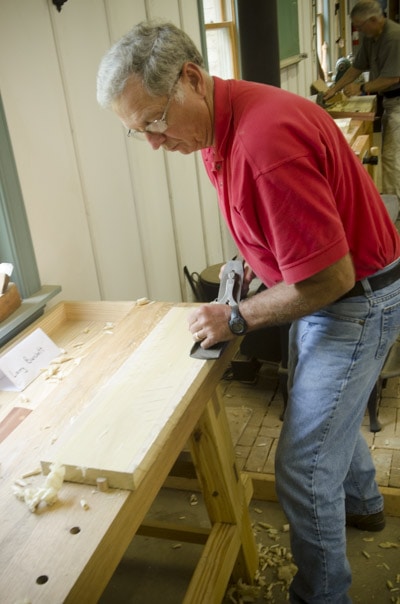
Students come from a variety of woodworking backgrounds: some who are novice woodworkers, some who are experienced woodworkers but want to improve their hand tool skills, and some who have never done any woodworking before.
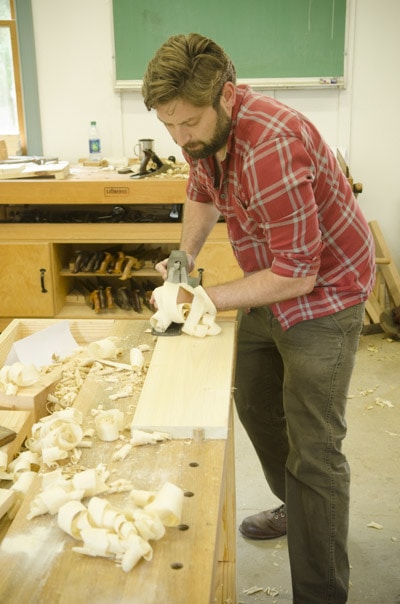

Students use try squares to gauge the squareness of the edges of the board as they joint with edges with a try plane.
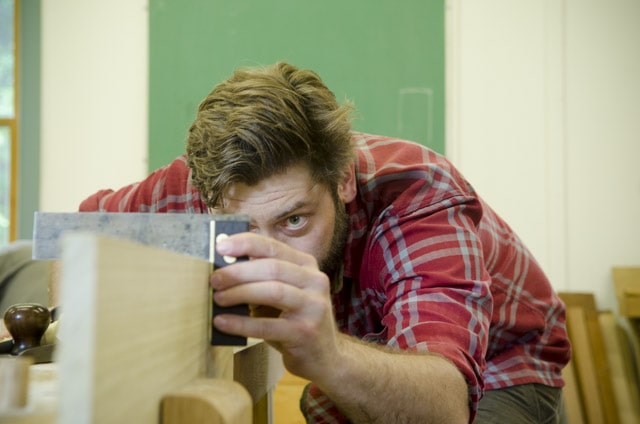
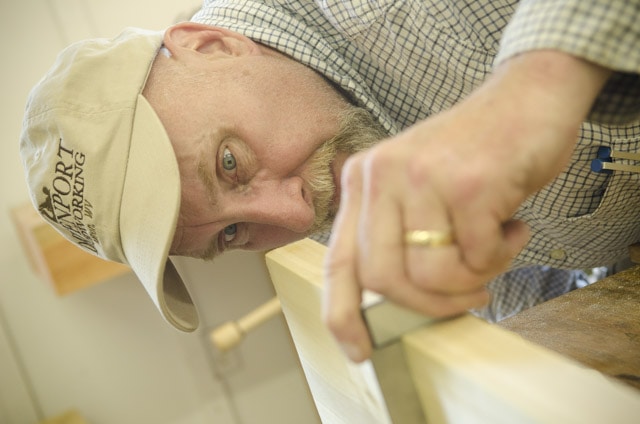
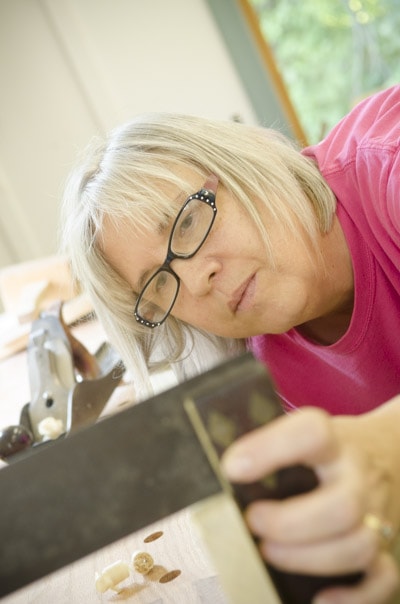
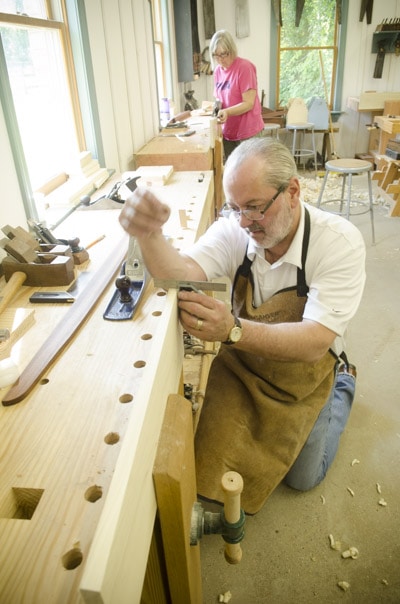
The final step in squaring up their boards, is using the miter box saw to cut the edges perfectly square (and use a shooting board, if time permits):
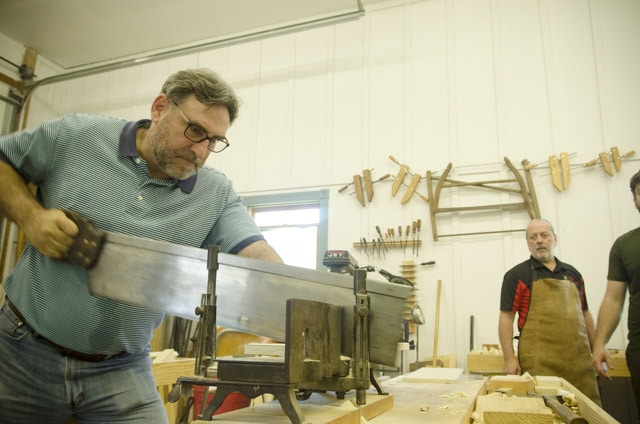
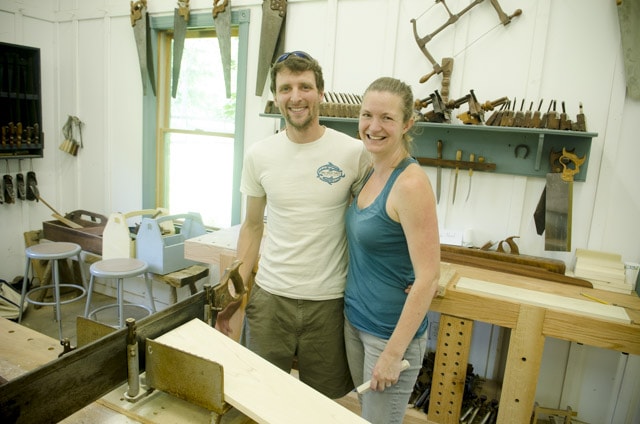
Squaring up a board is the most fundamental of traditional woodworking skills, and is a fantastic exercise for learning to use a large number of hand tools. This portion of the class more-or-less follows the format of my previous tutorial on squaring up boards with hand tools ( you can read/watch it here).

Once students finish squaring up their board at the end of the first day (or the beginning of the second day), we move onto learning essential woodworking joints for the remainder of the three day class. These joinery skills include:
- Plowing grooves with antique wooden plow planes and combination planes (like the Stanley 45)
- Cutting a table leg mortise and tenon joint
- Cutting tongue & groove joints with antique matched pair planes, come & go planes, and swing arm planes (like the Stanley 48)
- Cutting through dovetail joints with layout tools, back saws, coping saws, and chisels.
- Making dado joints with a router plane, carcass saw, and chisels.
- Cutting rabbet joints & other joints if time allows

Before jumping into cutting woodworking joints, the students refine their hand saw skills by using dovetail saws to cut along straight lines on a board. This comes in handy later on, especially for cutting tenons and dovetail joints.
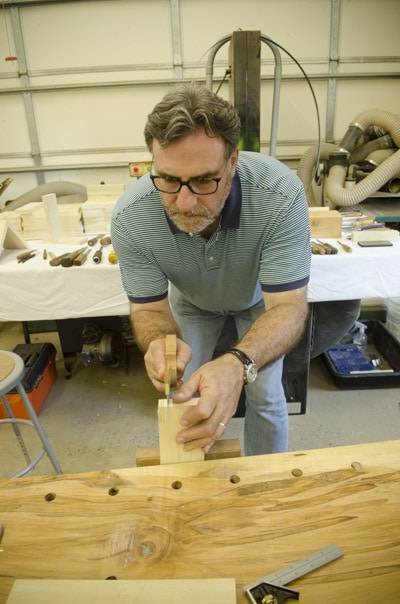
Next comes plowing grooves in the their dovetail boards, as you would do when building a box, chest, or cupboard:
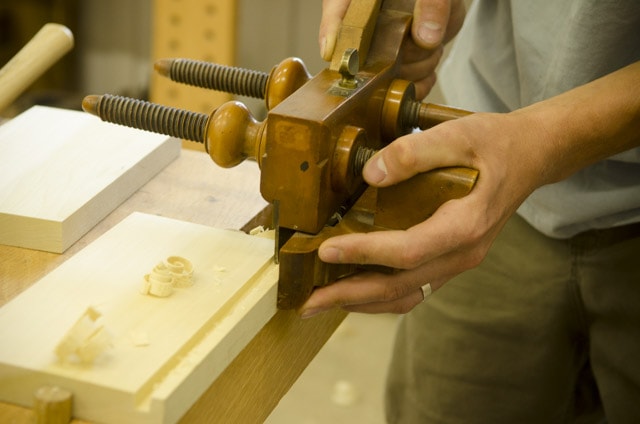
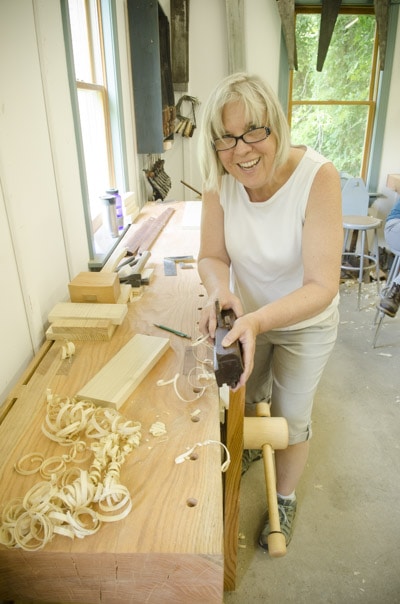
This student is using an antique “come and go” tongue and groove plane to create her first ever tongue & groove joint:
Then we move on to cutting tenons and chopping mortises:
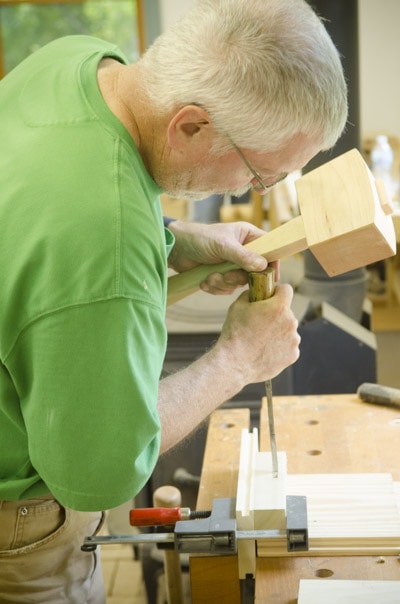
In this particular class, students learn mortise & tenon joinery by making a table leg with an apron, and learn the historical glueless method of tightening a mortise & tenon joint, called drawboring:

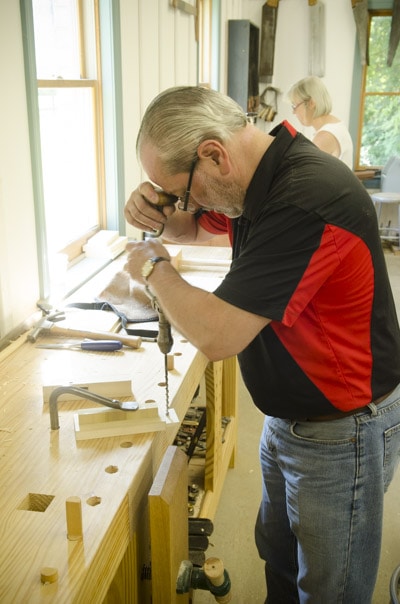
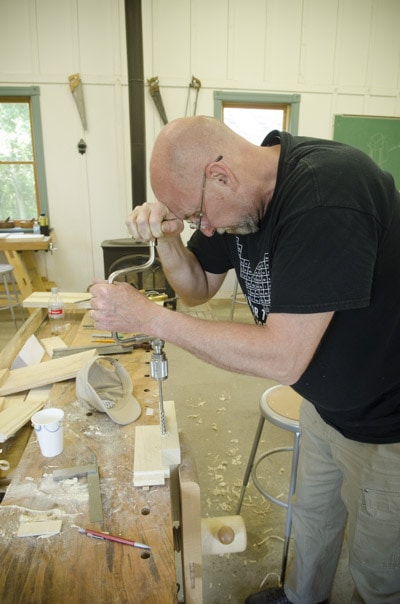
Students use a brace and bit to bore the holes for the drawbore pins to be pounded through:

Then comes a popular part of the class, learning to make dovetails by hand:
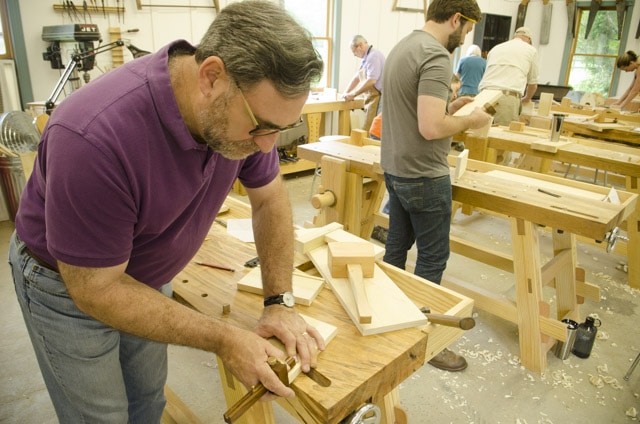
The students first learn to lay out the dovetail joints…
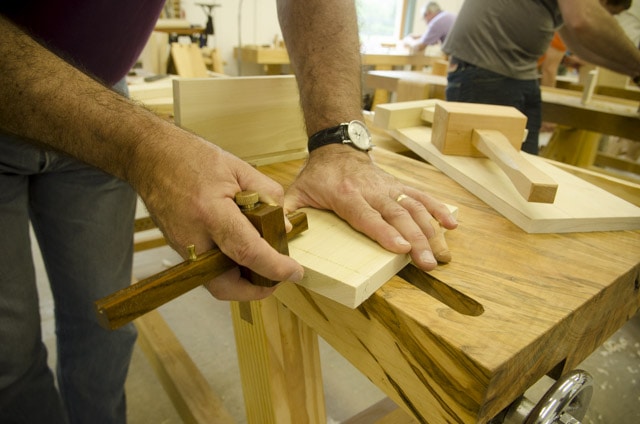
…then they use dovetail saws, carcass saws, and coping saws to cut the dovetail joints:


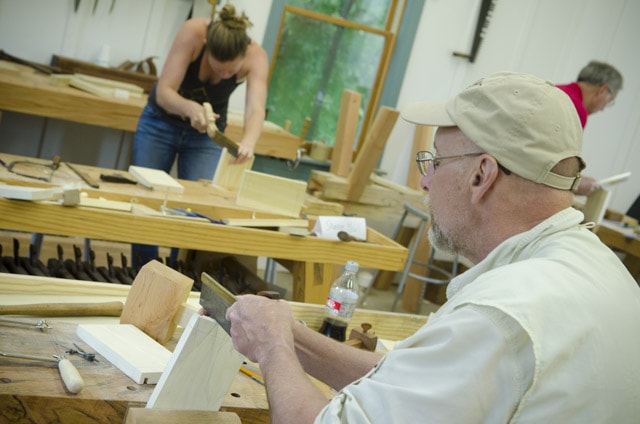
And finally the students clean up and fit the dovetails using bench chisels and joiner’s mallets:
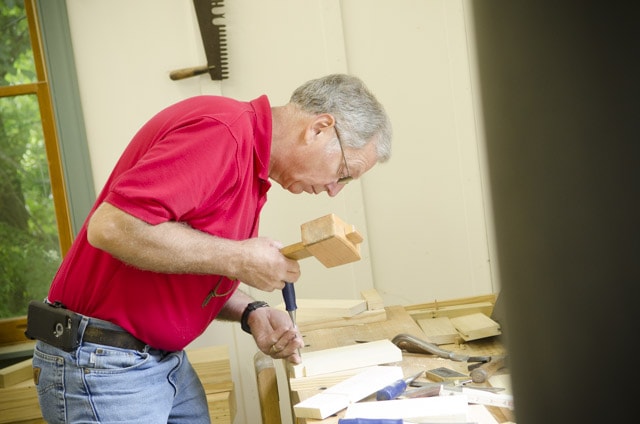


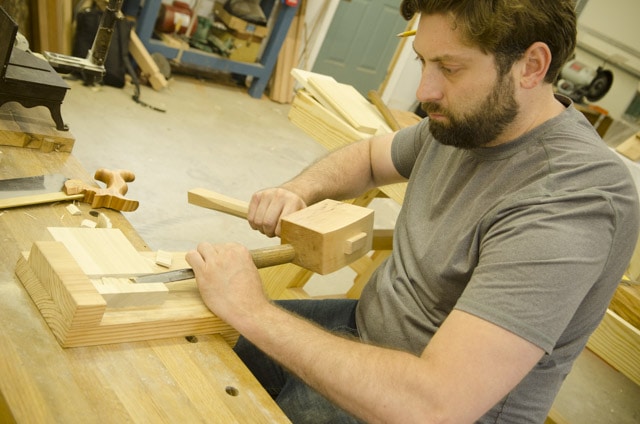
One of the last joints the students learn is the dado joint, which is used for making traditional cabinet shelves:
There are still spots left in next week’s class, and the class in October, so sign up soon!

This was a really fun few days, and I had a blast getting to know these amazing people, who come from a variety of backgrounds. Below is the 2018 calendar of classes if you want to take this, or any other class at the Wood And Shop Traditional Woodworking School. Please leave comments and questions below!

2018 CLASS SCHEDULE:
May 4-5: “Make a Custom Dovetail Saw with Tom Calisto” (SOLD OUT!)
May 10-12: “Building the Hancock Shaker Candle Stand with Will Myers”
May 25-26: “Restoring Wooden Handplanes with Bill Anderson” (SOLD OUT!)
May 31-Jun 2: “Introduction to Hand Tool Woodworking with Joshua Farnsworth” (SOLD OUT!)
Jun 16: “Make a Moravian Dovetailed Footstool with David Ray Pine”
Jun 23: “Build a Pair of Heavy-Duty Sliding Dovetail Saw Benches with Joshua Farnsworth”
Jun 28-30: “Introduction to Hand Tool Woodworking with Joshua Farnsworth”
Jul 7: “Wood Joinery by Hand with Joshua Farnsworth”
Jul 13-14: “Make an 18th Century Panel Saw with Tom Calisto”
Jul 20-21: “Make a German Shave Horse with Ervin & Willie Ellis”
Jul 27-28: “Make a Moravian Dovetailed Candlebox with David Ray Pine”
Jul 30-31: “Make Try Squares, Bench Hook, Winding Sticks, Donkey’s Ear & More with Bill Anderson”
Aug 15-18: “Building a Dropleaf Pembroke Occasional Table with Bill Anderson” (SOLD OUT!)
Aug 21-25: “Building a Classic Walnut Wall Cupboard with David Ray Pine”
Sep 7-8: “Make a Custom Dovetail Saw with Tom Calisto”
Sep 19-22: “Make the Canterbury Shaker Side Table with Will Myers”
Oct 1-3: “Introduction to Hand Tool Woodworking with Joshua Farnsworth”
Oct 12-13: “Make a German Shave Horse with Ervin & Willie Ellis”
Oct 17-20: “Make a Sailor’s Tool Chest with Tom Calisto”
Nov 2-3: “Restoring Wooden Handplanes with Bill Anderson”
Nov 13-17: “Make a Cherry Shaker Wall Cabinet with Joshua Farnsworth”

