How To Cut a Rabbet Joint with a Moving Fillister Hand Plane
Use this antique wood plane to make this simple and useful rabbet joint
![]() By Joshua Farnsworth | 03 Mar, 2023
By Joshua Farnsworth | 03 Mar, 2023
How To Cut a Rabbet Joint with a Moving Fillister Hand Plane
Use this antique wood plane to make this simple and useful rabbet joint
![]() By Joshua Farnsworth | 03 Mar, 2023
By Joshua Farnsworth | 03 Mar, 2023
Intro to Making a Rabbet Joint
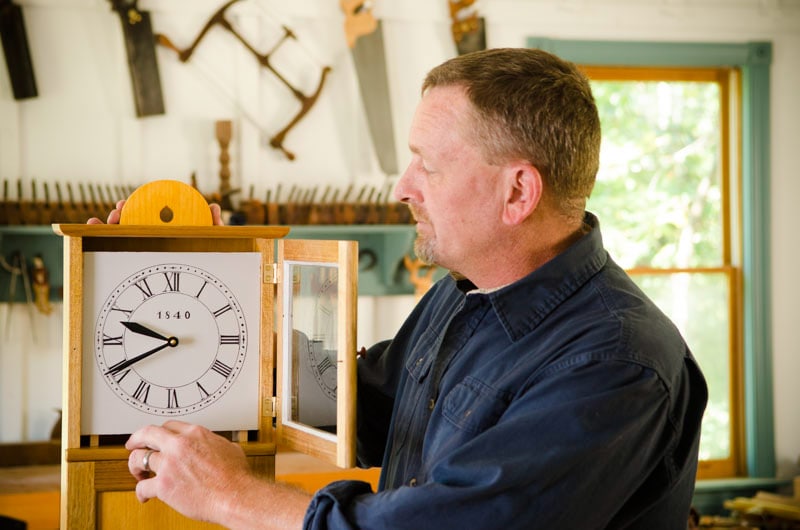
In the above video Will Myers shows how to cut a rabbet joint with an antique moving fillister wood plane. This video is a excerpt from “Building the Isaac Youngs Shaker Wall Clock with Will Myers“. It is filmed in the Wood and Shop Traditional Woodworking School (check out our woodworking classes!)
What is a Rabbet Joint?
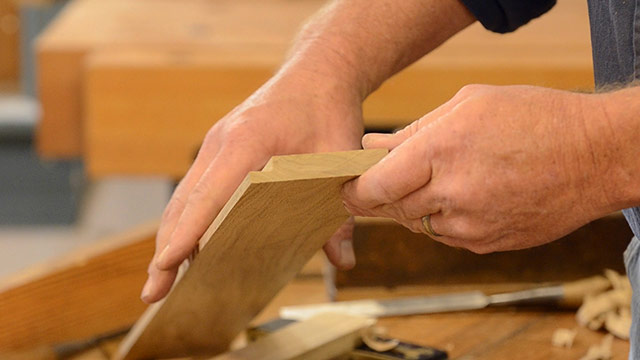
A rabbet joint is simply one of the simple wood joints that has a notch cut out on the end of a board, like this:
Joinery is the act of cutting wood joints for woodworking, and cutting a rabbet joint is one of the most simple of all joinery skills.
Which Hand Tools to use to make a Rabbet Joint?
A rabbet joint can be made in many different ways, with hand tools or with power tools. But I’ve found that the easiest and fastest way to make a rabbet joint is with a moving fillister wood plane.
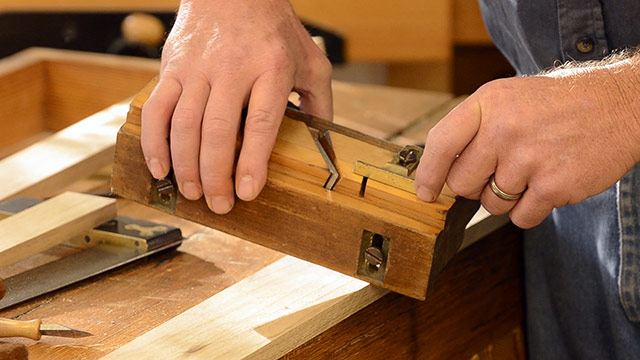
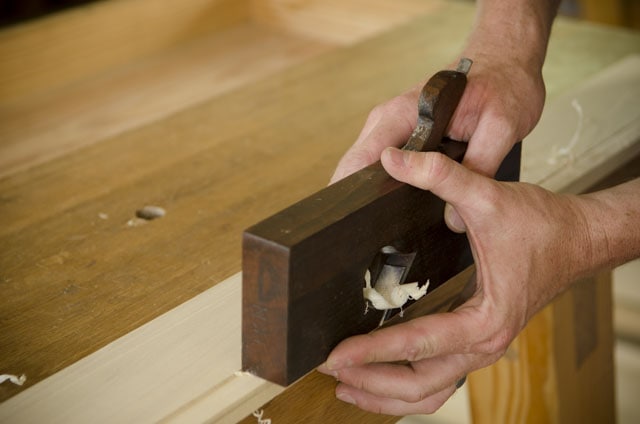
A moving fillister plane is a rabbet plane with an adjustable fence. A traditional rabbet plane is harder to use than a moving fillister plane, because it is more difficult to stabilize while cutting the rabbet joint. You can see here that a normal rabbet plane relies on the woodworker’s hand to stabilize the rabbet plane, because there is no fence:
You can read our guide to choosing joinery planes, like a moving fillister plane, in our hand plane buying guide. And if you really want to get into buying, refurbishing, and using joinery planes, you can buy our video class here:
Preparing to Cut the Rabbet Joint
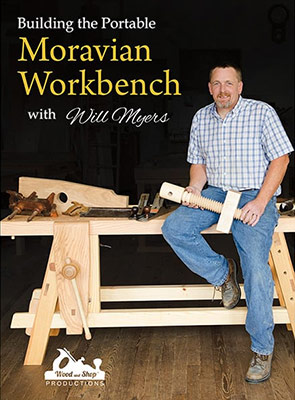
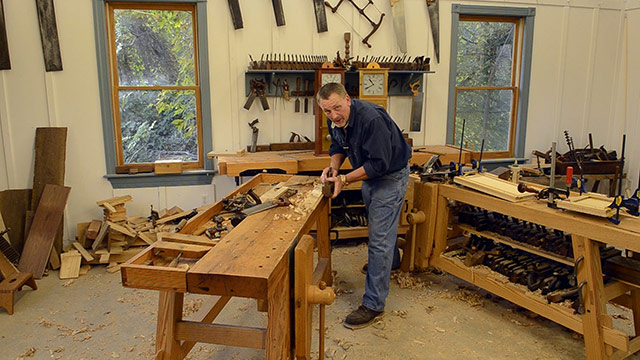
When making a rabbet joint with woodworking hand tools, it’s important to stabilize the workpiece in a bench vise, on a sturdy workbench, like the below Portable Moravian Workbench that Will Myers is using:
The next step is to adjust your moving fillister plane. You need to adjust your fence (on the bottom of the wood plane) to the width of your desired rabbet joint.
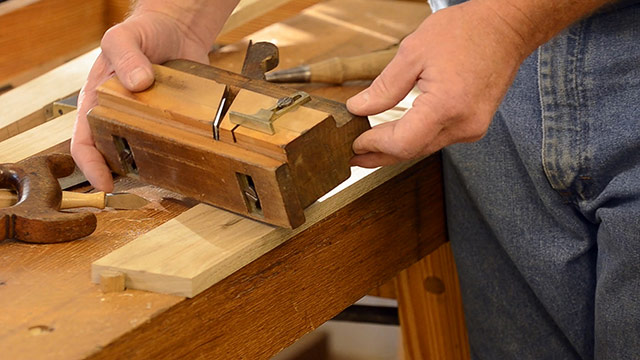
You’ll also adjust the iron (the blade) to the appropriate cutting depth. Don’t make it too aggressive, or it will be too hard to push the wood plane. You’ll also want to adjust the depth stop (the brass part) so that it will stop cutting at your desired depth. Will removed the steel nicker blade, because he is not cutting a cross-grain rabbet joint. If you want to watch our full tutorial video, you can find it here: “How to Tune and Use a Moving Fillister Plane“.
How to Start the Rabbet Joint Cut
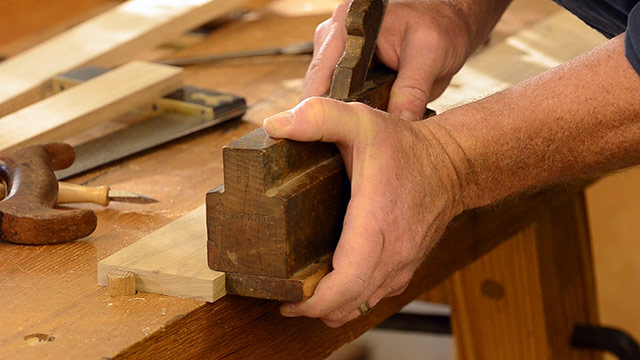
It’s important to hold the moving fillister plane upright, and with the fence pushed tightly against the board’s edge (see above). Similar to with using a molding plane, I start pushing the wood plane at the front of the board, and work my way back. I find this helps me establish a nice edge to guide me when cutting the rest of the rabbet joint.
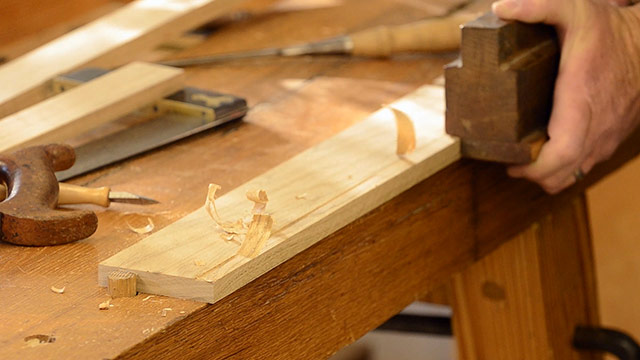
Finishing the Rabbet Joint Cut
Once I have reached the back of the board, and have established at least a little bit of a rabbet joint along the length of the board, then I will start making full passes to deepen the rabbet joint.
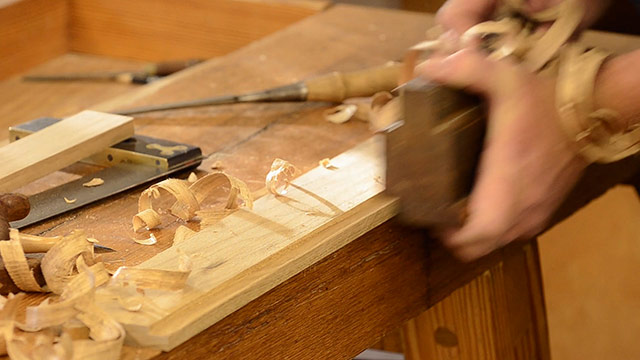
Finally, once the moving fillister hand plane stops cutting at all parts along the board (because the depth stop is now rubbing on the board), then your rabbet joint has successfully been cut!
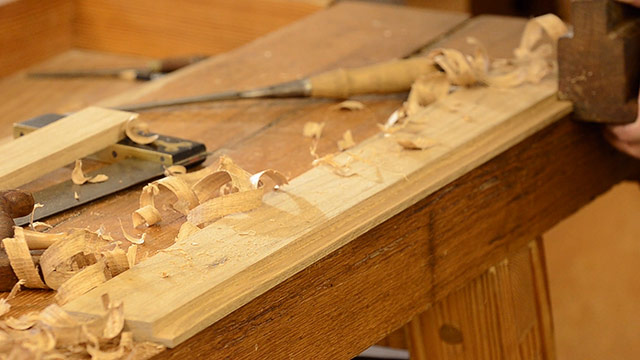
You can see the profile of the rabbet joint in this photo:
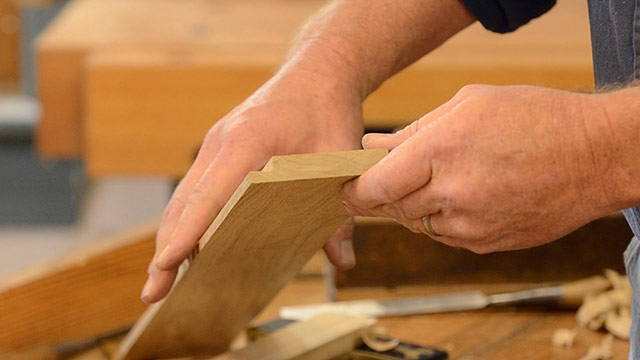
You can view Will Myers’ website here to learn more about his Shaker Wall Clock and about other interesting projects he has going on.


