How to Choose Molding Planes
A Woodworker’s Guide for Choosing the Best New and Vintage Woodworking Molding Planes (Part 3/3)
![]() By Joshua Farnsworth | Updated Feb 28, 2022
By Joshua Farnsworth | Updated Feb 28, 2022
How to Choose Molding Planes
A Woodworker’s Guide for Choosing the Best New and Vintage Woodworking Molding Planes (Part 3/3)
![]() By Joshua Farnsworth | Updated Feb 28, 2022
By Joshua Farnsworth | Updated Feb 28, 2022
Disclosure: WoodAndShop.com is supported by its audience. When you purchase through certain links on our site, we may earn a small affiliate commission, at no cost to you. Learn more.
Molding planes are used for making decorative shapes on pieces of furniture or on architectural elements. The light and shadow produced by moldings produces visual interest and dimension to the otherwise plain wood. In this article I’ll explain the different types of molding planes, and also share advice on which molding planes you need to start off with, and which ones you don’t.
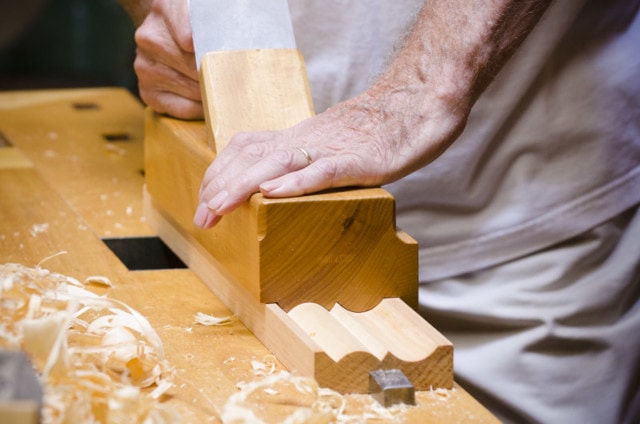
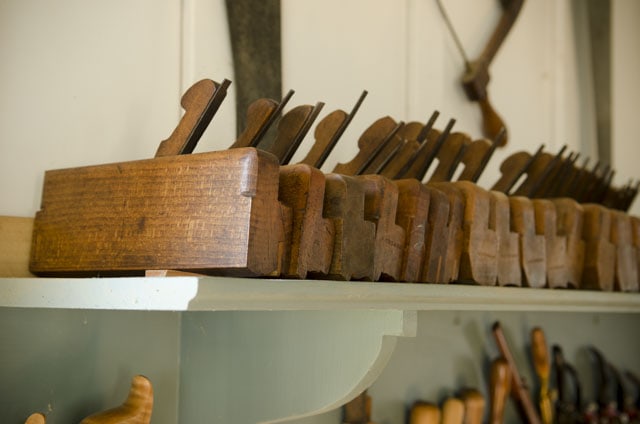
Unlike the previous handplanes we’ve mentioned, molding planes only come in wooden bodies. There is one exception: the antique combination planes do offer a couple molding profile cutters, but they aren’t very useful in my opinion. There are a few good modern molding plane makers, but they are all small companies with small production runs, so the prices are extremely high compared with antique molding planes. So I’m going to focus this discussion primarily on antique molding planes.
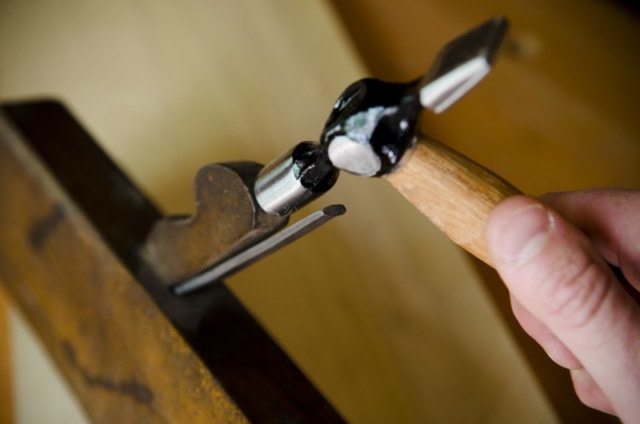
There are too many different types and shapes of molding planes, and clean up planes, to mention them all in this article so I’ll focus on just a few styles of molding planes that you’ll likely want to try out in the near future:
Buying Dedicated Molding Planes
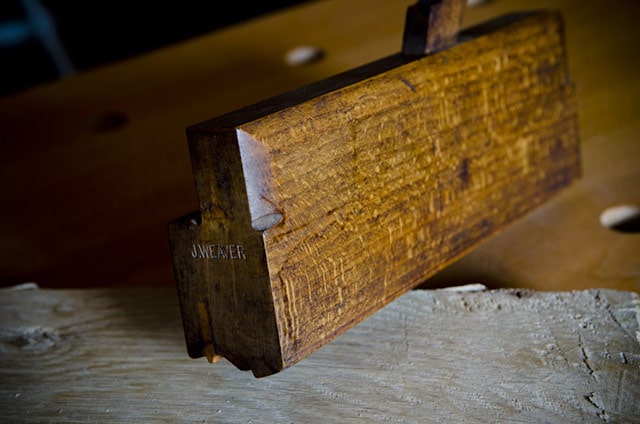
Probably the most fun and popular type of molding plane to use is a dedicated molding plane. It’s called that because it has a single, dedicated profile, like the popular Ovolo profile and Ogee profile (shown below).
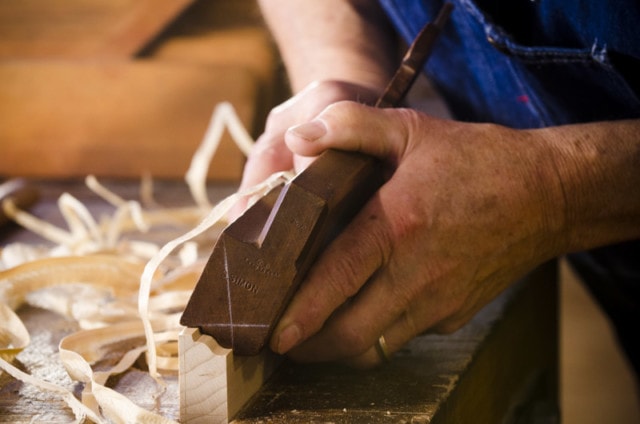
And it only cuts that profile, in one direction, with the board to the right of the plane. You simply line up one of the spring lines (highlighted in white pencil in the photo above) to be parallel with your board’s face, and then slowly take repeated passes further and further back on the board until you’re making full length passes.
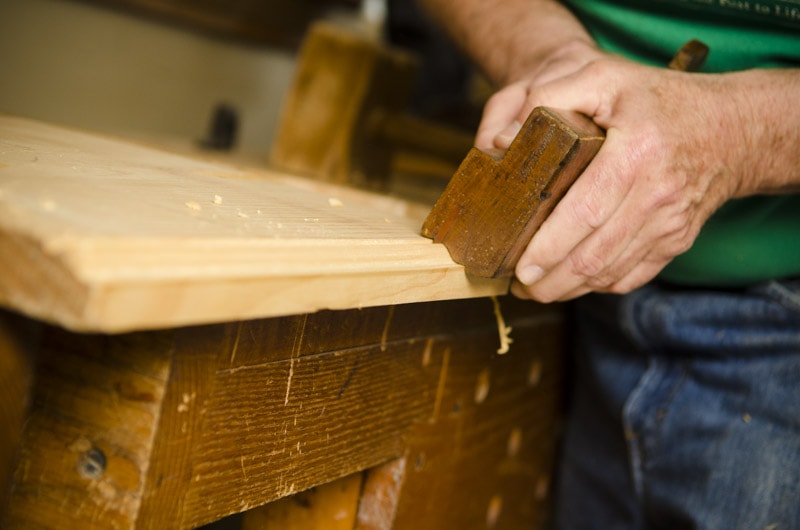
Just make sure to keep the plane in line with the spring line the whole time or you’ll get a crooked profile. And when the plane stops cutting, the molding is finished!
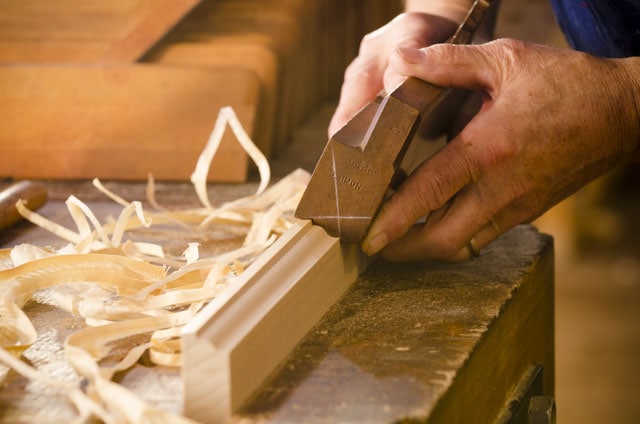
And just as a cool bonus tip, if you gather all the shavings, you can use them to burnish the profile that you just cut. It makes the molding very smooth.
Another tip is to use a shop-made sticking board (shown below) to more-easily secure your workpiece while cutting the molding.
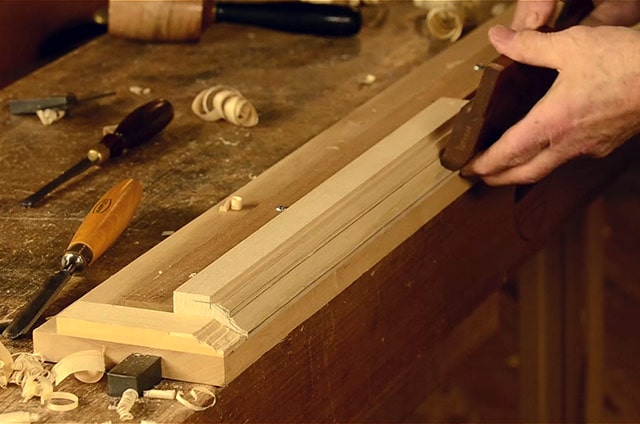
It’s not too difficult to find a dedicated molding plane that’s in fairly good shape. Most non-collectible dedicated molding planes will cost you under $50. I’ve found some nice ones for as low as $15. If possible, try to find one that has a crisp and intact profile that matches the iron.
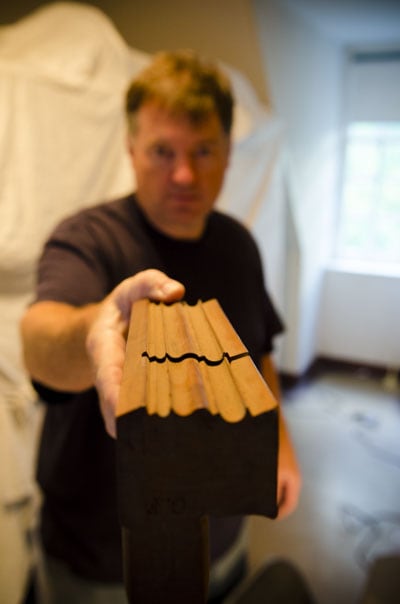
And also make sure the wedge isn’t missing, or that someone put the wrong wedge into the plane.
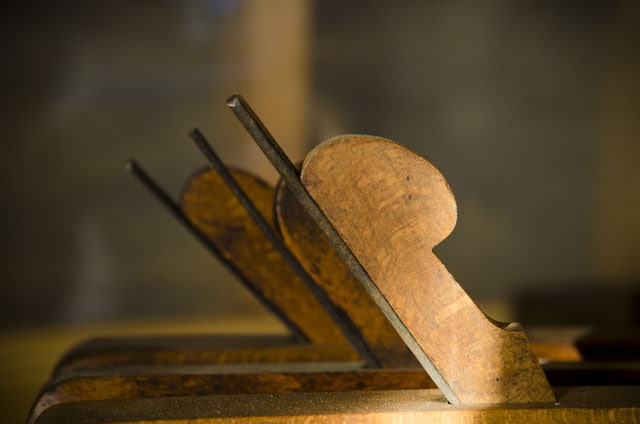
An incorrectly tapered wedge won’t hold the iron snugly. Also, some of these planes have boxing inserts, which are used to strengthen narrow parts of a profile, so make sure it isn’t loose or missing (pictured below).
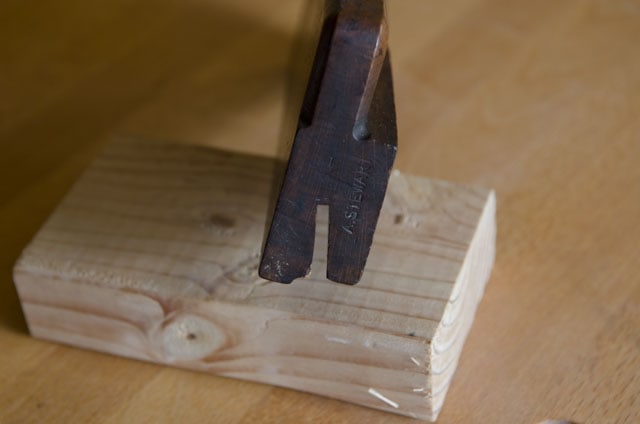
All of these problems can be repaired, but you might as well start off with as easy a molding plane rehab as possible. I would caution you to stay away from buying a molding plane that has a major split or crack in the wood. That’s not a rehab project that you’d want to take on.
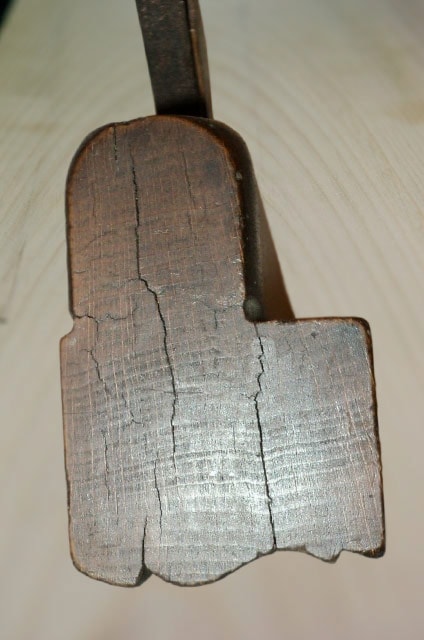
And to be honest, you’ll have a hard time finding a vintage molding plane that doesn’t need some rehab work. Even the nicest molding planes will require at least sharpening and some other minor tuning. And sharpening a molding plane isn’t as straight forward as sharpening a straight edge tool, like a chisel or a handplane iron. Some people incorrectly suggest that you just flatten the back of a molding plane to get it sharp. But this can lead to problems with the profile changing over time, to the point where it won’t match the plane’s profile. You should learn to sharpen them properly.
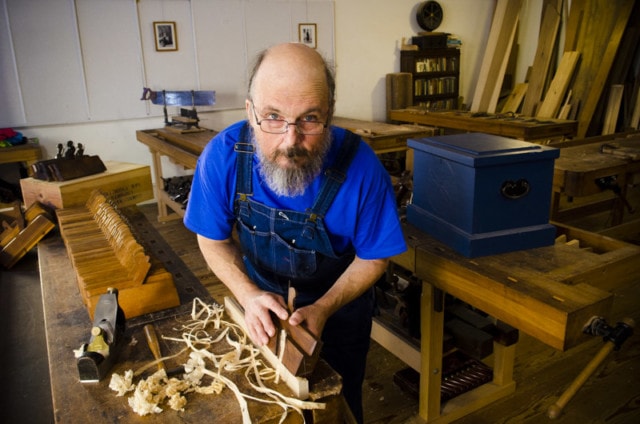
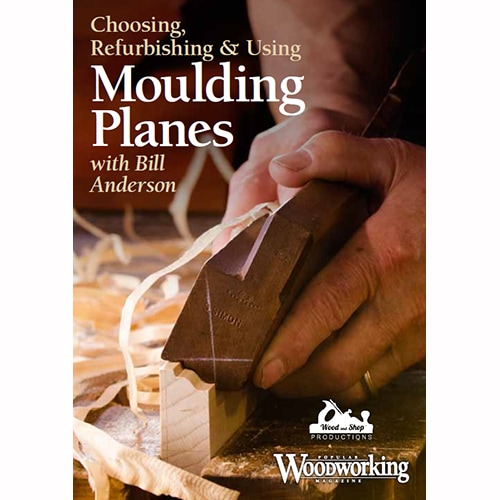
Years ago I wasn’t able to find any really good guides on refurbishing antique molding planes, so I joined up with handplane expert Bill Anderson to make a 4-1/2 hour comprehensive video class on molding planes, called “Choosing, Refurbishing and Using Moulding Planes with Bill Anderson”. You can find this video class in my store here.
In 4.5 hours Bill Anderson covers:
- Moulding plane anatomy and how to choose and buy the best planes
- The differences between dedicated moulding planes, hollows & rounds, side bead planes, scratch stock, and cleanup planes
- How to refurbish a moulding plane, from blade to wedge and even how to replace damaged boxing
- How to use a dedicated molding plane to cut a molding
- The steps to lay out and create an Ovolo and Ogee profile using hollows & rounds planes
- Much more!
You can watch the preview below:
So my recommendation would be to either buy a vintage dedicated molding plane, and learn how to rehab and sharpen it, or fork up at least a few hundred dollars to get a sweetly tuned and sharpened new dedicated molding plane (which you’ll eventually have to learn to sharpen).
You can find dedicated molding planes here:
- Find vintage Ovolo profile molding planes here
- Find vintage Ogee profile molding planes here
- Find vintage Sash profile molding planes here
- View all profiles of vintage molding planes here
- View new molding planes made by Philly Planes in England
- View Molding planes at Jim Bode Tools (antique tool dealer)
Buying Hollows & Rounds Planes
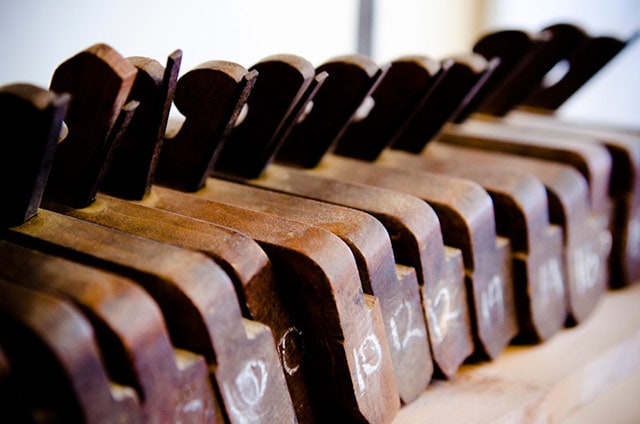
If you find that you like using dedicated molding planes, then you’ll certainly be excited about moving up to the next style of molding planes: hollows and rounds. A hollow plane makes an arch shape in the wood, and a round plane makes a rounded shape. By using a variety of sizes of hollows and rounds you can create nearly any molding profile that you can imagine for your furniture.
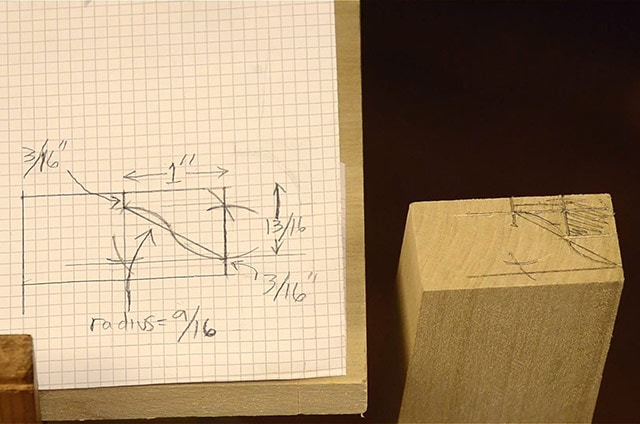
This is also useful if you’re trying to replicate a historical molding in your house or on a piece of antique furniture. With the aid of a rabbet plane, for removing waste, you essentially just use the hollows & rounds to remove one hill and valley at a time from the wood.
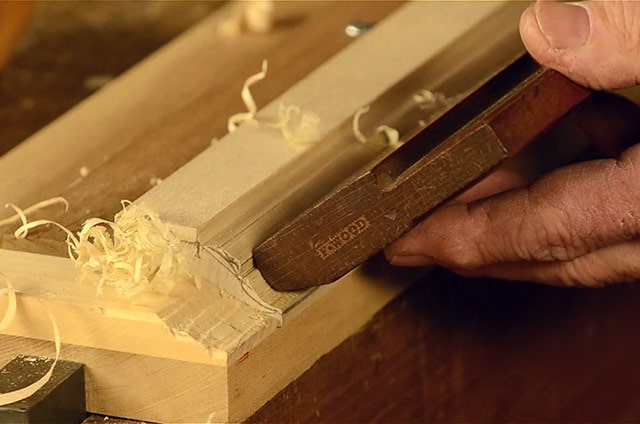
Aside from unlimited shapes that can be cut, one huge advantage that hollows & rounds have over dedicated molders is that they can be used in either grain direction. If you find a profile tearing out because of reversing grain, you can just start planing from the different direction to go with the grain, which will give you a cleaner cut.
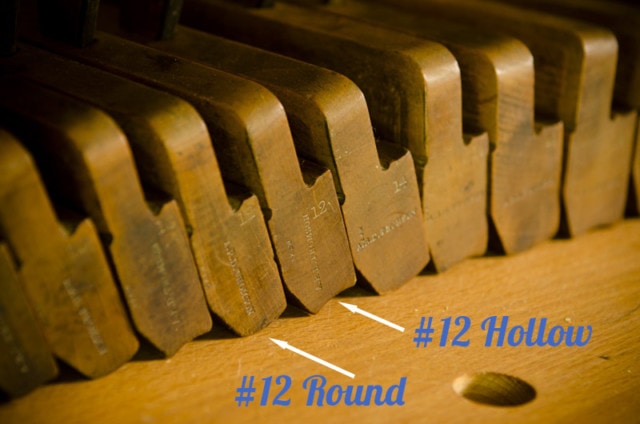
Hollows and rounds were made in numbered sets, with each number consisting of two handplanes, which is a called a pair. For example, a #12 pair would include one #12 hollow, that cuts 60 degree hills, and one #12 round, that cuts 60 degree valleys. Every plane cuts 60 degrees of a circle, just a different sized section. Think of pizza slices; a large slice and a tiny slice have the same arc at the top.
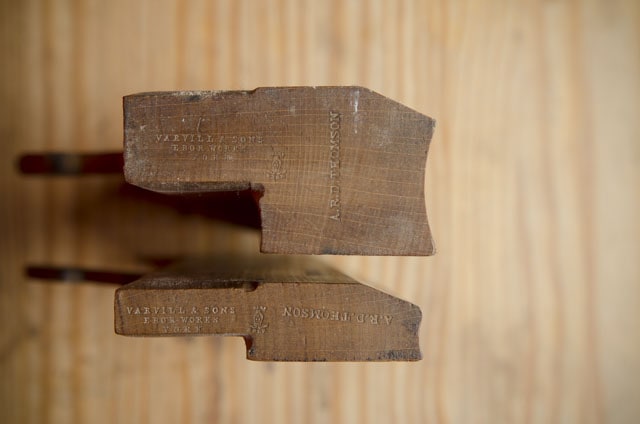
A full set of hollows and rounds includes 18 pairs of handplanes, for a total of 36 planes. That’s a lot of planes! I’ve only ever touched one full set, which belongs to Bill Anderson, as you’ll see in the molding planes video that I mentioned earlier.
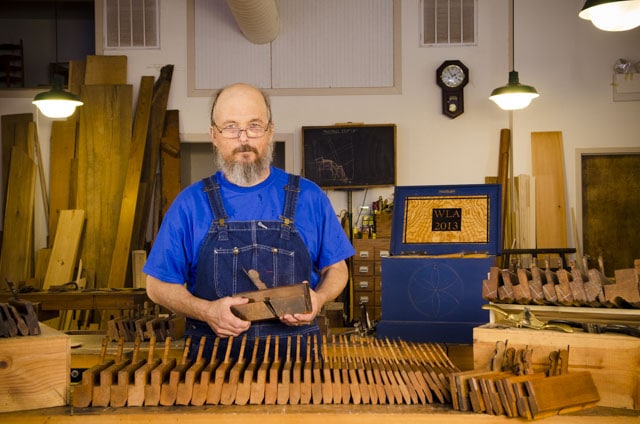
Many people opt for a half set, either an even sequence or an odd sequence. Odd sets are less common than even sets.
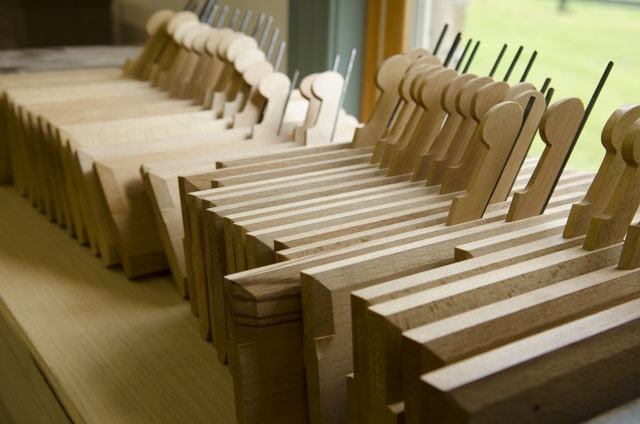
My set of hollows & rounds (shown below) is an even set, with pairs numbered from 2 to 18. This set will cover just about any molding that I’d ever want to make.
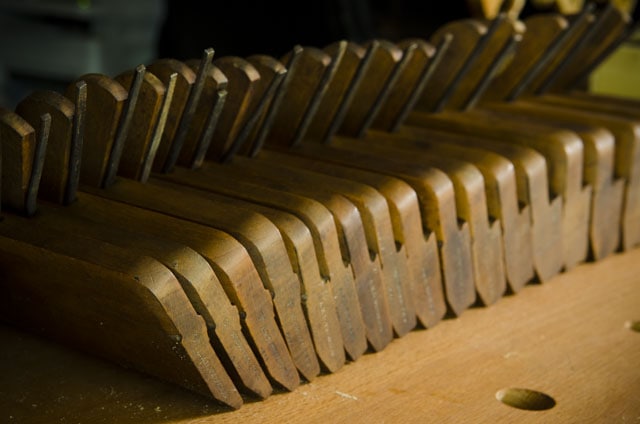
But most new hand tool woodworkers buy just the most common sizes. A well-known molding plane maker recommends that woodworkers start with just two pairs (or 4 planes): either a #6 pair and #10 pair or a #4 pair and #8 pair. Those sizes will work for a large number of moldings.
In addition to buying fewer sizes, budget-minded woodworkers can also purchase a “harlequin” set or a “mixed” set of hollows & rounds. A set that’s all “harlequin” is a set where none of the planes came from the same original set. A “mixed set” contains some planes and pairs that were originally together, mixed with some “harlequin” planes.
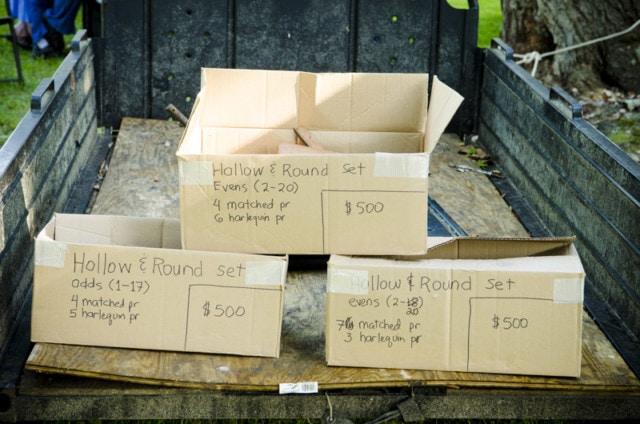
I liked the idea of having matching planes, so my hollows & rounds half set is all from the same maker: “Varvill & Sons Ebor Works” out of York, England.
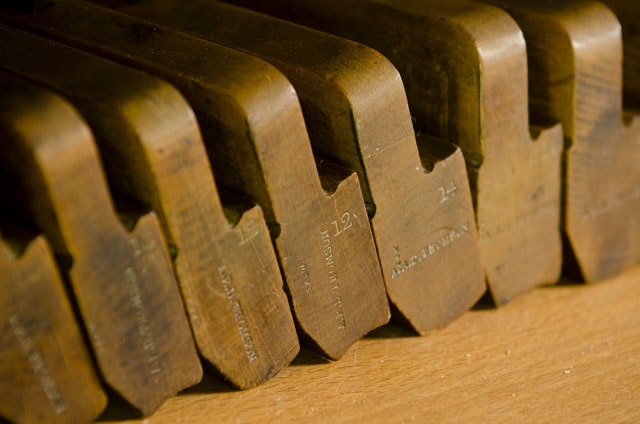
But of course, it isn’t necessary to have a matched set like mine. You just have to be careful that a harlequin set of hollows & rounds has an accurate transition because not all plane makers had the exact same size standards.
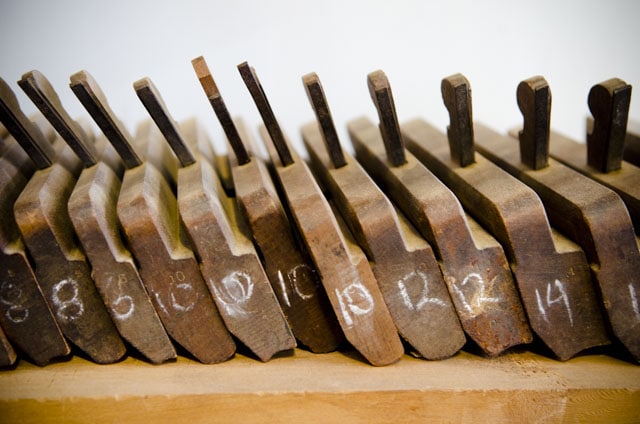
Decent vintage half sets aren’t too difficult to find, especially if they’re harlequin or mixed sets. They usually cost a few hundred dollars. Matched half sets, like mine, are a bit harder to find. And full matched sets hardly ever come up for sale.
Brand new half sets and full sets are amazing, but will set you back nearly $4,000 for a half set and nearly $8,000 for a full set. Totally worth every cent, if you’ve got the money. But this option isn’t practical for most woodworkers. And if you’re really passionate about molding planes you can take a class to learn how to make your own planes.
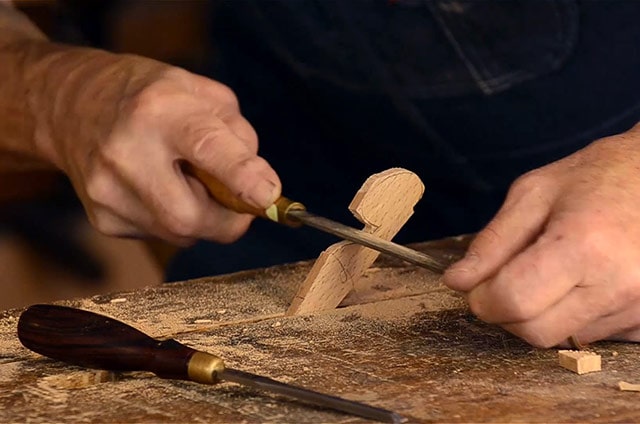
What Features to Look for when buying Hollows and Rounds Planes?
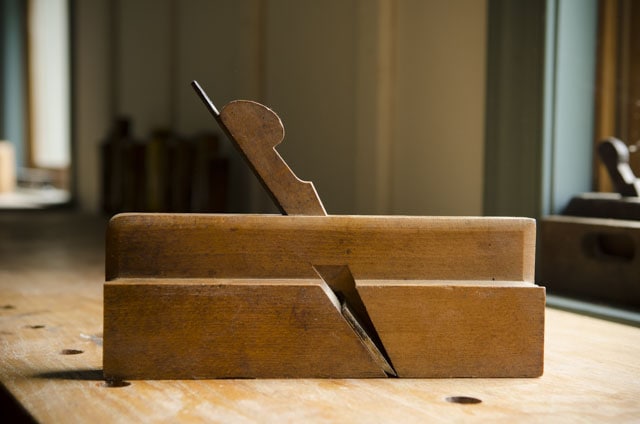
Now lets talk about another feature to look for in hollows & rounds planes:
Molding Plane Pitch Angle
The angle at which the iron sits inside the plane, in relation to the horizontal workbench, is called “pitch”. There are four different pitches for hollows and rounds planes:
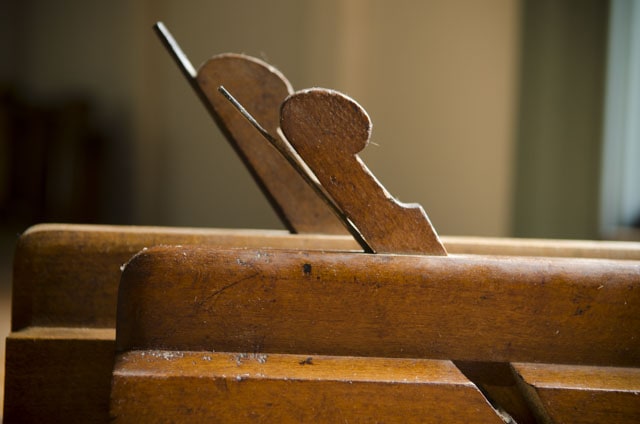
- “Common pitch” is at 45°, which is similar to bench planes, and is more suitable for softwoods.
- “York pitch” is at 50°. This pitch works well for woods that are in between soft and hard.
- “Middle pitch” is at 55° and is ideal for a wider range of hardwoods.
- “Cabinet pitch” or “Half pitch” is at 60°, and is good for very hard and difficult woods.
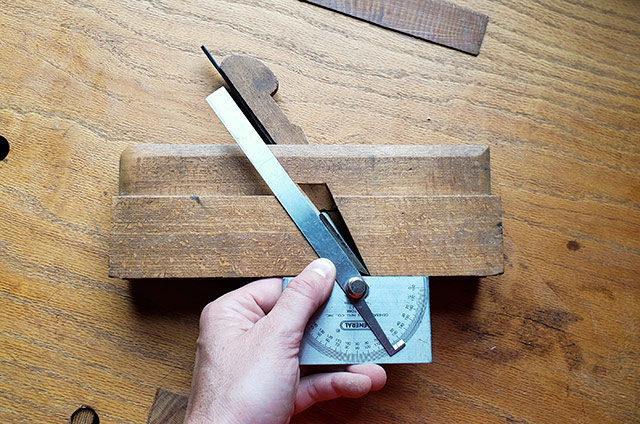
Years ago I followed the recommendation of some friends who suggested that I purchase a set of hollows and rounds that were either “cabinet pitch” or “middle pitch”. My planes have a pitch of about 55°, which would be considered “middle pitch”.
Molding Plane Mouth Orientation
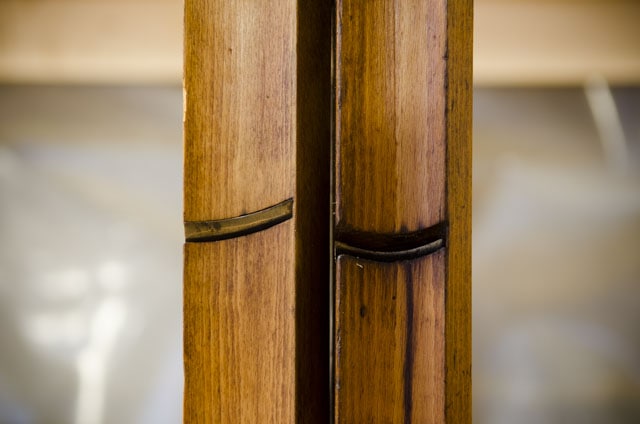
The last feature to consider when purchasing hollows & rounds is the shape of the mouth and iron. The planes come in either straight (above right) or skewed versions (above left), like you can see on mine. Like with rabbet planes, straight planes are better for cutting with the grain and skewed planes are better at cutting across the grain. And just like with rabbet planes, the skewed planes usually cost more. But don’t worry. Either style will work for most applications, and you can always use sandpaper to clean up your moldings. But the skewed style will work better if you plan on creating a molding all the way around a table top or box lid.
Here are a few places to find vintage hollows & rounds sets:
- View vintage hollows & rounds sets on Ebay
- View vintage hollows & rounds sets from Jim Bode Tools
- Visit an antique tool swap (read my article here)
RELATED
Which 20 Woodworking Hand Tools Should You Buy First?
Why Traditional Hand Tool Woodworking?
10 Jaw-Dropping Woodworking Shop Tours
57 Page Moravian Workbench Plans Now for Sale
How to Make a Mortise and Tenon Joint with Woodworking Hand Tools
8 Steps to Cutting Dovetails with Woodworking Hand Tools
Buying Side Bead Planes
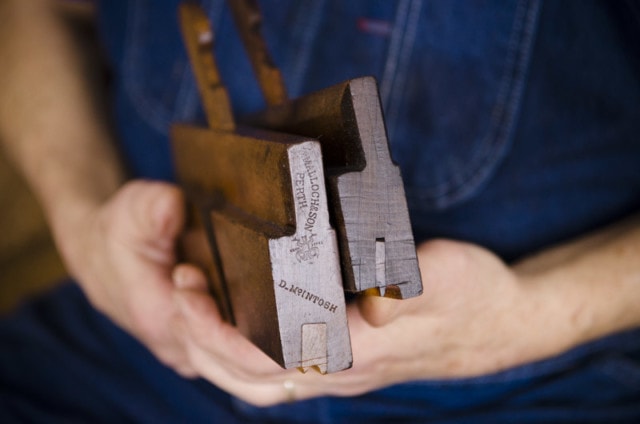
The last style of molding plane that I’m going to talk about is called a side bead plane, or just a beading plane. It cuts a bead shape on the edges of boards to reduce the chance of damage, and also for decorative purposes.
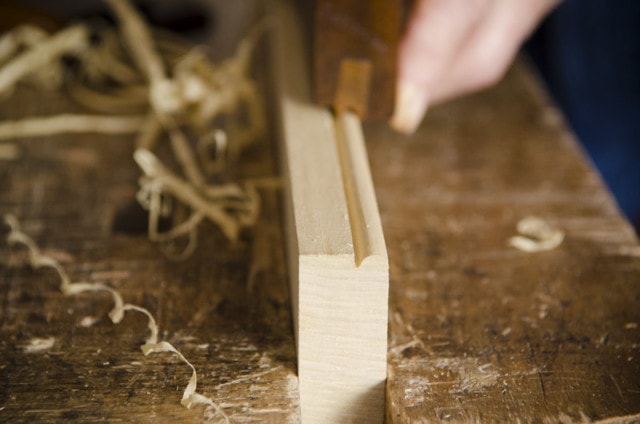
There’s a very good chance that you have beads cut into the window and door molding around your home.
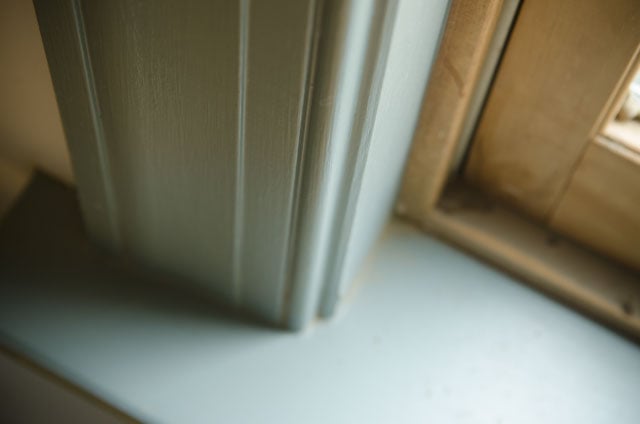
You can also see below how beads are a great way to decorate an otherwise ugly tongue & groove joint or ship lap joint.
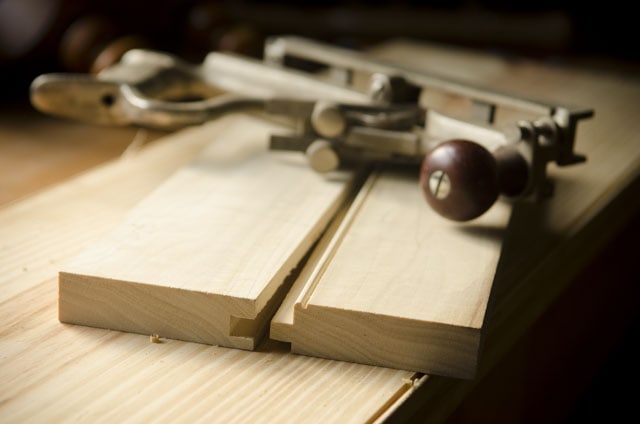
You have also likely seen bead board on the walls in many older homes.
As you can see below, beading planes range from very tiny profiles all the way up to huge profiles. The large profiles are useful for architectural moldings, so I don’t use these sizes.
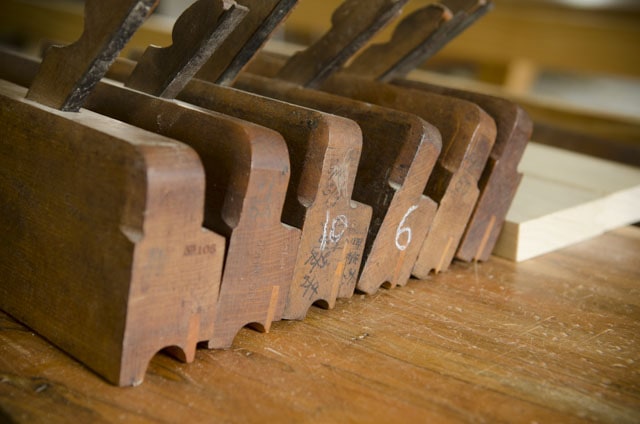
For furniture making, I’ve found smaller beading planes to be most useful. A 1/8″, 3/16″ or 1/4″ side bead plane is ideal for creating decorative beading along an edge. I like the 3/16” and 1/4″ sizes the best. I use these planes for creating the “bead board” look on tongue & groove box bottoms & cabinet backs. Side bead planes don’t use a spring line like dedicated molding planes. You just keep the plane vertical, and if the iron is sharp, the profile will shape out nicely.
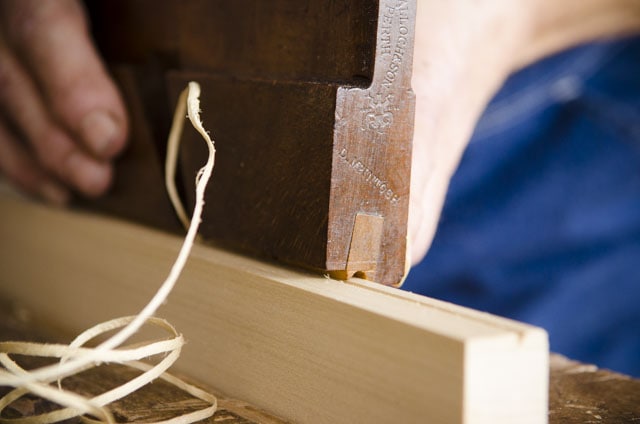
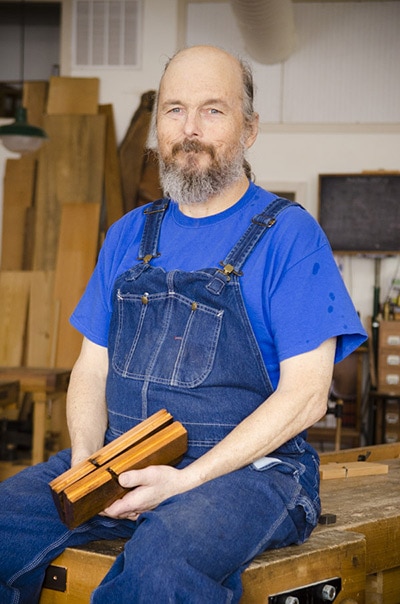
Just like other molding planes, side bead planes require a bit more specialized knowledge for rehab work. Bill Anderson wrote an article on how to restore antique beading planes on my website. You can read it here.
You can also cut side beads with a combination plane, with a metal hand beader, and even with a homemade scratch stock. I actually like to cut beads with a vintage Stanley No. 45 combination plane (shown below), which may be a better option for new woodworkers who may be intimidated by rehabbing a wooden side bead plane.
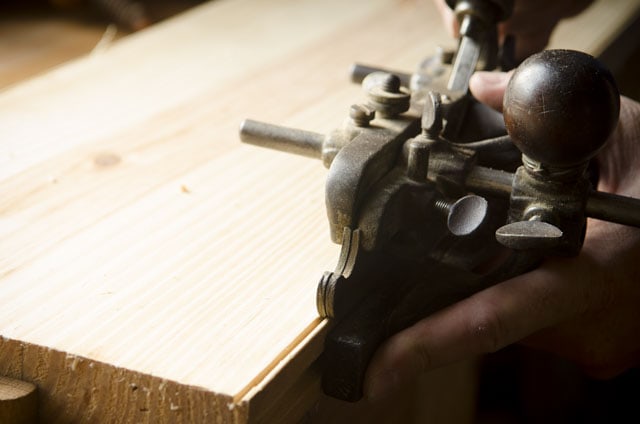
You can easily find different sizes of bead cutters for a combination plane. As you can see below, I have quite a few different sizes of bead cutters.
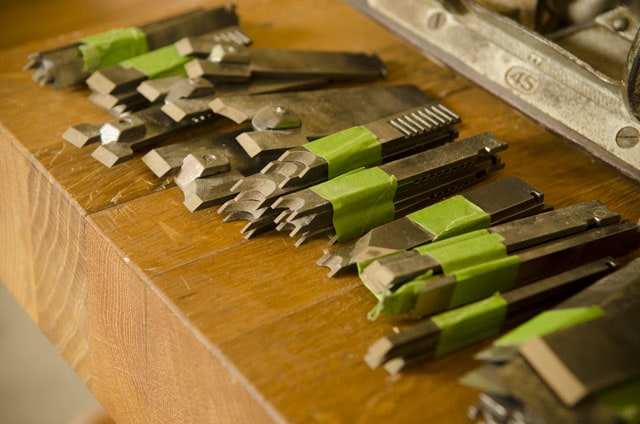
You can find antique side bead planes, combination planes, and side bead combination plane cutters here:
Conclusion
Like I mentioned earlier, there are a bunch more specialized molding planes and clean up planes in every conceivable shape and configuration. But the molding planes that I’ve just mentioned will get you started on the exciting journey of making beautiful hand cut historical moldings, and rehabbing antique molding planes.
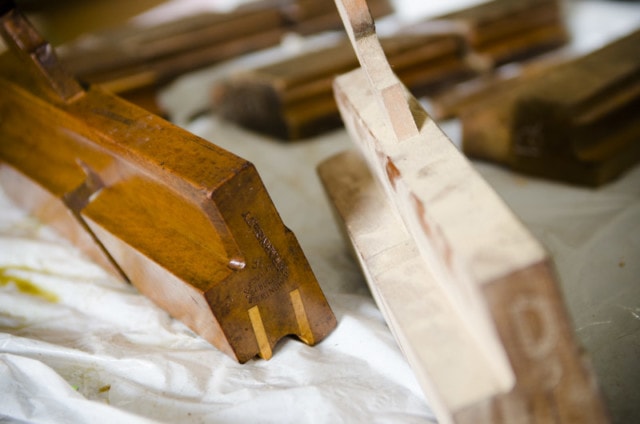
There are also a host of other specialized joinery planes and bench planes that I haven’t mentioned in this article (maybe I will soon). But these are the main handplanes that you should consider when getting started in woodworking with hand tools. If you click the NEXT button below you’ll be taken to the next hand tool guide in this series: Handsaws!
Continue to “Buying Hand Saws”…
TOOL GUIDE SHORTCUTS:
HAND TOOL BUYER’S GUIDES
- Intro to Buying Woodworking Hand Tools
- Workbench & Tool Storage
- Layout, Marking, & Measuring Tools
- Handplanes
- Handsaws
- Chisels
- Sharpening & Honing Supplies
- Mallets & Hammers
- Hand Drills, Braces, & Bits
- Tools for Curved Work
- Tools for Green Woodworking
- Woodworking Clamps, Gluing & Fasteners
- Tools for Wood Carving
- Products for Wood Finishing, Sanding & Scraping
- Wood Turning Tools & Lathes


I find your show to be very informative in content. You always give information for other sources and that is great. Keep up the wonderful job.
Thanks for the kind words Charlie!
The article says “And just as a cool bonus tip, if you gather all the shavings, you can use them to burnish the profile that you just cut. It makes the molding very smooth.” Can someone explain how to do this or send a link with more information please.
Gather up the shavings that you made, and rub them back and forth on your freshly cut profile. It’ll smooth it out.