By Joshua Farnsworth
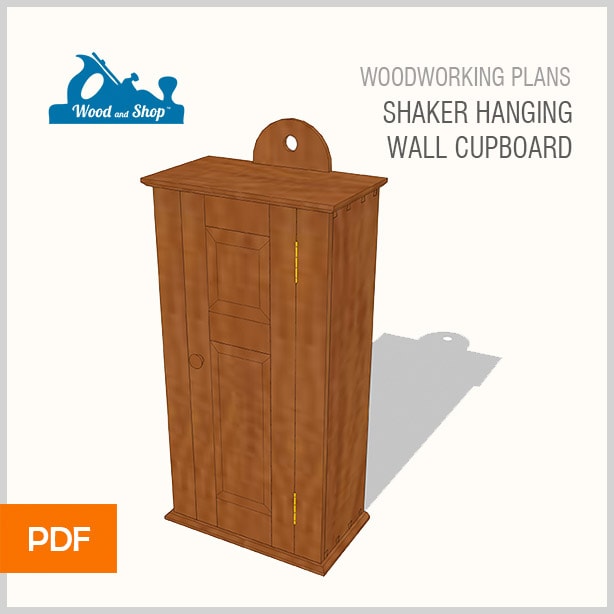
In the above video I show how a hanging Shaker wall cupboard, or wall cabinet fits together. This isn’t a full build tutorial, but a 5 stage anatomy lesson to help woodworkers understand how a wall cupboard like this comes together. But you can buy the detailed plans here for $5.
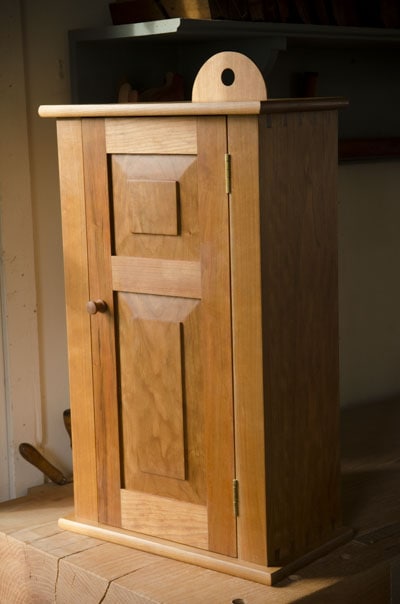
I designed this Cherry hanging Shaker wall cupboard based off several different antique Shaker cupboards that I’ve seen over the years, and documented various steps of the construction process to help you better understand how a wall cabinet like this fits together. Last year I shared a similar video & article, called “Anatomy of an End Table and Drawer“. You can watch & read it here.
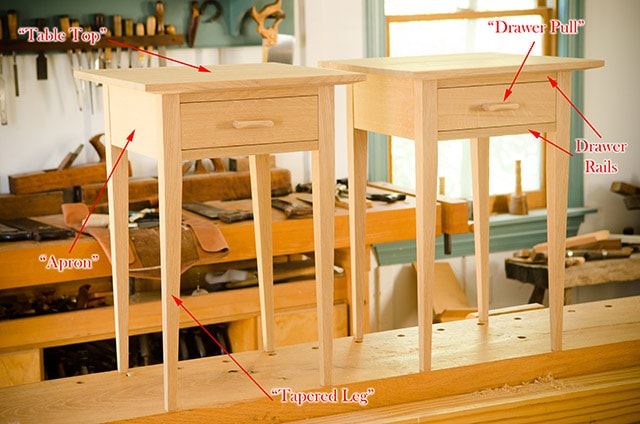
Below are my 5 stages of building a charming wall cupboard for your home!

1. ASSEMBLE THE CUPBOARD CARCASS & SHELVES
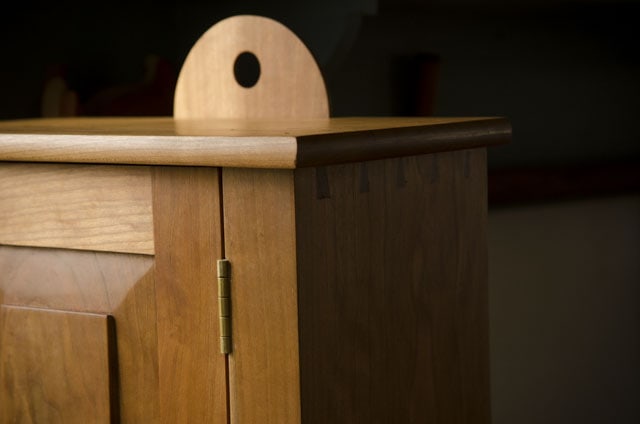
The carcass, or case of this cupboard is joined together with through dovetail joints. Notice how I made the dovetails so that they would not only be visible, but so that the hanging cupboard would benefit from the strength of the joint. The tails are hanging tightly between the pins. If the orientation were reversed, the sides could technically drop out of the top over time.
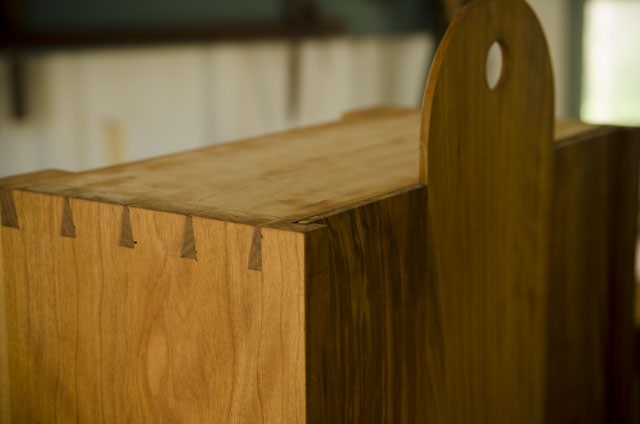
Quite a few historic style cupboards have the tails on top, which doesn’t offer good strength to the carcass:
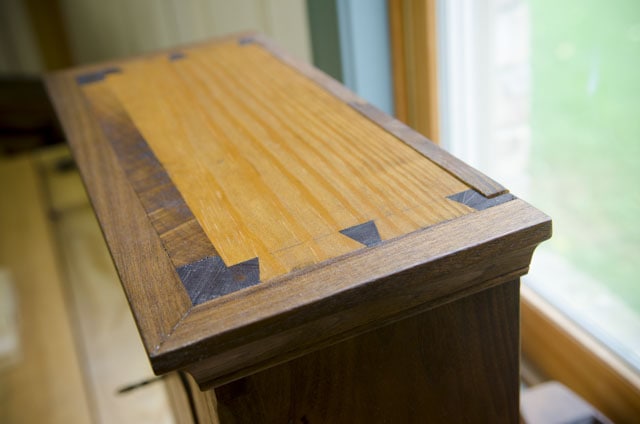
However, in most cases it’s not a factor since those cupboards are generally small, and aren’t being hung from the top, as mine is. The larger size of my cupboard, and the fact that there is more pressure being exerted on the dovetail joint, necessitated tails on the sides, and pins on top.
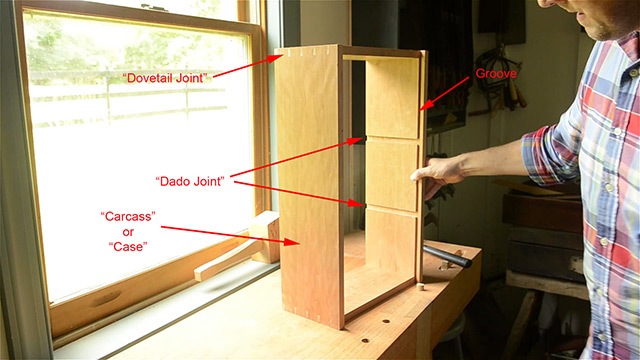
Next, I made two other types of wood joints on the inside of the carcass: dado joints (for the shelves) and a groove (for the back to slide into). Here are all the parts of the carcass (or case):
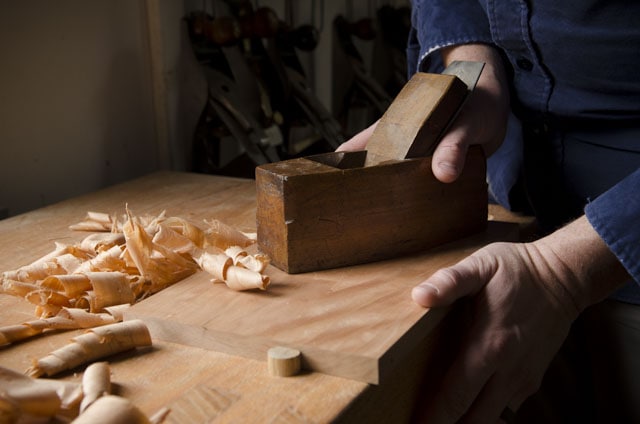
I then glued up the dovetail joints, and after the case dried, I used a smoothing plane, card scraper, and sandpaper to smooth the carcass sides, carcass interior, and shelves:
Just make sure you don’t waste time planing or sanding the top & bottom of the carcass (aside from planing the dovetail pins flush). The top & bottom of the carcass will be covered with the the cupboard top & bottom boards. I then inserted the hand planed shelves into the dado joints:
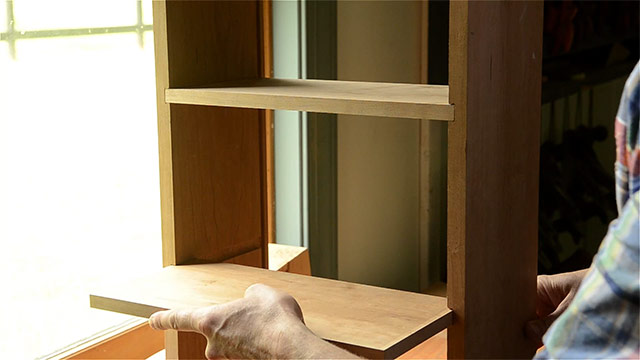
A little glue can be applied inside the dado joints before sliding the shelves in, but not a lot is required since the face frames and back will hold the shelves in place. You technically could add the shelves after the case has been glued up, and the face frames added, but I find that the shelves add rigidity to help square up the case during glue-up.
2. ATTACH THE FACE FRAME
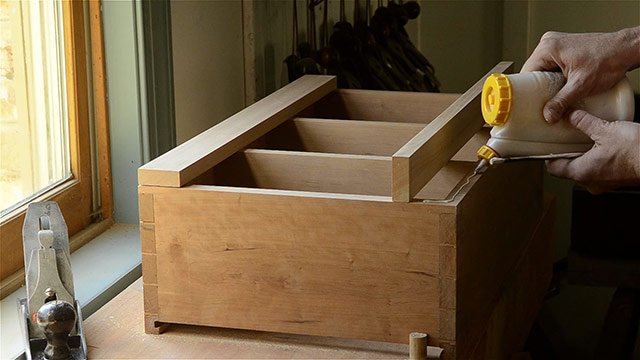
The next step is to glue the face frame boards onto the carcass. You can reinforce the face frame pieces with nails if you want to, but I’ve found that the wood glue is plenty strong (especially Titebond 3, which is permanent glue). I make sure to use enough wood clamps to apply even pressure. If you use too much glue, you’ll have a squeeze out problem. Squeeze out stinks (especially with PVA glue, like this) because it can show up later through your finish, if you don’t sand well enough. It’s best to just minimize squeeze out in the first place. If you’re just a sloppy glue-er-upper, then you may want to stick with hide glue, since it doesn’t seem to be as problematic if you didn’t sand a glue spot well enough before applying finish.
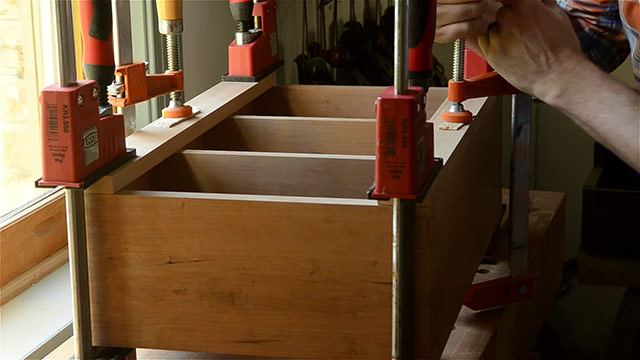
After the face frame boards were glued on, I went ahead and did final hand planing, scraping & sanding of all the assembled parts (including the bottom piece and top piece, that will be shown in the following step).
3. ATTACH THE BOTTOM, BACK, AND TOP
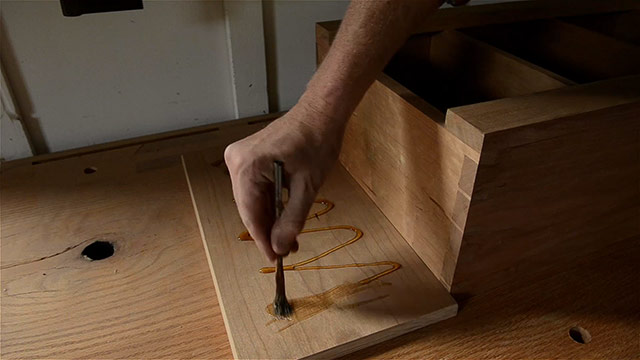
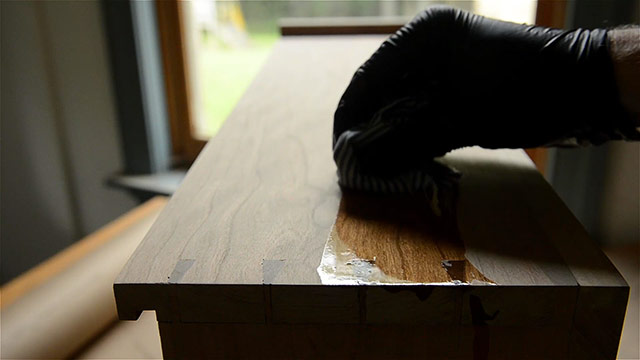
After the glue on the face frame boards dried, I glued the bottom piece onto the carcass. In fact, you could just as easily glue the bottom piece on before the face frame boards. In the photo above you can see that I used liquid hide glue (this Titebond hide glue). Mostly because it was closer to my workbench. Just be careful to check the expiration date on your liquid hide glue, because it really does expire, and won’t hold like it should. You could alternatively heat up your own fresh hide glue crystals if you can find a hide glue pot.
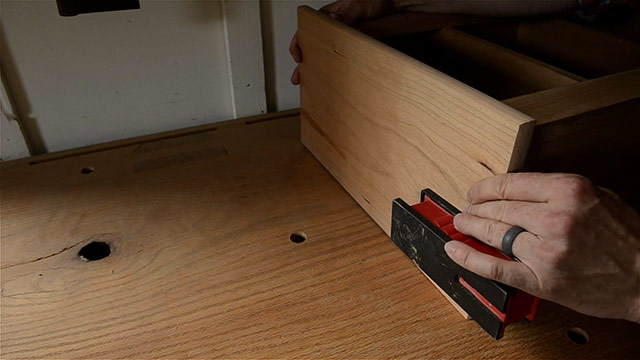
I clamped the bottom piece on, but didn’t reinforce it with nails, because there will be no stress on the bottom. It just needs to hang in there!
After the bottom piece was glued on, I applied several coats of Danish Oil, a nice penetrating wiping varnish. I didn’t need a super protective finish, because this cupboard will be hanging on the wall, and won’t be exposed to all the spills and abuse that a table or chair is. I also applied finish to the slide-in-back piece, and let all the pieces dry. A wipe-on varnish is an easy and fast finish, but if you’re in a real hurry, try a dewaxed (and properly thinned) Shellac finish. You could do all the finishing in a couple of hours.
After all the parts dried (over several days of applying the coats), I slid the back into the grooves.
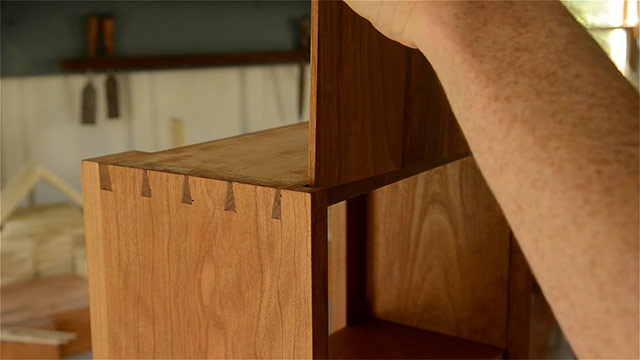
I made sure that the width of the slide-in-back was about 1/4-inch narrower than the distance between the walls of the grooves. That gives me 1/8-inch of a gap on each of the sides, because my grooves were plowed to about 1/4-inch deep. When humidity levels change, wood expands & contracts in width, so you don’t want the back to expand to be too wide, or it could break the back or the carcass.
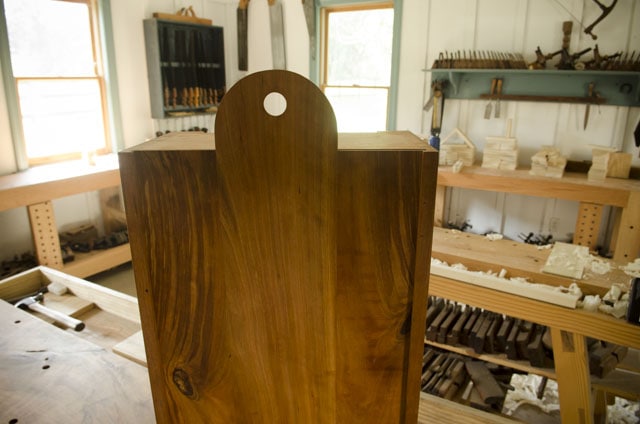
I drilled pilot holes in the top piece, then spread glue on the top of the carcass, and slid the top board in place. Notice how the top board has a notch cut out in it to make room for the protruding back piece:
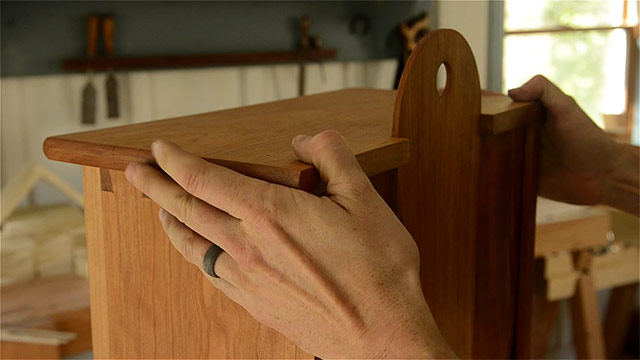
I made sure the top was aligned properly, and then used traditional cut nails to fasten the top piece. I aimed to have them enter the carcass in the middle of the vertical sides and face frame boards. Make sure you align the long edge of the rectangular nail with the grain. If you do it backward, there’s more of a chance that the nail will split your wood (think splitting firewood). The nails go in a lot easier with some soft wax:
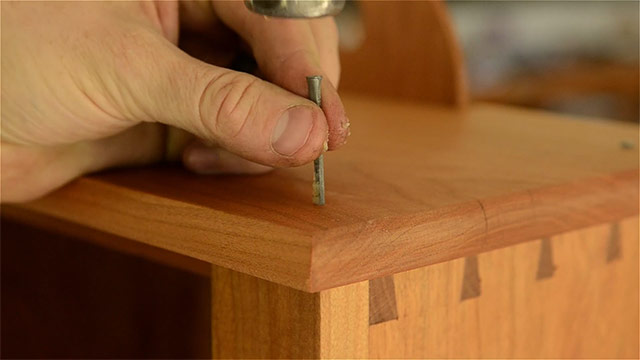
Sometimes I dip my nails in my beeswax finish (see the recipe here), and sometimes in a wax introduced to me by my friend David Ray Pine, who teaches several classes here (see his classes here and his workshop tour here). He mixes 3-in-1 multi-purpose oil with melted wax (beeswax or paraffin wax). This makes the nail go in easier. It also works great for screws.
Why did I use nails on the top piece, but not on the bottom piece? You’ll notice that when you hang the knob hole on a shaker knob, all the weight will be pushing up against the top piece. So nails work with the glue to keep the top piece from flying off. You can also hammer some small finish nails into the back piece, to add greater strength.
An alternate (and more common) type of cupboard back, is setting ship lapped boards into rabbets in the carcass, and nailing them into the back:
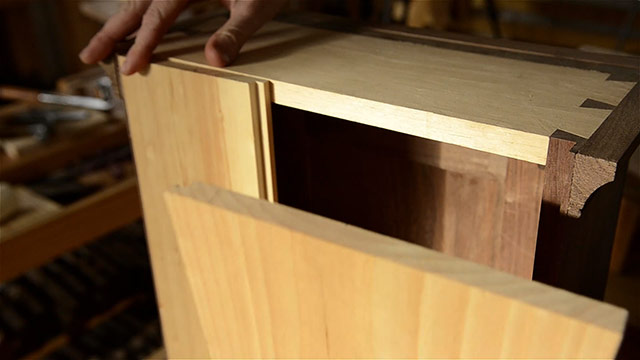
The rabbet joints would be used in place of the grooves that I plowed in the Shaker cupboard. And the ship lap joint is just two rabbet joints facing each other, so they can expand & contract with changes in humidity.
4. MAKE & HANG A FRAME & PANEL DOOR
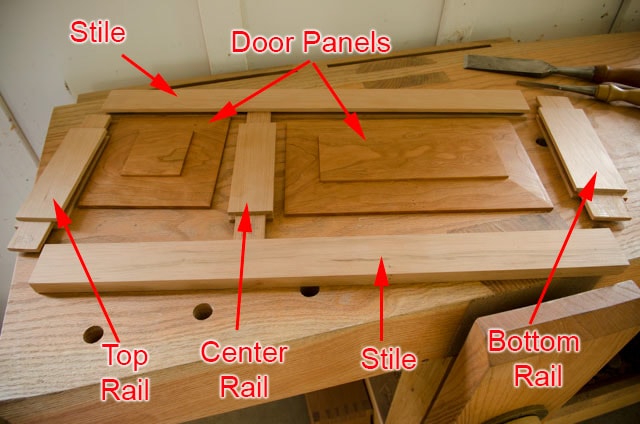
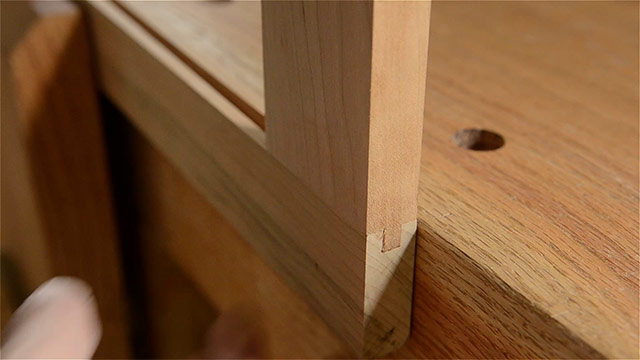
The above graphic shows how a frame and panel door fits together. The “Rails” run horizontally (think of a hand rail) and the stiles run vertically. The rails and stiles fit together with mortise and tenon joints. Both the stiles and rails have grooves cut into them for the floating panel to sit in. The rails have tenons, which fit into the mortises of the stiles. The tenons and mortises are cut after the grooves are plowed (with a plow plane, table saw, or router table). Notice how the rail tenons have little “haunches” left on them to plug up the groove in the stiles:
Most cupboards just have a single panel, so don’t let this double panel confuse you. The addition of a second panel requires a center rail. Look at most any door in your house (even the fake doors), and you’ll see multiple panels, rails, and stiles. If you used a solid piece of wood for a door, the wood would move too much, so a frame and panel door allows the floating panel to expand & contract in width during changes in humidity. Glue isn’t added to the panel, otherwise it wouldn’t be allowed to expand & contract without causing damage to the door. Glue is just added to the mortise & tenon joints.
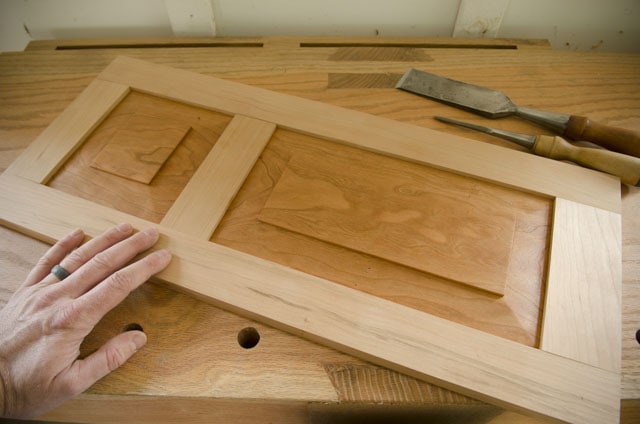
You’ll notice that I added a coat of finish to the panels before gluing the frame together. Why? Because if you waited to finish the panel with the rest of the door, the oil may not reach the hidden edges of the panel. When the humidity drops in the winter, the panel will shrink, and an unfinished part of the panel may become visible. I know some very experienced furniture makers who don’t worry about this step, because they take extra care to get their oil finish into the grooves, so don’t get too concerned if you forget to add a coat of finish to the panel before gluing up the door frame.
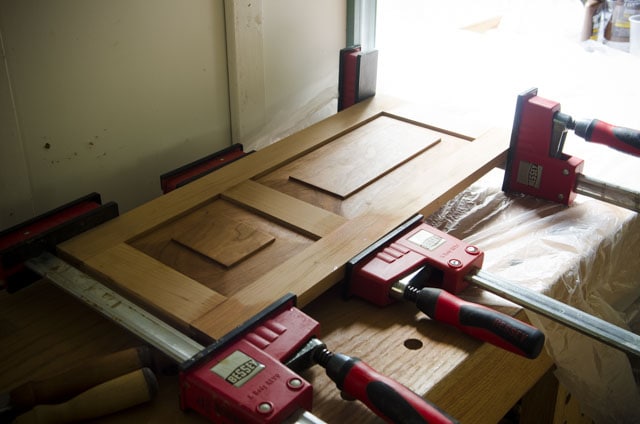
Again, try to tame the squeeze-out by not adding too much glue to the mortise and tenon joints. Back in 2010 Fine Woodworking magazine published a great article by Hendrik Varju, called “How to Tame Squeeze-out” (Issue #213, pp. 36-41). It’s a very helpful read, if you get a chance.
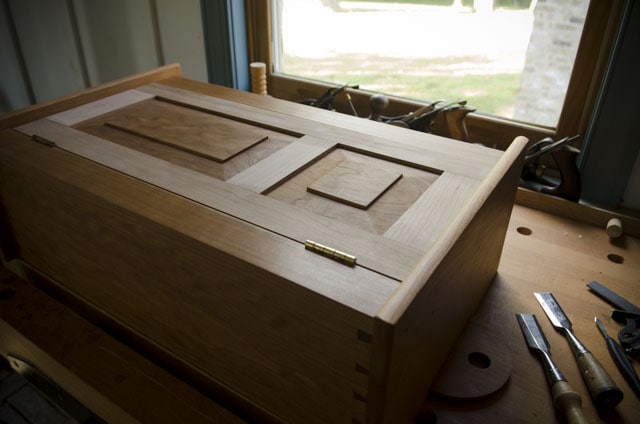
Before adding Danish Oil to the whole door, I fit it with a handplane, cut hinge mortises with a chisel & small router plane, and hung it with some nice butt hinges from Horton Brasses.
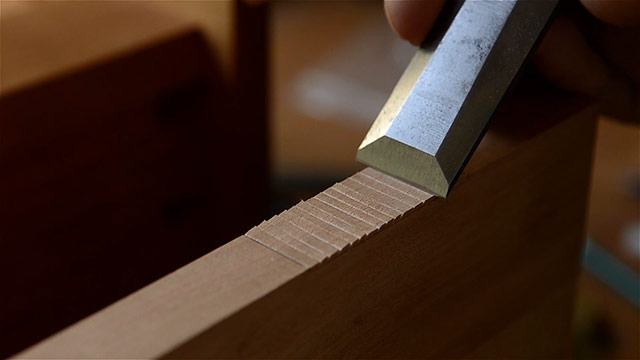
The subject of hanging a door in a cupboard is more in-depth than this already-too-long article will cover, but you can find a lot of articles & videos on the subject (try Christian Beckvoort‘s article in Fine Woodworking Issue #218, pp. 54-57, called “Frame-and-Panel Doors Made Easier“). I removed the properly-fitted door, bored a hole for the shaker knob, and added several coats of Danish Oil and wax to the door (the same as with the rest of the cupboard).
5. TURN AND INSTALL A SHAKER KNOB
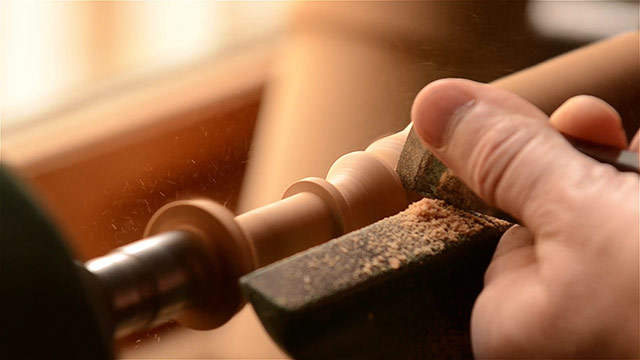
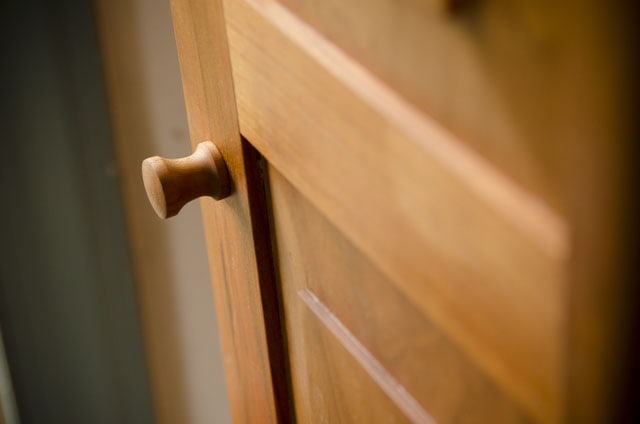
After adding several coats of finish to the door, and re-hanging it, the last step was to turn a simple Shaker knob out of some scrap cherry wood, and add it to the door. On the lathe I made sure to use calipers to size the tenon to match the hole that I bored in the door. I actually made it a hare too big so I could hand sand it down to the perfect fit, which is just tight enough to not wiggle, but loose enough to twist. I put the Shaker knob in a chuck on the lathe, and added Danish Oil while it was spinning:
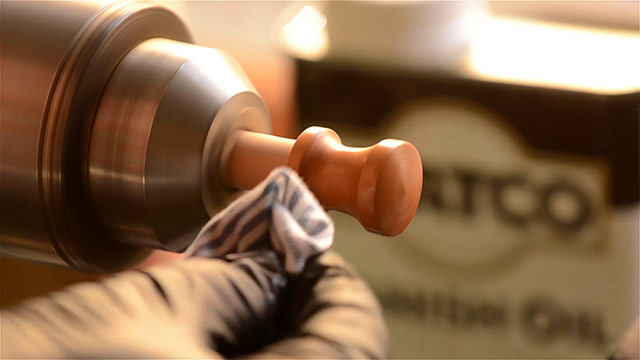
Disclaimer: Wood turning is dangerous, and you should not just experiment with a lathe. Take a good class first. I’m quite a basic woodturner, so don’t use this as a guide on woodturning!
And for the very last step (aside from letting the cupboard sit next to a South-facing window to darken & even out the blotchiness), I made a small wooden latch from some scrap cherry, and bored a hole in it with the same drill bit that I used for the door:
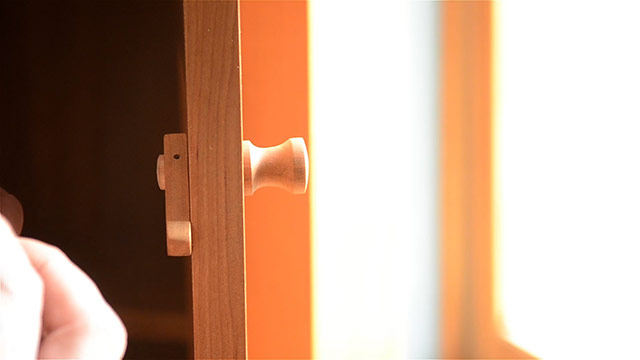
Notice how I also drilled a tiny hole in the latch, and through the door knob tenon. I chose a drill bit that would perfectly fit a finish wire nail that I had sitting around. I used pliers to cut the nail to the right length, then used a ball peen hammer to drive it into the latch hole. I made sure that I left an ever so slight gap between the latch and the door, so that the latch would turn freely when twisting the knob.
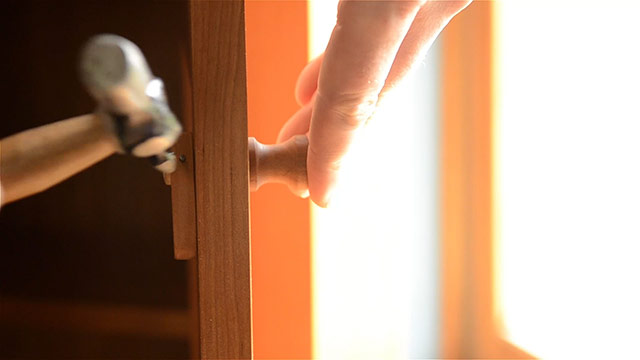
After the small nail pin was inserted, the knob was able to be twisted, which caused the latch to move up and down:
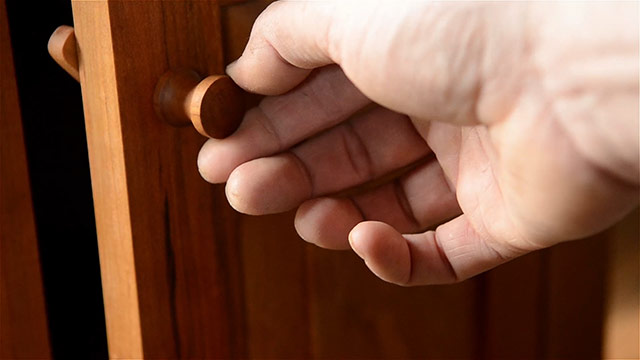
Just push the door closed, twist the knob, and the door stays shut!
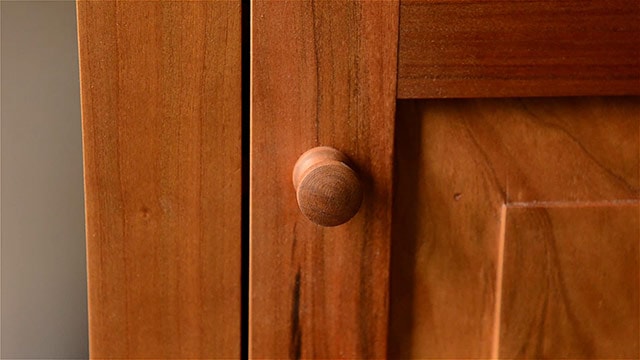
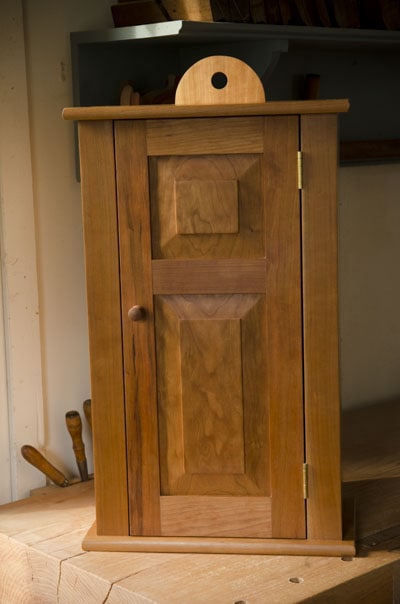
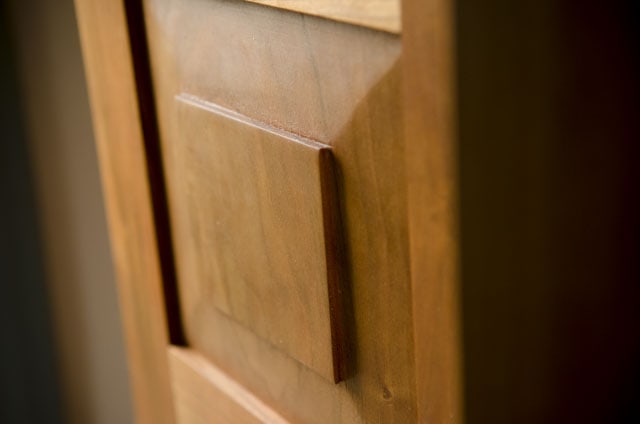
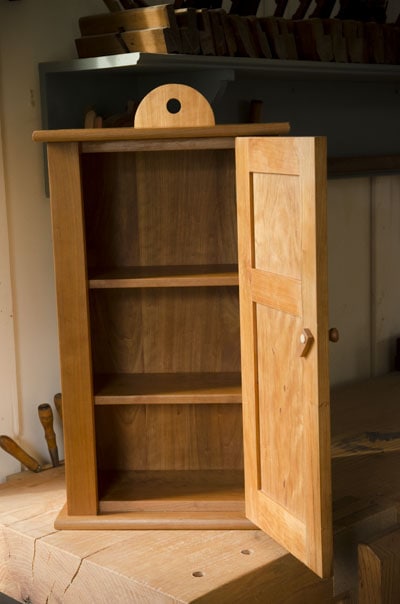
Here are a few more images of the finished Shaker Hanging Wall Cupboard:
Please share comments and questions in the comment box, which is at the bottom of this page!


Face frame bords wouldn’t be a problem because of wood movement?