HOW TO BUILD A DOVETAIL DESK WITH WOODWORKING HAND TOOLS (PART THREE)
[Disclosure: WoodAndShop.com is supported by its audience. When you purchase through certain links on our site, we may earn a small affiliate commission, at no cost to you. Learn more.]
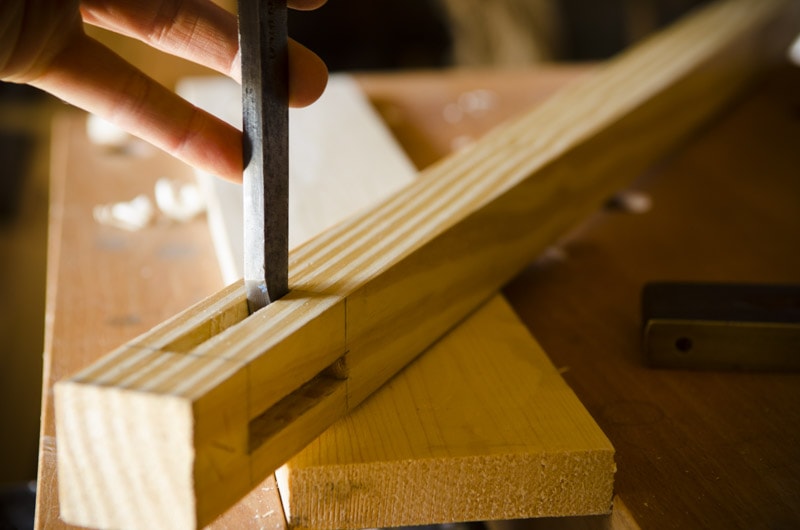
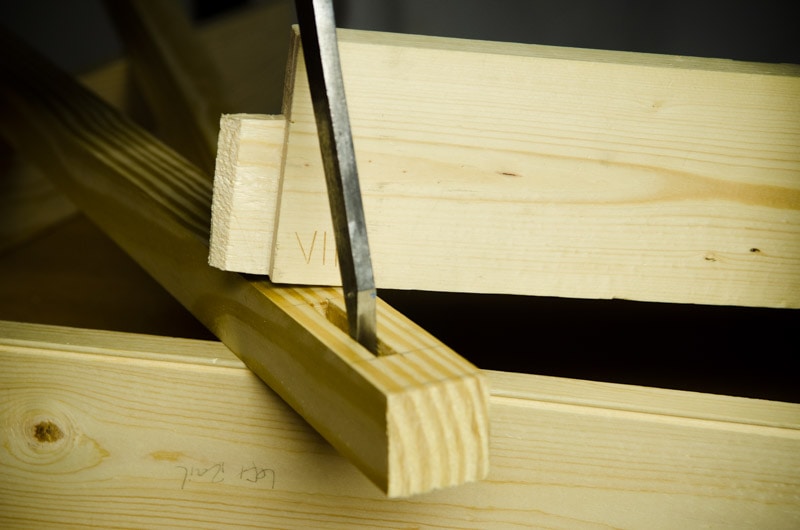
In this video I show how to follow the layout lines that we created in the last video, and chop mortises in the desk legs. To chop mortises I use a “pig sticker” mortise chisel. I prefer 3/8″ mortise chisels, but 1/4″ are also fine.
WOODWORKING HAND TOOLS THAT I USED:
Even though I have a helpful hand tool buying guide (here), I’m still often asked for a list of and links to the tools that I use in my videos, so here is a list of tools that I used in this series of video on desk building (I also included tools that I used in construction that wasn’t in the video):
WORKBENCH:
- Sjoberg Elite 2500 Beech Workbench (with optional tool cabinet)
- Moravian Workbench (portable and sturdy)
- Gramercy Holdfast
HAND PLANES:
- Lie-Nielsen Low Angle Rabbet Block Plane
- Lie-Nielsen No. 62 Low Angle Jack Plane
- Vintage Stanley No. 71 Router Plane
- Lie-Nielsen No. 73 Large Shoulder Plane
- Vintage Stanley No. 4-1/2 Smoothing Plane
- Vintage Beading Plane
- Vintage Wooden screw arm Plow plane
SAWS:
- Lie-Nielsen dovetail saw
- Lie-Nielsen’s thin plate 16″ Tenon Rip Saw
- Lie-Nielsen cross cut back saw
- Vintage Millers Falls Miter box and miter saw
- Robert Larson Coping Saw
CHISELS:
MARKING & MEASURING:
- Starrett 6-inch combination square
- Vintage metal try square
- Vintage sliding bevel square
- Vintage Starrett Dividers / Compasses
- Veritas Wheel Marking Gauge or Veritas Dual Wheel Marking Gauge
- Lie-Nielsen panel gauge
- Wooden Straight Edge
- Vintage Stanley No. 62 Folding Rules (24″)
- Marking knife (chip carving knife)
- Staedtler Mars 780 Technical Mechanical Pencil
MALLETS & HAMMERS:
CLICK HERE TO SUBSCRIBE FOR FREE TO RECEIVE FUTURE ARTICLES & VIDEOS!
- Build a Dovetail Desk with Hand Tools – Part 1: Dovetail Carcass
- Build a Dovetail Desk with Hand Tools – Part 2: Legs
- How to Chop Mortises {Part 3 of “Build a Dovetail Desk with Hand Tools”}
- How to Clean Mortises {Part 4 of “Build a Dovetail Desk with Hand Tools”}
- How to Layout Tenons {Part 5 of “Build a Dovetail Desk with Hand Tools”}
- How to Cut Tenon Shoulders {Part 6 of “Build a Dovetail Desk with Hand Tools”}
- How to Cut Tenon Cheeks {Part 7 of “Build a Dovetail Desk with Hand Tools”}
- How to Square Tenon Cheeks {Part 8 of “Build a Dovetail Desk with Hand Tools”}
- How to Fit a Mortise & Tenon {Part 9 of “Build a Dovetail Desk with Hand Tools”}
- How to Drawbore Mortise and Tenon Joints {Part 10 of “Build a Dovetail Desk with Hand Tools”}
- How to Make Pegs for Drawboring Mortise & Tenon {Part 11 of “Build a Dovetail Desk with Hand Tools”}
- How to Make a Through Mortise & Tenon {Part 12 of “Build a Dovetail Desk with Hand Tools”}
- How to Attach a Desk Top {Part 13 of “Build a Dovetail Desk with Hand Tools”}
- How to Use Traditional Cut Nails {Part 14 of “Build a Dovetail Desk with Hand Tools”}
- How to Make Breadboard Ends {Part 15 of “Build a Dovetail Desk with Hand Tools”}
- How to Make Breadboard Ends {Part 16 of “Build a Dovetail Desk with Hand Tools”}
- The Completed Dovetail Desk! {Part 17 of “Build a Dovetail Desk with Hand Tools”}

I finally watched the episode of Woodwright where St. Roy builds a standing desk similar to this. When he chopped his intersecting mortises, the first hole was cut shy of full depth by the width of second mortise. Only the second mortise was cut to full depth. By this there was no splintering out of second mortise into first thus making a nice clean inside corner. Have you had any problems with splintering? I would love to build one of… Read more »
I haven’t had any problems chopping the way I did. Yes, Roy’s standing desk was a partial inspiration for my desk. But I won’t be using a mitered top, because miters come open. I’ll be doing a breadboard top, and it’ll be a sitting desk.
This was a really helpful article. Thanks for posting. I’m glad I found your site.