Disclosure: WoodAndShop.com is supported by its audience. When you purchase through certain links on our site, we may earn a small affiliate commission, at no cost to you. Learn more.
(Continued from “How to Choose a Wooden Workbench” on Page 1)
Choosing Wooden Workbench Accessories & Hand Tool Storage
Now that I’ve gone into great detail on how to choose a wooden workbench on the previous page, I’ll discuss various wooden workbench accessories that are essential or convenient for using with your woodworking workbench or for storing your woodworking hand tools.
Buy or Make a Bench Dog Set:
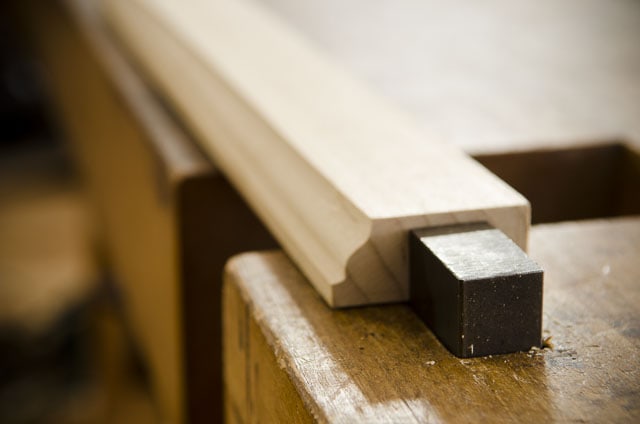
What is a Bench Dog? A bench dog is a wooden or metal dowel that rises up or down in your woodworking bench top to clamp wood between with your workbench vise. Having a bench dog set is essential to a wooden workbench, as they allow you to wedge your work piece between the tail vise and the bench dogs that sit in your bench dog holes. Bench dogs come in an assortment of materials, shapes, and sizes. Most commercial workbenches come with metal bench dogs; some round and some square.
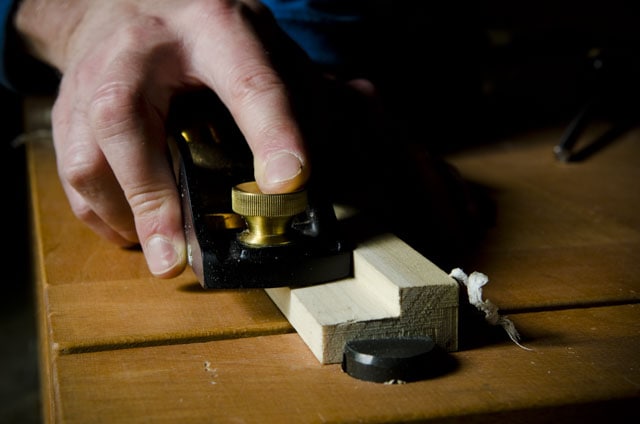
Both a round bench dog and a rectangular bench dog seem to work fine for me. However, there’s a danger of seriously chipping your hand plane blade if you’re not careful. That would cause you a lot of work to re-grind and re-hone your hand plane blade. So on all the workbenches that I’ve built, I’ve made wooden bench dogs.
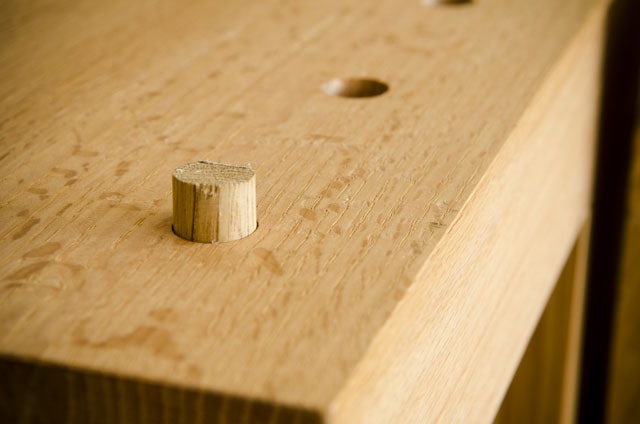
And I prefer round bench dogs, primarily because I can just buy wooden dowels from the hardware store to make them. Also, it’s much easier to add round bench dog holes to your wooden workbench top than it is to add square holes. You can watch the video at the top of this page to see how I make wooden bench dogs and how I use a power router to add accurate bench dog holes into my wooden workbench top.
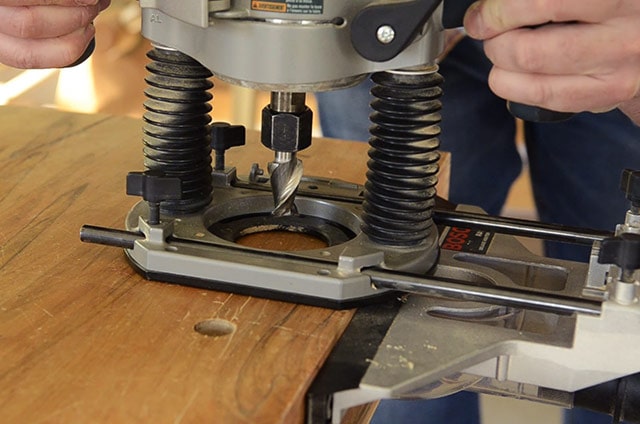
Just a quick tip on how to make bench dog holes in a wooden workbench top: to make a lot of consistently-sized bench dog holes, and also holdfast holes, I use a plunge router with an adjustable fence, and plunge as deep as I can with a ¾-inch or a 1-inch spiral up-cut bit. It’s super easy to just move down the bench as you plunge. Then I finish boring the hole with a spade bit in a powerful corded drill.
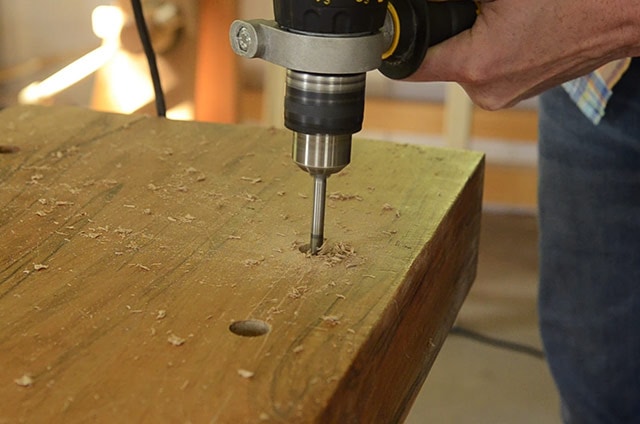
You can certainly do this with a brace and bit, but just be prepared for it to take a lot longer, and maybe have holes that aren’t as tight. I stop just when the lead screw exits the bottom of the workbench, and then I bore back up through that small hole. This gives me clean bench dog holes.
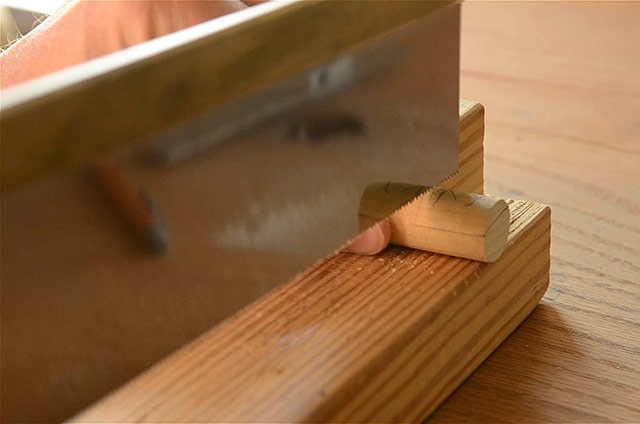
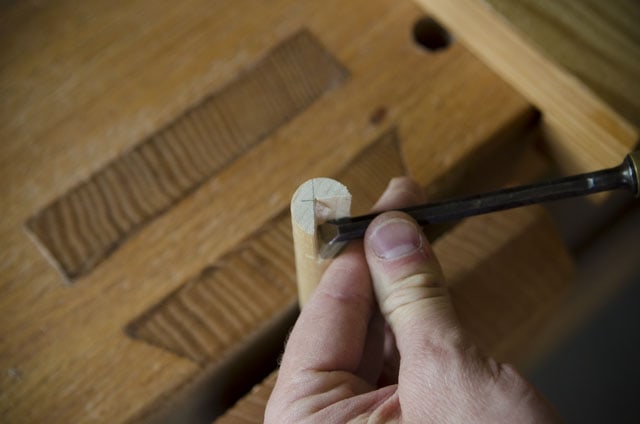
As I just mentioned, to make a bench dog set I buy wooden dowels from the hardware store. I’ve used both ¾-inch oak dowels and 1-inch poplar dowels, and both wood species have worked fine. I cut the bench dog to length – a little longer than the workbench’s thickness is nice. Then I use a handsaw and chisel to add a flat face to the top of the dowel. I sometimes also add a notch to the bottom end of the bench dog, so I can hold abnormally-shaped pieces of wood.
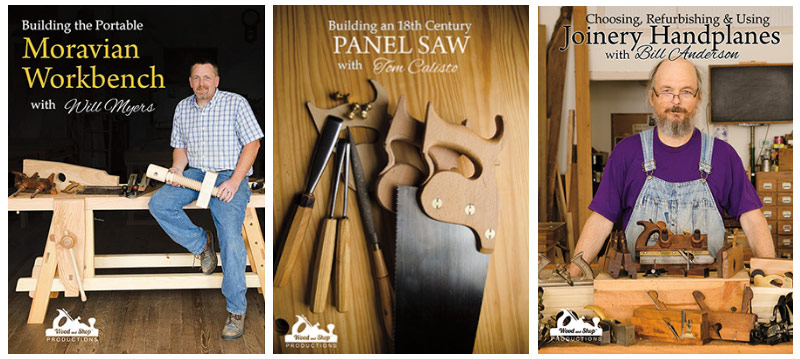
And my friend Will Myers, who I showed assembling his Moravian Workbench in 58 seconds in a video on the previous page, introduced me to a pretty cool way to keep these round bench dogs from slipping through the workbench top.
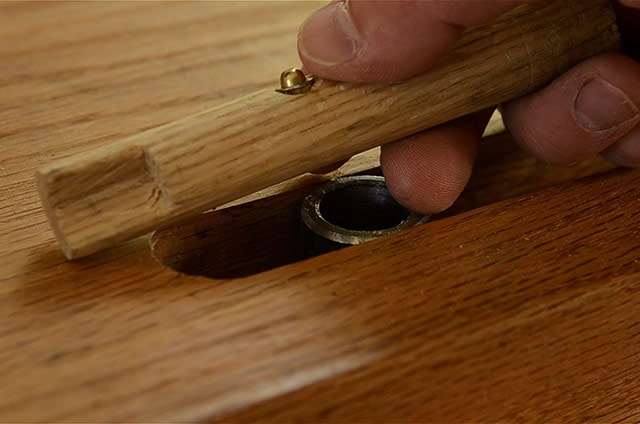
I bore a little hole in the bench dog, and epoxy a little 1/4-inch bullet cabinet door catch inside. It works really great to hold the bench dog in place. I couldn’t find these brass cabinet latches in any stores where I live, but I eventually tracked them down online. The best place I’ve found these is here. They’re cheap, but the shipping is a bit expensive. But even with shipping it’s still the cheapest source I’ve found. Square bench dogs have similar spring methods for holding them in place.
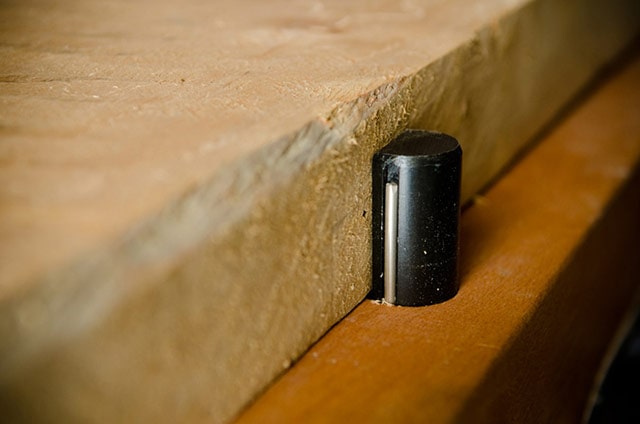
And below are some sources for good metal bench dogs, if that’s the route that you’d like to take:
- Here are the round metal bench dogs that came with my Sjobergs workbench: click here
- Here is a huge selection of more affordable bench dogs on Highland Woodworking: click here
- See a bench dog selection on Amazon: click here
Here’s a video that I made on how to make bench dogs, bench dog holes, and holdfast holes:
RELATED
How to Make Workbench Dogs, Dog Holes & Holdfast Holes
All about Holdfasts for Workbenches
Which 20 Woodworking Hand Tools Should You Buy First?
Which Hand Tools Do You Need for Building a Workbench?
10 Jaw-Dropping Woodworking Shop Tours
57 Page Moravian Workbench Plans Now for Sale
How to Make a Mortise and Tenon Joint with Woodworking Hand Tools
Buy a Woodworking Bench Holdfast:
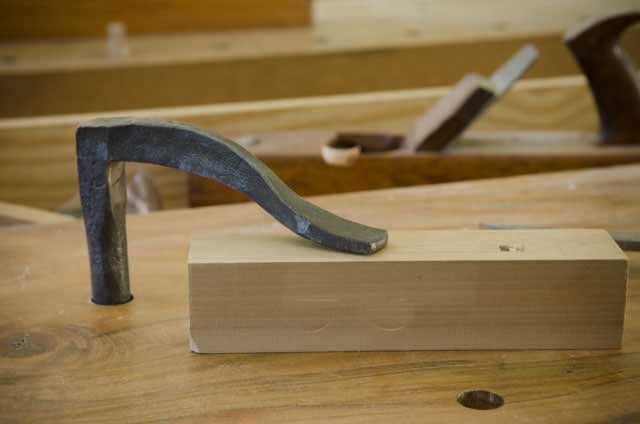
A woodworking bench holdfast is an amazing workbench accessories. You bore holes in your woodworking bench top, and then you drop your woodworking bench holdfast into one of the holes and hit the top of the holdfast to clamp your wooden workpiece down. It’s really difficult for the wood to move, which is great when you’re cutting a joint. Then when you’re ready to release the bench holdfast, you simply hit it on the back, and it pops loose. It’s pretty cool.
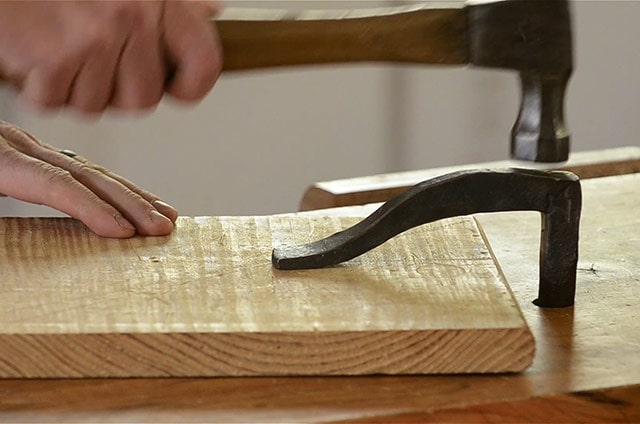
What is the best woodworking bench holdfast?
In my woodworking school I use two different types of holdfasts. The first type (and my favorite) is a woodworking bench holdfast that was forged by a blacksmith. The flex and aesthetics of these holdfasts makes them the most popular, and most expensive option (usually starting around $75 each):
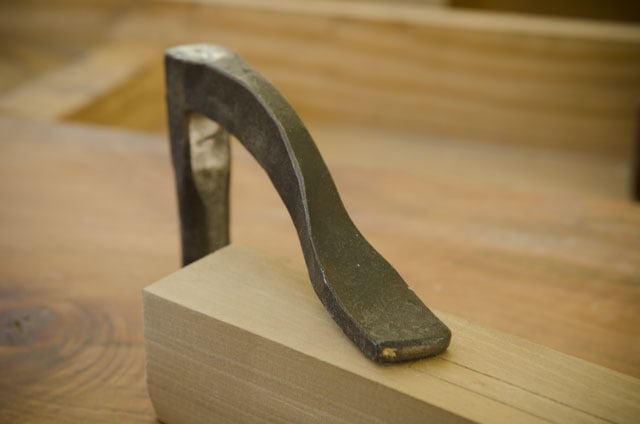
Another good option, at a much lower price is the Gramercy holdfasts, made out of formed wire (pictured below). Gramercy Toolworks created this style of woodworking bench holdfast, and others have copied it, though I prefer the shape of the Gramercy holdfasts:
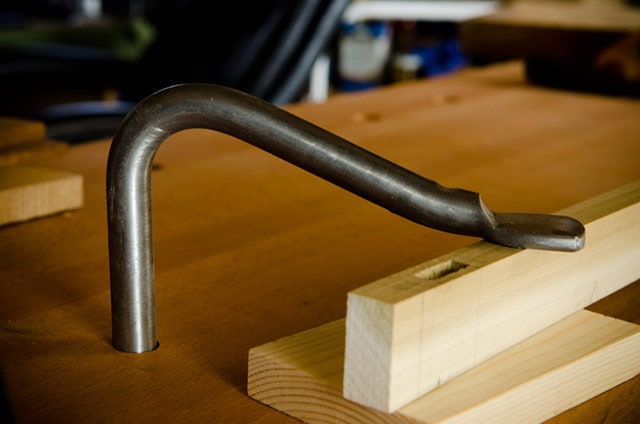
These Gramercy holdfasts are what I purchased (and many other people that I know), because they are good-enough-quality and pretty affordable. I use this brand of holdfast in my woodworking school, and I also know that Roy Underhill uses this brand of woodworking bench holdfast in his Woodwright School. You may need to rough up the shaft of the holdfast with sandpaper if it doesn’t stay wedged properly. Last I checked, they run $34.95 for two holdfasts and $24.95 for one holdfast (plus shipping) on Tools for Working Wood. This woodworking bench holdfast a pretty good value. Here’s the official video:
- If you can afford over $75 for a blacksmith forged holdfast (two would be helpful, so it would be over $150) then I’d recommend ordering them from a blacksmith. One option is to check with master blacksmith Peter Ross (former head Colonial Williamsburg blacksmith – and he was on The Woodwright’s Shop TV show a lot). Here’s his website. But I’m not sure how long it would take to get these. I’ve got four of these forged holdfasts from a blacksmith on Etsy, so you can try that source also.
- I’ve heard good things about these cast iron holdfasts made by Lie-Nielsen (Maine), Auriou (France), and Veritas (Canada): click here
- Here is a great source for other holdfasts & workbench accessories at Highland Woodworking.
Woodworking bench holdfasts to Avoid
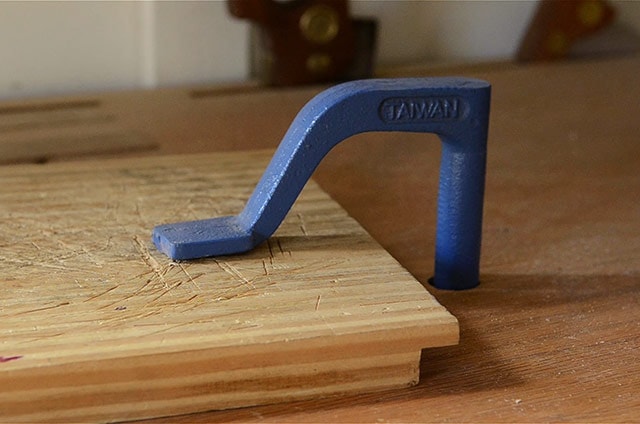
The holdfasts that I would avoid is the cheap cast iron holdfasts that you’ll find at woodworking retailers. Besides being too rigid (and non-flexible), I’ve found them to be too short for most workbench tops. However, I have been able to get them to work on some of my thinner top Moravian Workbenches. So if you’ve already got some, then give them a try in your workbench top.
Make a Bench Hook:
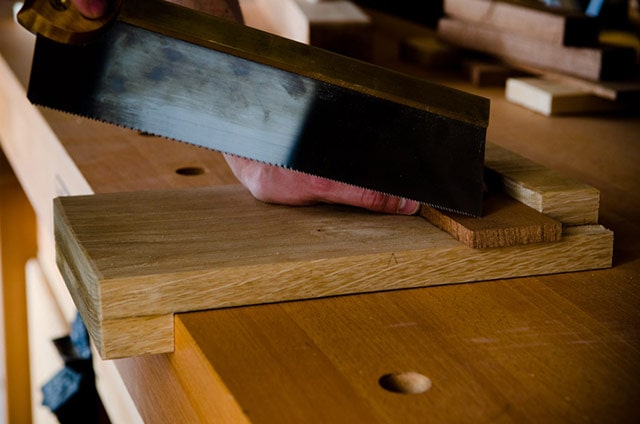
A bench hook lets you quickly hold your work piece in place while sawing across the grain, without having to clamp your piece down on your wooden workbench. I also use a bench hook a lot when doing chisel work when I’m making joints.
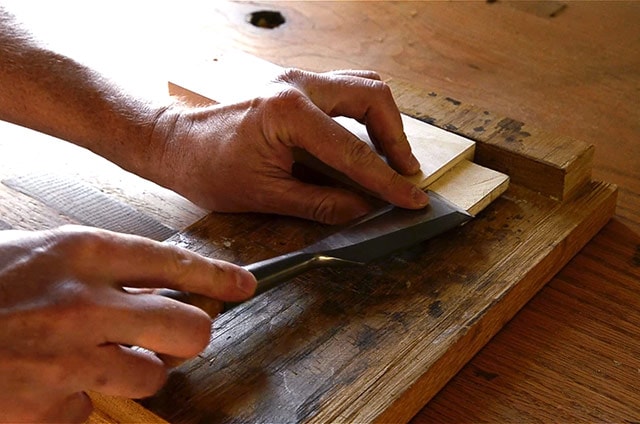
You should really make a bench hook yourself. In fact, I’m not even sure if anyone sells them…I sure hope you can’t buy one! I built all of my bench hooks from scrap pieces of wood. The type of wood that you use doesn’t really matter, because a bench hook is meant to be replaced when it gets worn out. It should take just a few minutes to make, by just cutting the two ends off of a board, and gluing them on opposite sides. In my Introduction to Hand Tool Woodworking class students use a variety of hand tools to square up a board, and then they cut it up into two bench hooks. They love it.
Here is a video that I published on making a bench hook (you can also read the article here):
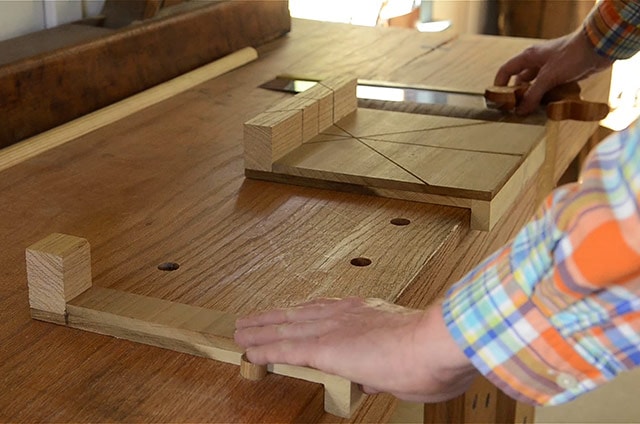
You can also make a nicer bench hook, like this bench hook that doubles as a miter box. And by cutting off the side, you’ll have a small, extra bench hook to support longer boards. One like this might be worth buying!
Make or Buy a Hand Planing Stop:
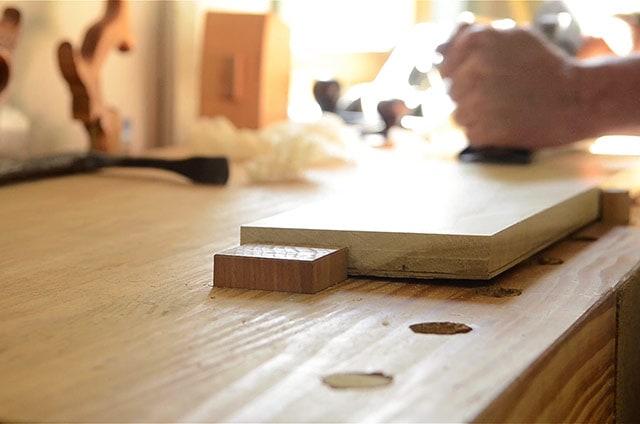
A hand planing stop is a workbench accessory that’s used to give you a quick surface to butt your wood up against when hand planing wood, when you don’t want to clamp it between bench dogs on your wooden workbench. There are, of course, both affordable and expensive commercial metal hand planing stops, where the metal claws pop up to dig into the board. This one was forged by renowned blacksmith, Peter Ross:
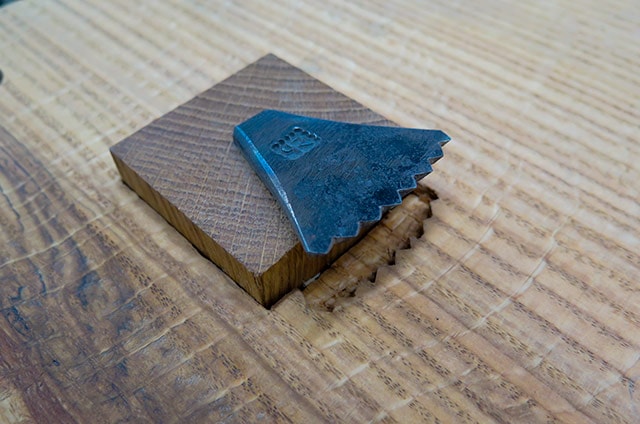
I’ve also seen people file teeth on a railroad spike to use as a hand planing stop. There are many options. In-bench metal hand planing stops are pretty cool to use. But, you can also just use a block of wood that slides up and down in the bench top:
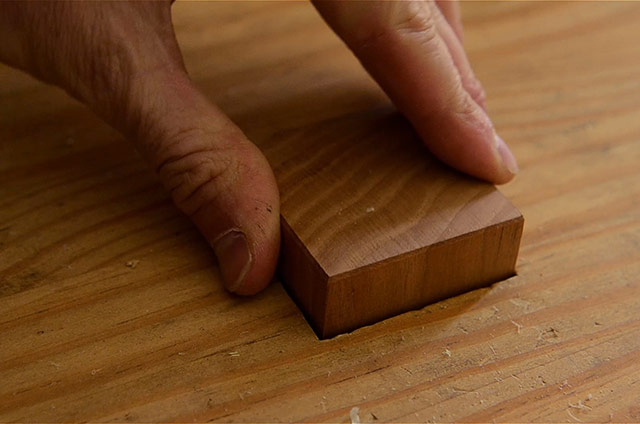
The disadvantage of the above styles of hand planing stop is that you have to mortise the planing stops into the top of your wooden workbench. But that may not be something that bothers you. But I find it easier, and cheaper, to just make a simple hand planing stop that attaches to the workbench or inside a workbench vise.
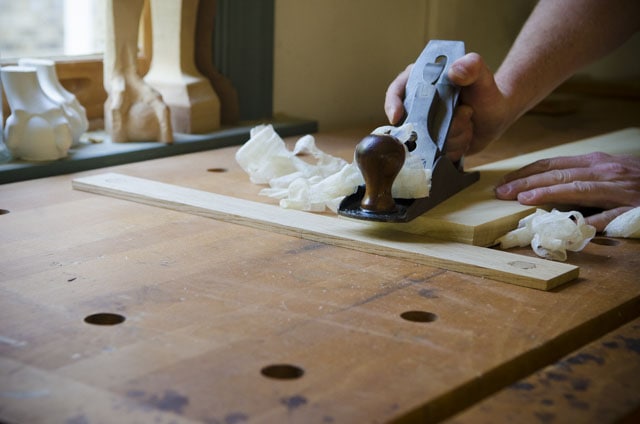
The first style of attachable hand planing stops are those that fit into your bench dogs, like the hand planing stop pictured above, with dowels that fit into your bench dog holes. These can be made out of scrap wood and short dowels. And some companies sell metal versions of this style.
My personal preference, which we use in my school, is to just make a simple (and cheap) hand planing stop out of a quarter inch thick board that’s glued to a scrap block of wood. It doesn’t even need screws. And I clamp this type of hand planing stop in my woodworking bench vise:
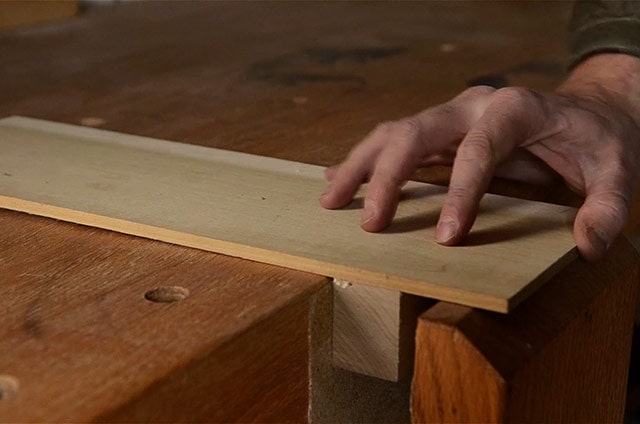
I like a thin board like this so I can hand plane smaller boards. This quarter inch thick poplar board can be purchased at your local hardware store, if you don’t have an easy way to make thin stock. And I just glue it to a scrap piece of wood. But if you like the idea of buying a hand planing stop, here are links to places where you can buy different hand planing stops:
Make a Shooting Board:
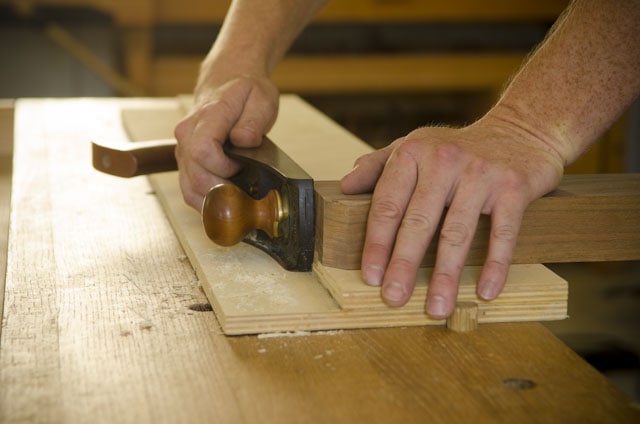
A shooting board is a wooden workbench appliance used to square, and miter the end grain on your pieces of wood.
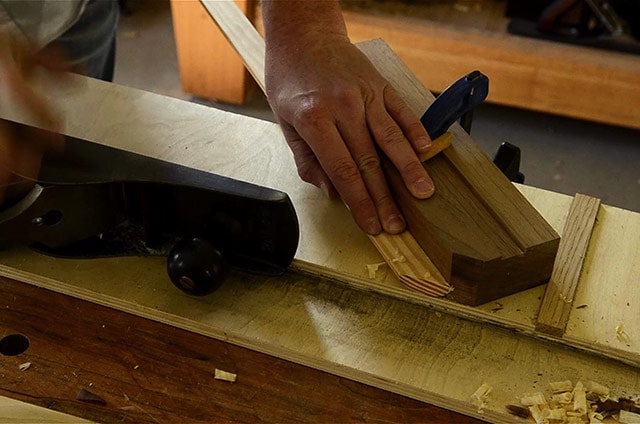
It can also be used to square edges of boards. Most woodworkers make their own shooting board in their workshop, but there are some people who sell wooden shooting boards. And if you’re lucky you can even find a cool antique metal shooting board (see them here on Ebay).
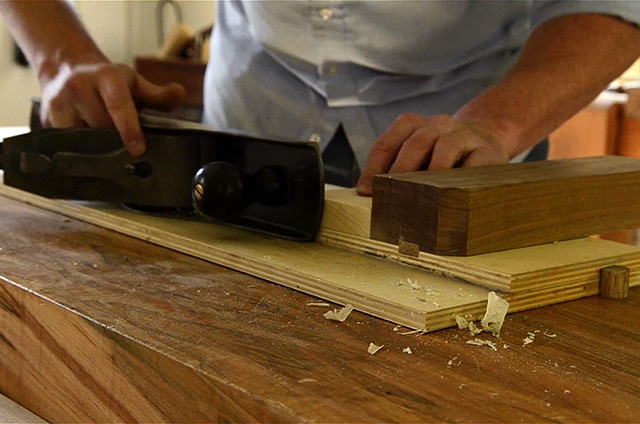
A shooting board is used by laying a larger handplane on its side, and then pushing the sharp hand plane along on a base to remove a little bit of wood at a time, until your piece is square or mitered.
There are many shooting board designs & tutorials in books and online, so you shouldn’t have any trouble finding one that you like, and that isn’t too difficult for you to make. Below are a few shooting board designs and shooting board tutorials that I like:
Shooting Board Designs & Plans:
The below video from Timothy Rousseau and Fine Woodworking Magazine shows how to make my style of shooting board:
Here’s another good short video by Lee Valley tools that shows how to make a different type of simple shooting board:
Here’s a great tutorial, by Rob Cosman, on how to make his excellent shooting board:
Buy or Make Vise Rack Spacers/Stops:
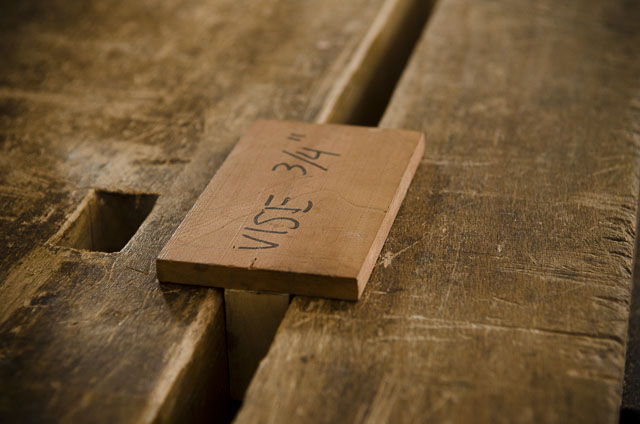
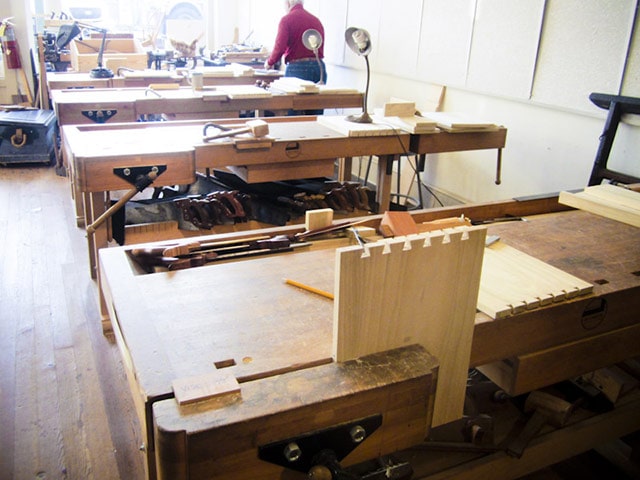
These simple blocks are designed to help prevent racking when clamping wood at one side of a face workbench vise. Obviously you wouldn’t need these if you don’t have a face vise or end vise. But if you do have a face or end vise, you can easily build several common sizes to set in the unused side of the woodworking bench vise, like in these photos that I took at Roy Underhill’s the Woodwright’s School.
But these shop made blocks have a major drawback. They don’t cover every board thicknesses, which you’ll certainly encounter if you dimension your own boards. So in my woodworking school I use this extremely cool “Vise Rack Stop” (made by Veritas) which lets you micro-adjust for different wood thicknesses:
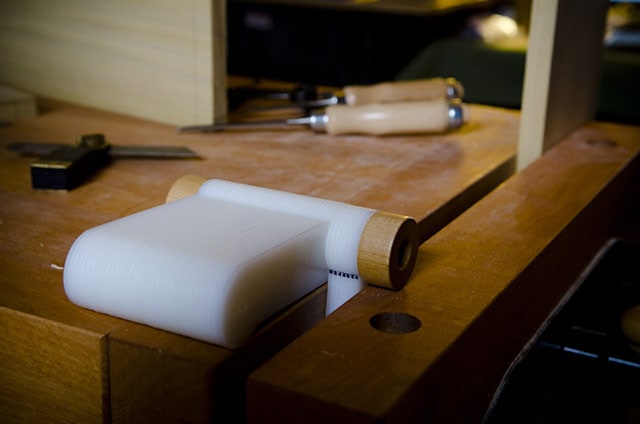
I use this accessory all the time on my face vise and end vise, especially on my European style Sjobergs workbench.
Make a Sawbench for Woodworking:
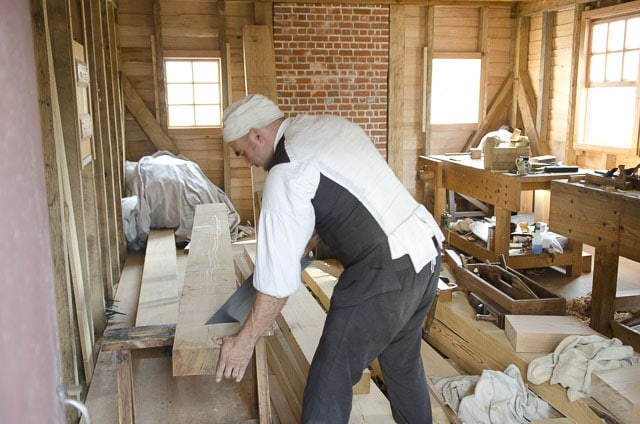
A saw bench is like a small wooden workbench for using a hand saw. Saw benches aren’t necessary for hand sawing, but they are really convenient and inexpensive to build. My favorite sawbench design are these heavy duty saw benches that incorporate sliding tapered dovetail joints:
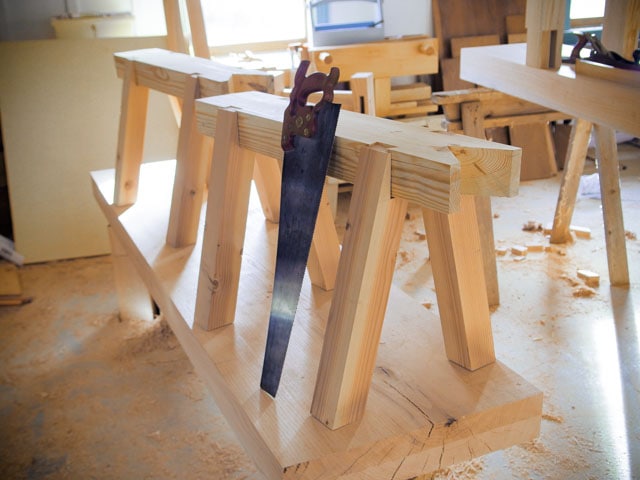
This sawbench design is perfect for woodworking in your workshop and for heavy-duty use in timber framing. My sawbenches get a lot of use in our timber framing class at our woodworking school:
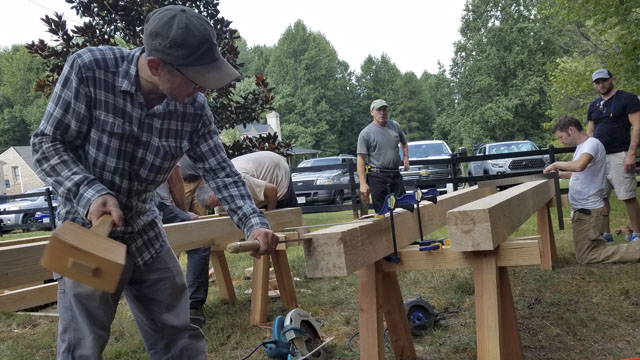
The tapered sliding dovetail joint tightens over time as the top dries. I made four of these sawbenches for my woodworking school, and the students love them. I also taught a class on making this sawbench design, and the students didn’t find the build too difficult.
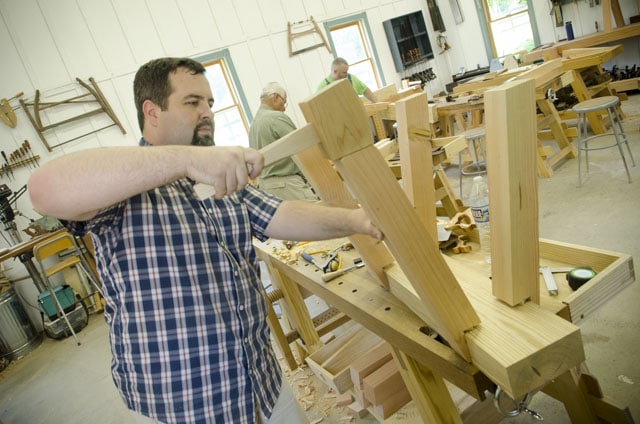
Here is Roy Underhill’s video tutorial on making sawbenches very similar to my saw benches. I also like the look of Christopher Schwarz’s design in “$5.87 sawbenches” as shown in the below video (which appears to now be free on YouTube):
Make or Buy a Woodworking Tool Chest:
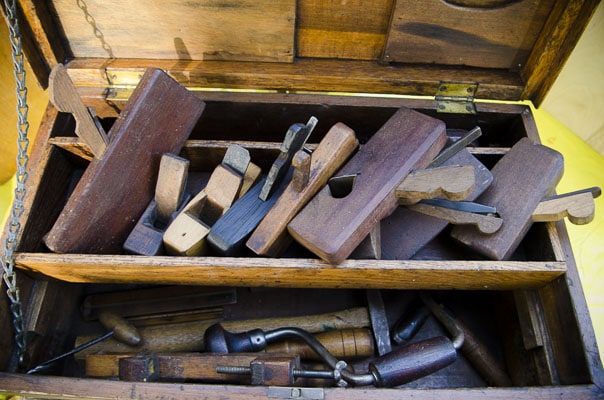
Most house joiners of the past stored their beloved woodworking hand tools in a large tool chest so they could transport them from job to job and keep them safe. The cabinetmakers (furniture makers) typically stored their tools on shelves and in cabinets since they didn’t travel to jobs sites, but worked in their own workshops.
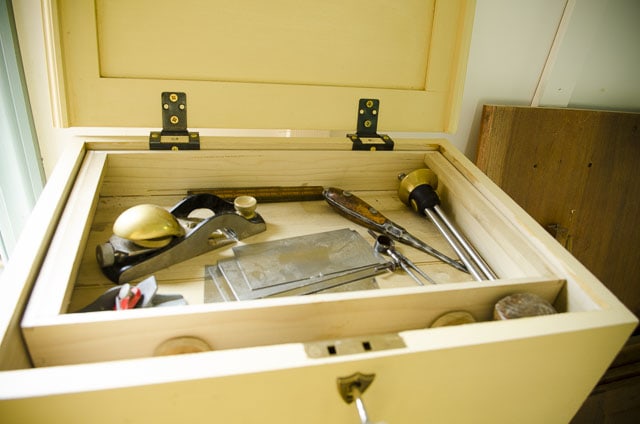
As far as tool storage goes, I prefer storing my tools on shelves (see bottom of this page) and in smaller, easier to transport, tool chests, because I almost never transport a lot of my woodworking hand tools.
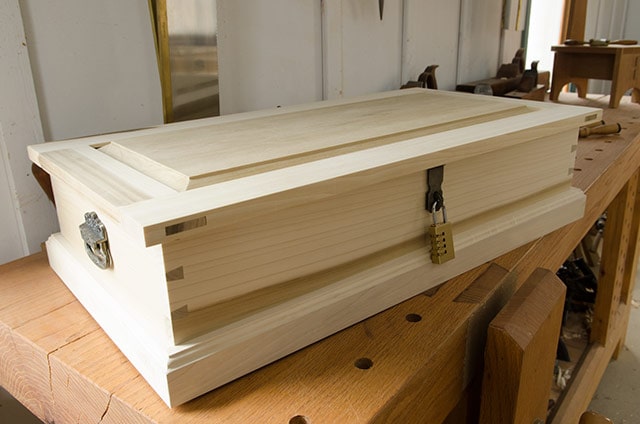
But Christopher Schwarz and Roy Underhill (among others) have been popularizing large woodworking tool chest designs in recent years, so many modern traditional woodworkers have jumped into building a large joiner’s tool chest. Chris Schwarz introduces his “Anarchist’s Tool Chest” and his “Dutch Tool Chest” on both of these Woodwright’s Shop Episodes:
I highly recommend that you purchase “The Anarchist’s Tool Chest” book & the accompanying DVD. This really is a great book & DVD that show not only how to build the Anarchist tool chest, but which tools to fill it with.

Another great option is to buy an antique woodworking tool chest. You can find these at estate sales, yard sales, and even on Ebay (here). Many of the small wooden chest designs that you’ll find are engineer’s tool chests. But a woodworker’s tool chest is a large box with a lid and has sliding trays inside.
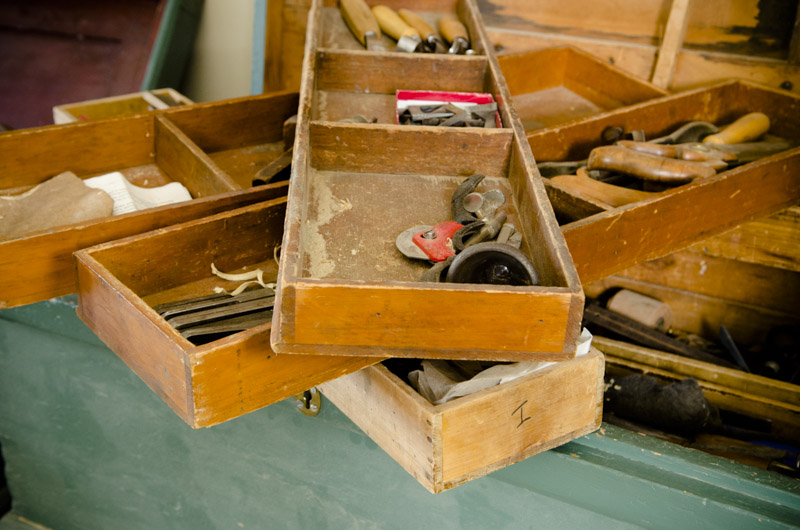
Usually a tool chest like this has a functional lock and strong handles for carrying the tool chest.
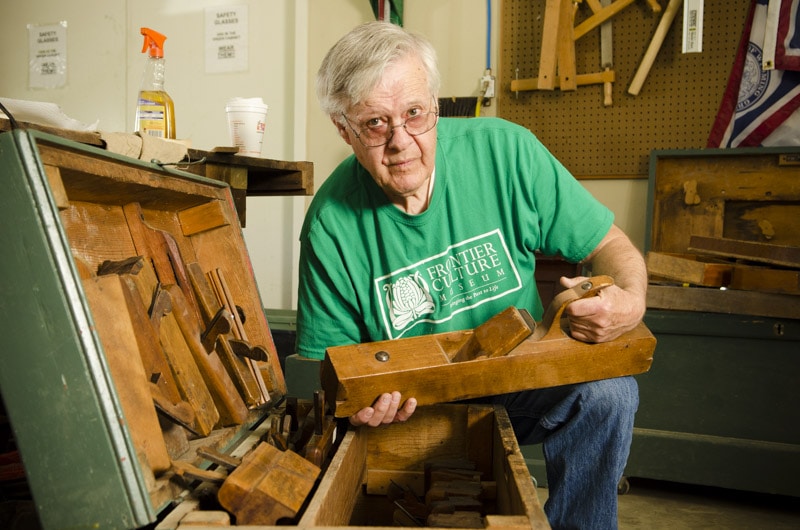
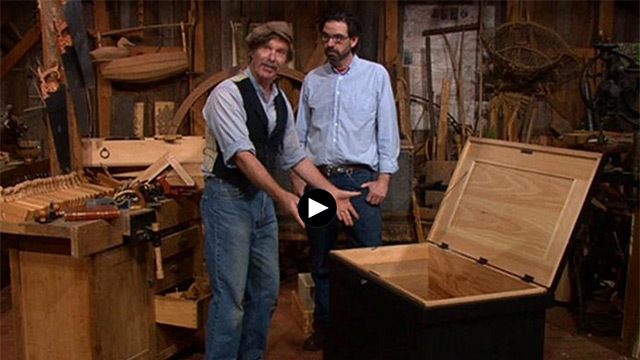
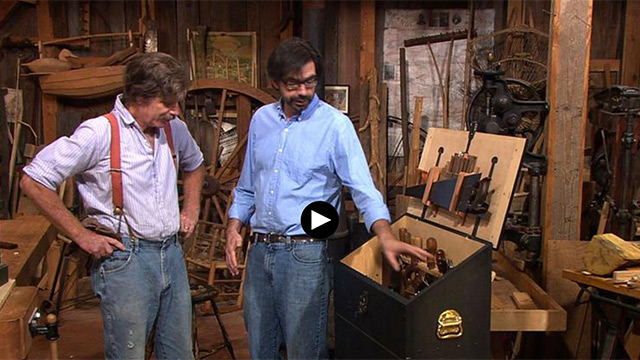
You can even buy or make a sailor’s tool chest like this one that Tom Calisto made:
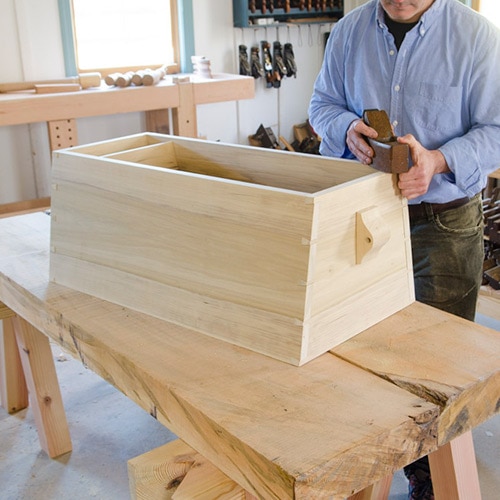
But whatever tool chest you decide upon, just make sure that it is a tool chest design that works for your shop and your woodworking hand tools. Don’t just get a style of tool chest that is popular with other woodworkers.
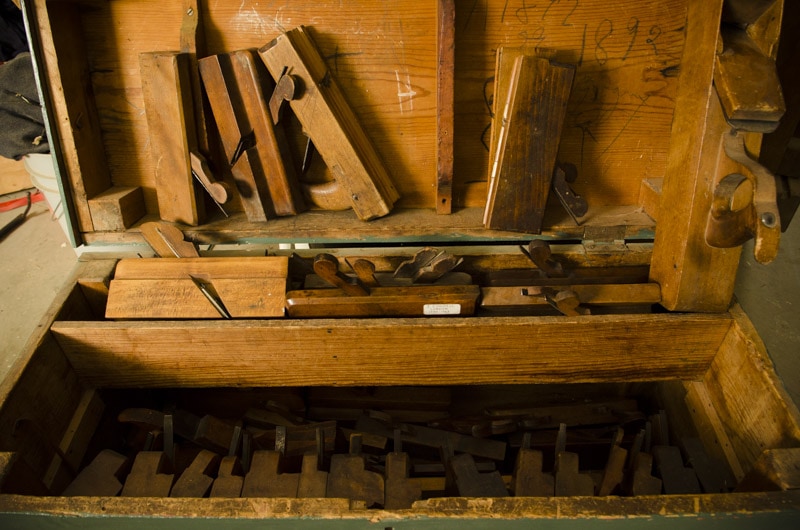
Build Hand Tool Cabinets, Shelves, and Tills:
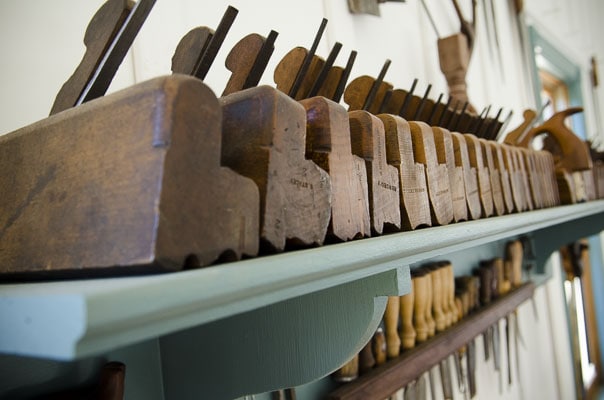
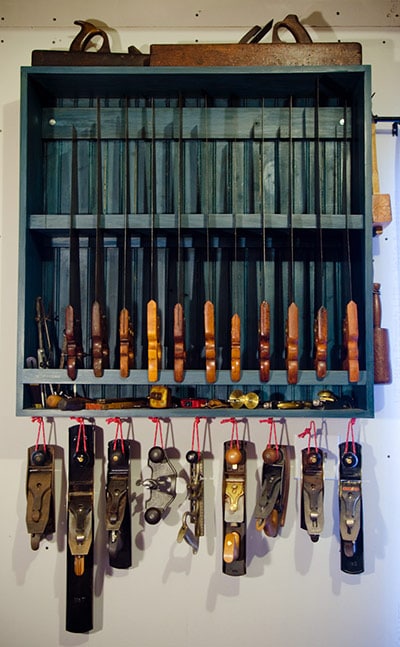
Like I mentioned earlier, I prefer hand tool cabinets and storage shelves over large tool chests. Renowned woodworkers Frank Klausz and Don Williams told me that they also feel this way. I have built quite a few shelves and tool cabinets to store my woodworking hand tools. Here is one saw till that holds some of my hand saws and hand planes:
Make or Buy a Workbench Tool Tote:
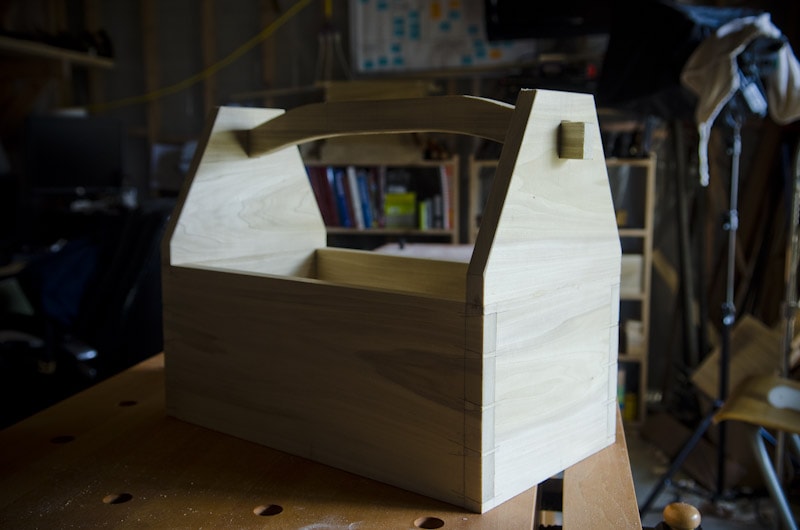
An alternative to a large tool chest or a small tool chest is a woodworking hand tool tote. I really like to have a wooden workbench tote or two to hold my most-used small tools. I can move the tote around all the workbenches in my woodworking school, or move it off a bench if needed. The best option would be to make one similar to this one that I made:
I even made handy internal tool dividers so I can organize and store a lot of little tools and marking gauges is my woodworking school.
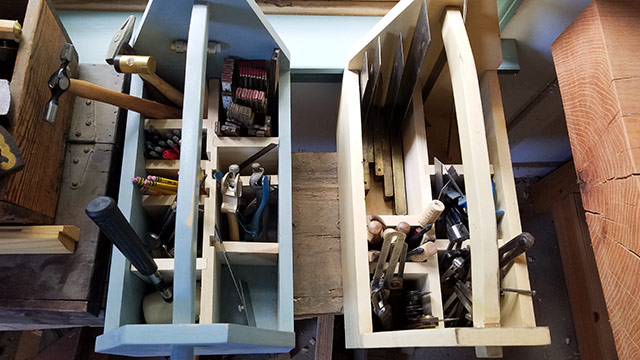
You can even buy a tool tote or small tool box for cheap, like these on ebay or at flea markets.
Buy a Shop Apron:
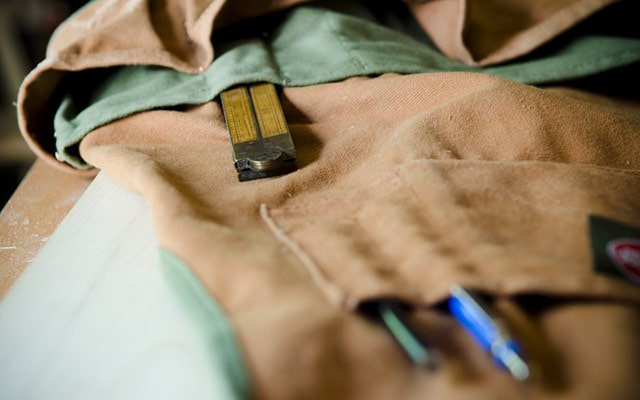
I know a woodworking apron seems like a strange addition to a workbench and hand tool storage article. But I often wear a shop apron and carry some of my smaller tools around my shop in it. I often carry woodworking gauges, a folding rule, a combination square, and even a block plane in my apron. Some traditional woodworkers love shop aprons and some don’t. Here are a few highly rated woodworking shop aprons on Amazon:
- Here are some excellent shop aprons: click here
- Here is a cheaper shop apron that I purchased: click here. I don’t love it, but it was cheap…I’ll probably buy one of the above leather aprons.
- Here’s another affordable leather apron.
- Here are some cool leather aprons on ebay: click here.
Continue to Choosing Layout, Marking & Measuring Tools (#2)…
TOOL GUIDE SHORTCUTS:

HAND TOOL BUYER’S GUIDES
- Intro to Buying Woodworking Hand Tools
- Workbench & Tool Storage
- Layout, Marking, & Measuring Tools
- Handplanes
- Handsaws
- Chisels
- Sharpening & Honing Supplies
- Mallets & Hammers
- Hand Drills, Braces, & Bits
- Tools for Curved Work
- Tools for Green Woodworking
- Woodworking Clamps, Gluing & Fasteners
- Tools for Wood Carving
- Products for Wood Finishing, Sanding & Scraping
- Wood Turning Tools & Lathes


